R e n o v a t i o n J o u r n a l
2018:
2019:
Chapter 1.3 - Park & Station Platform
Chapter 2.2 - At the Back of the Station
Chapter 2.3 - Hinterland - a Matter of Perspective
Chapter 2.4 - Forsthaus Meadow and Forest
2020:
2021: Part 8a ~ Part 8b ~ Part 8c ~ Part 9 ~ Part 10 ~ Part 11 ~ Part 12 ~ Part 13 ~ Part 14 ~ Part 15
2022: Part 16 ~ Part 17 ~ Part 18 ~ Part 19 ~ Part 20 ~ Part 21 ~ Part 22 ~ Part 23 ~ Part 24 ~ Part 25 ~ Part 26 ~ Part 27 ~ Part 28
2023: Part 29
~~~
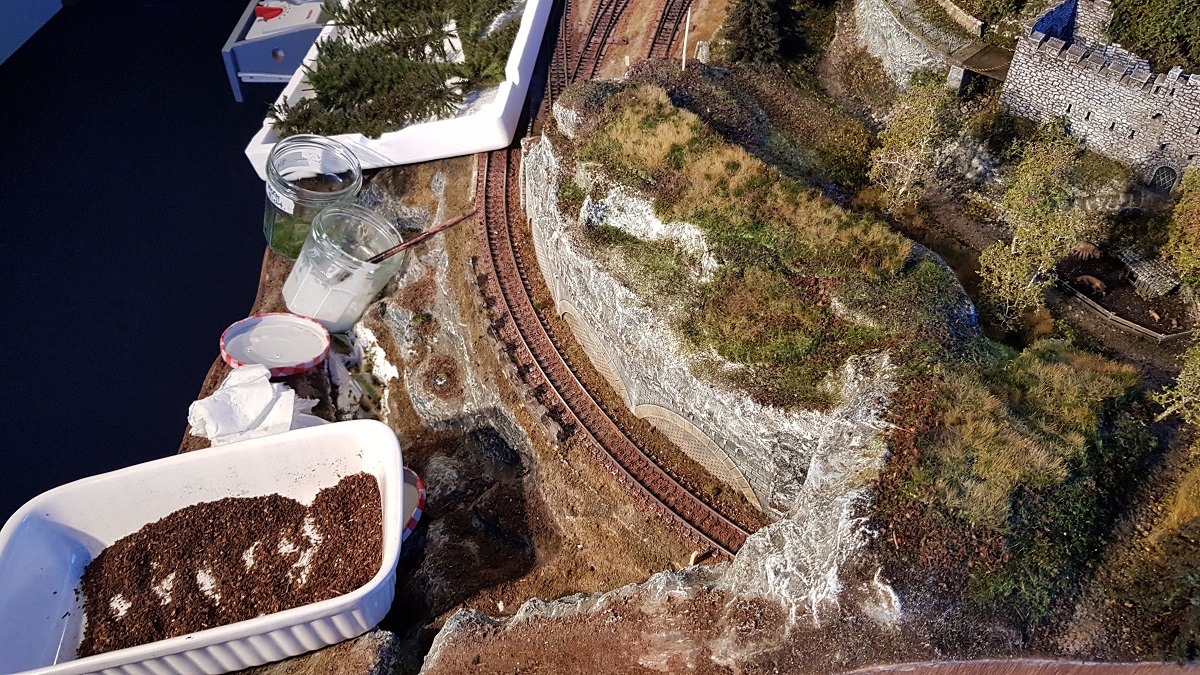
Chapter 22 ~ The Waterfall
(9.1.2020)

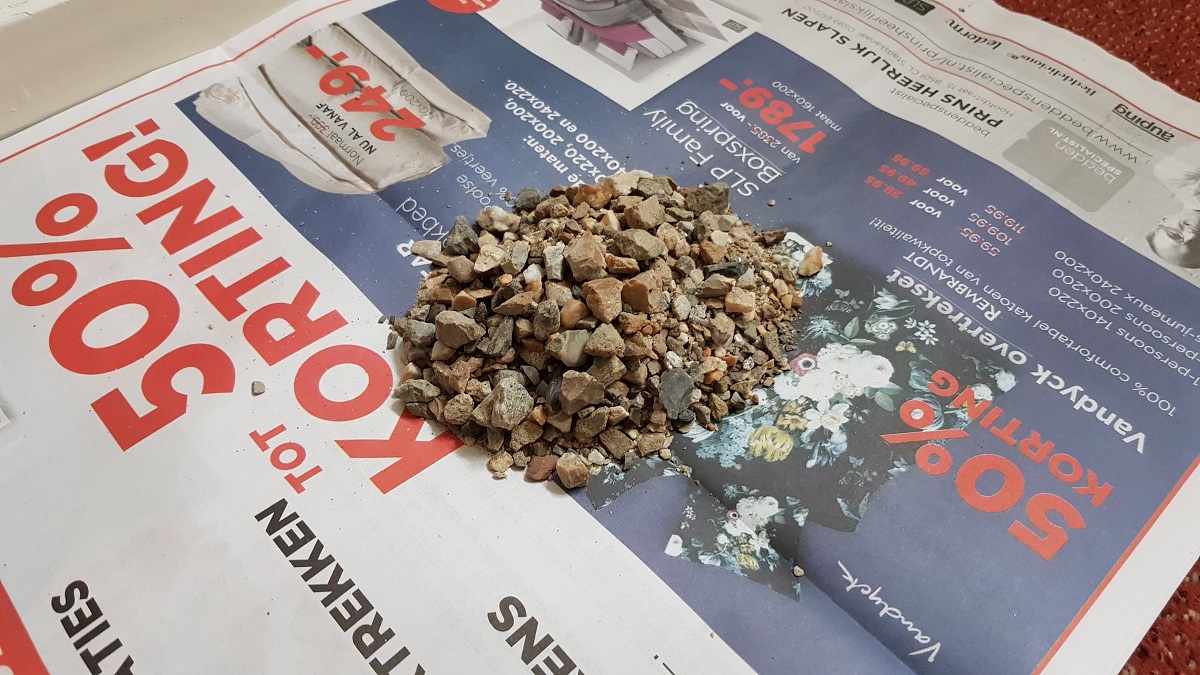
As promised, my friend brought 4 bags of rocks in different shapes and colours, while staying at my residence.
I made a selection for the lower part of the stream.
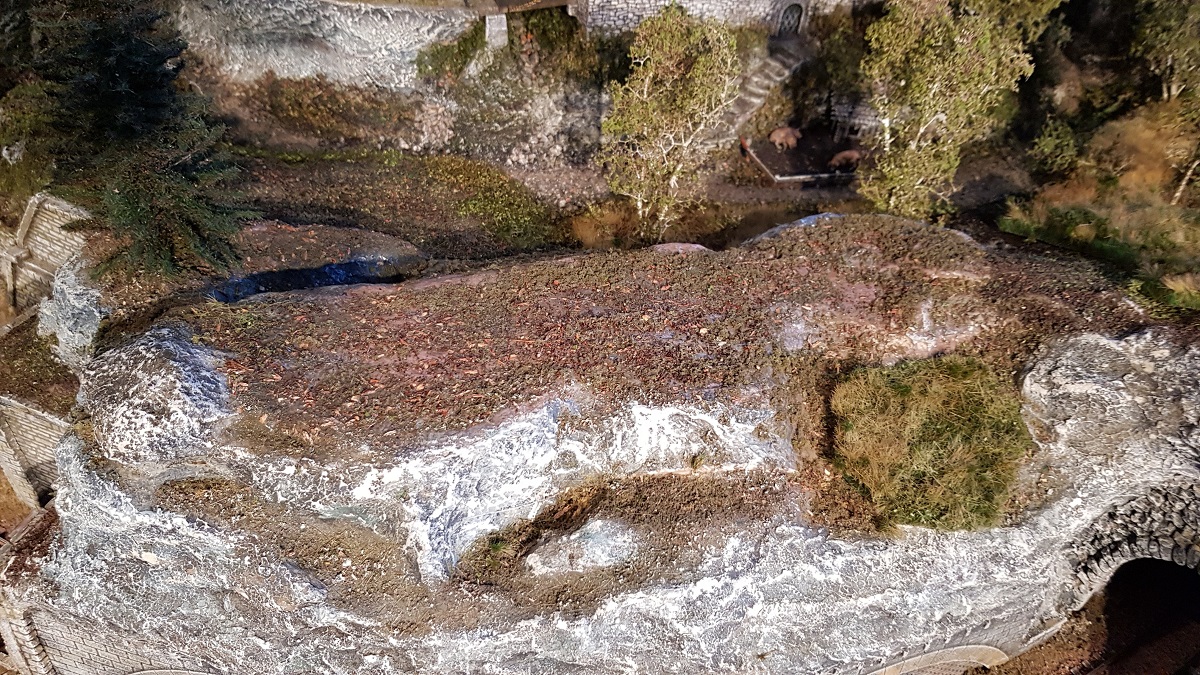
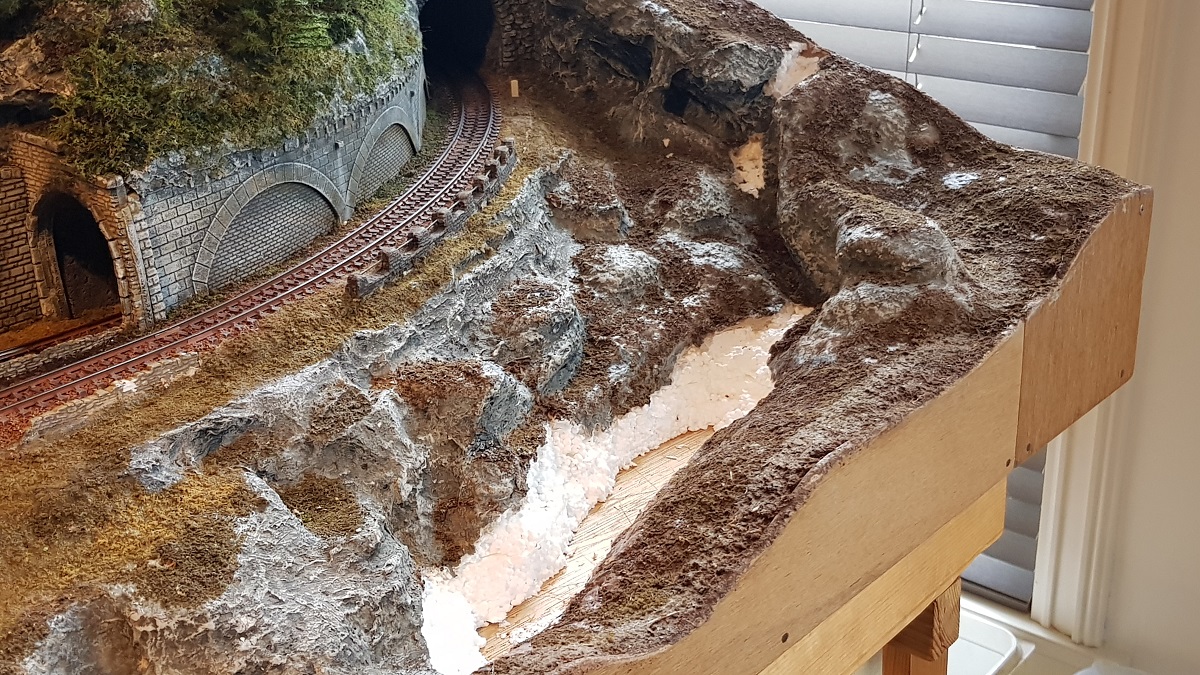
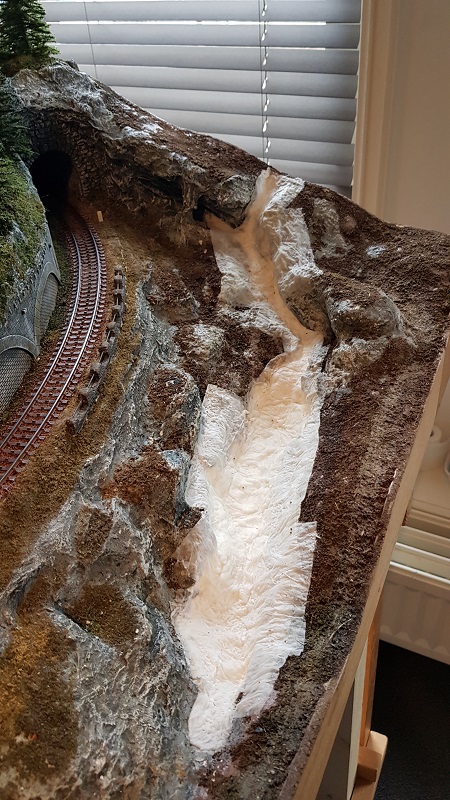
As you probably will remember, last December we ended the Journal with working on the waterfall
with this white layer of toilet paper, some rocks and fallen trees. I left it like this into the new year...
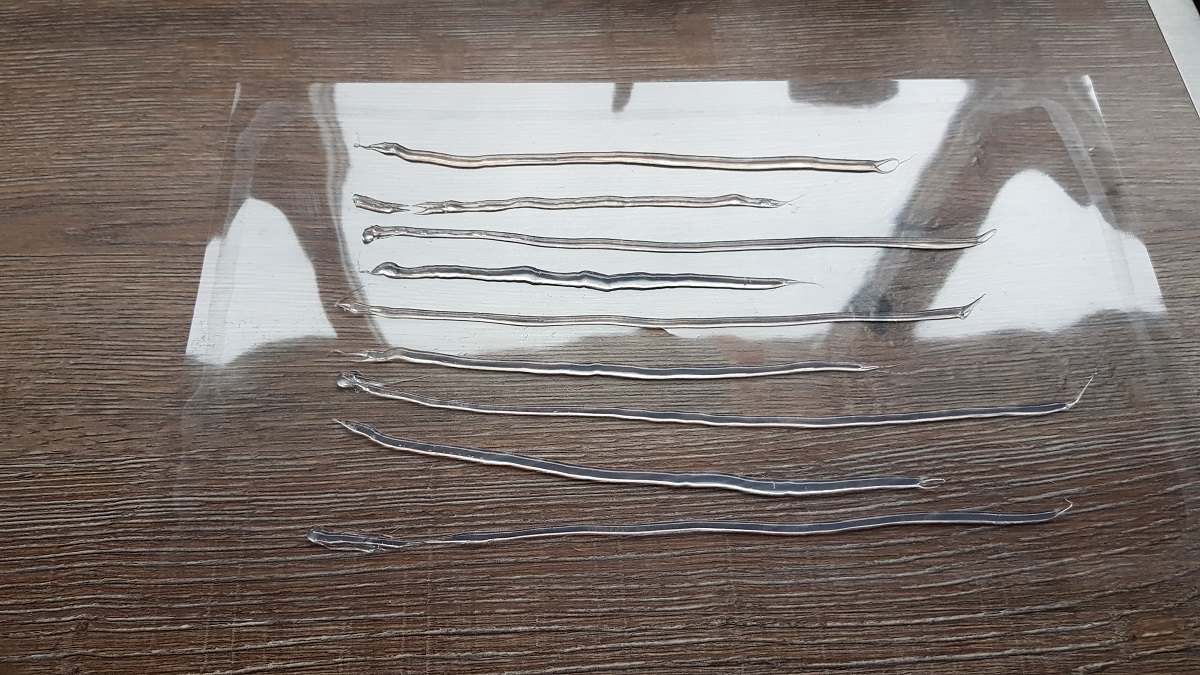
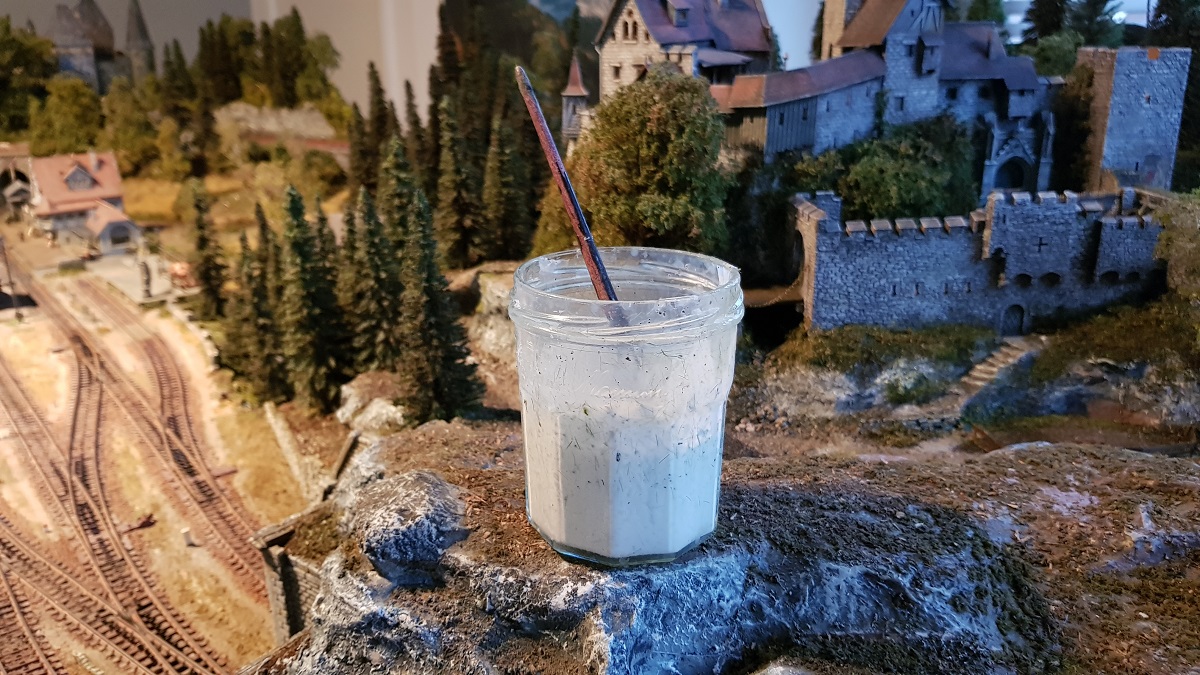
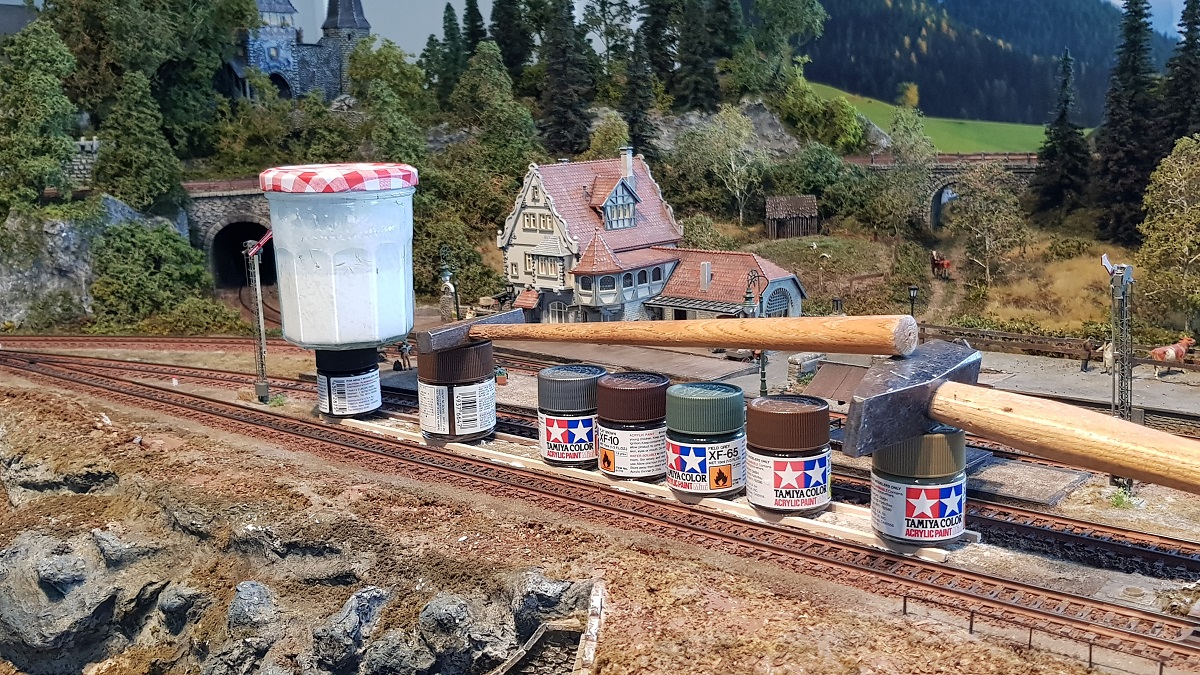
Today my plan is to painting the brook, adding some rocks and trying to make 'water' out of silicone.
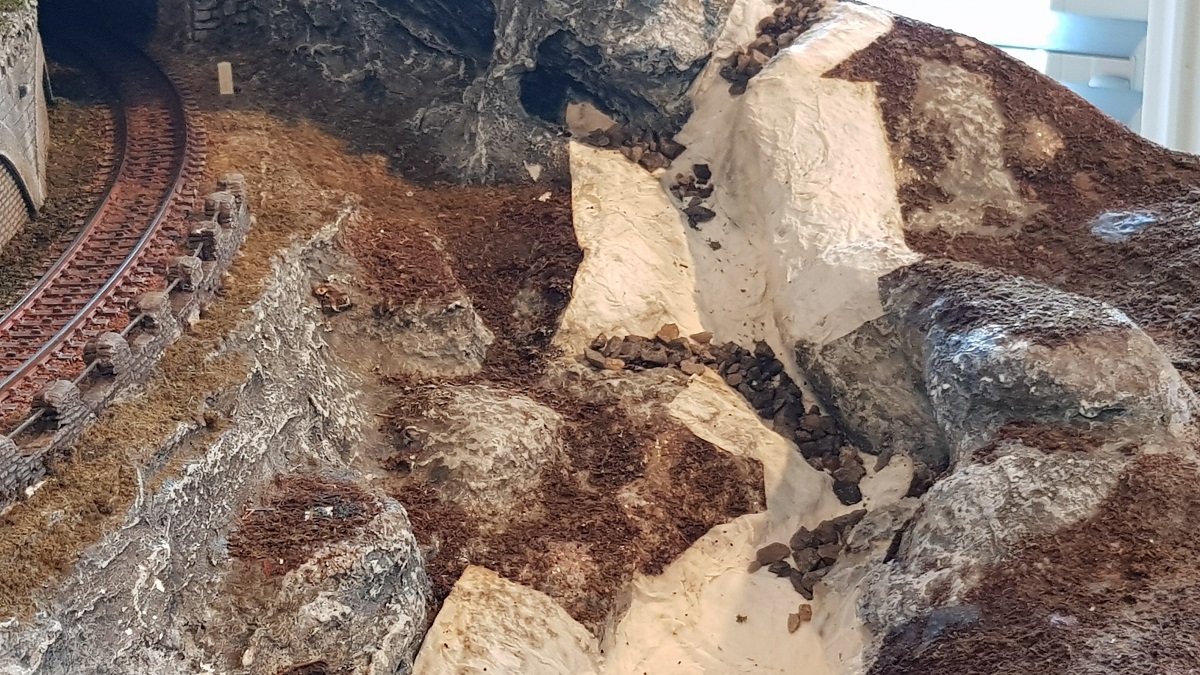
In three steps...
Nah... too many rocks in an unnatural division... less is more...
This is still only paint. But the idea suits just fine!
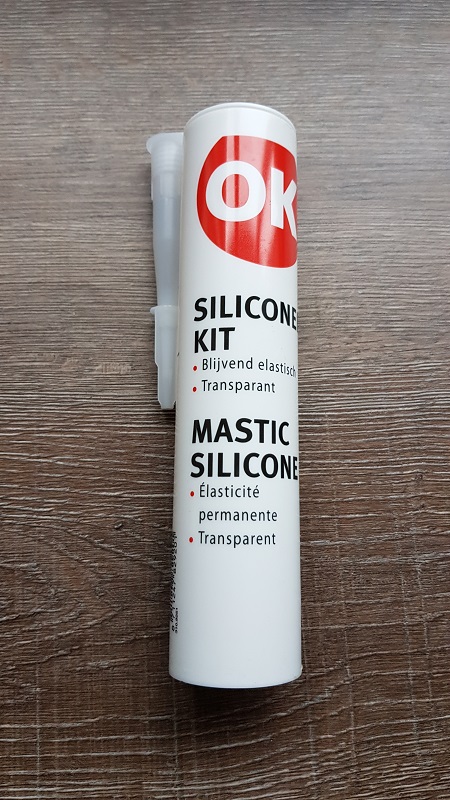
I bought myself a tube of silicone, just for some streams and jets of water...
Never done this before!

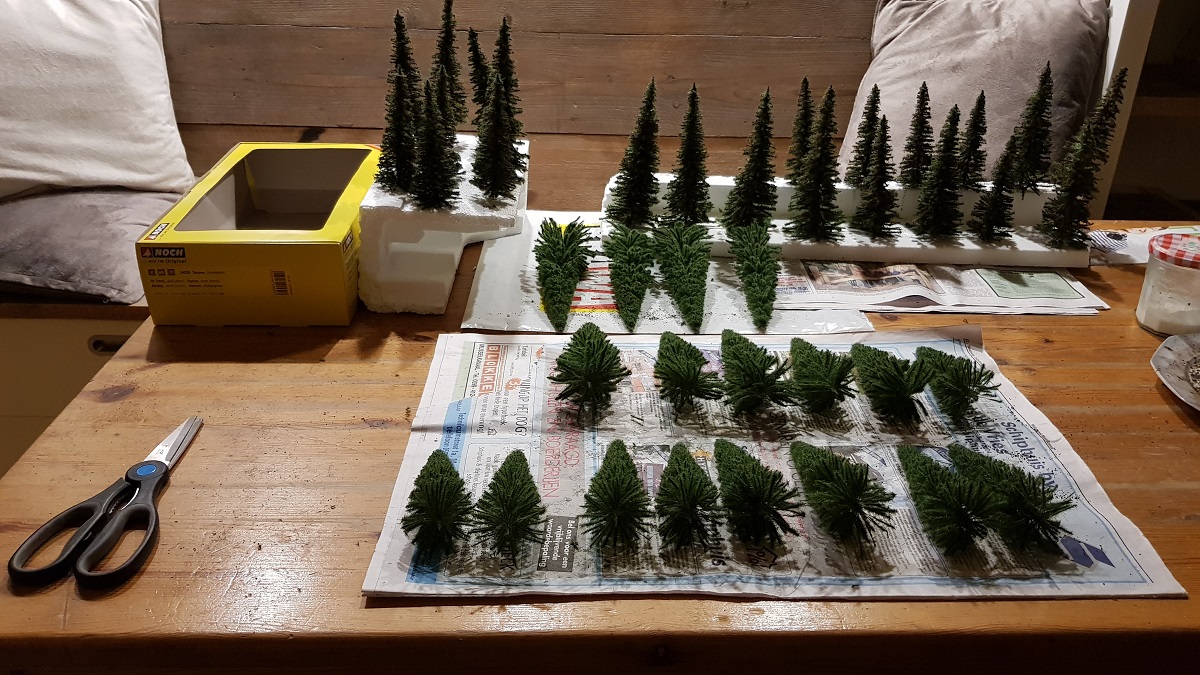
In the meantime, I bought another box of Noch trees. I can hardly wait to plant them.
But since I have to work in the middle and deeper section of the layout, therefor bending over a lot, these trees will only bother me.
So... patience is a virtue!
Let's see what tomorrow will bring!
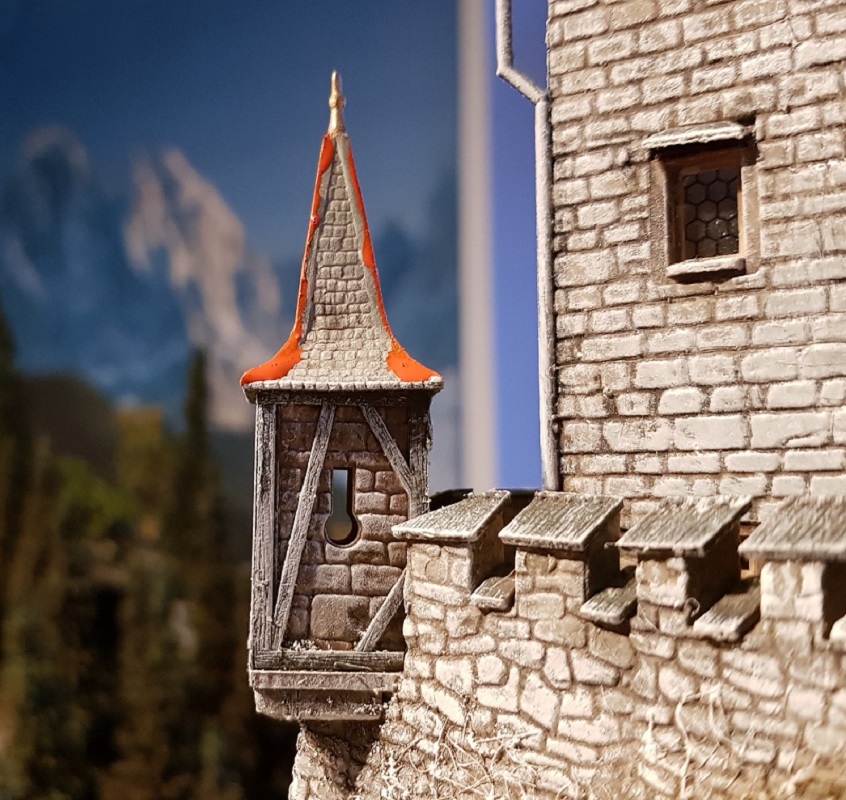
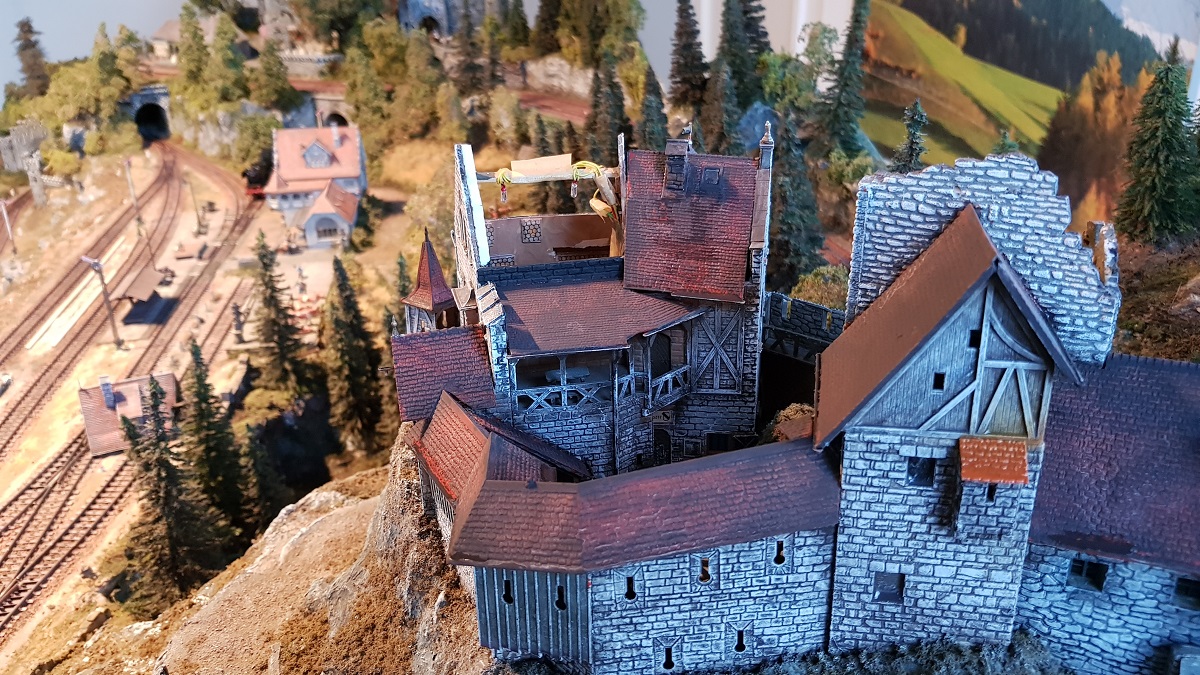
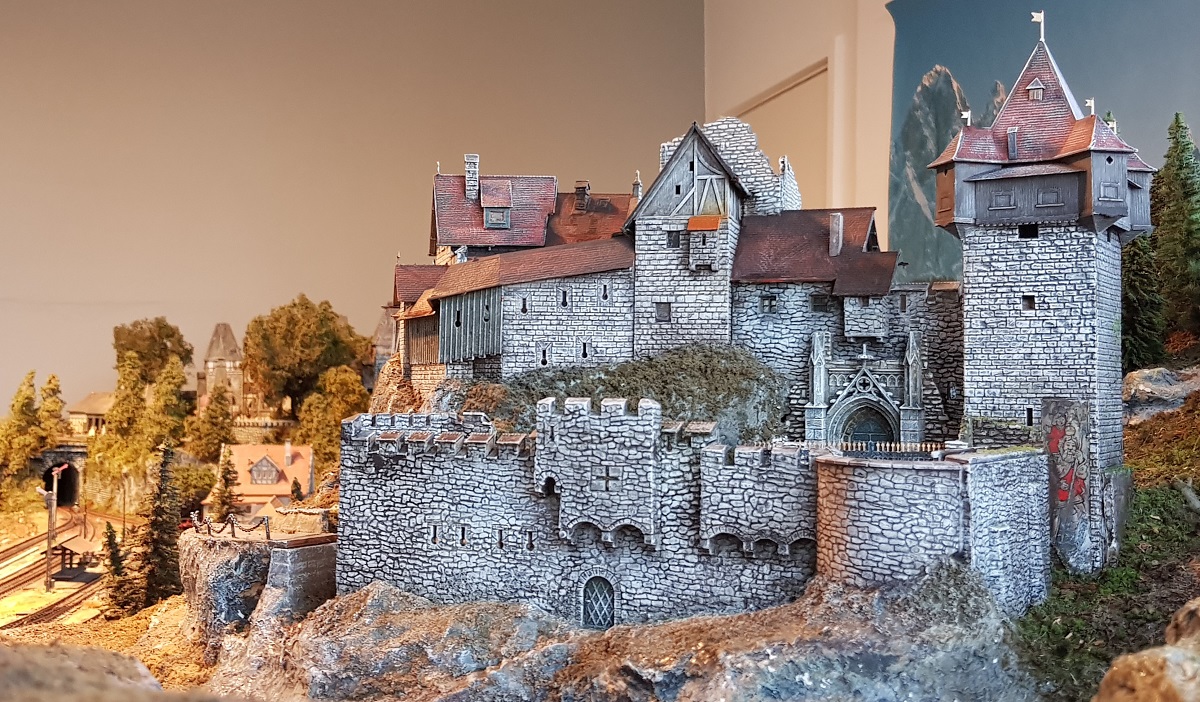
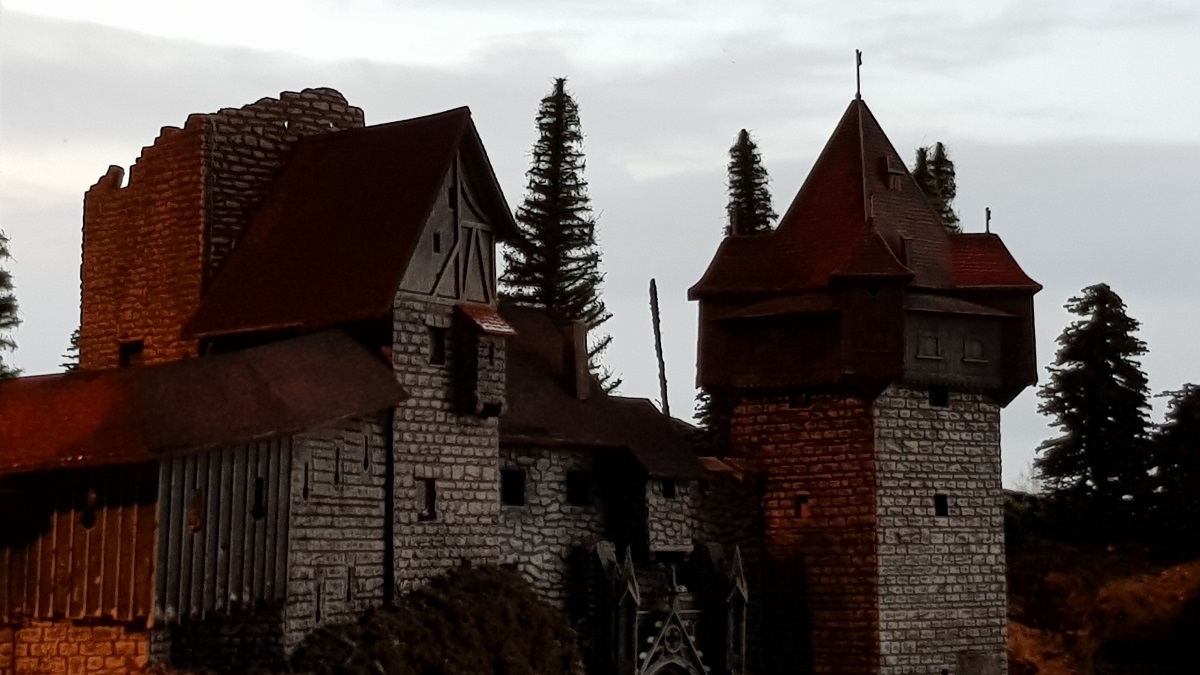
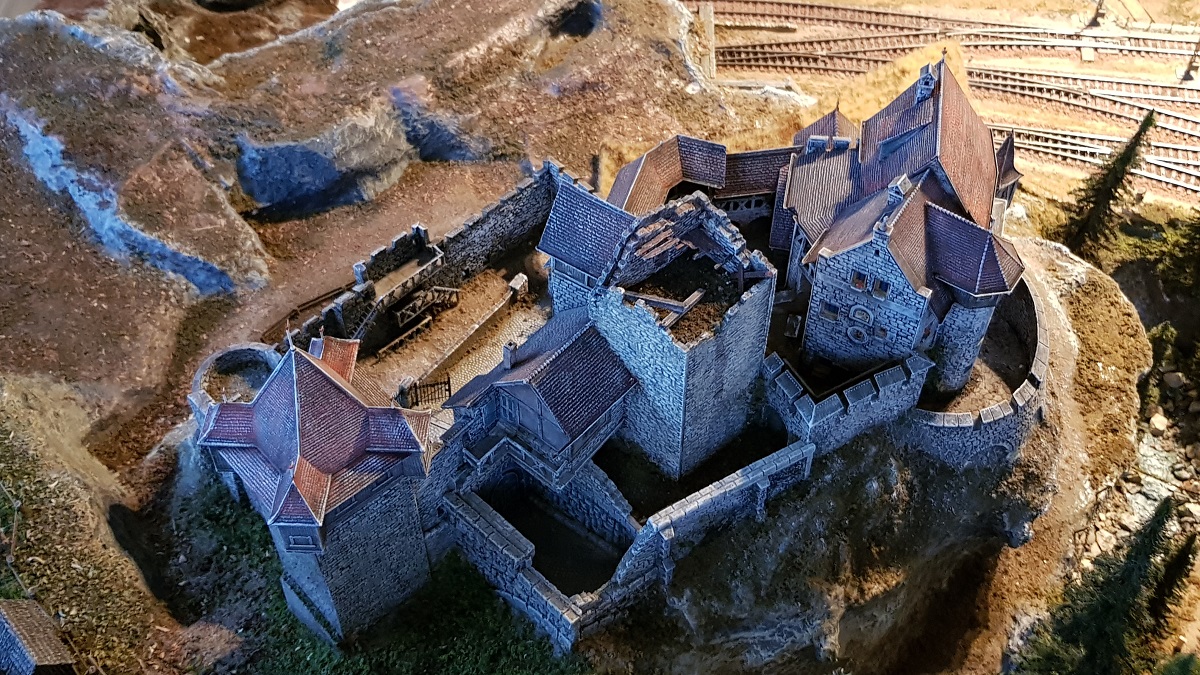
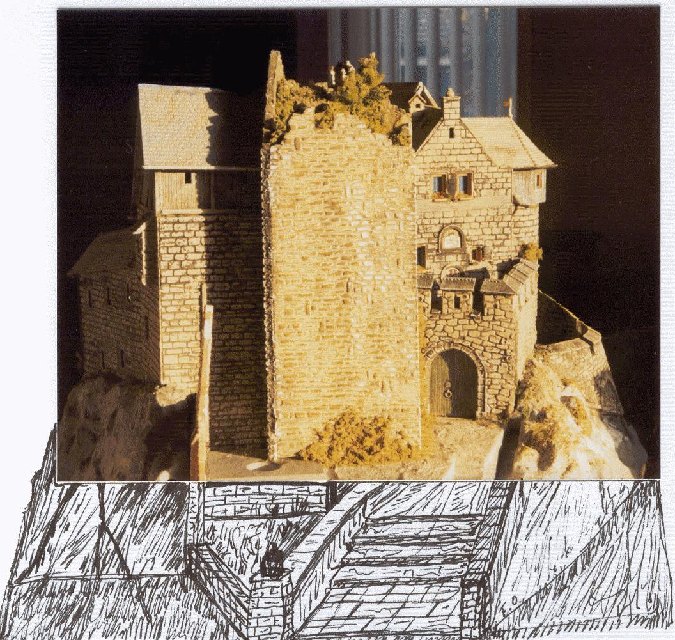
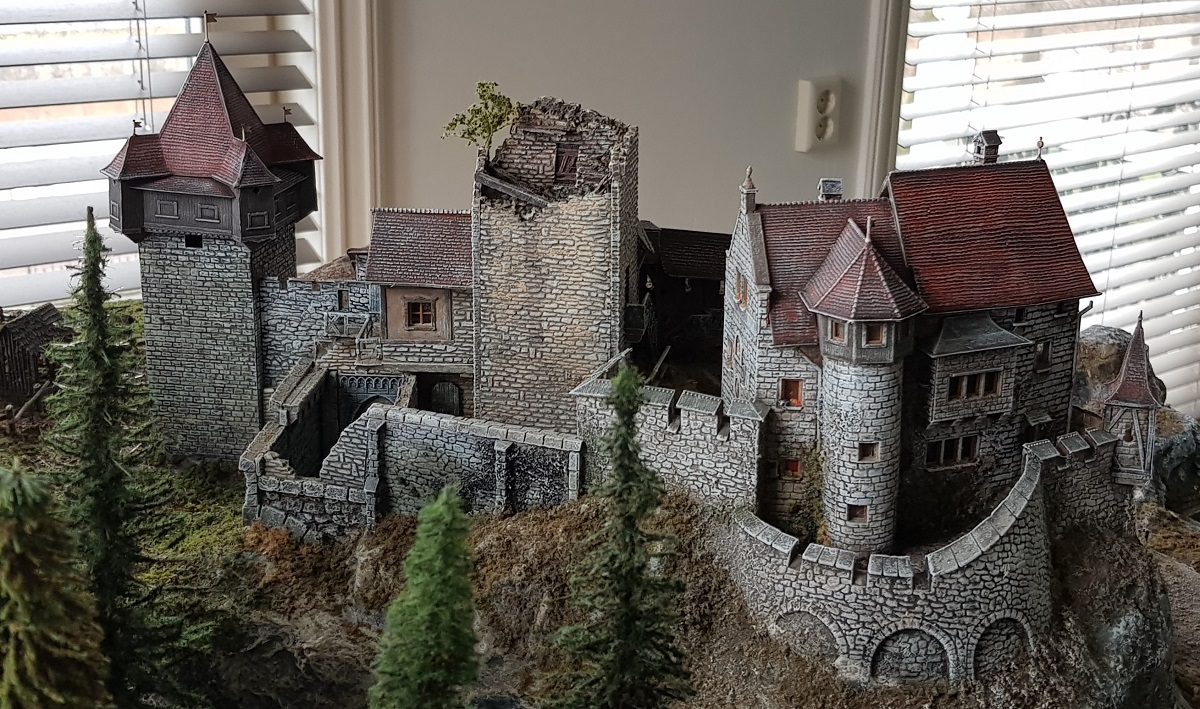
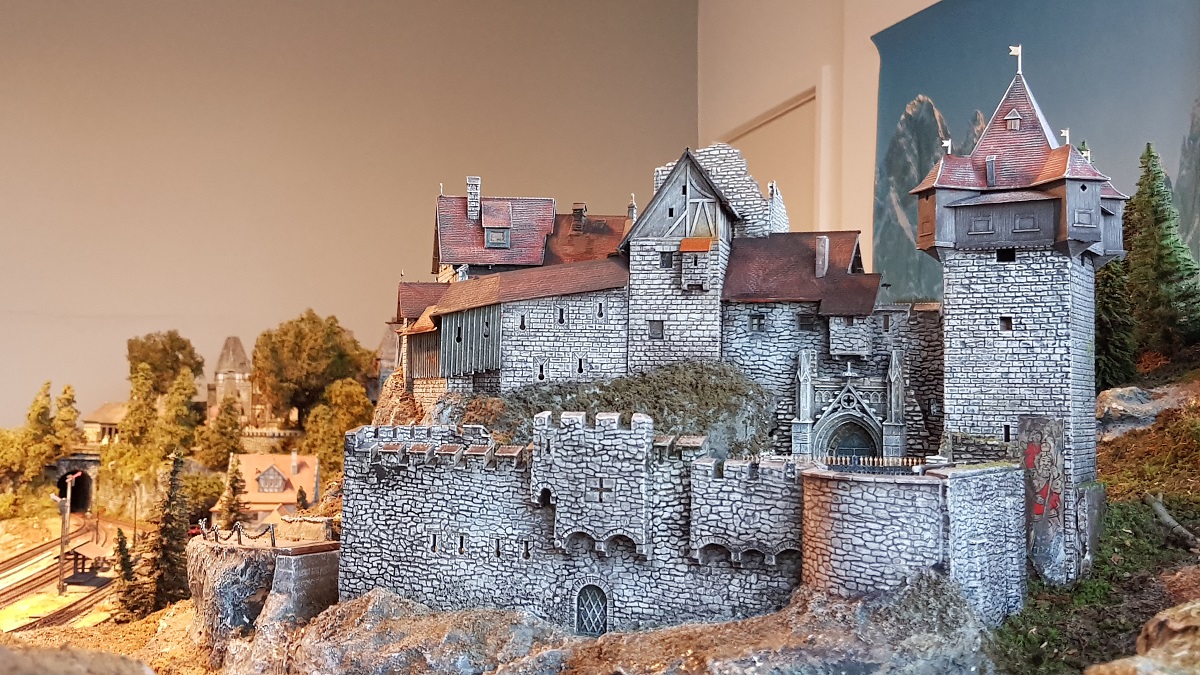
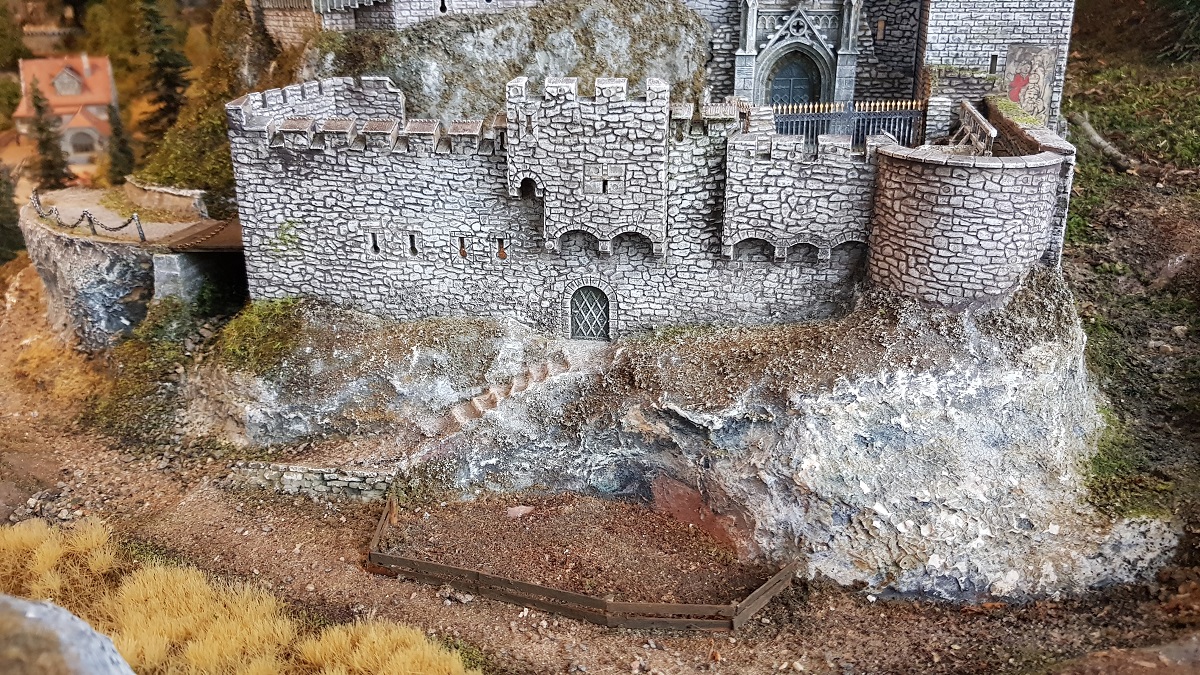
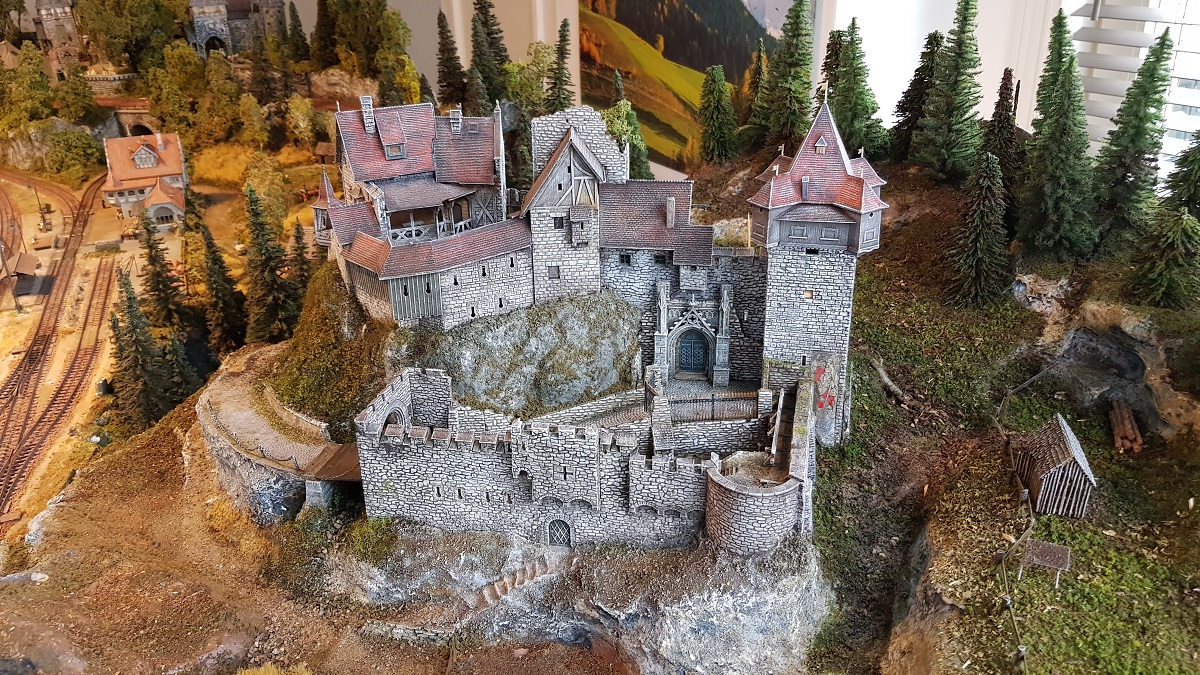
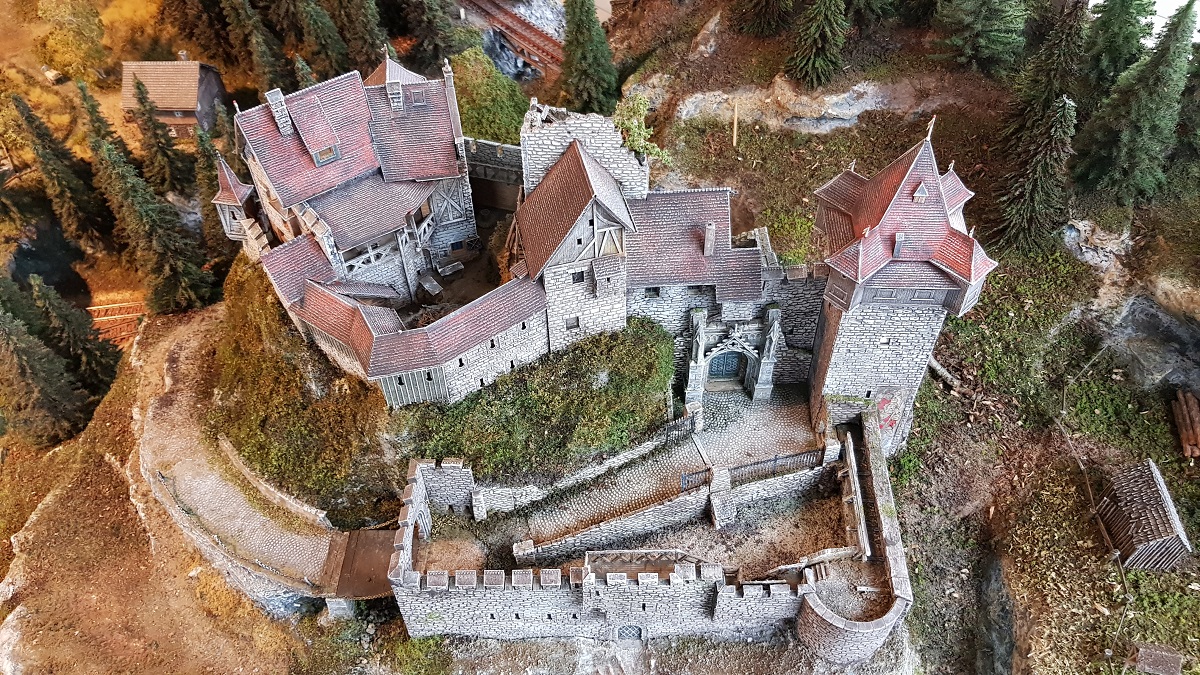
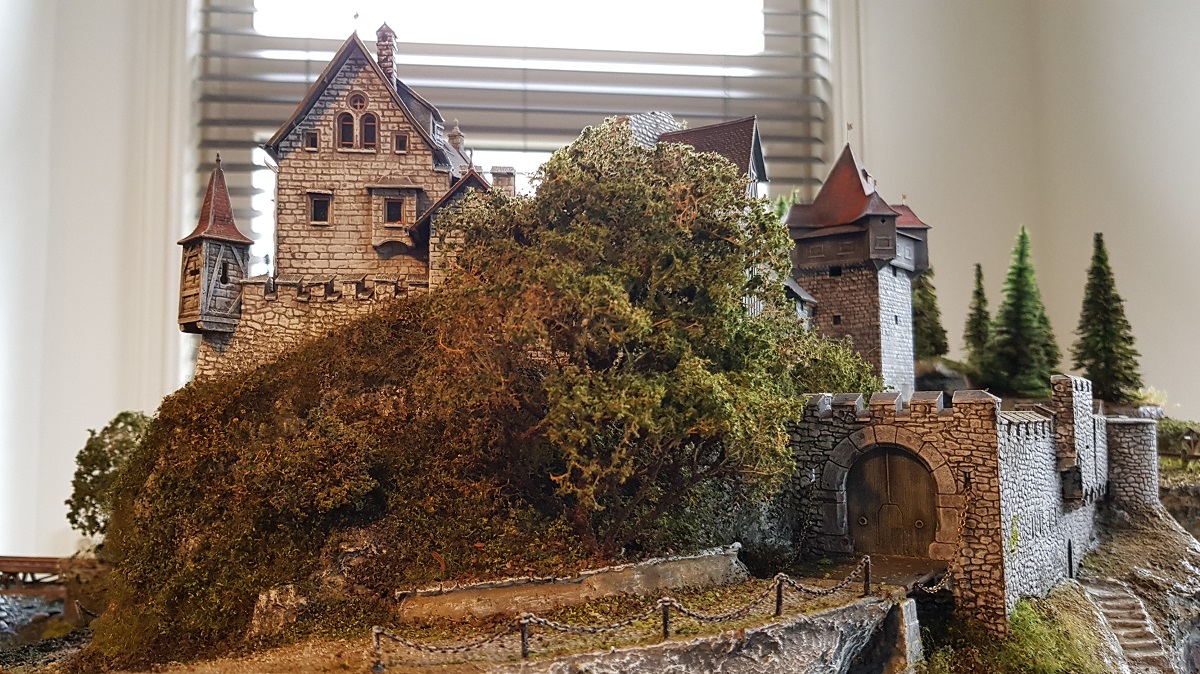
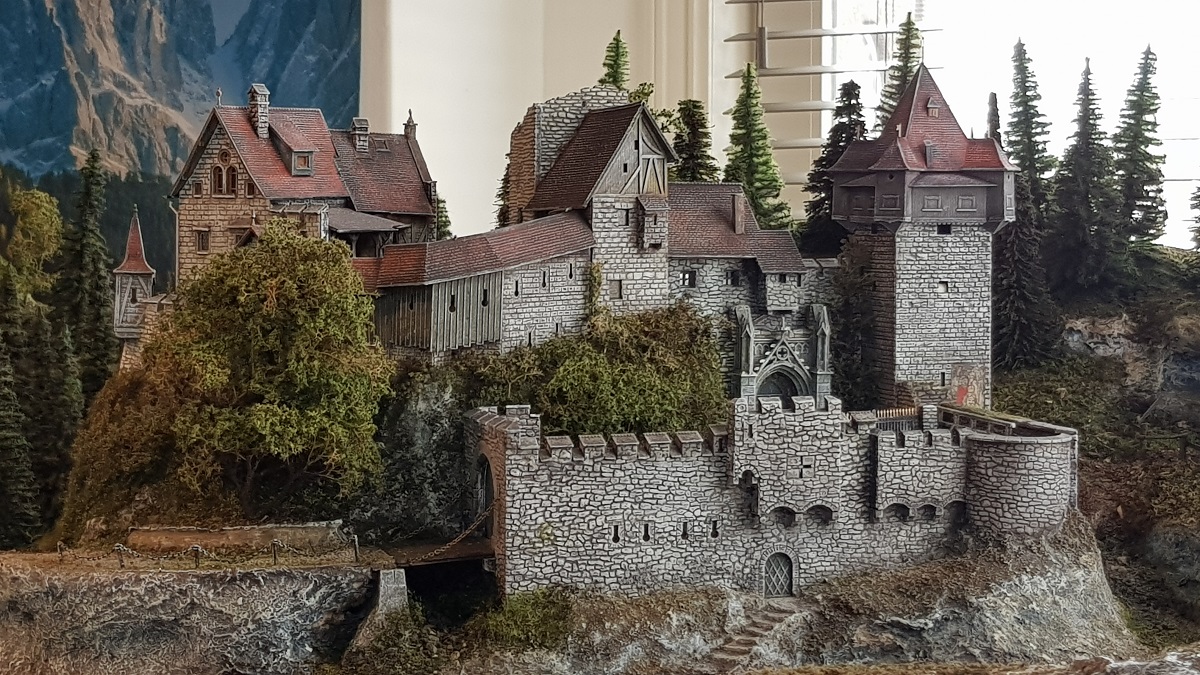
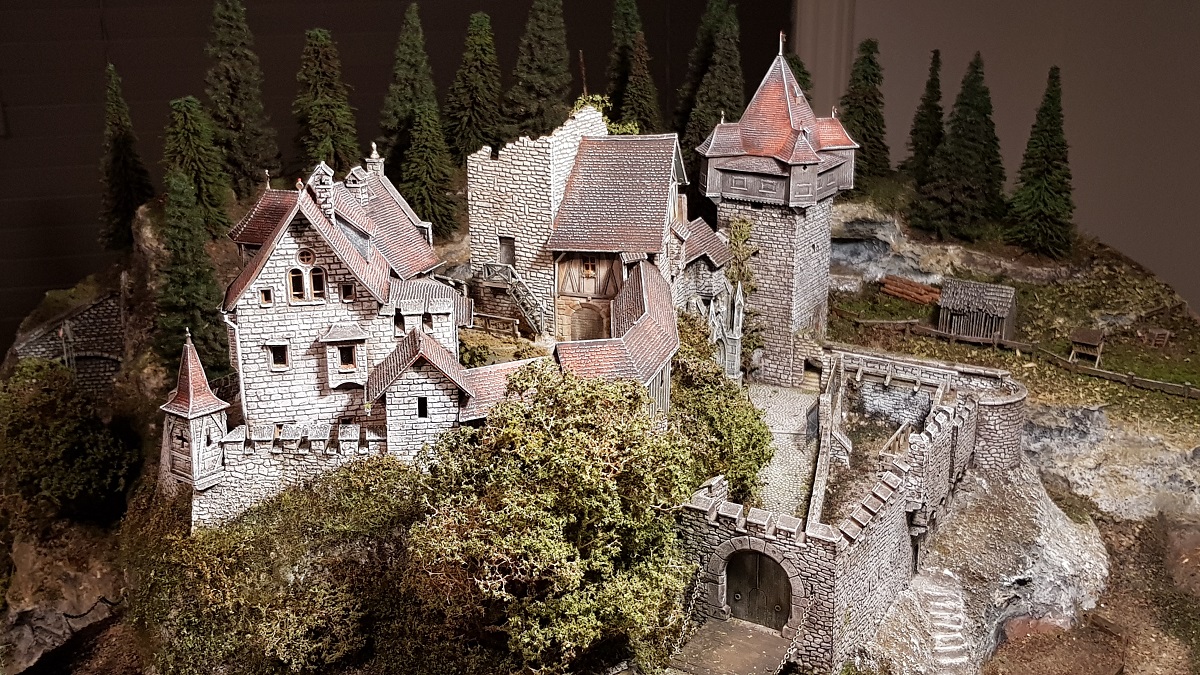
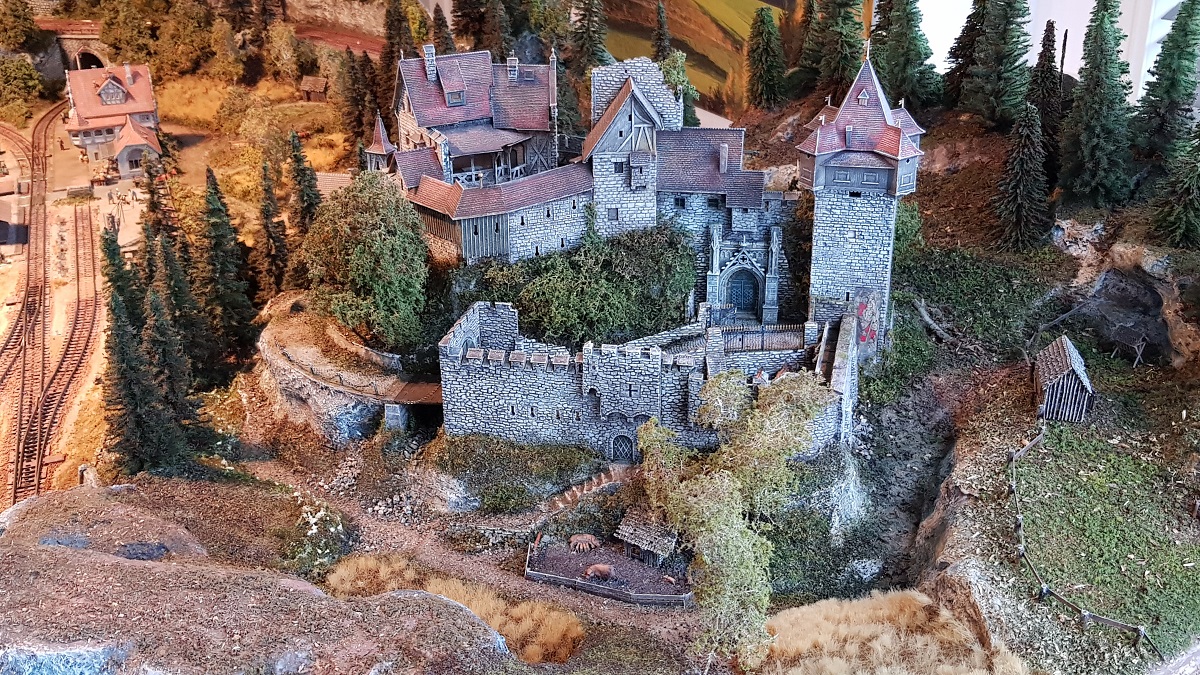
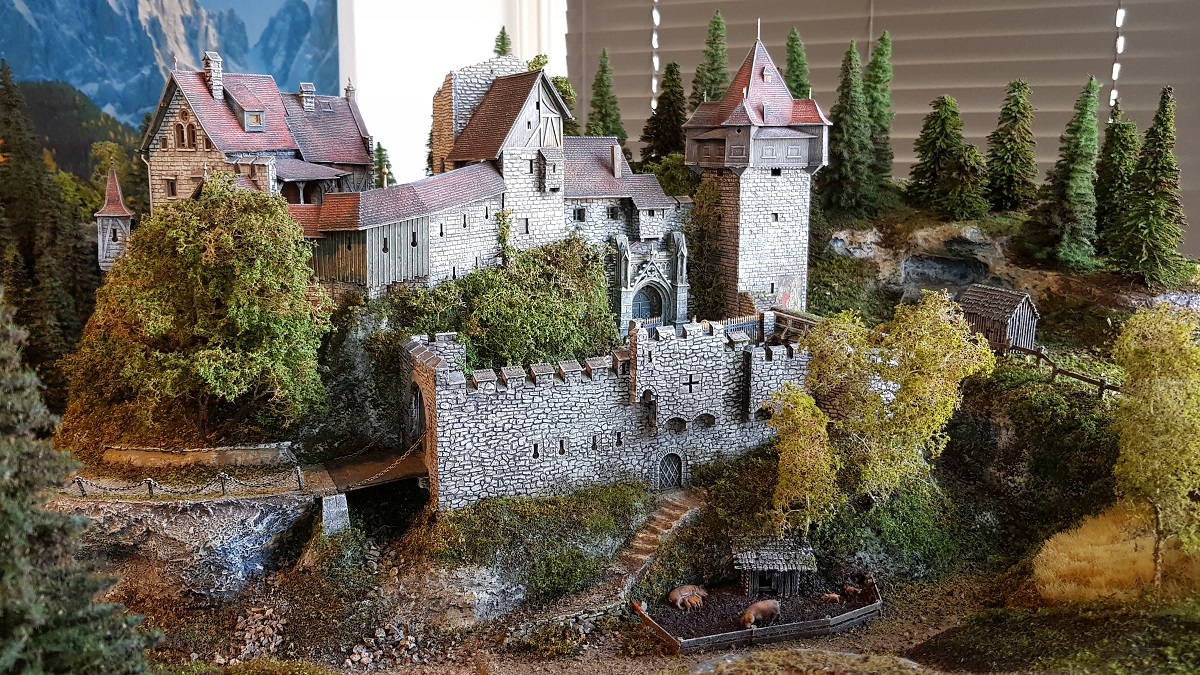
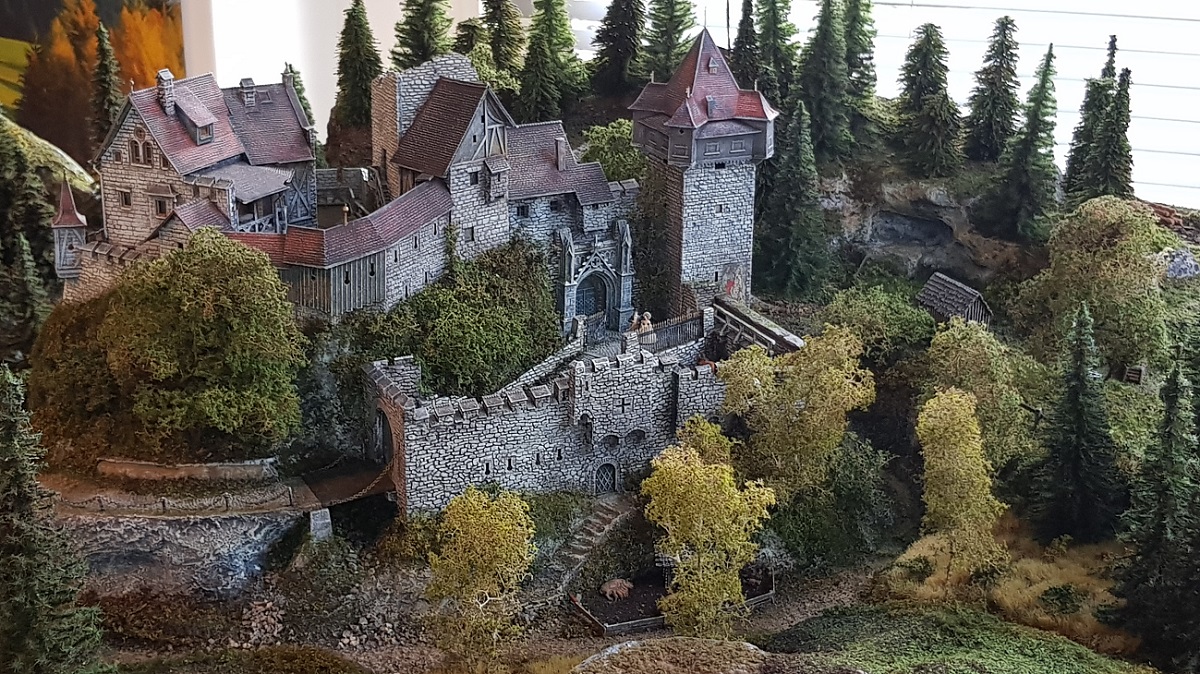
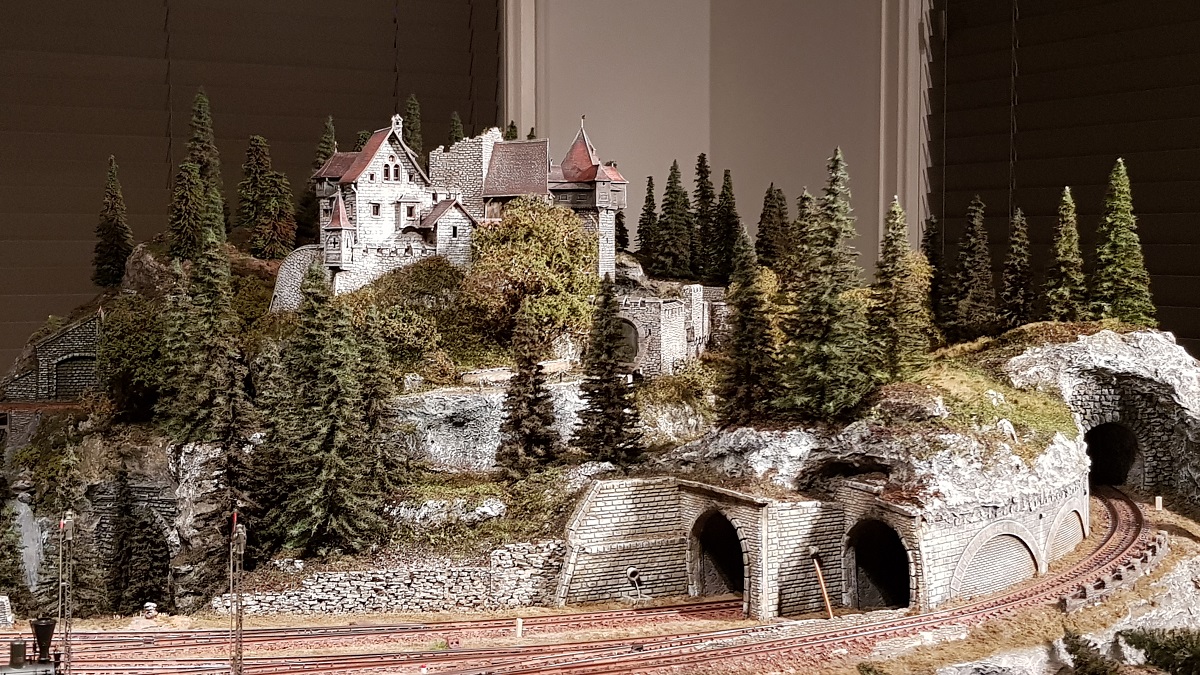
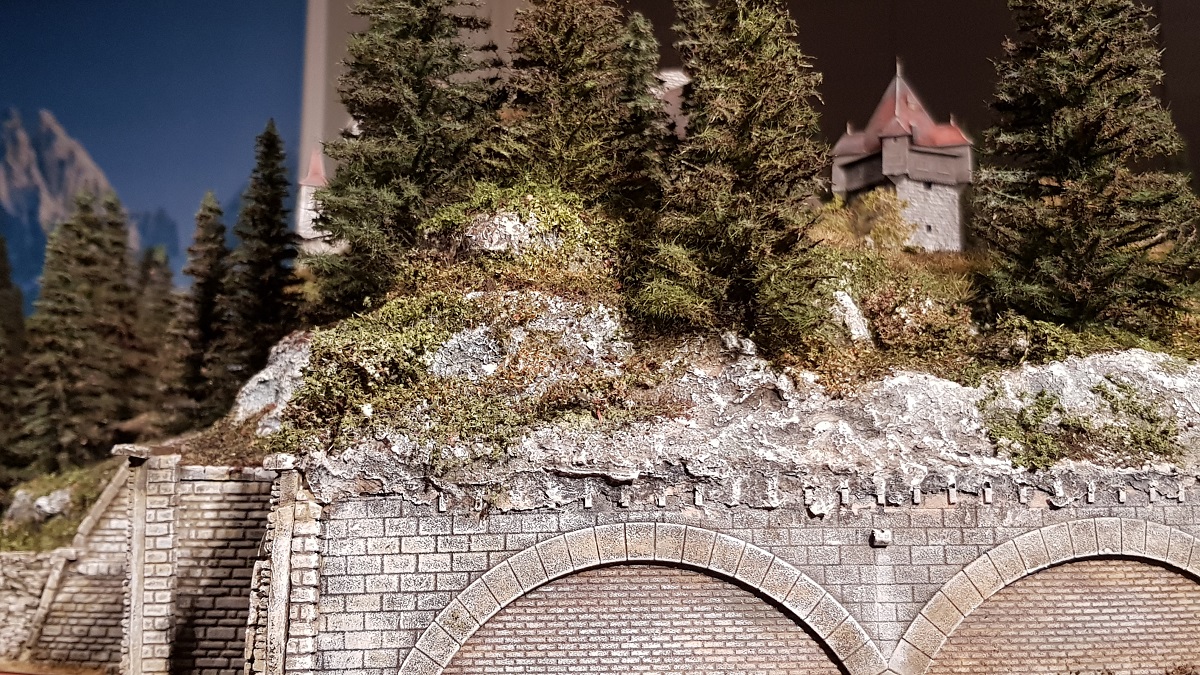
Chapter 23 ~ T h e C a s t l e
(10/11.1.2020)
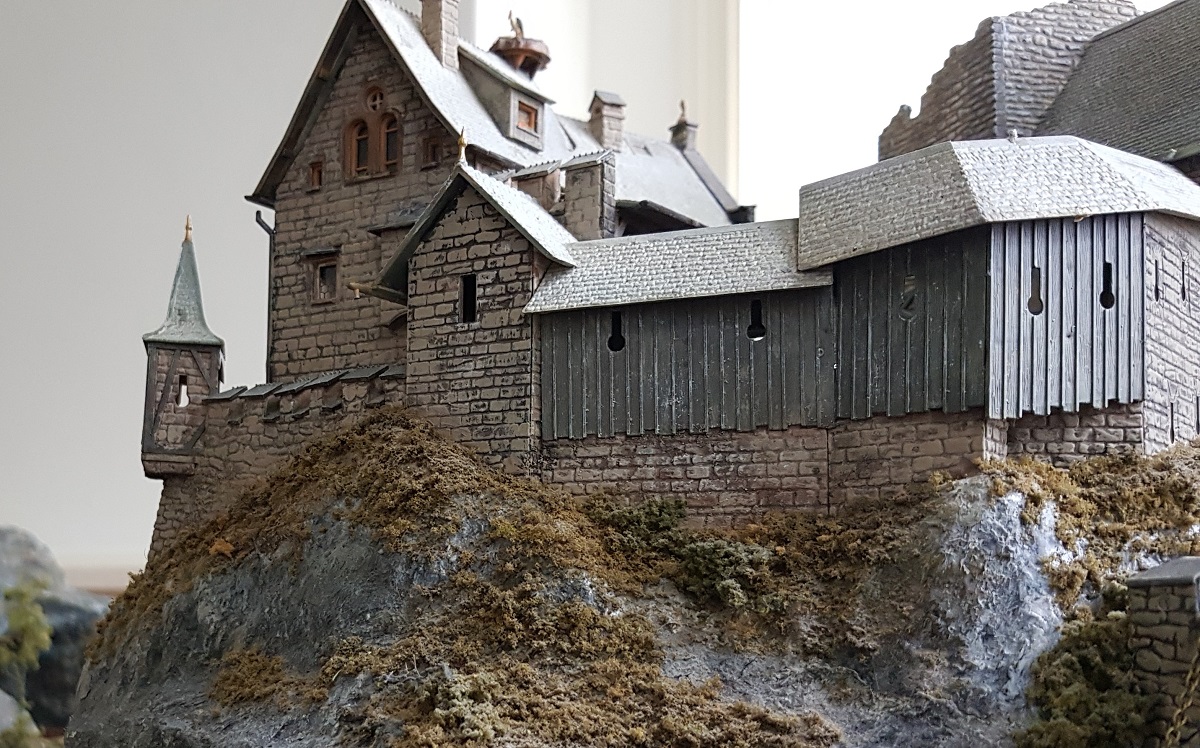
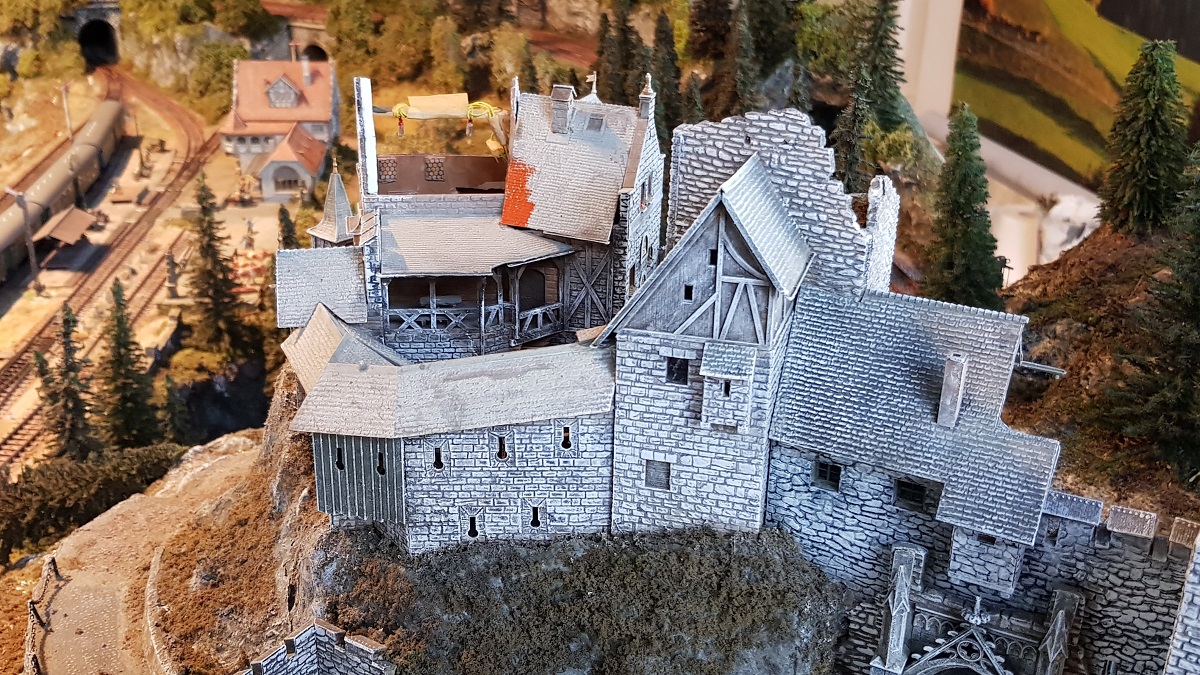
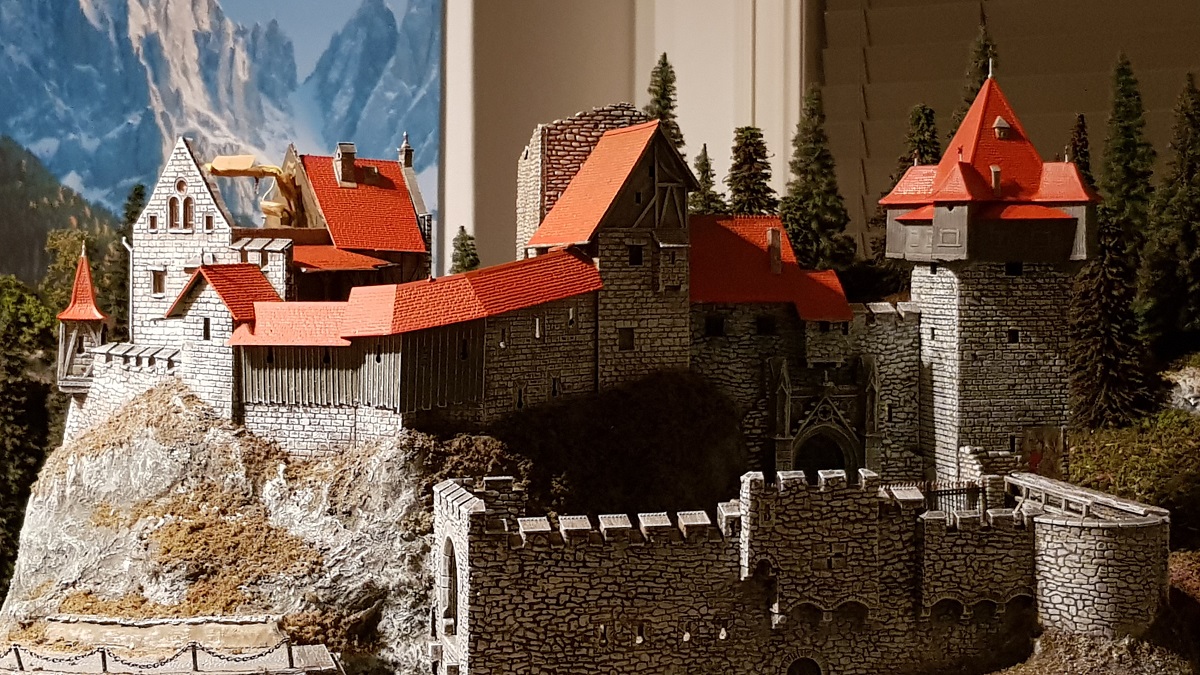
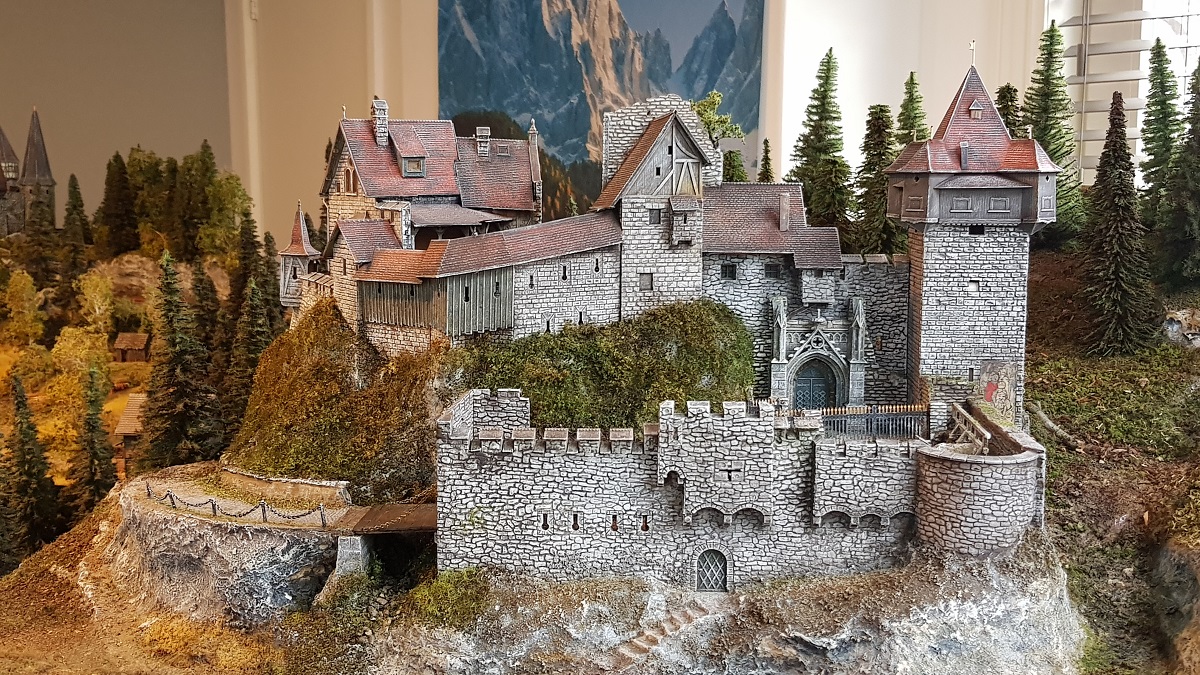
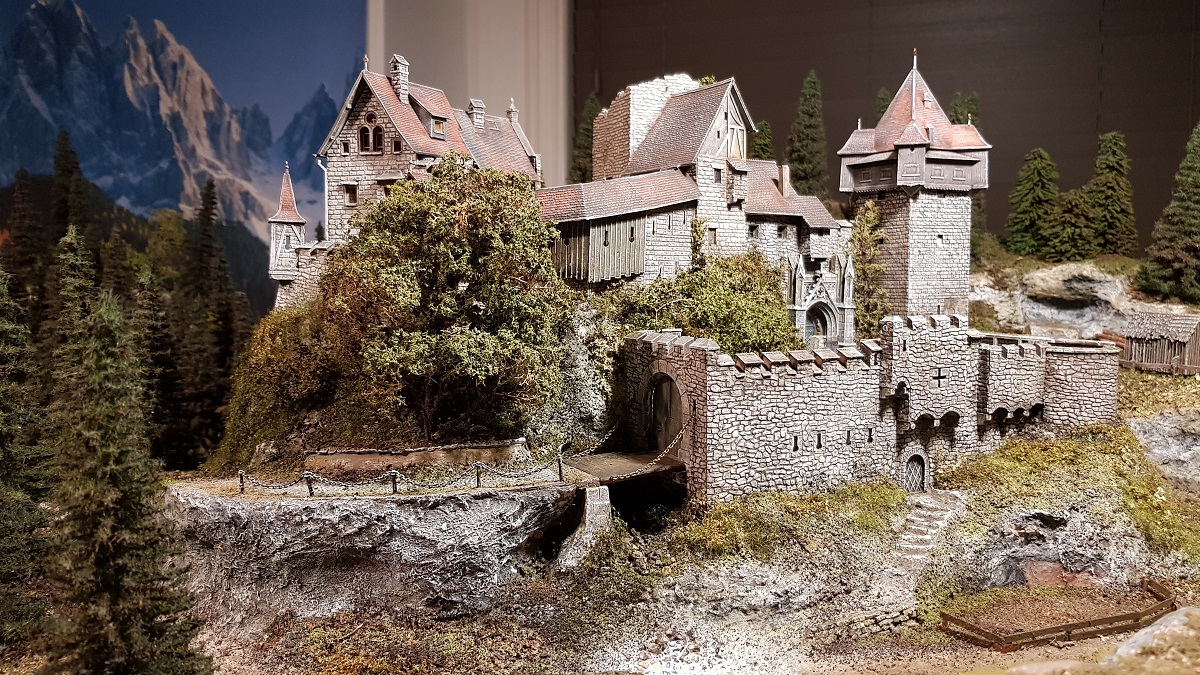
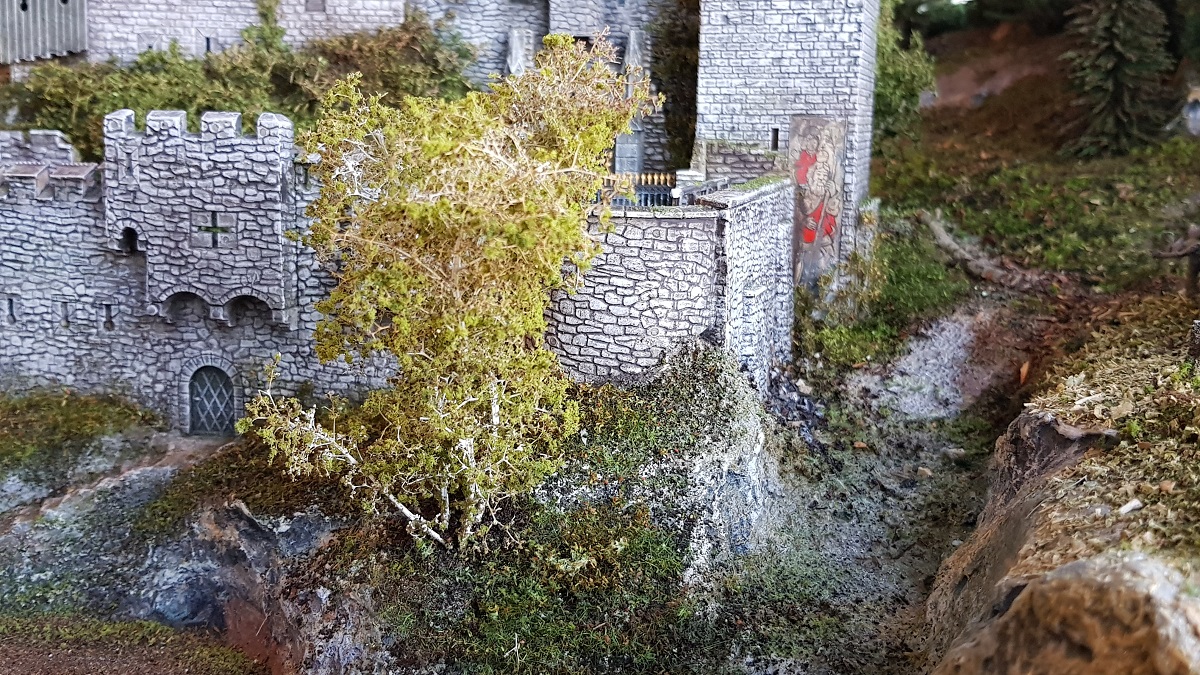
Working on the Waterfall I am approaching the castle at the right side of the layout.
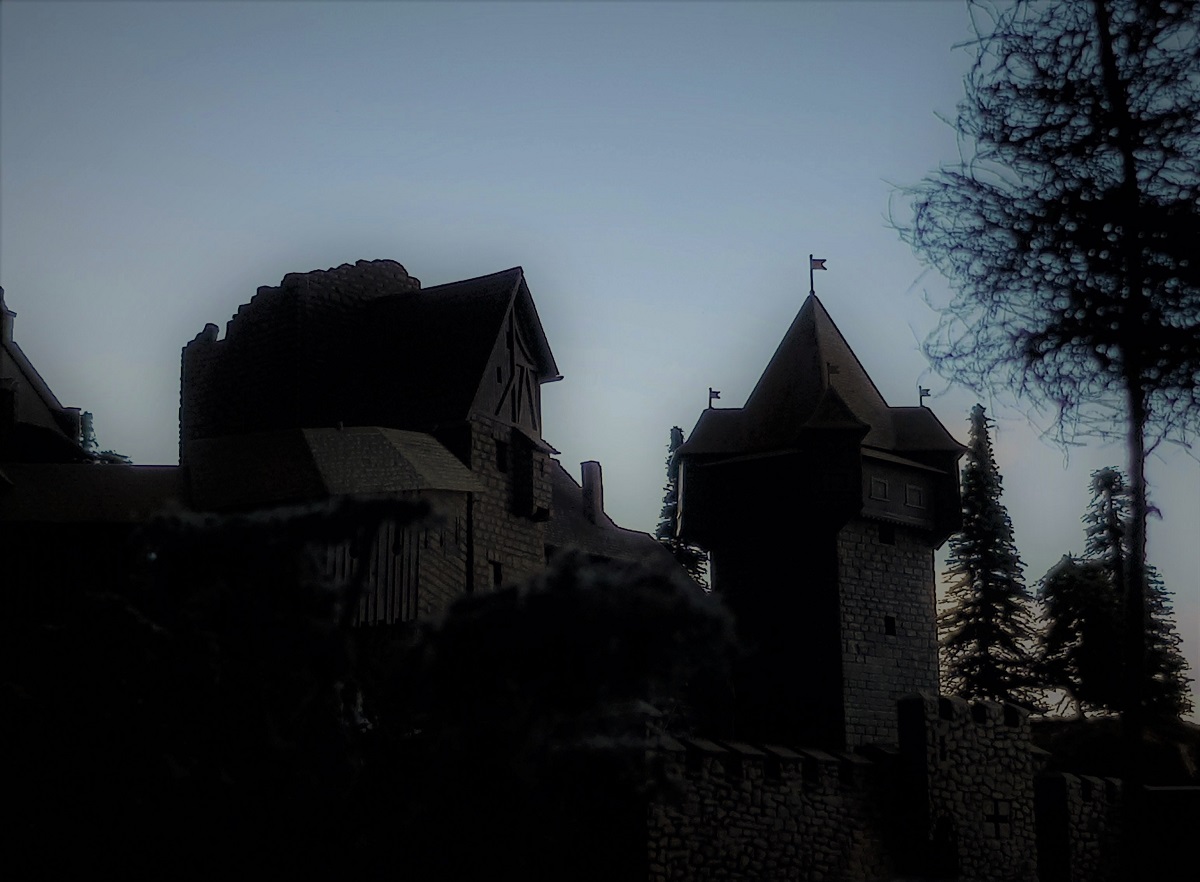
Since I gave the walls certain upgrading some years ago - that is to say: black jointings with yellow stones -
I had the idea that the walls look rather dull these days, like on the next two pictures:
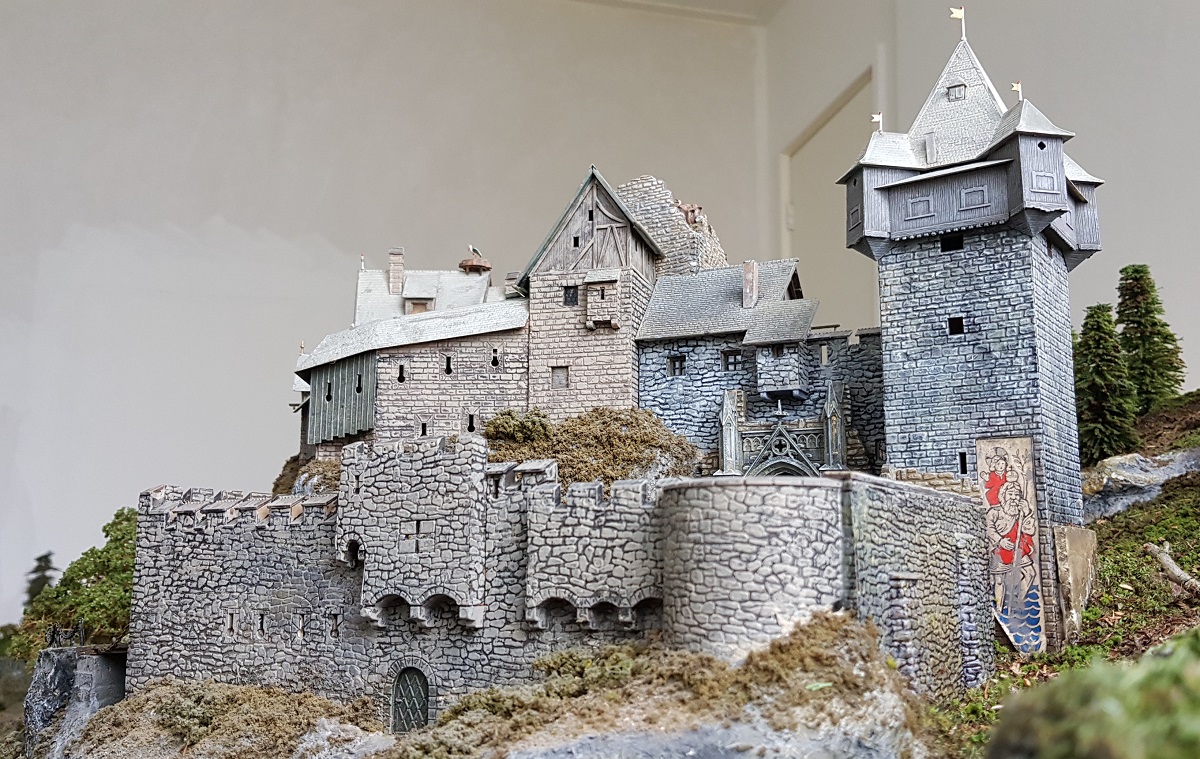
So... I all gave them a fine white dry brush stroke and behold... a fresh look appeared.
10.11.19
And as it goes, while standing before the layout and doing some contemplation one evening,
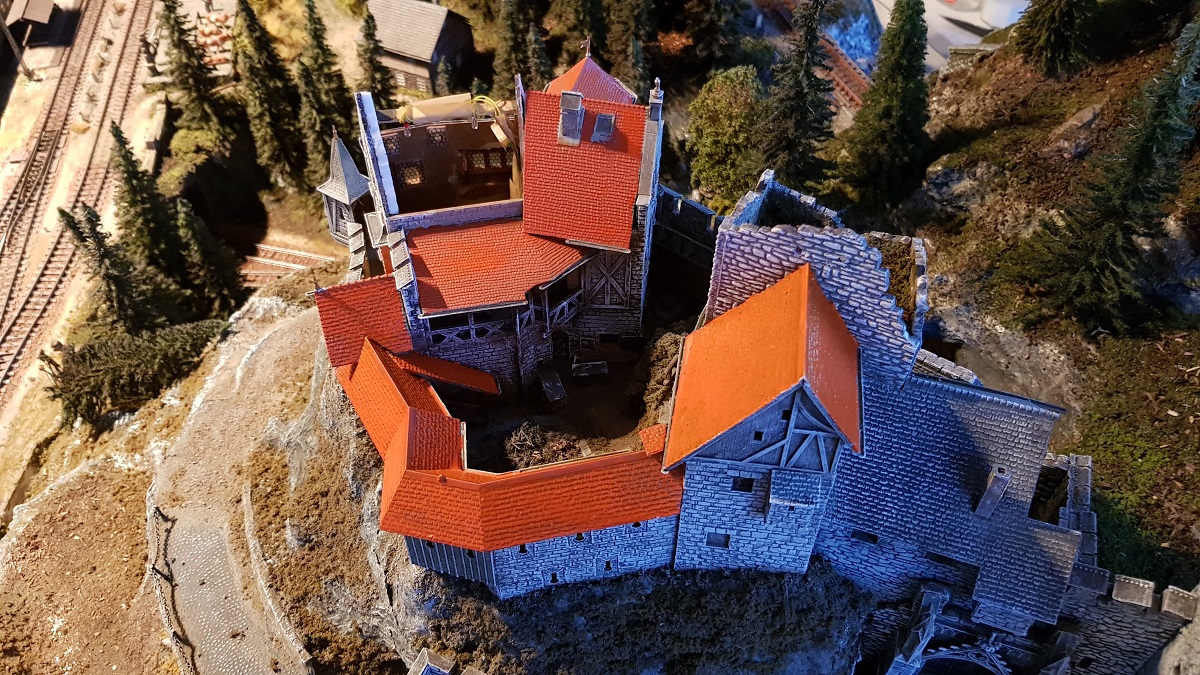
it suddenly struck me that the light grey roofs made the whole castle look even the duller.
With a contrasting green black forest in the background and these freshly painted white-greyish walls, I felt something was missing.
And all of a sudden - as if struck by lightning - the idea hit me!
Like the Castle of Sleeping Beauty in De Efteling, similar to the roof of my very own station in the valley,
the castle needs amaranth red roof tiles.
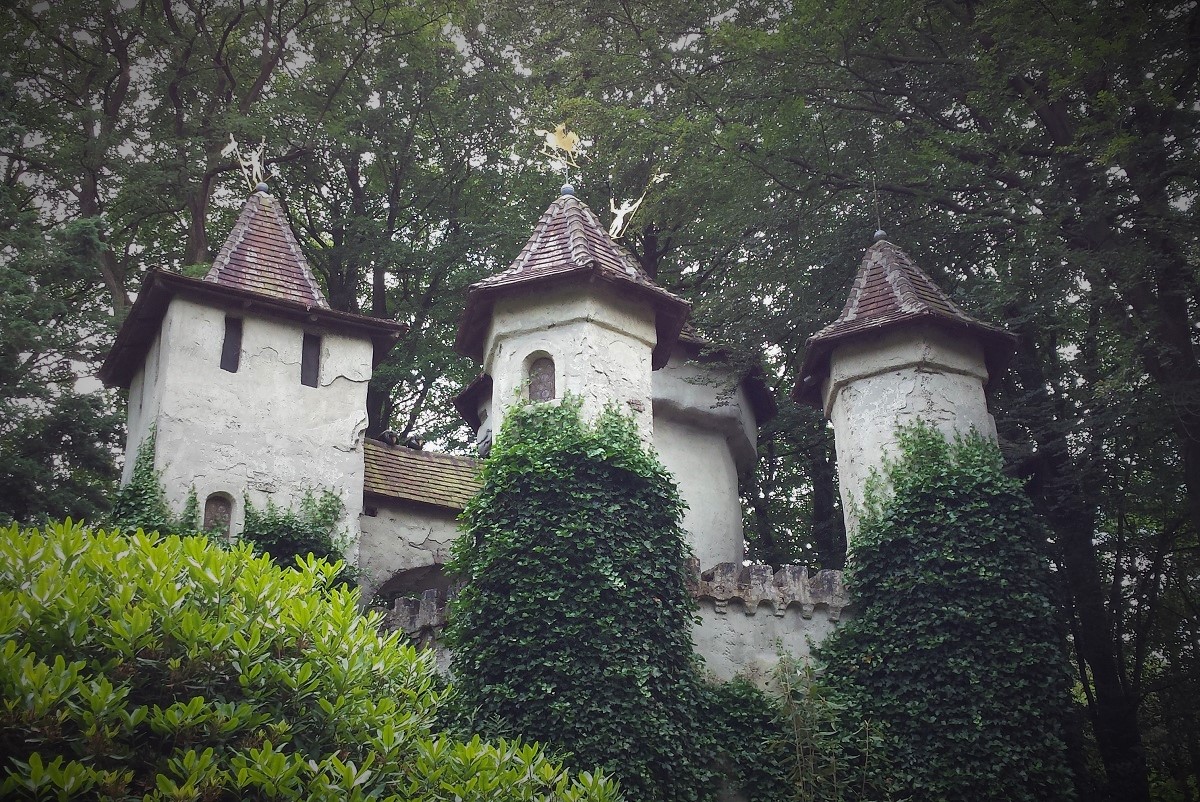
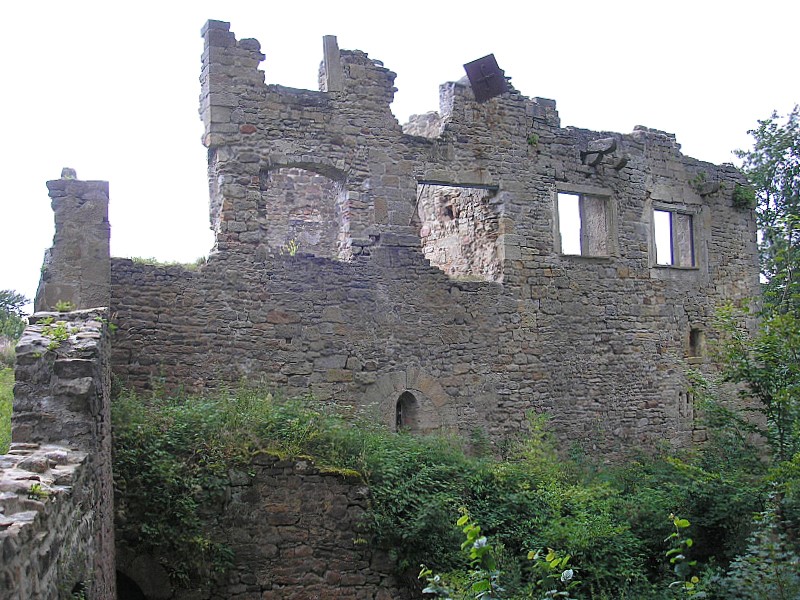
The one and only Castle of Sleeping Beauty, at De Efteling
11.7.2016 © Frits Osterthun
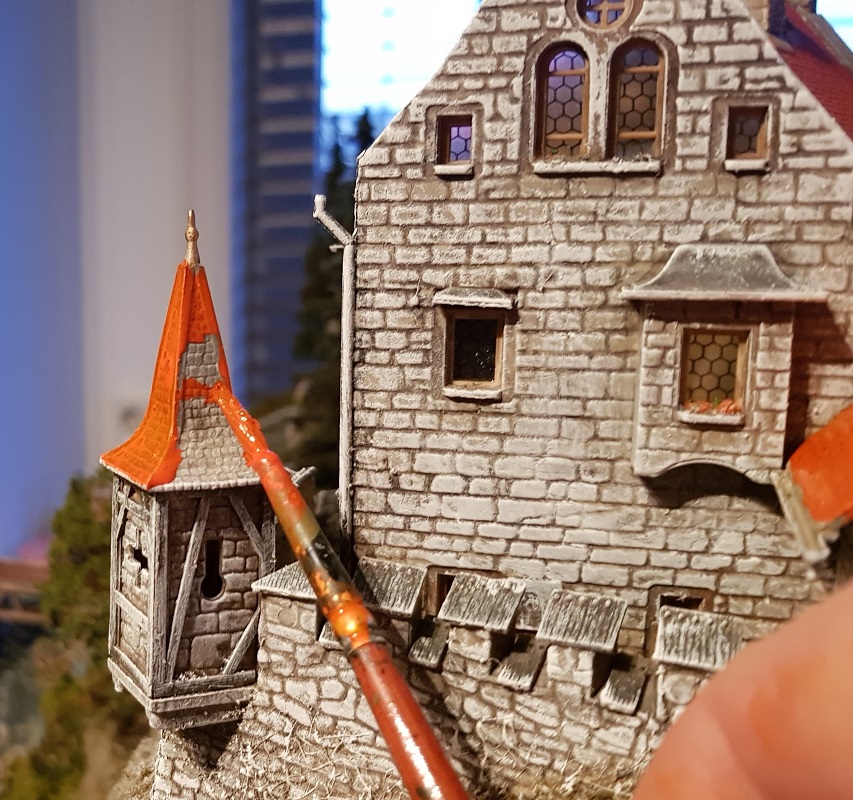
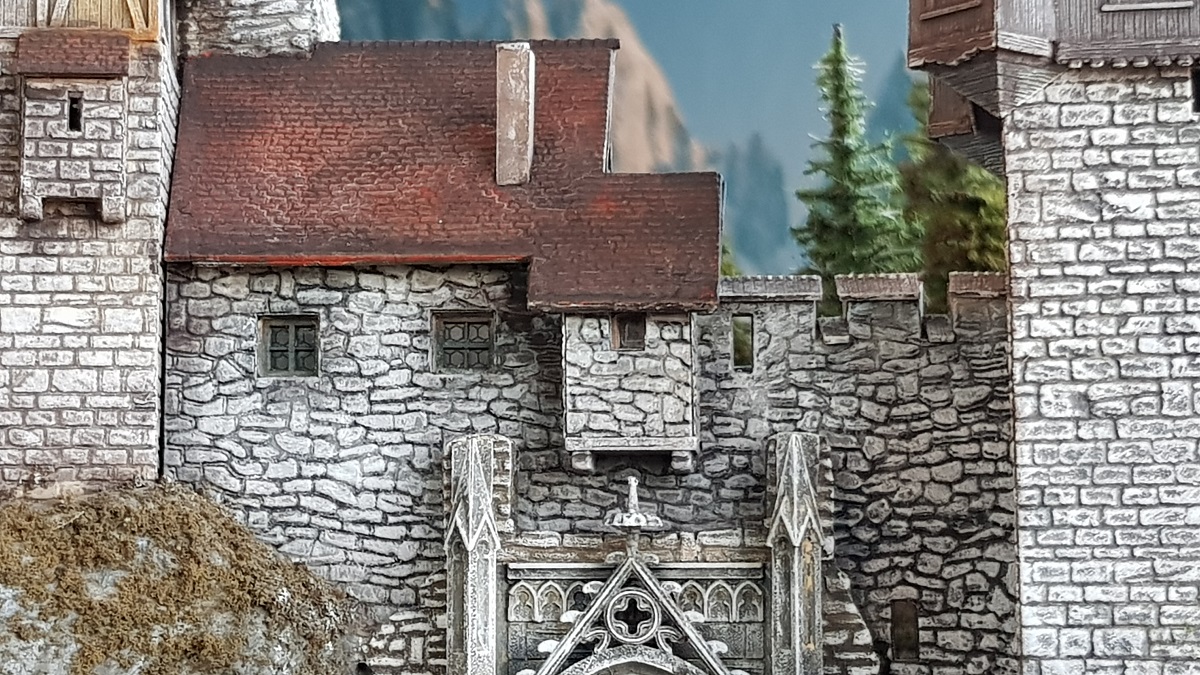
And then there was... P A I N T !
(16.1.2020)
I admit, it is quite an adventure with such dashing colours...
Nevertheless, the result is very convincing as you will see!
Only two parts of the roof can be removed. The rest is severely stuck.
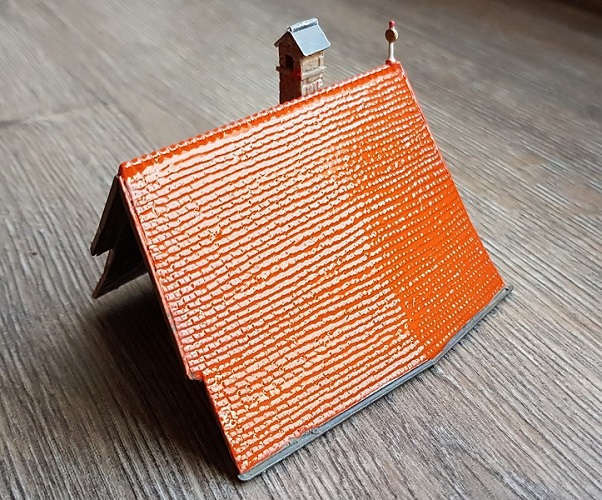
I choose for Amarantha Red (Vallejo 70.829) as a base colour.
And this is what happened "in situ", step by step:
Anton Pieck would be enormously upset by seeing this bright colour scheme in such a romantic landscape, but...

... no worry: I'm sort of his pupil anyway!
18.1.2020
It seemed that my lasur painting "in situ" was a little too cautious, since it lacks the dark hue of the main building's roof, top left.
So, I did it all over again!
I forgot the little tiled roof at the right...
The transition from wood to stone is too strong!
So, these white stones gained a touch of lasur as well. Looks much better!
The tiles still need the touch of a dry white brush...
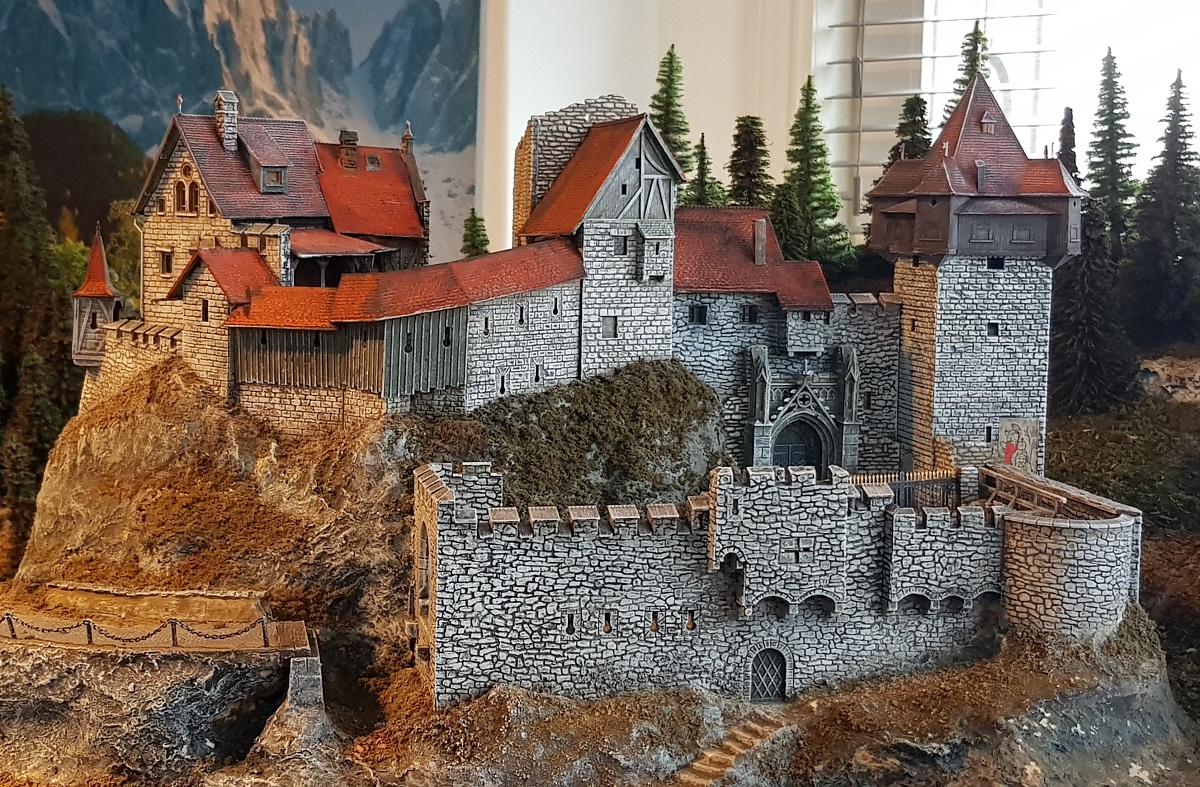
When the painting is done and the ruined tower finished, I will start with adding fresh vegetation all over the place.
I'm quite curious what the effect will be then!
And now all roof parts have been touched with a dry-white-brush...
Most satisfying indeed!
Apropos...
21.1.2020
While I was renovating the entire castle in 2006, by changing its basic form,
I then did not realize that the toilet (which in the old state was right on the outside wall) now suddenly hung exactly above the main entrance.
So, a practical solution was required...
And now with sewerage!
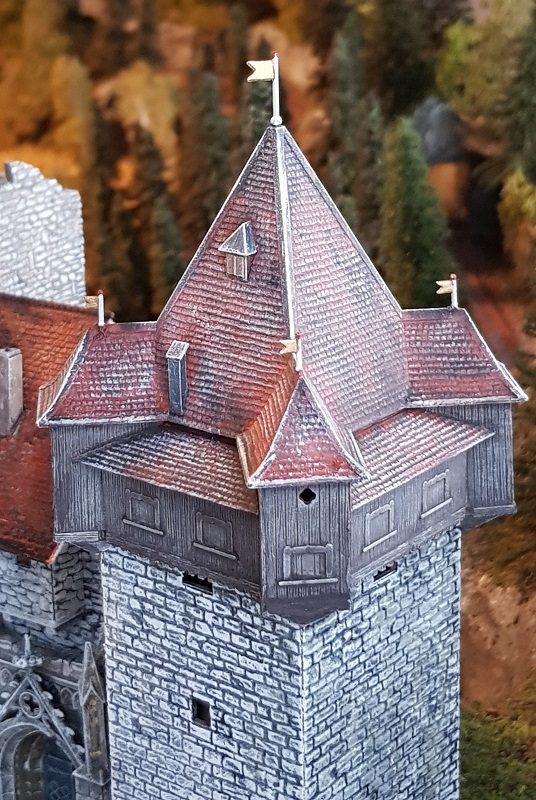
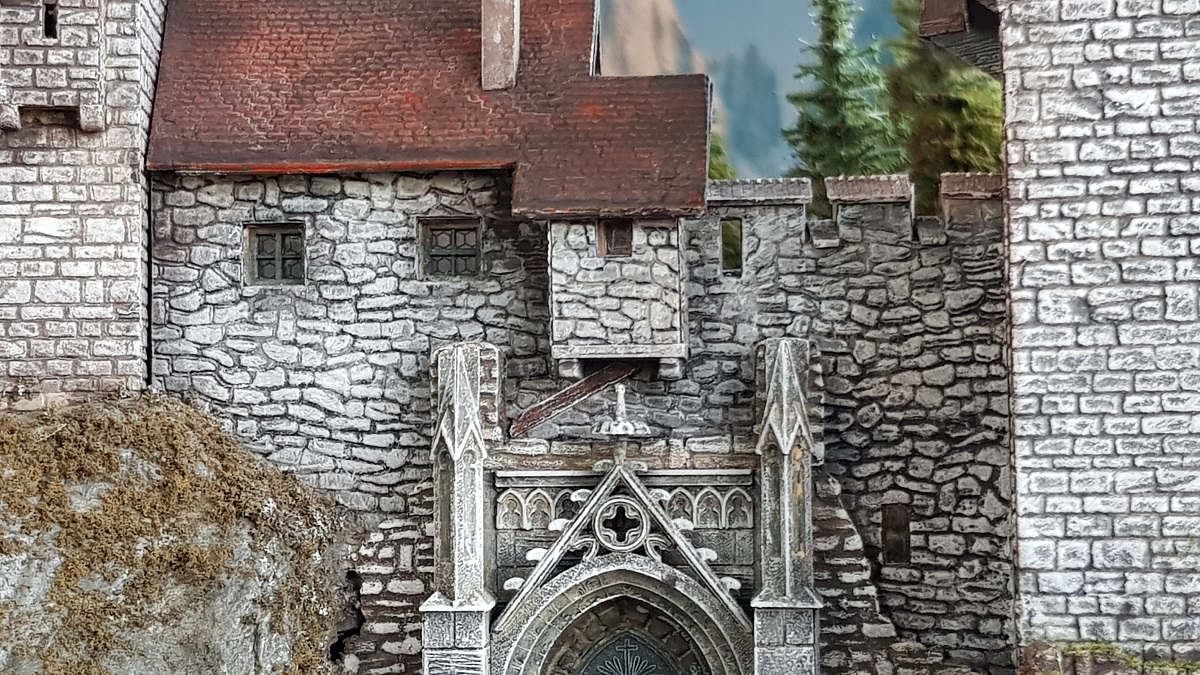
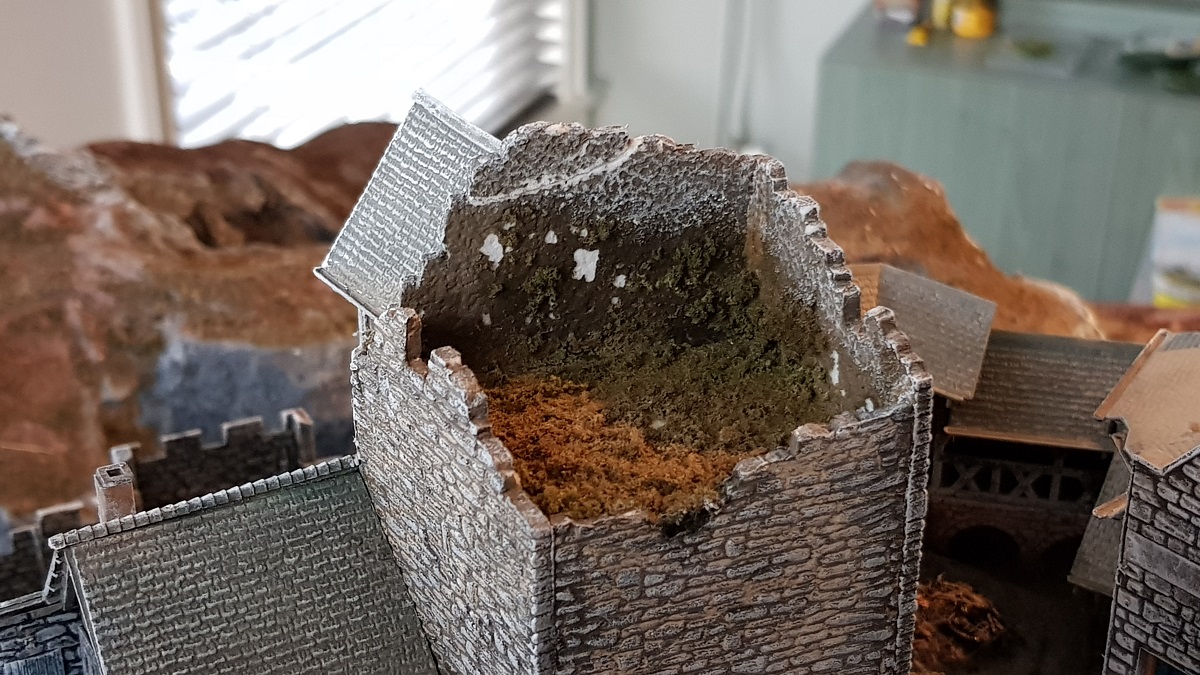
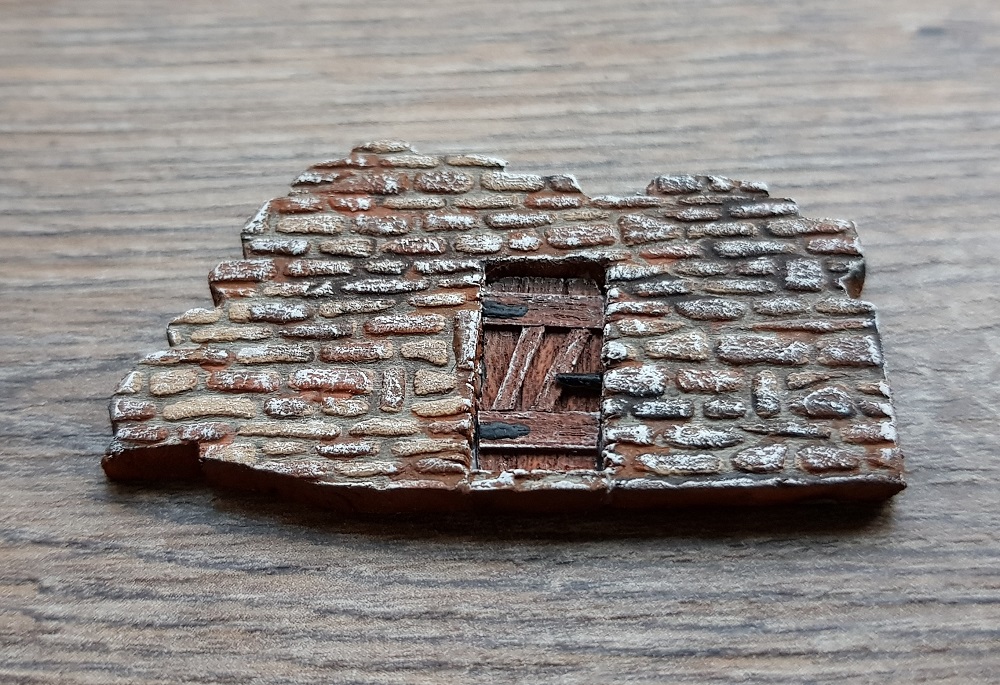
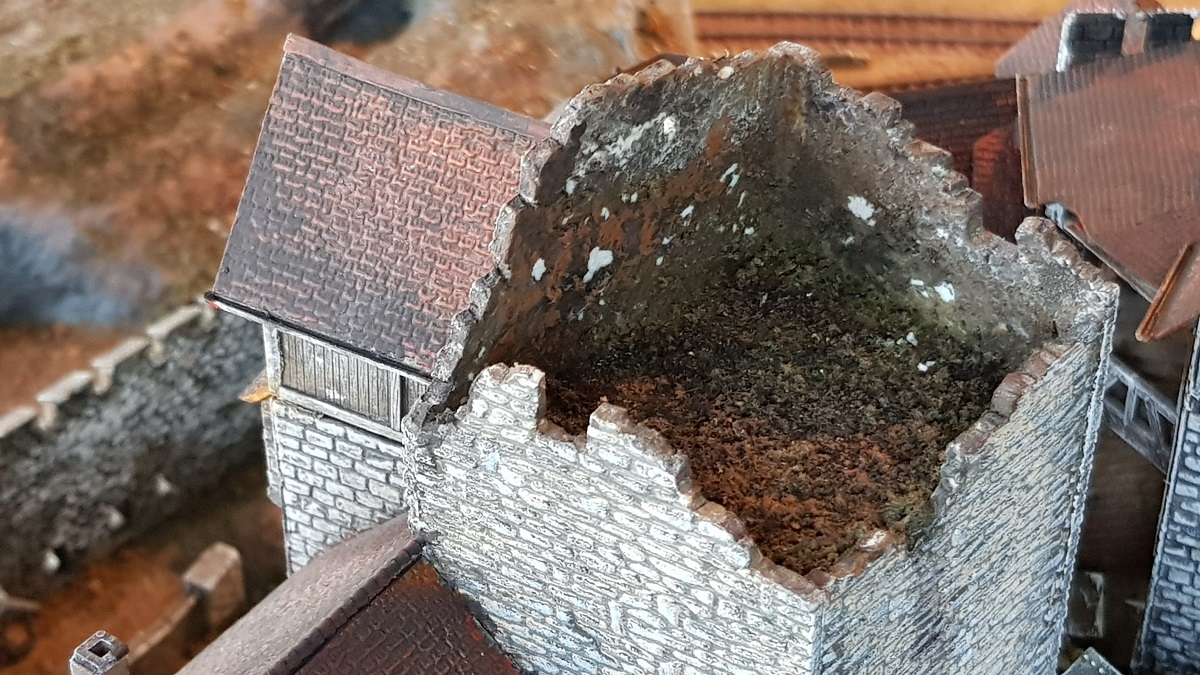
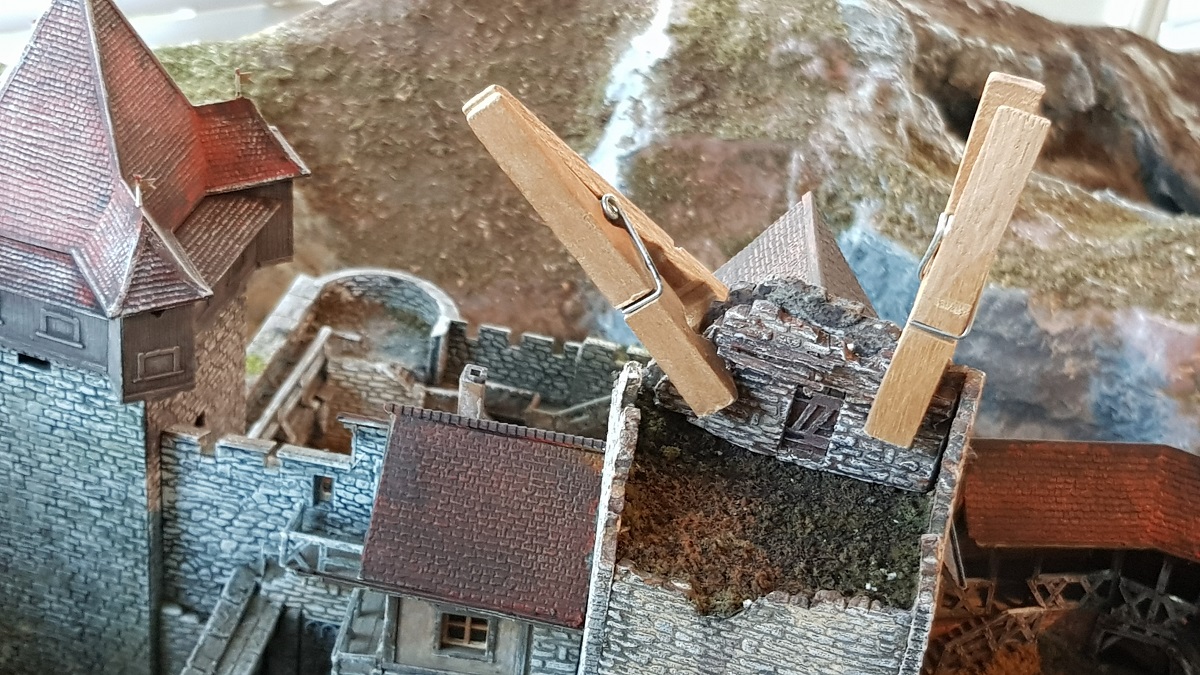
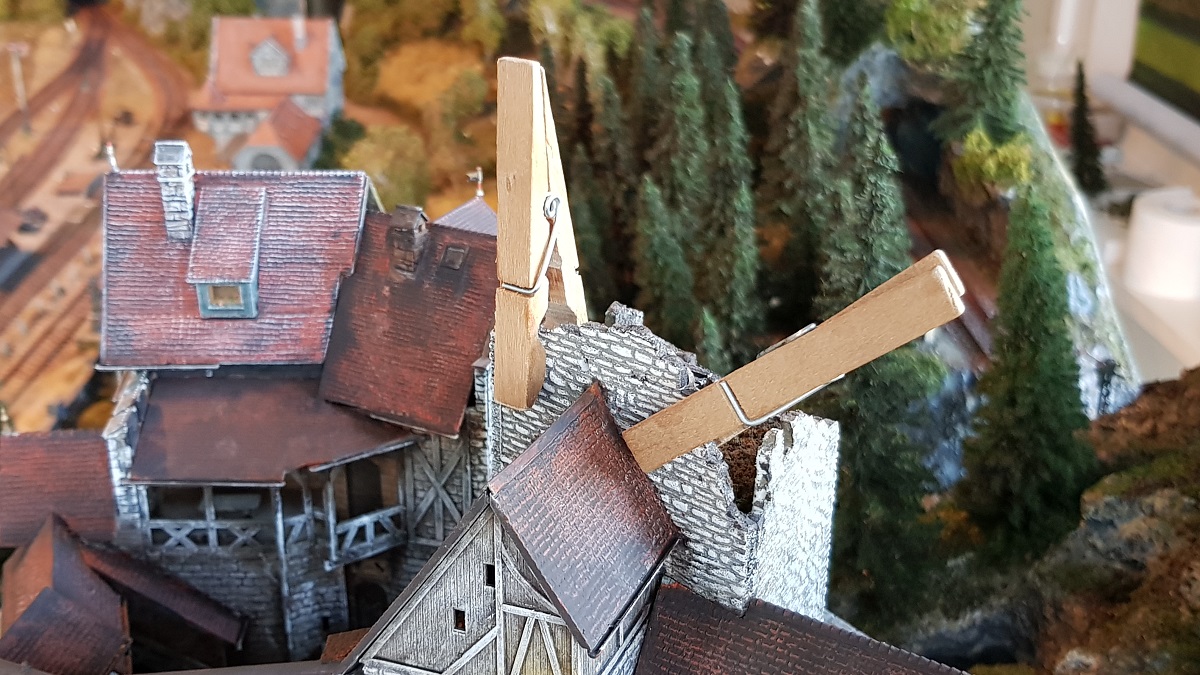
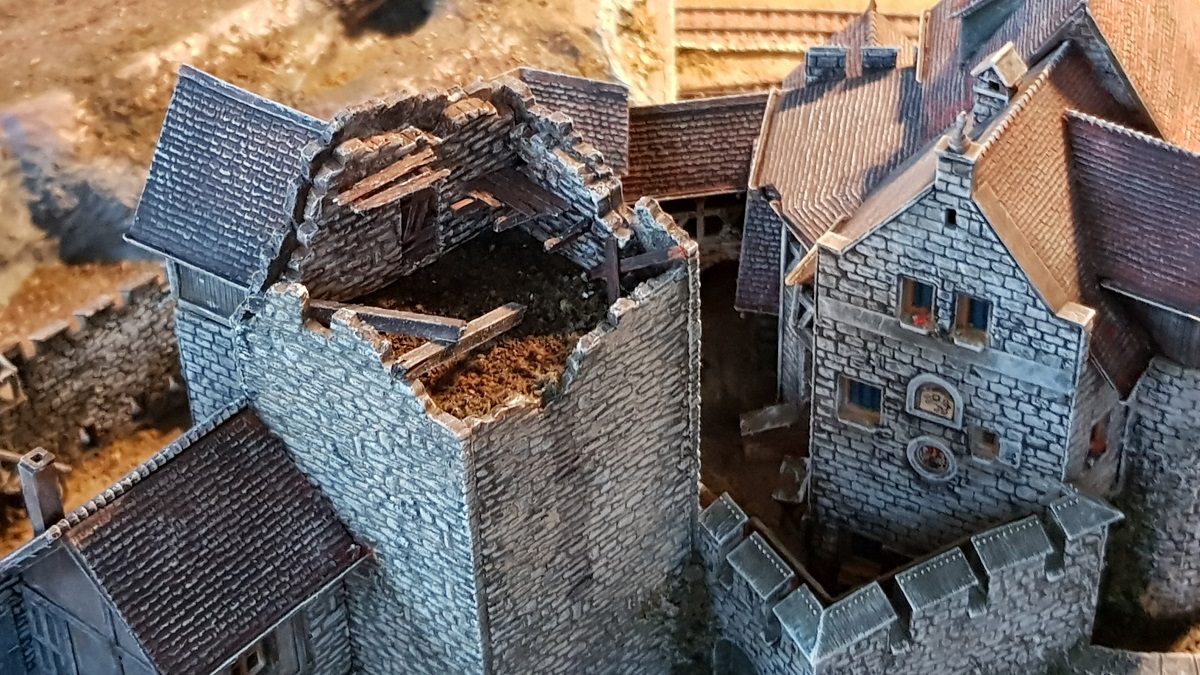
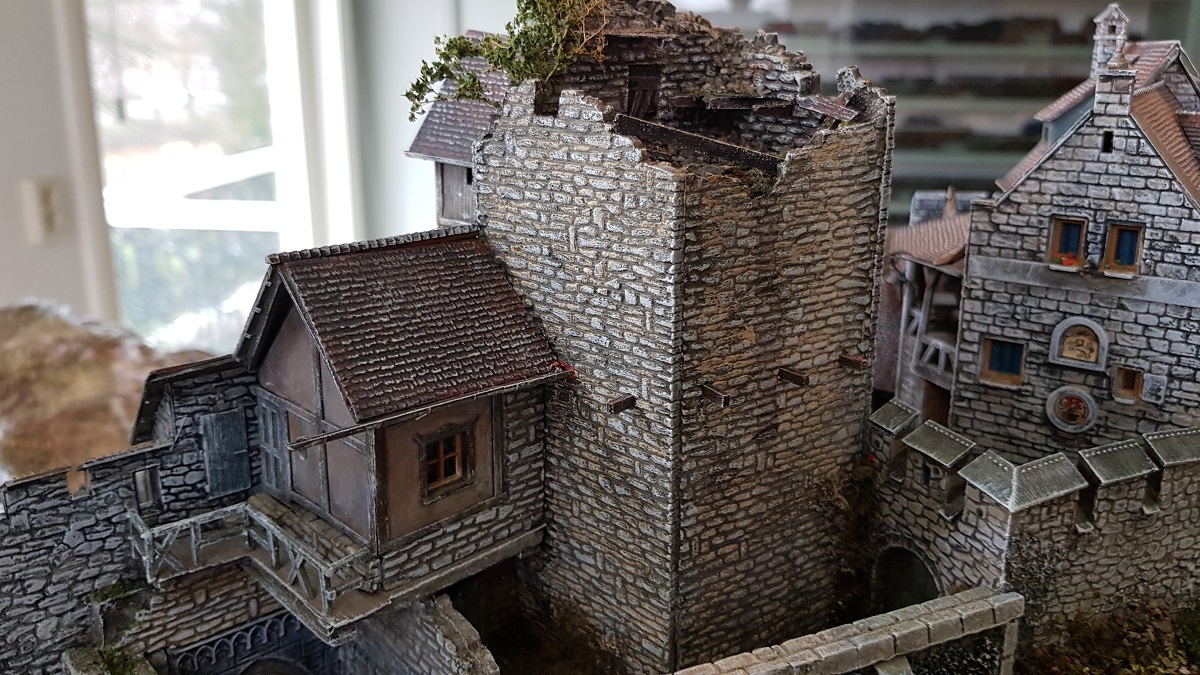
Chapter 23A ~ T h e R u i n e d T o w e r
This tower I created myself with Styrofoam instead of the original one, which now is at the rear end.
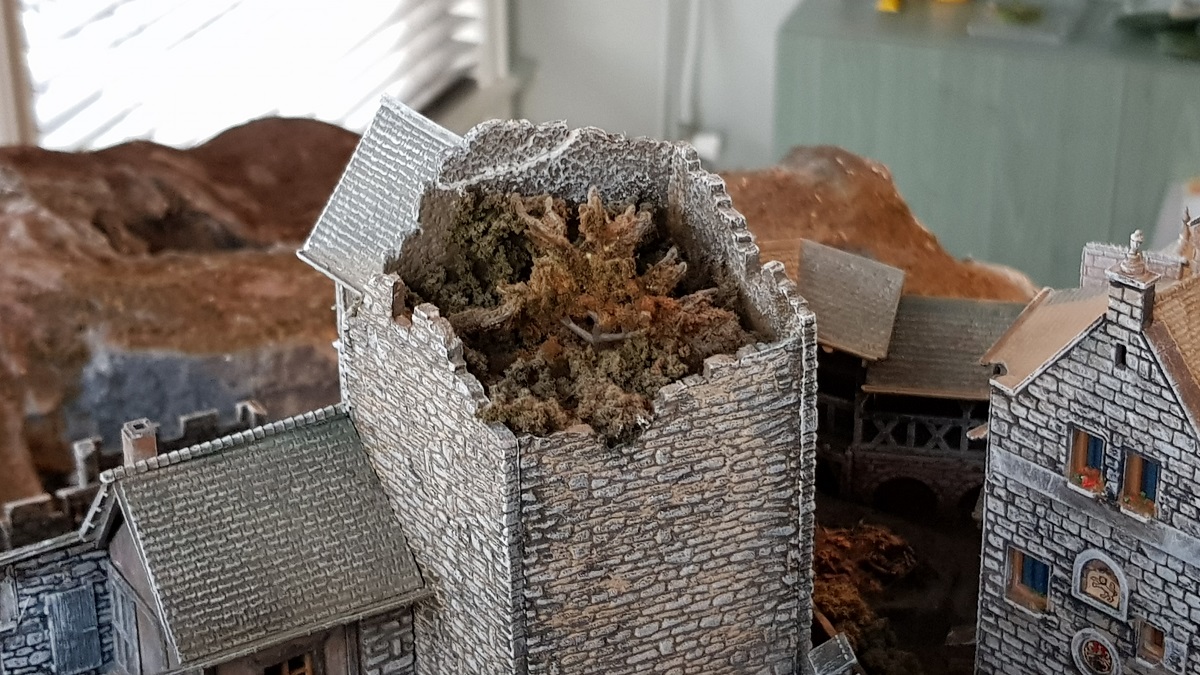
11.1.2020
In another chapter you can read how I came to do it this way!
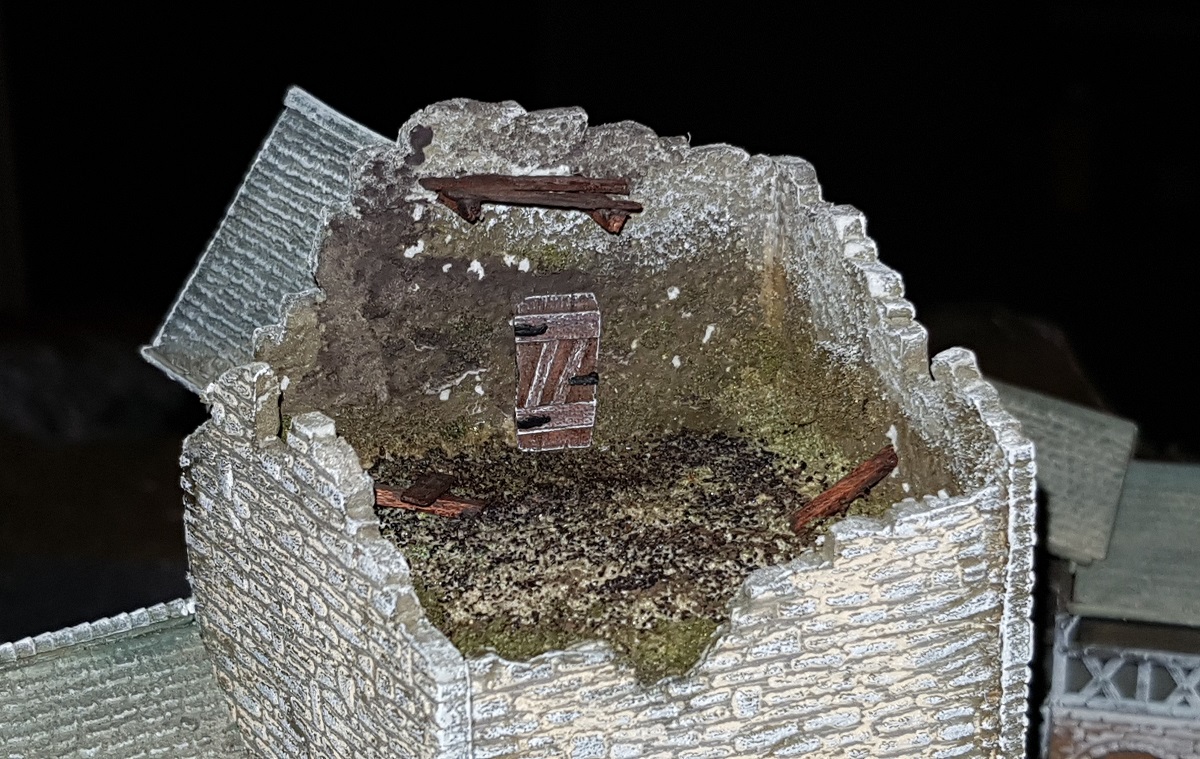
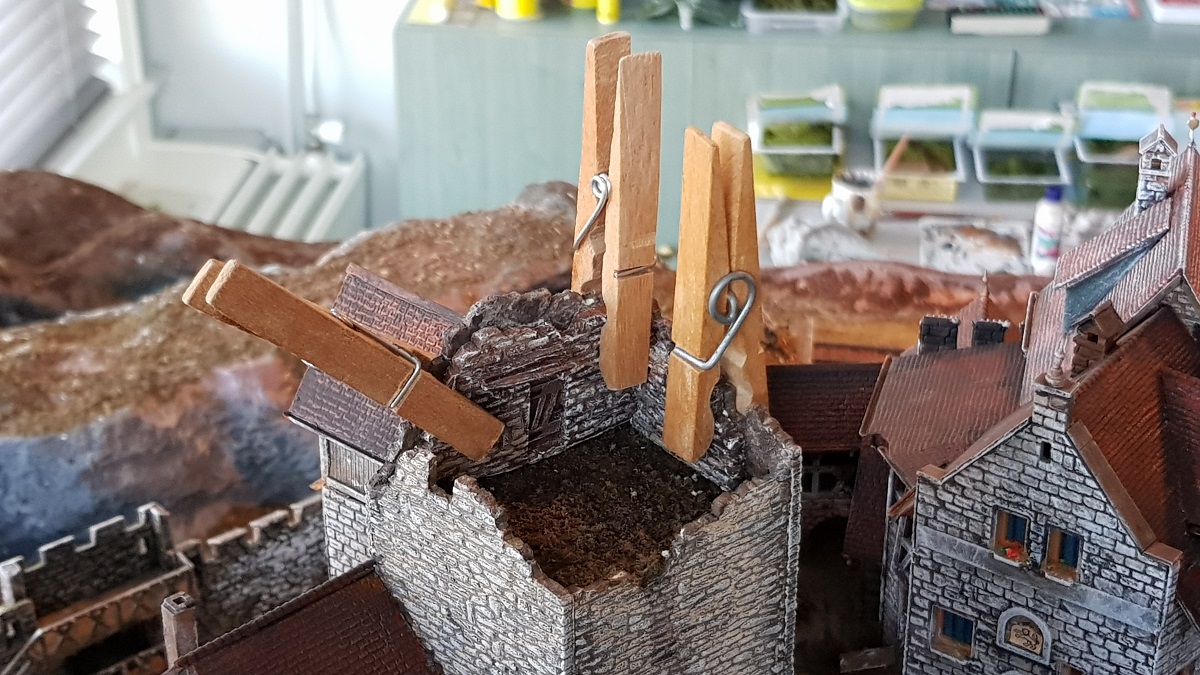
No vegetation today, since creating another miniature came into my mind!
Why not shaping a small new world on top of this ruined tower?!
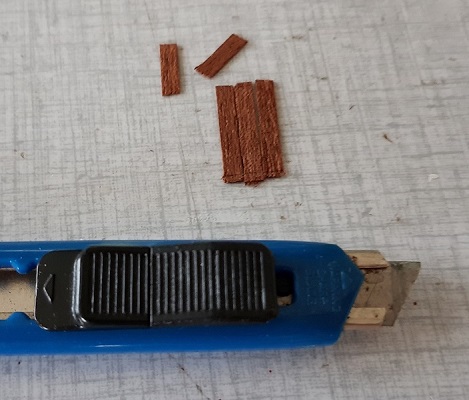
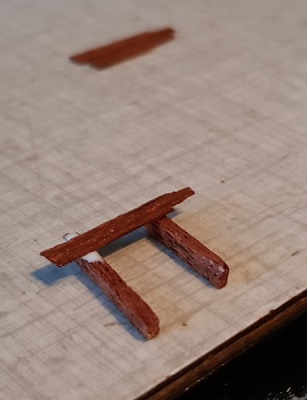
With fresh vegetation, some wooden beams lost here and there, and not in the least some ramps dangerously dangling on the wall?
11.1.2020
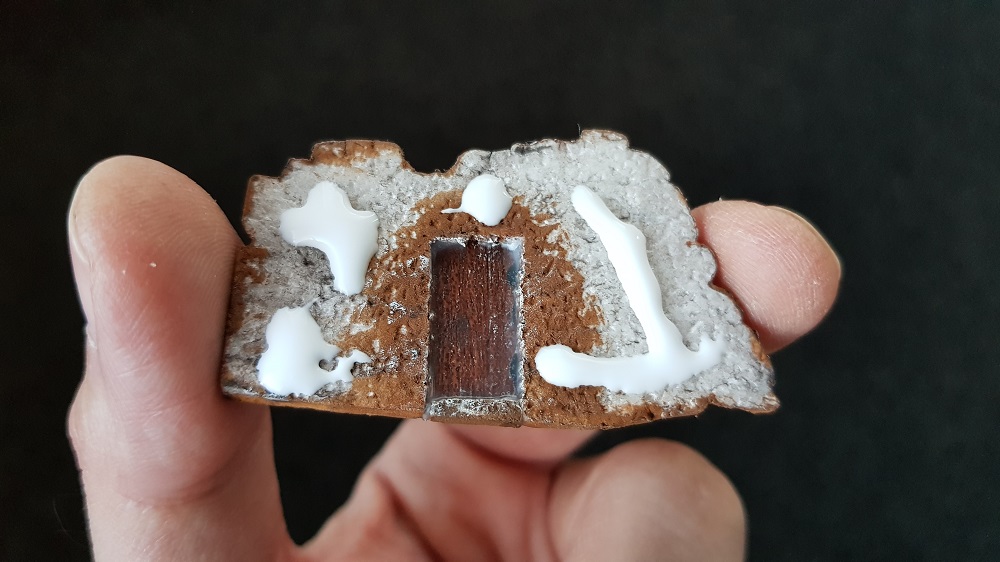
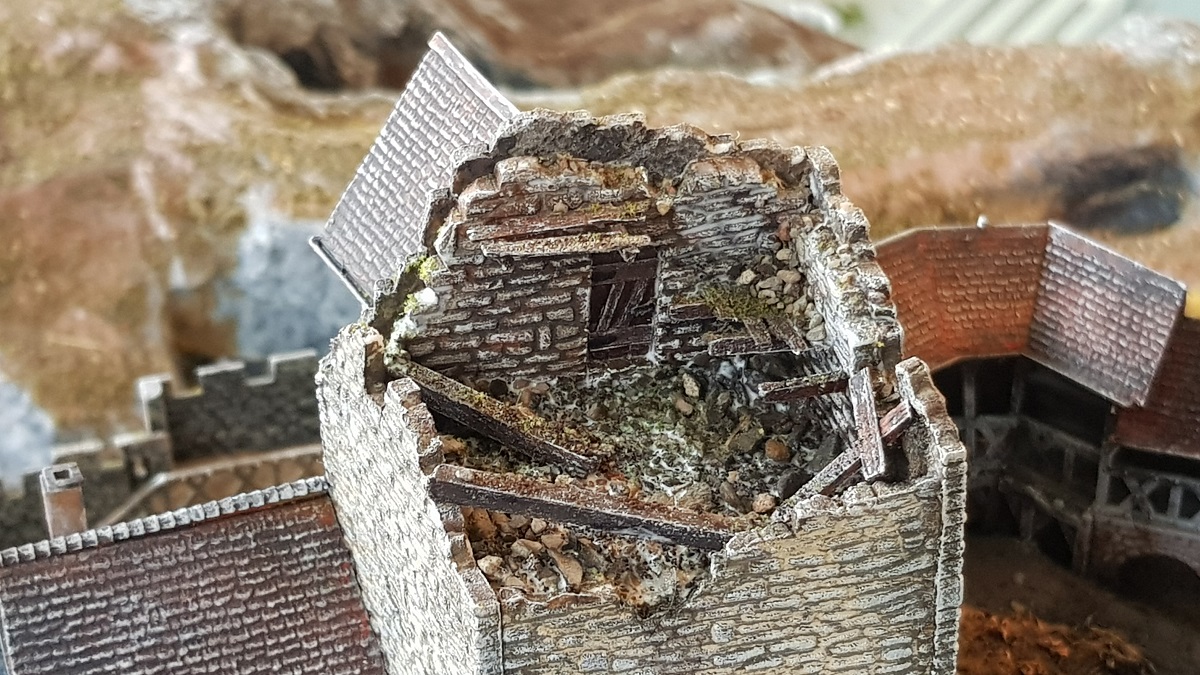
Stripping the top with great care...
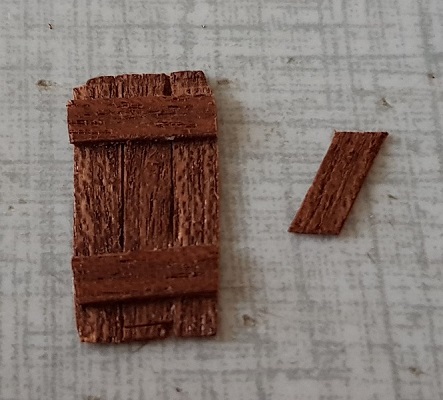
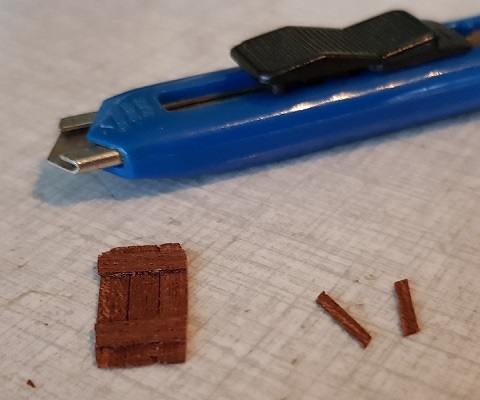
Making a door, not only with support connections...
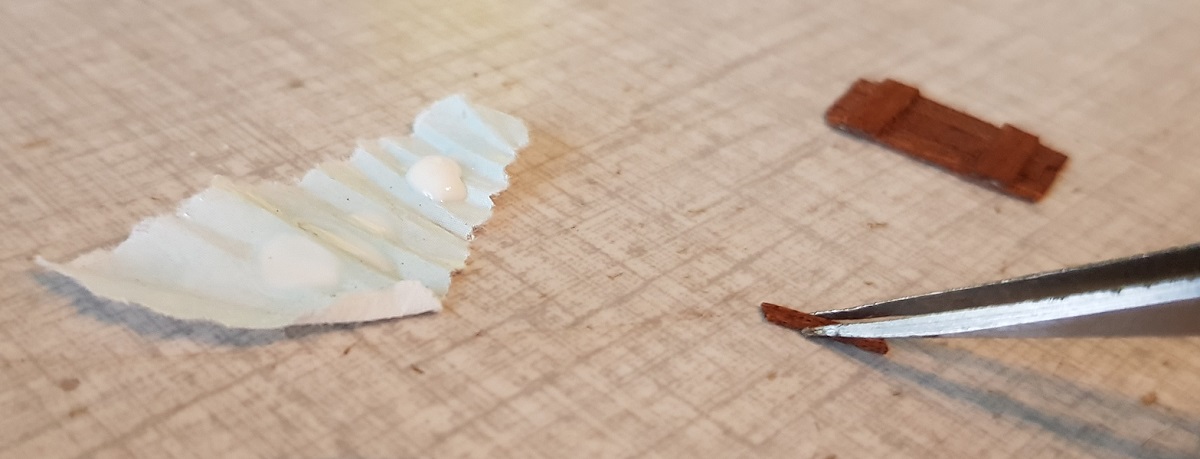

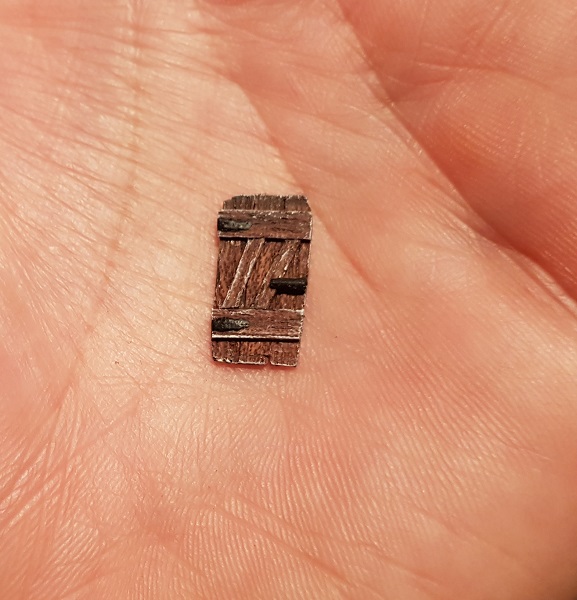
...but also with handle and hinges!
Then there must be something like a little gauntry scaffold in the corner, remnants of a loft, long forgotten...
A first impression (at night):
11.1.2020
But a door as flat like this to a wall? Nah!
It really needs depth!
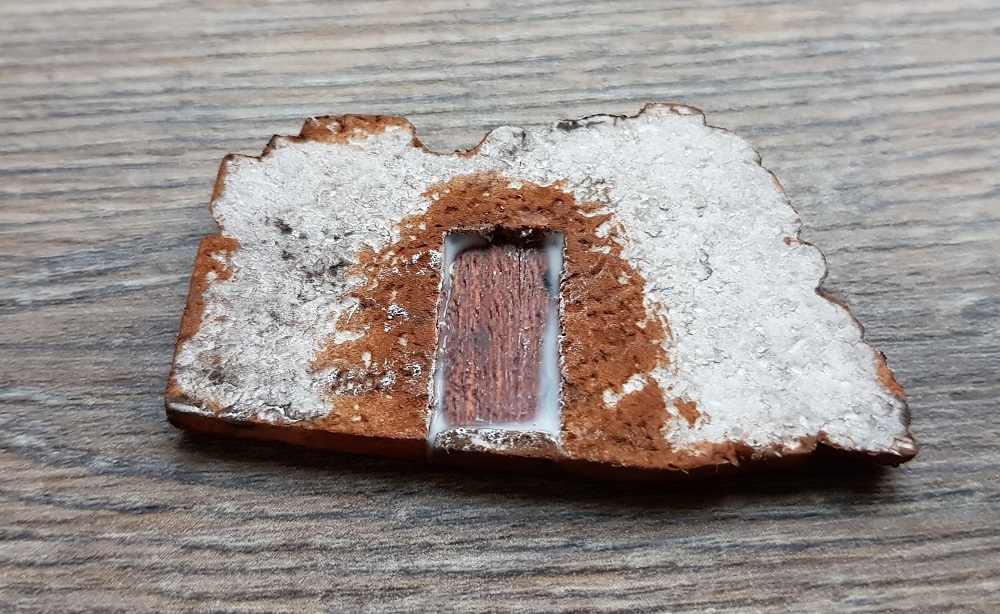

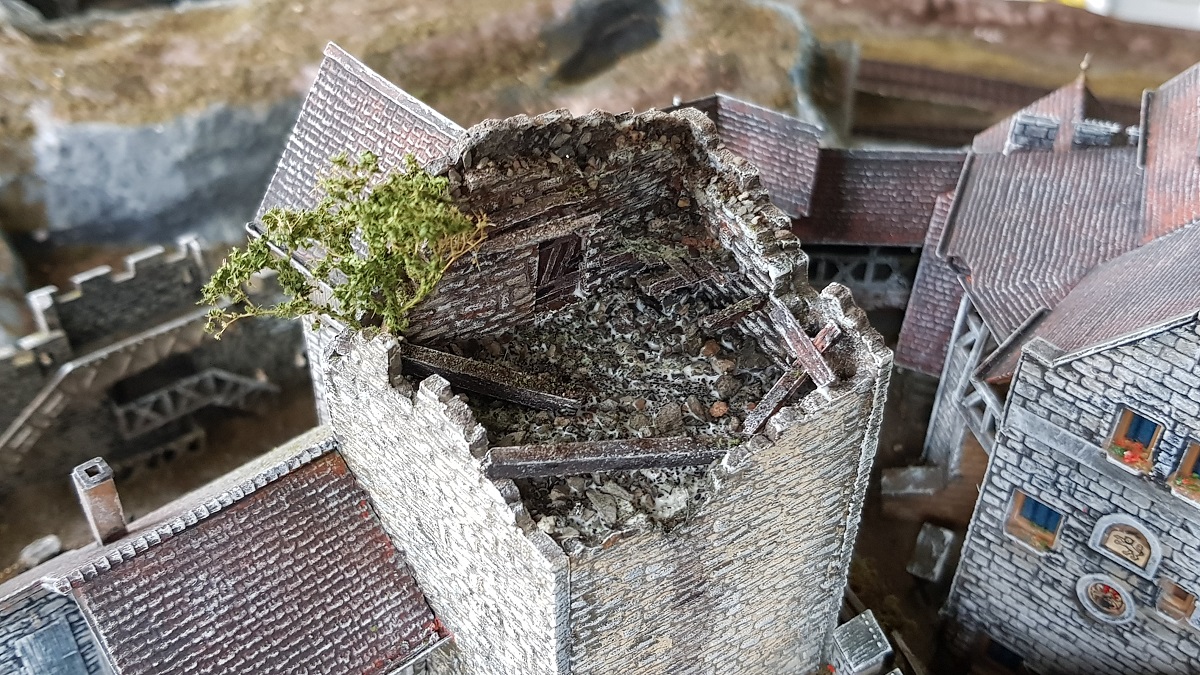
18.1.2020
These two walls together will form an inner corner wall at the south-east side.
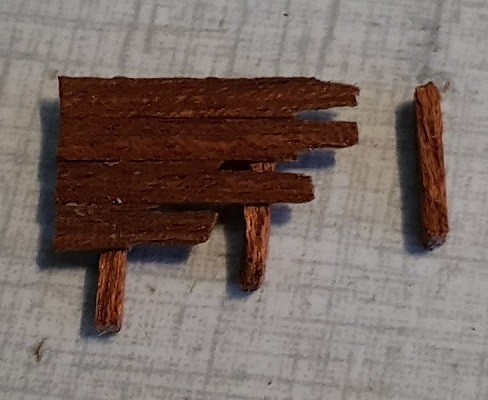
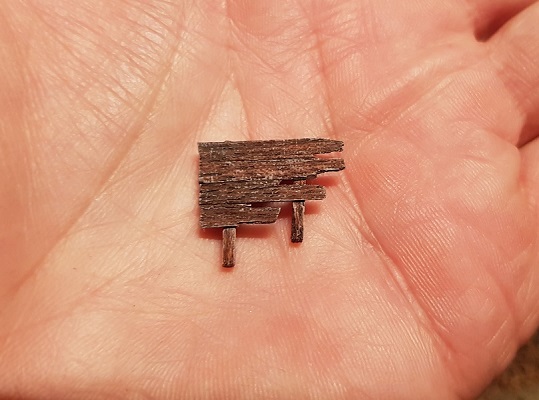
Beams and ripped planking will fit up the upper floor of this ruined tower.
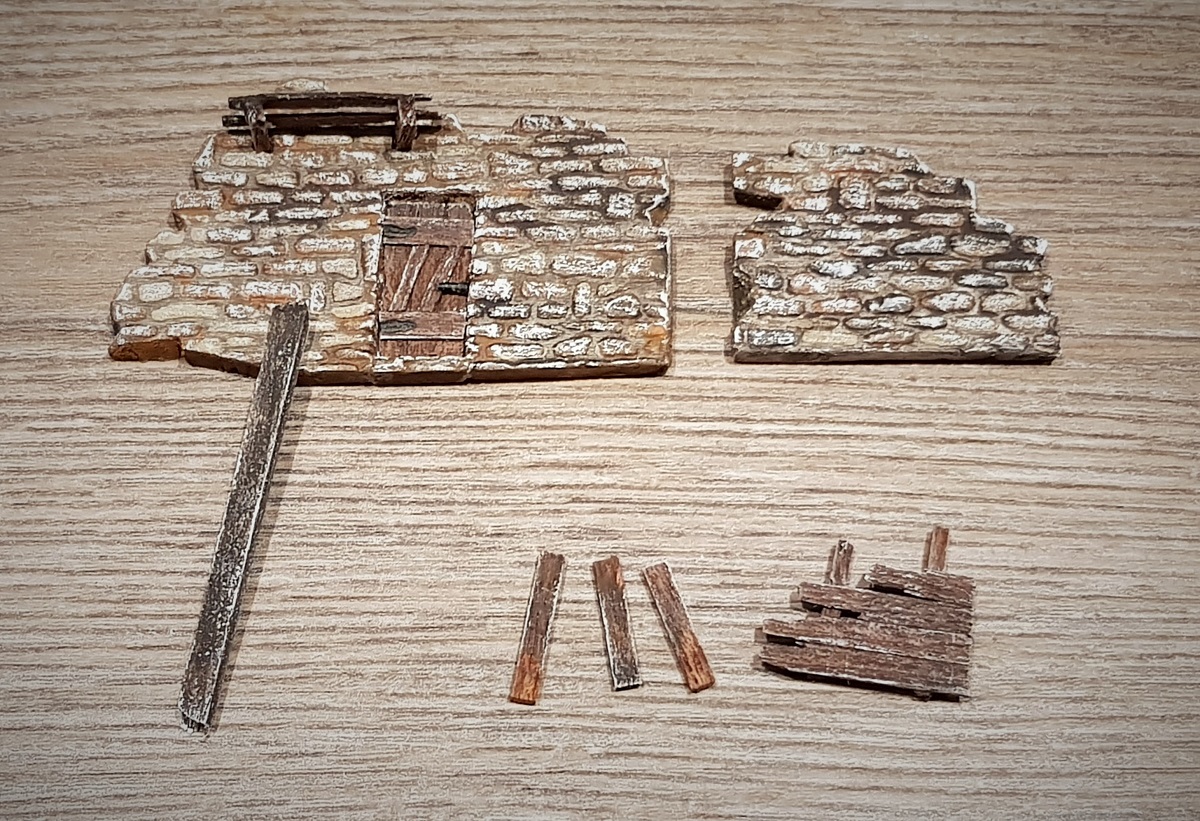
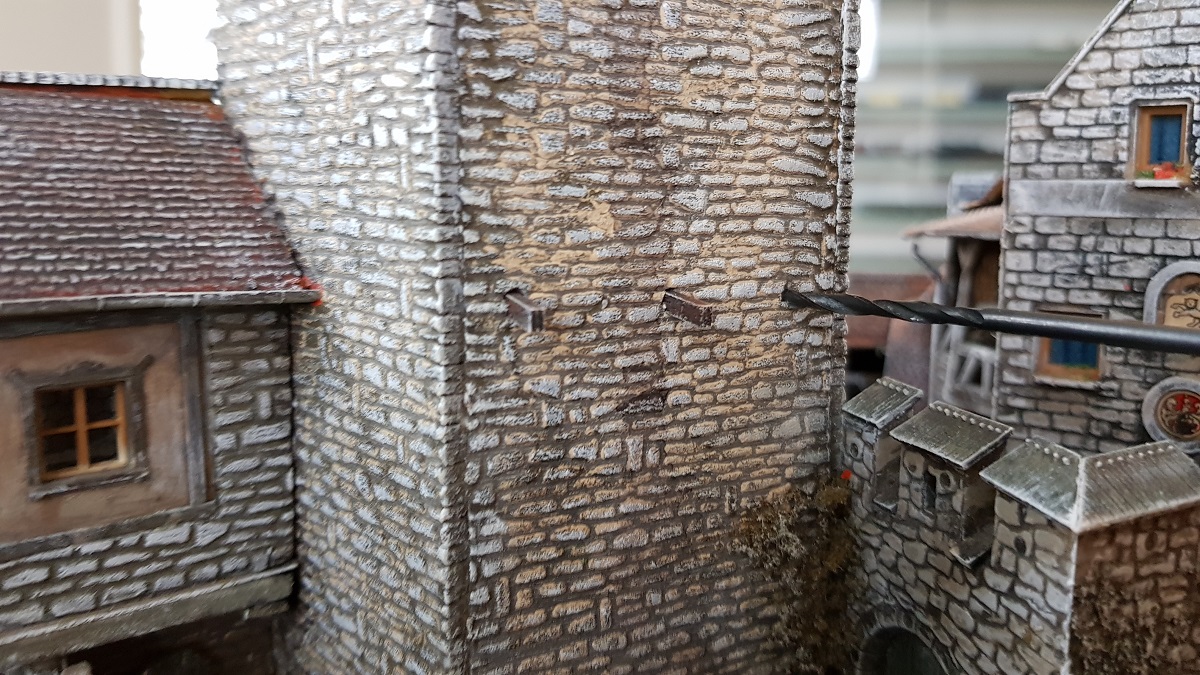
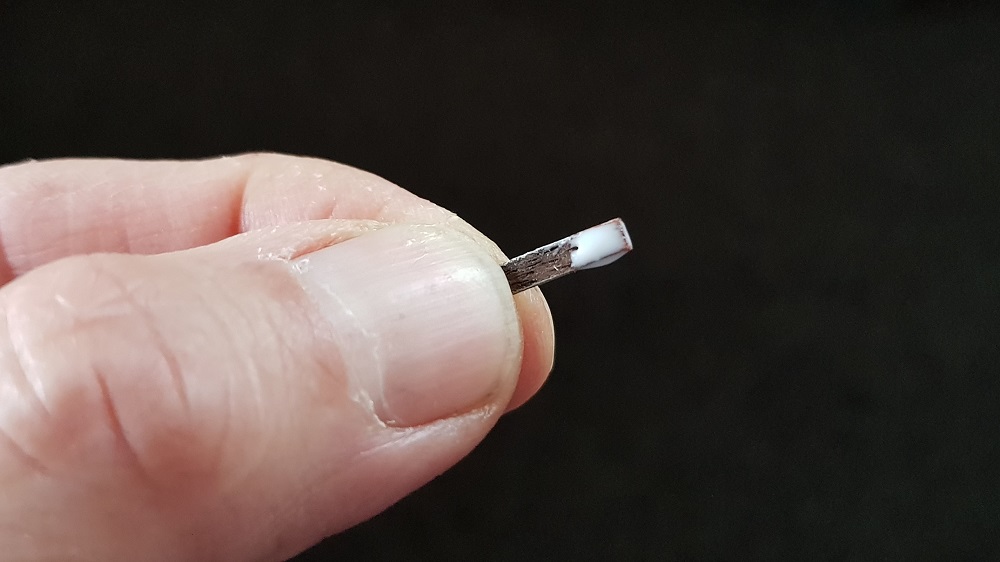
While painting some beams meant for the tower top interior, I got the idea of making some more beams
and have them sticking out of the wall in the lower part of the tower as if there is another floor inside!
Or perhaps there has been a balcony or platform on the outside, remnants of a time past!
We'll see to that!
A few days later...
21.1.2020
Two days later I knew what to do!
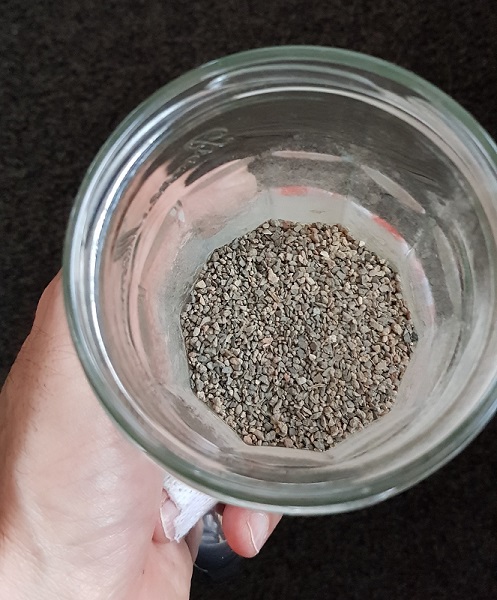
Fine grit as remnants of the broken walls...
After some research I discovered ruines, where beams stuck out of the wall, such as Haus Rauheneck in Bavaria
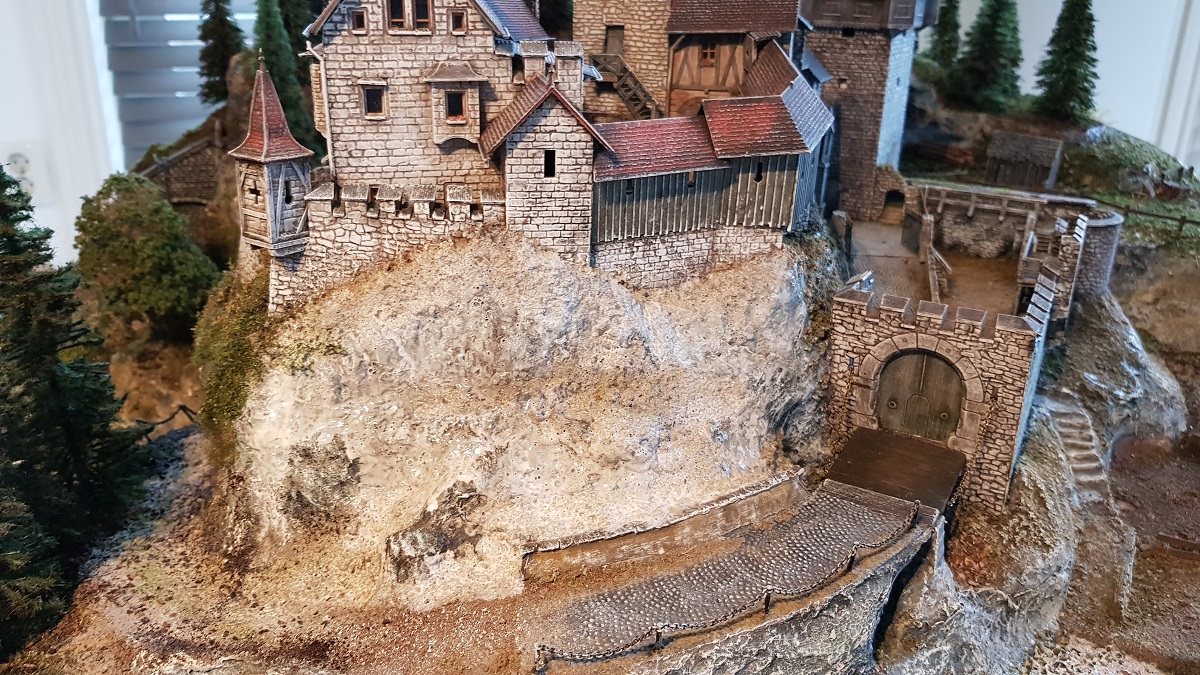
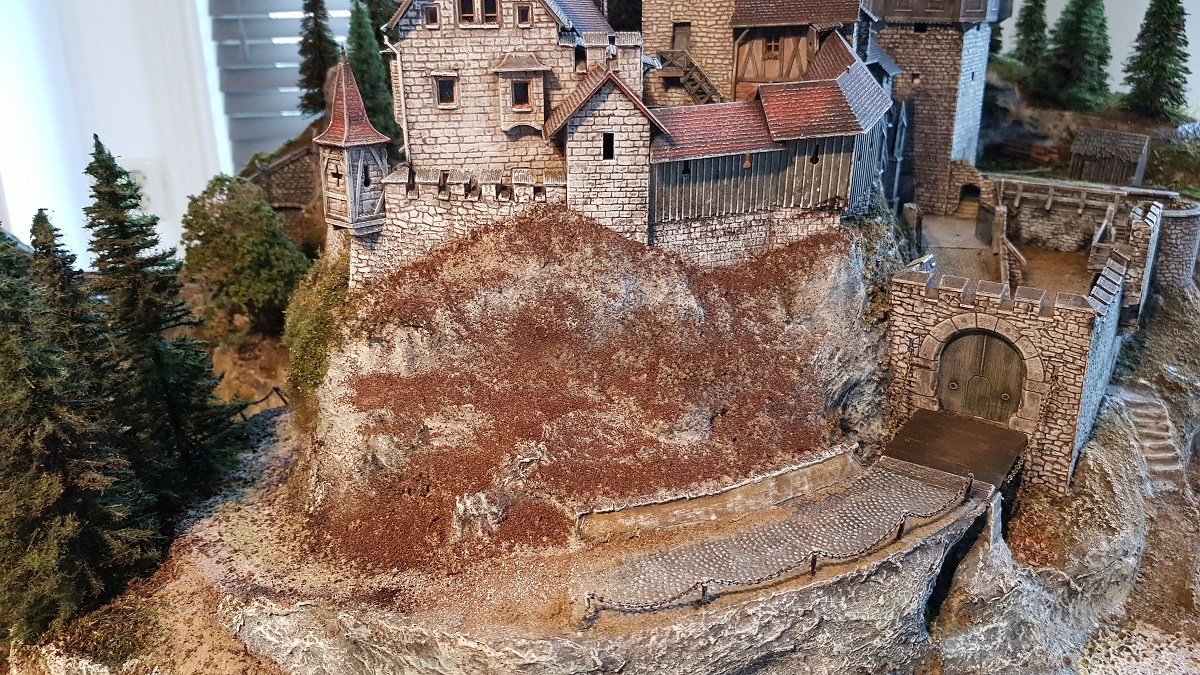
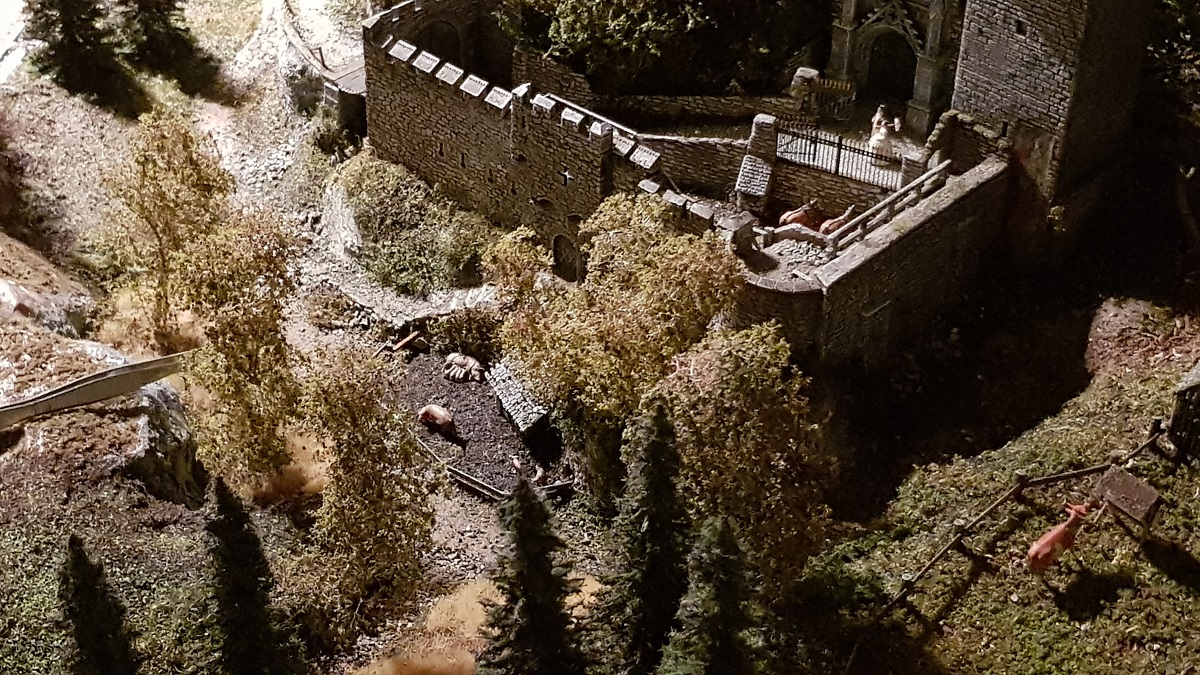
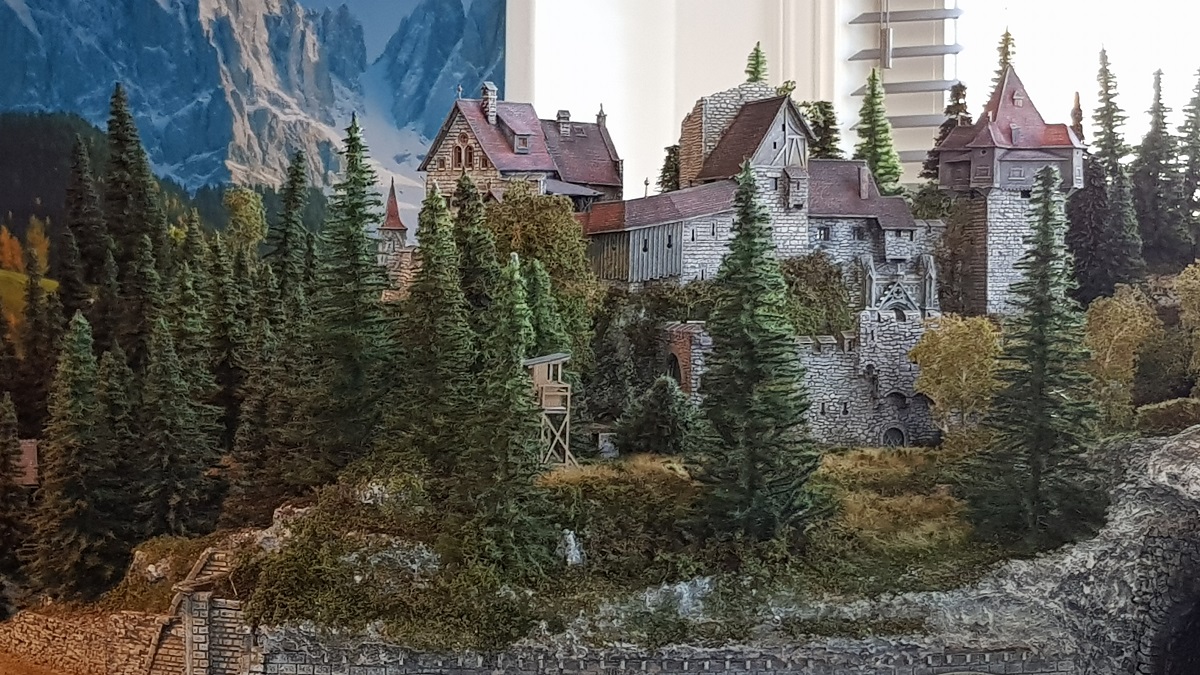
Chapter 23B ~ Castle Vegetation
23.1.2020
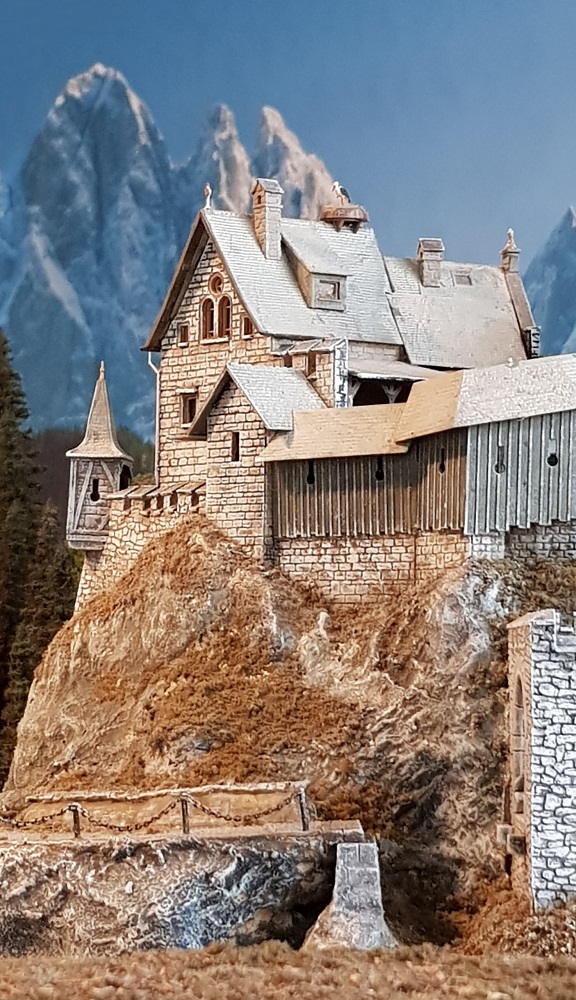
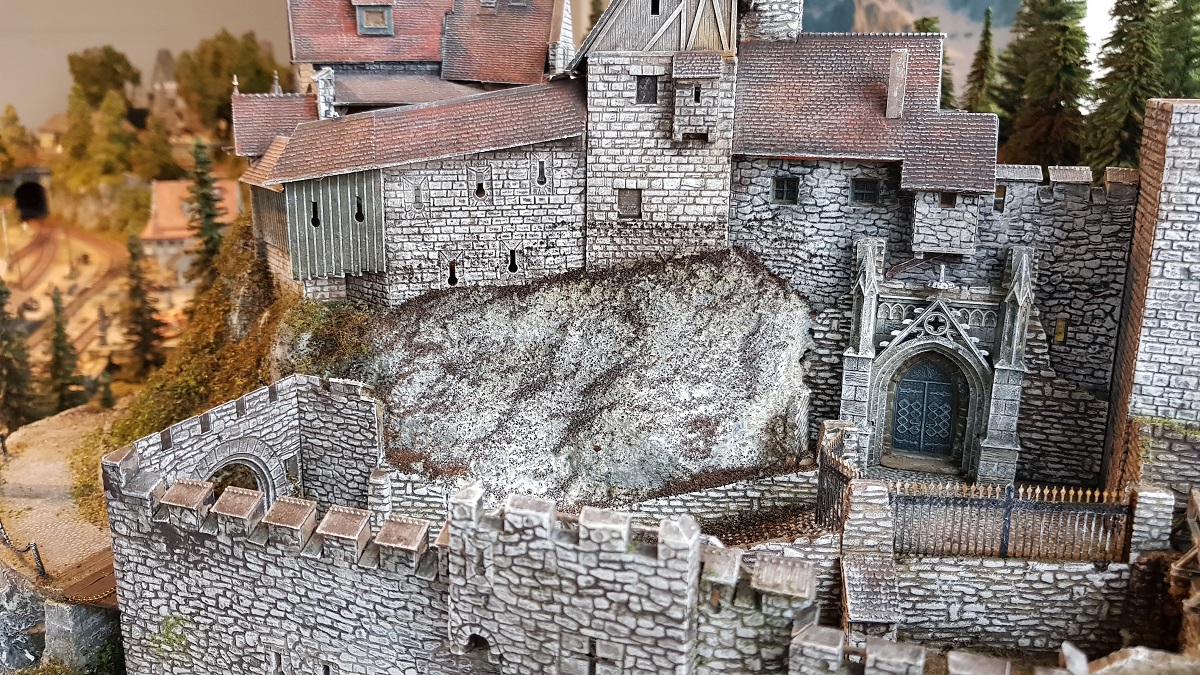
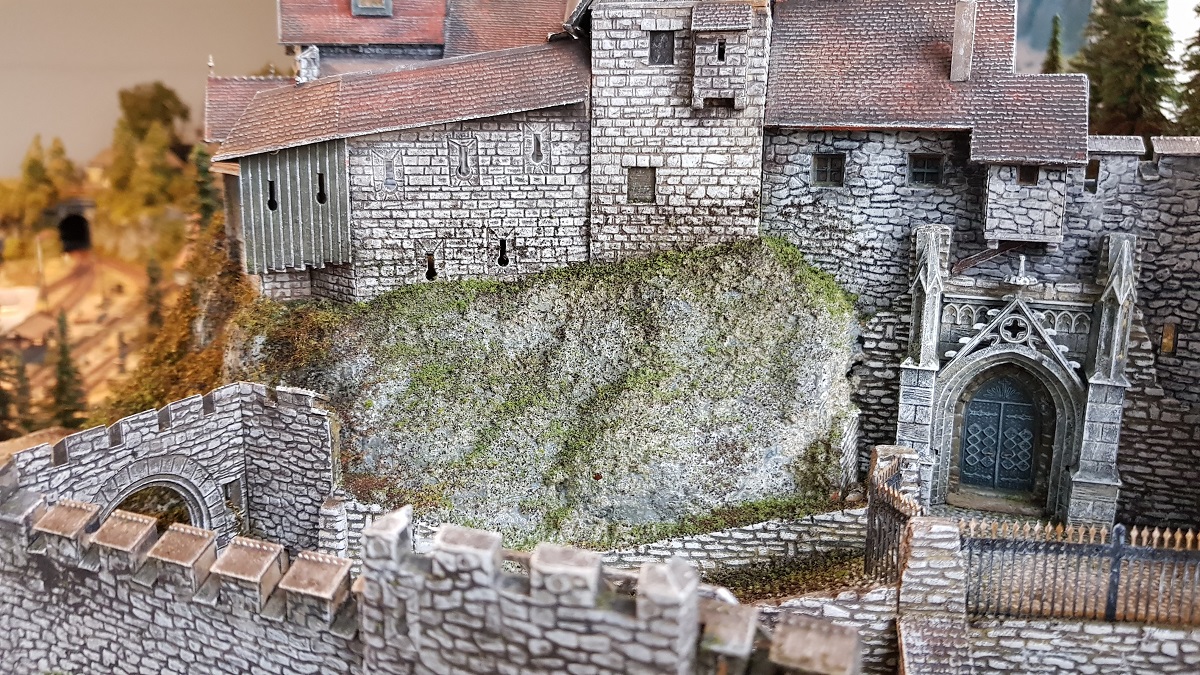
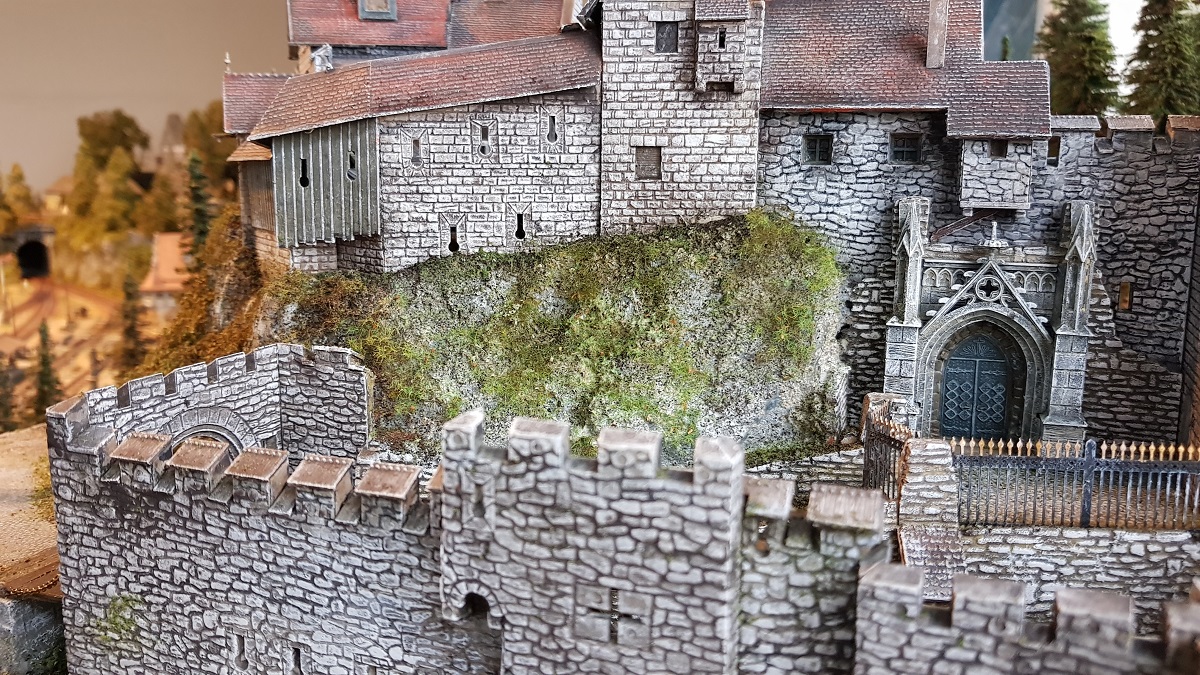
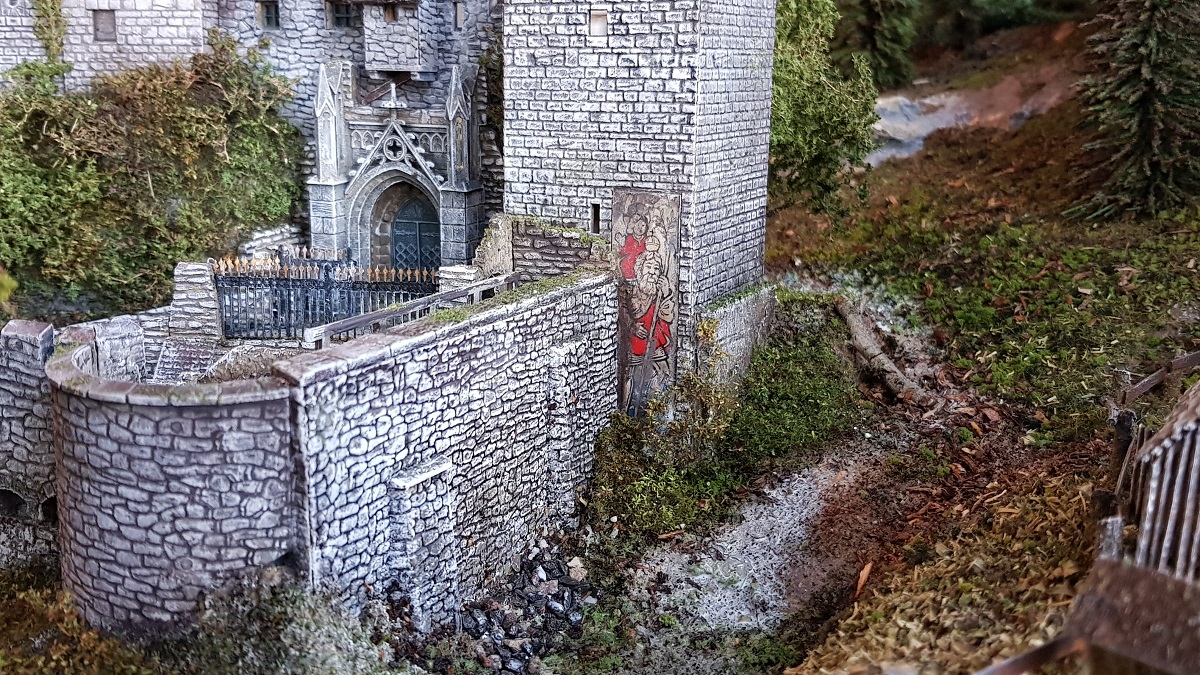
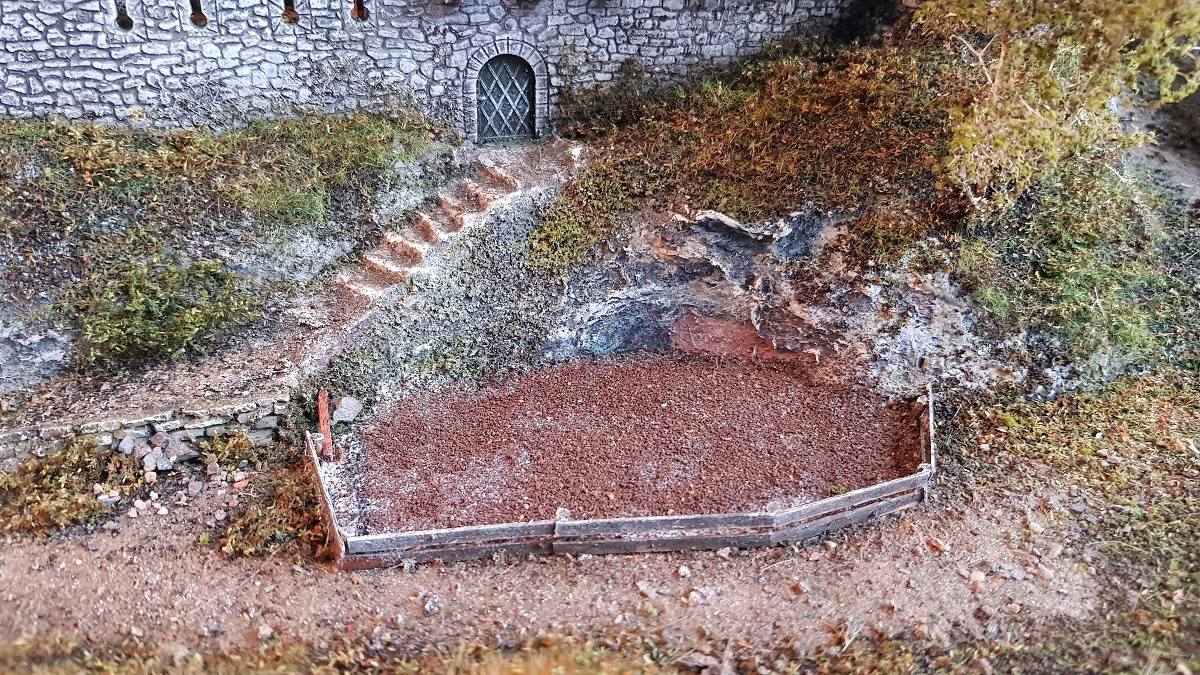
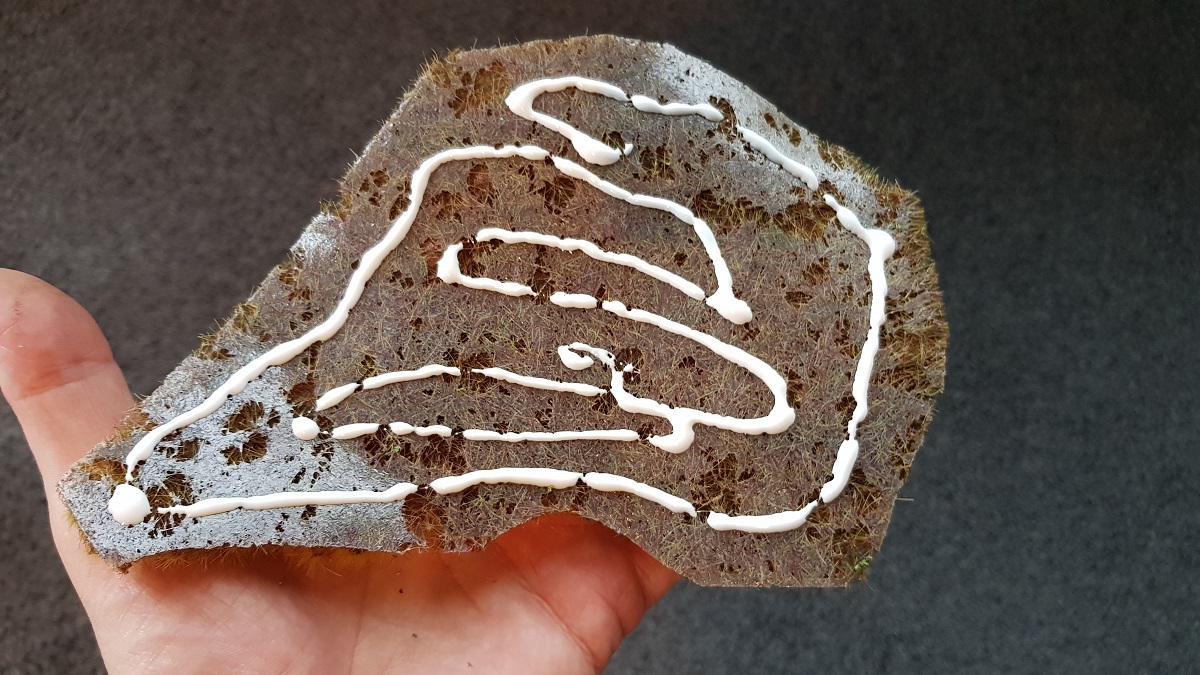
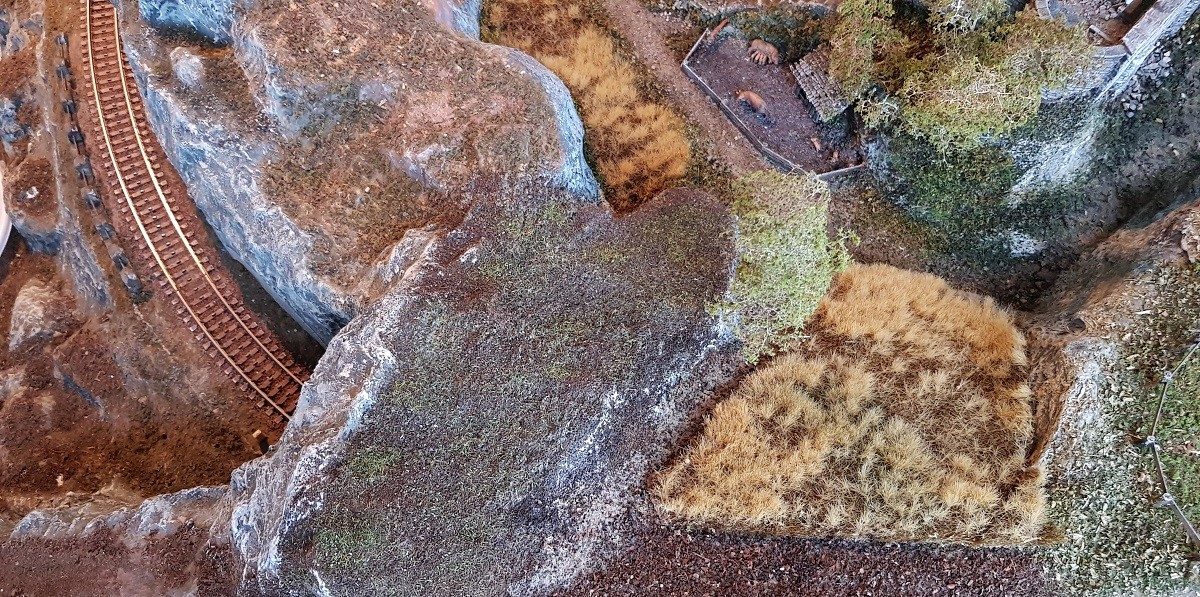
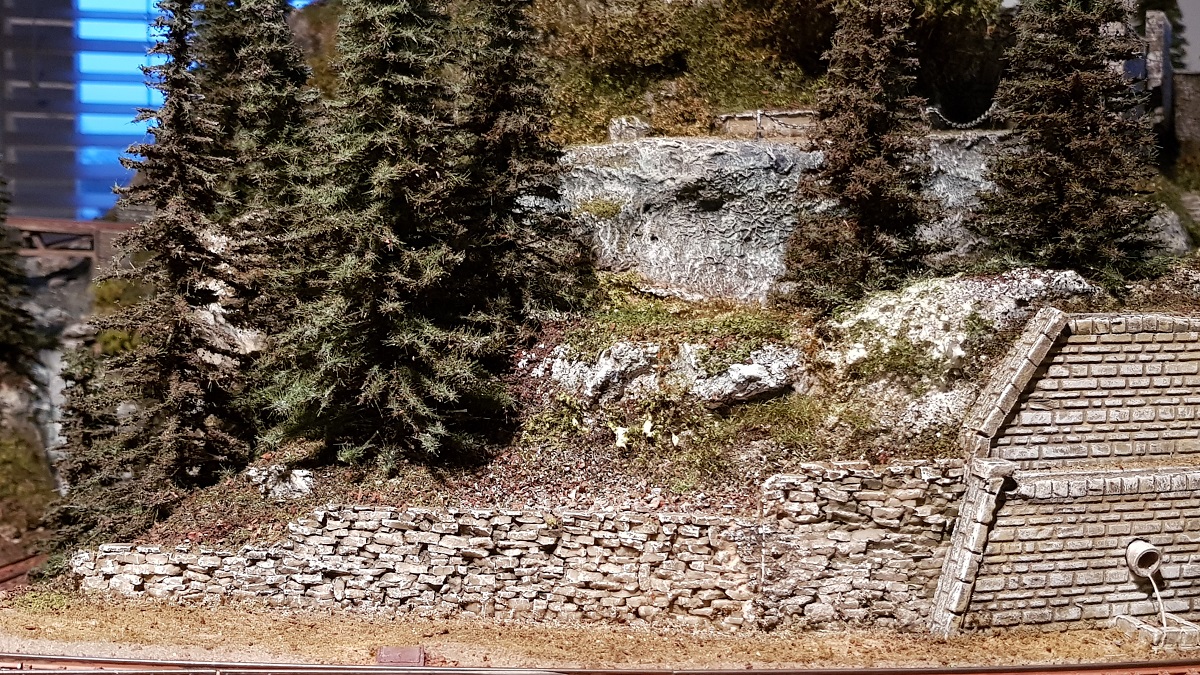
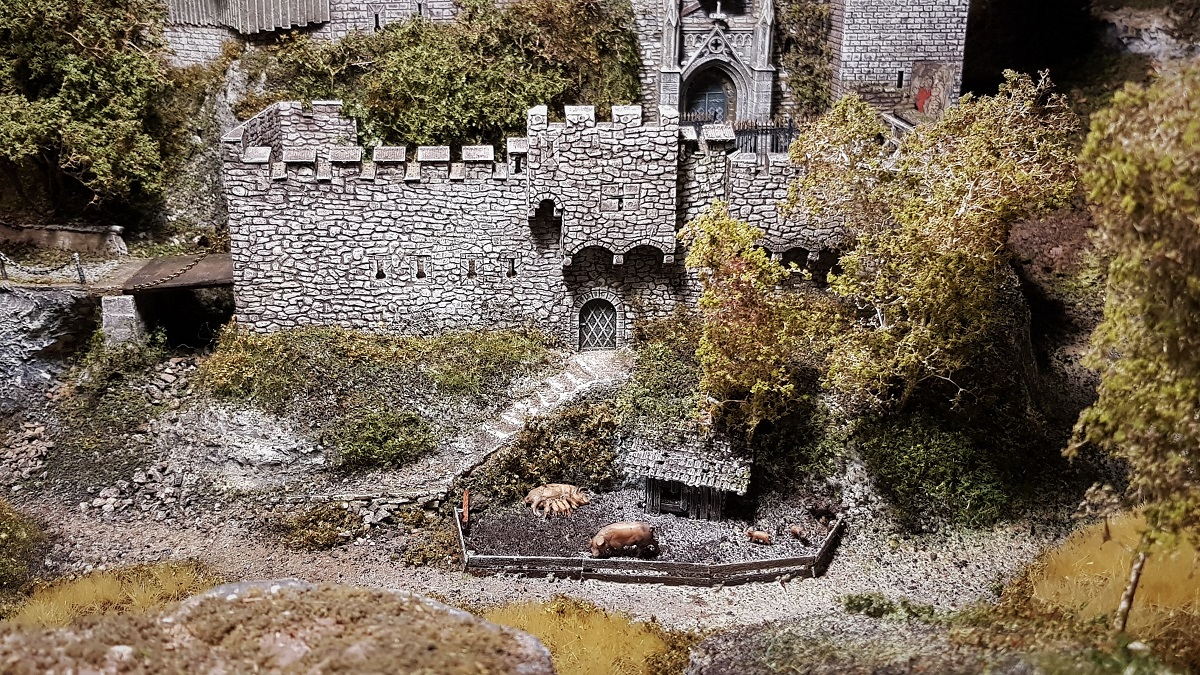
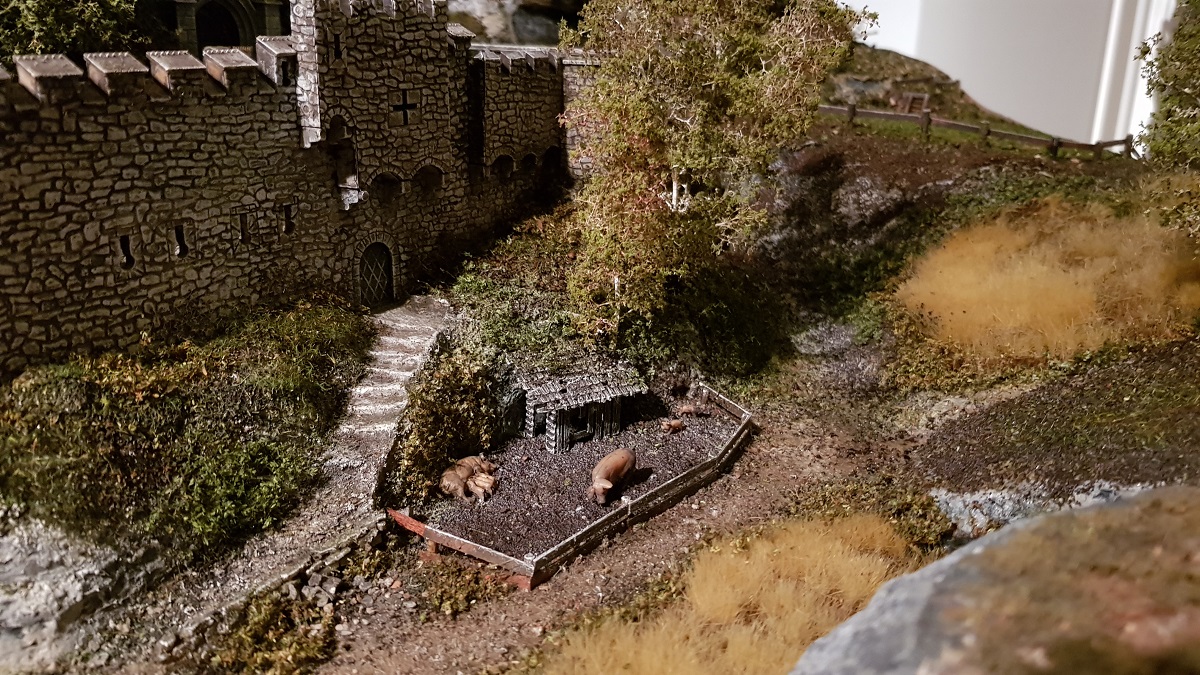
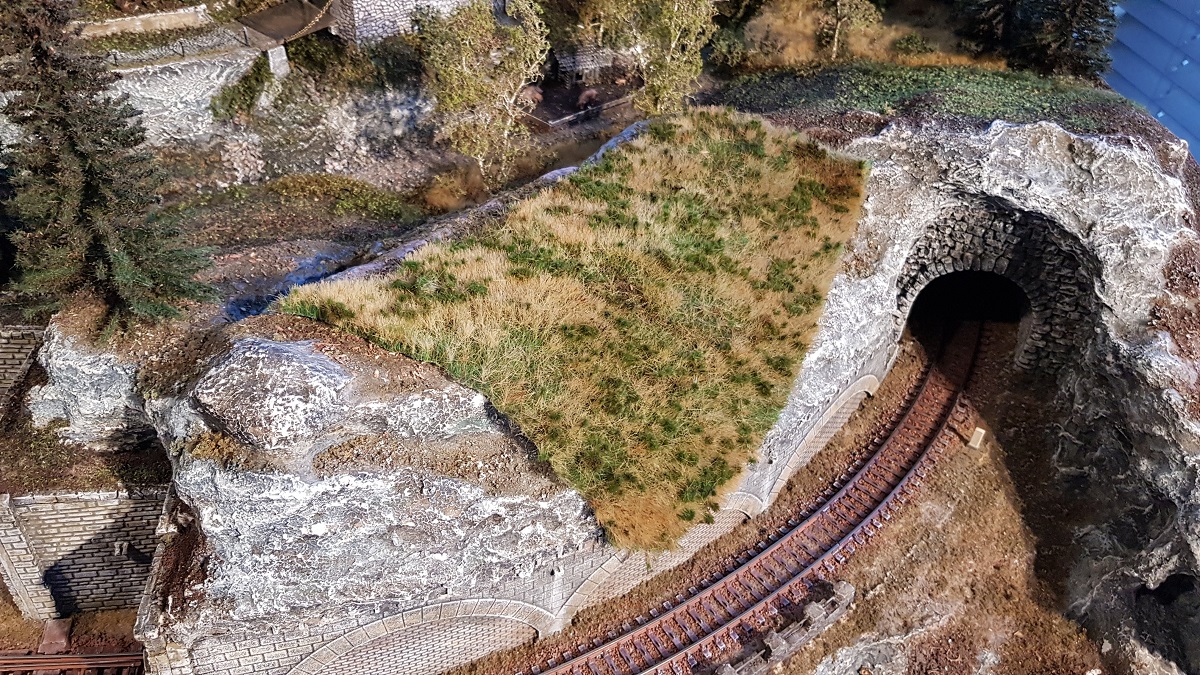
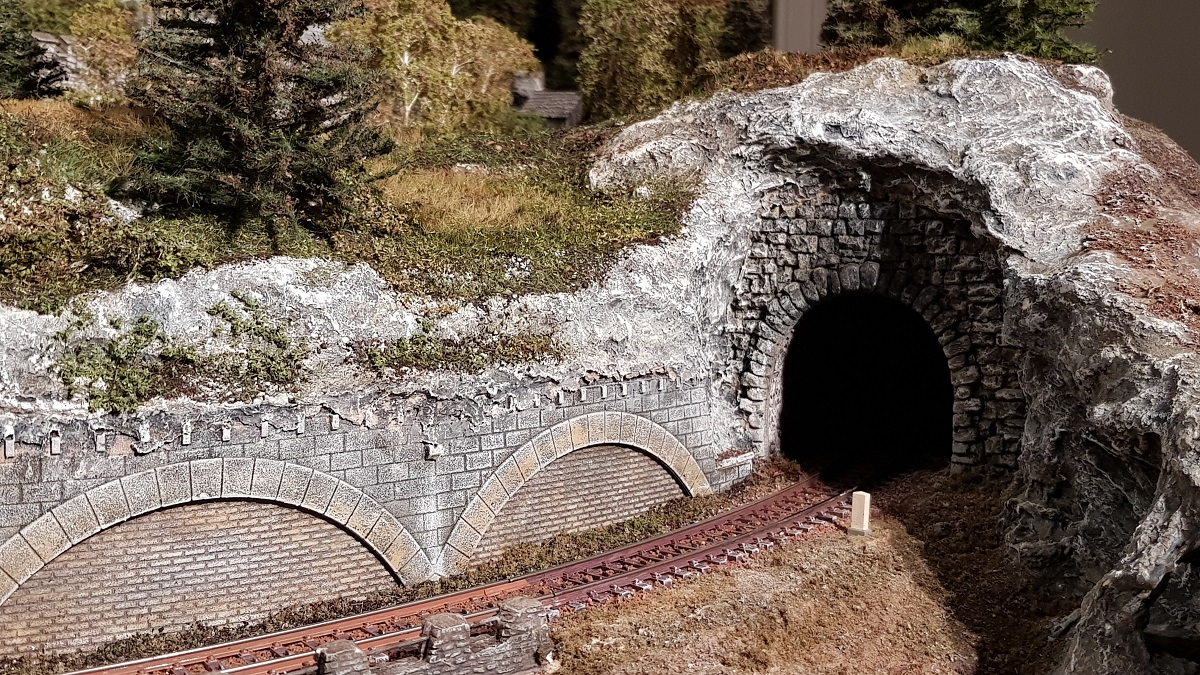
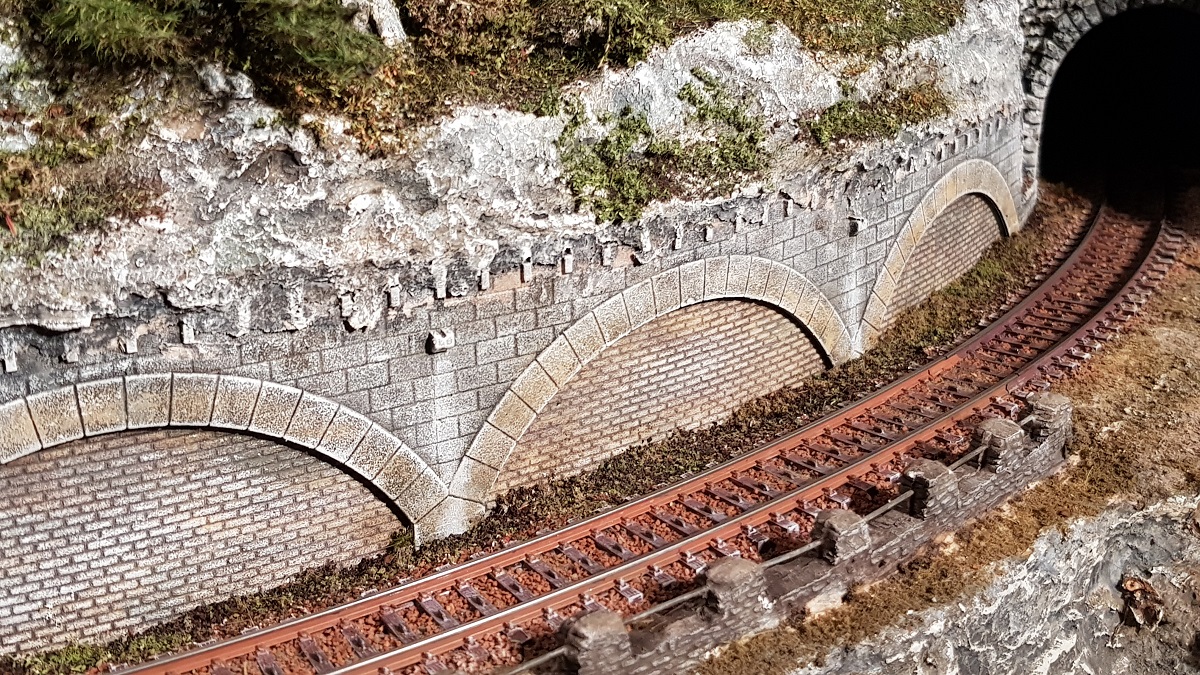
After several weeks of renovation of rooftops and walls, it's time to look at the rocky part below the castle...
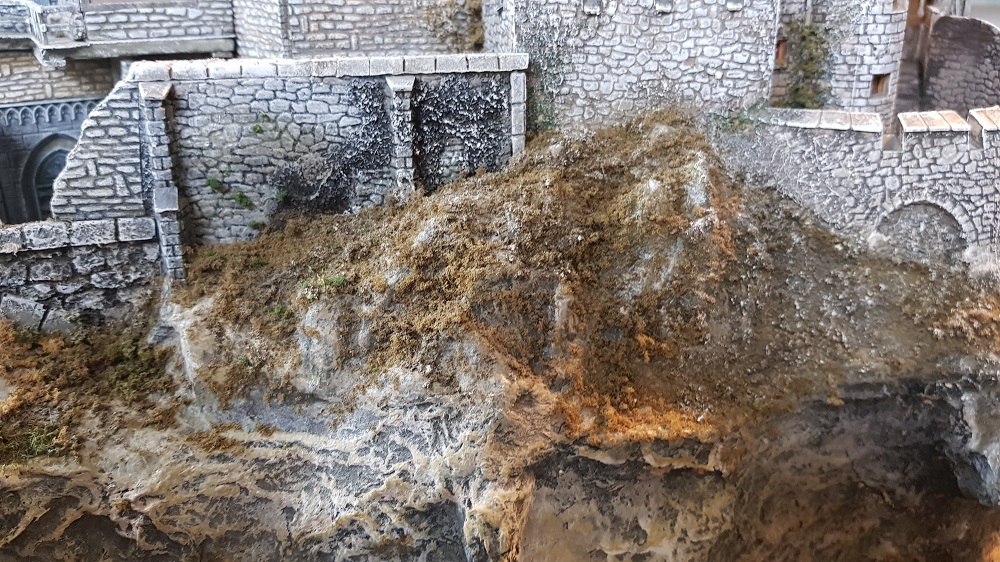
As it was, although now stripped of all dusty vegetation
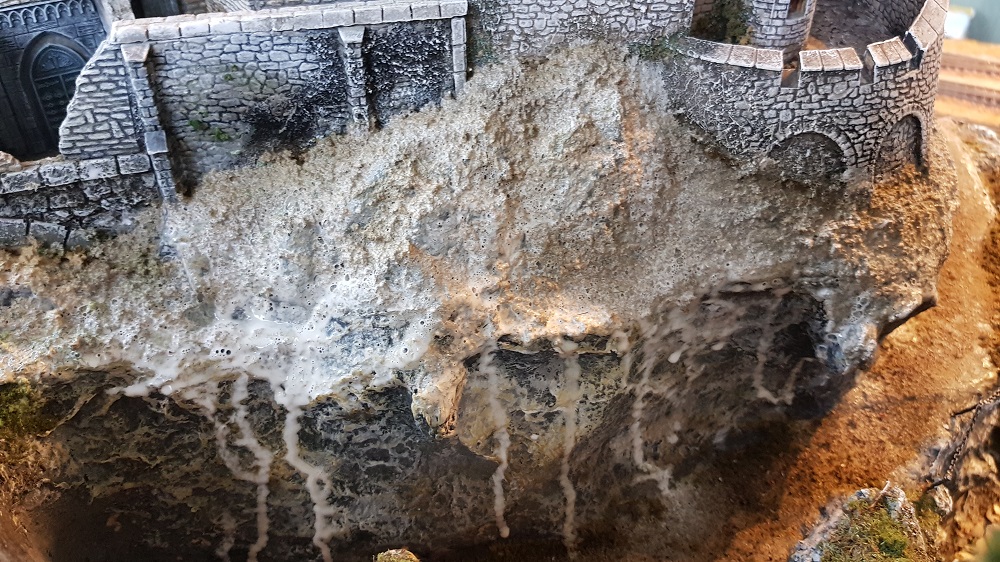
The famous white glue layer...
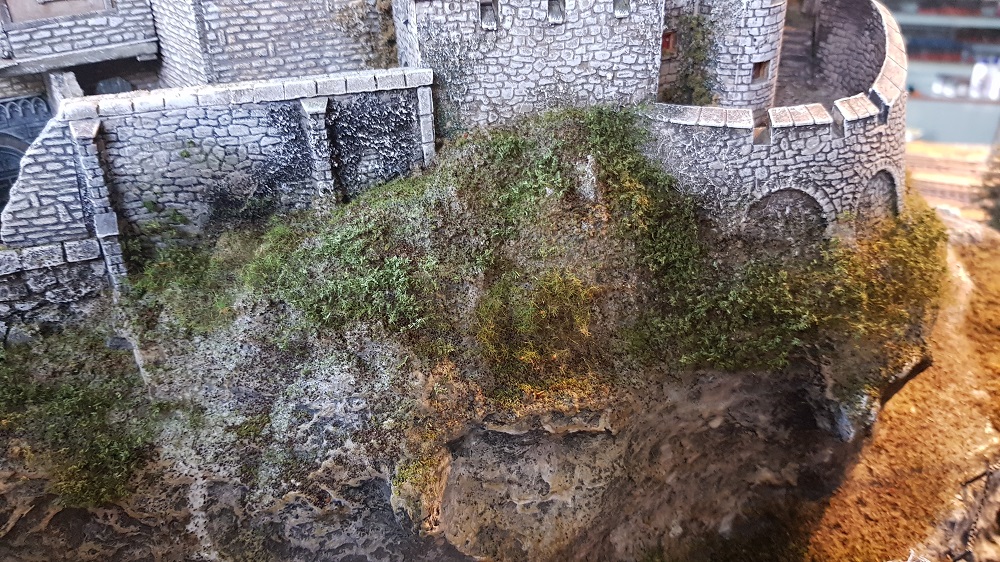
...and here we go.
Someway it always differs from the last time...
23.1.2020
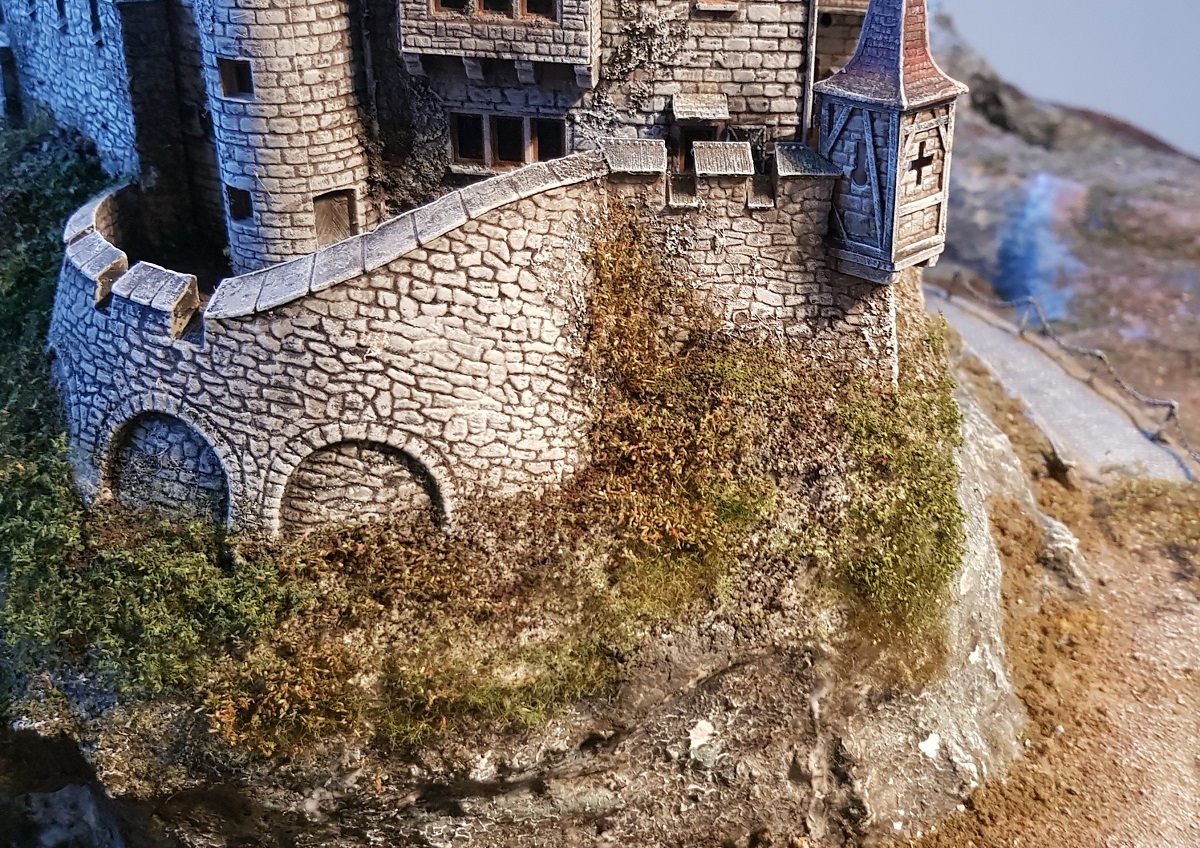
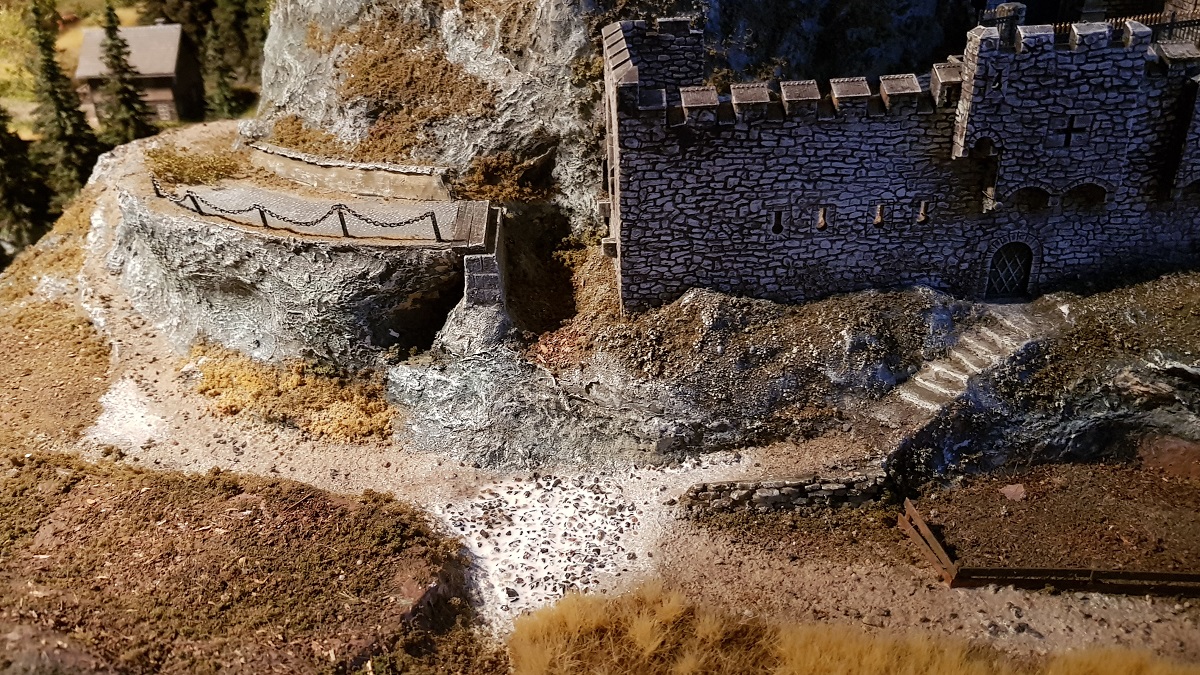
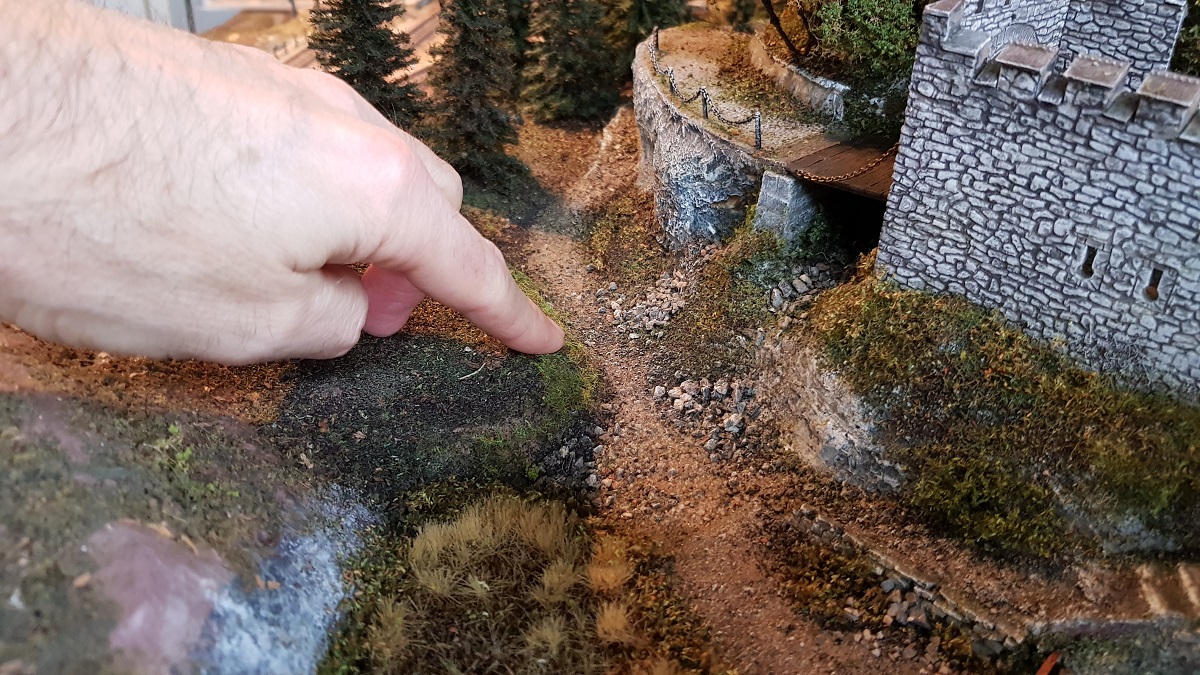
The path to the castle is also being tackled...
24.1.2020
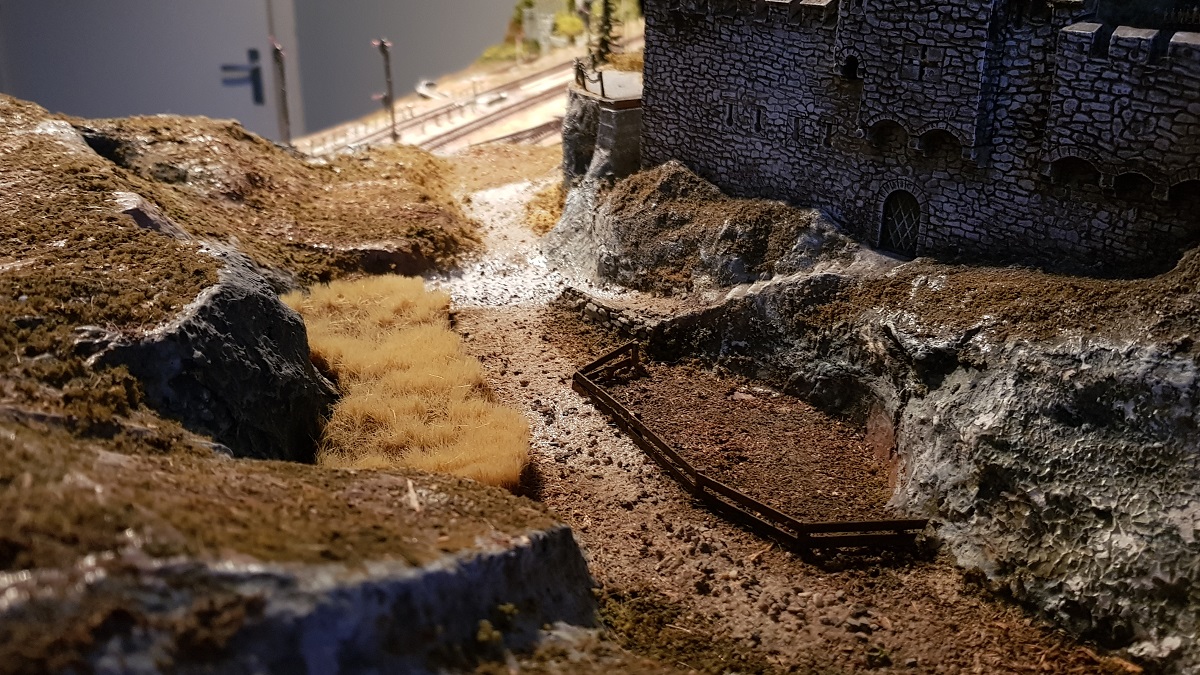
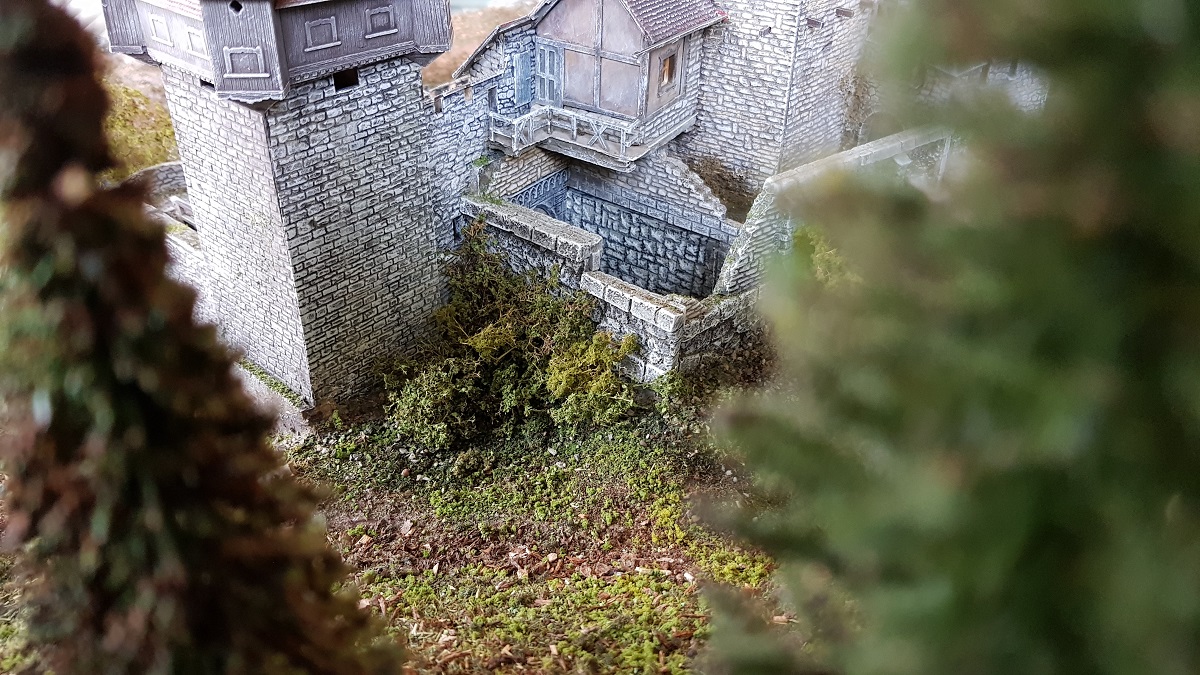
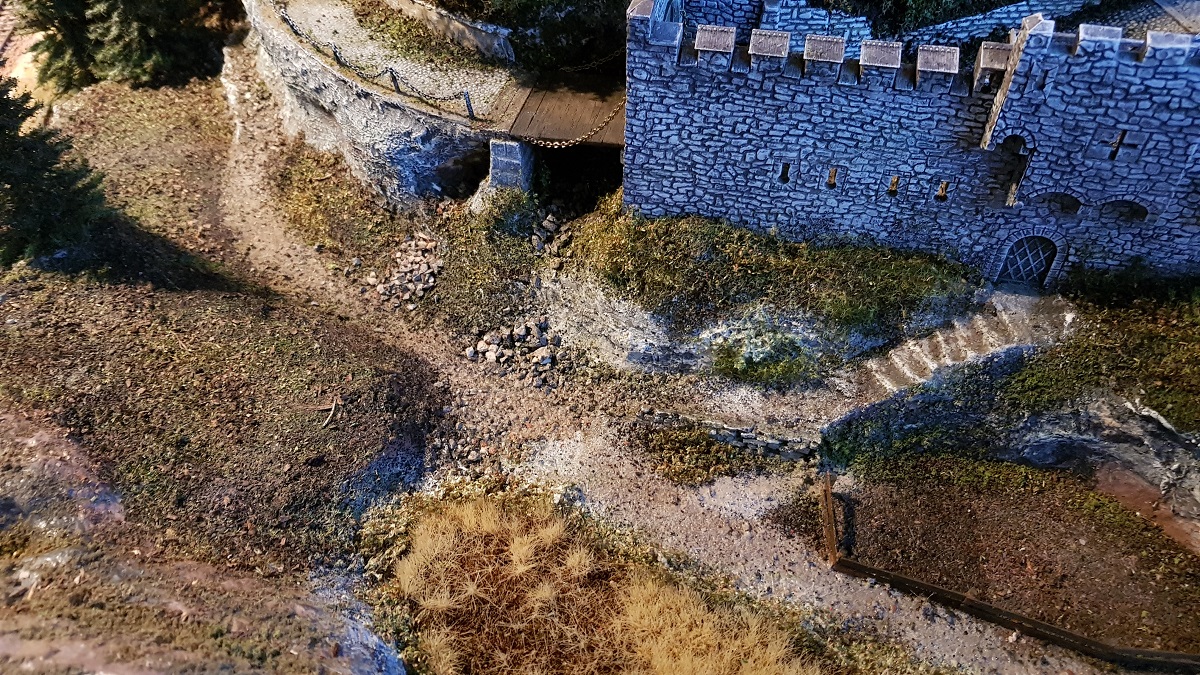
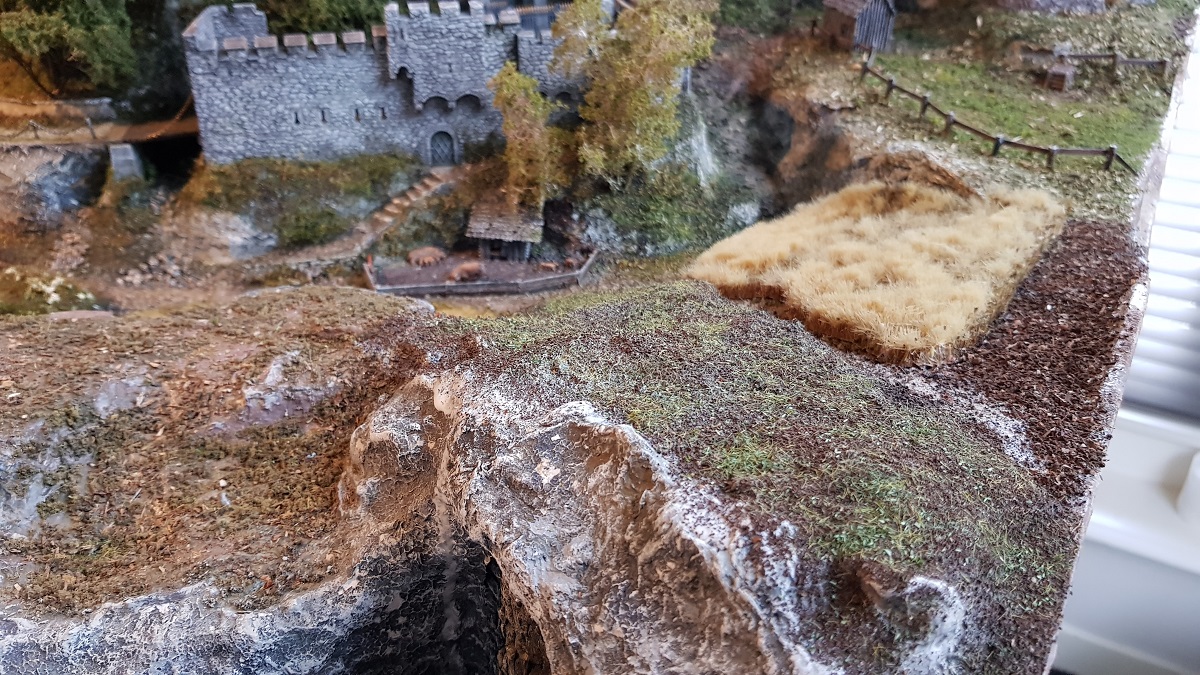
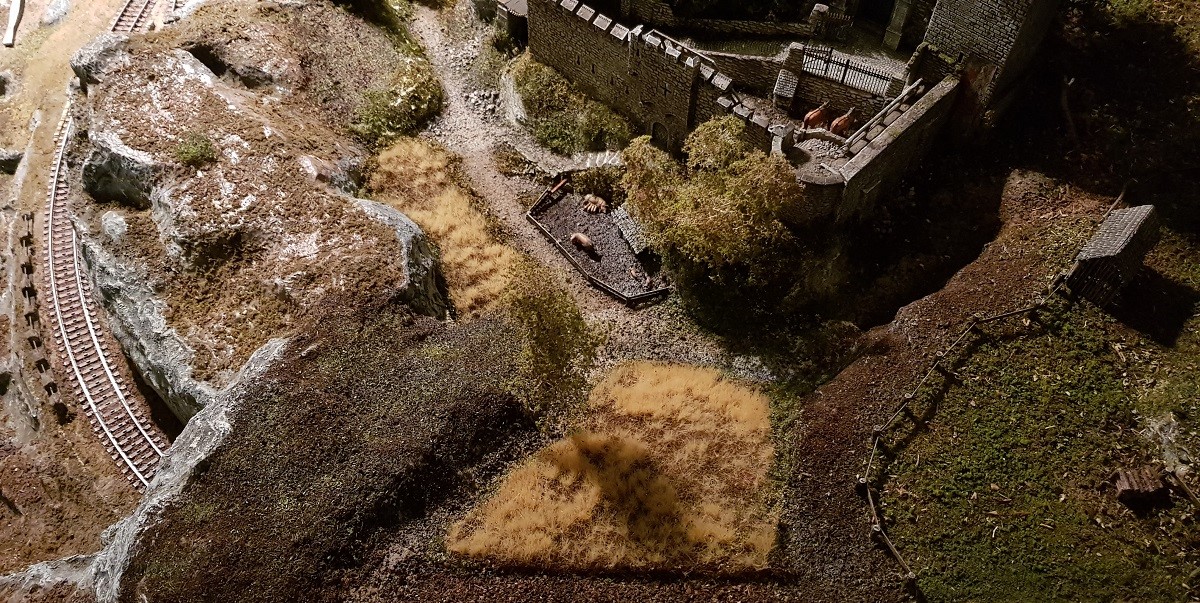
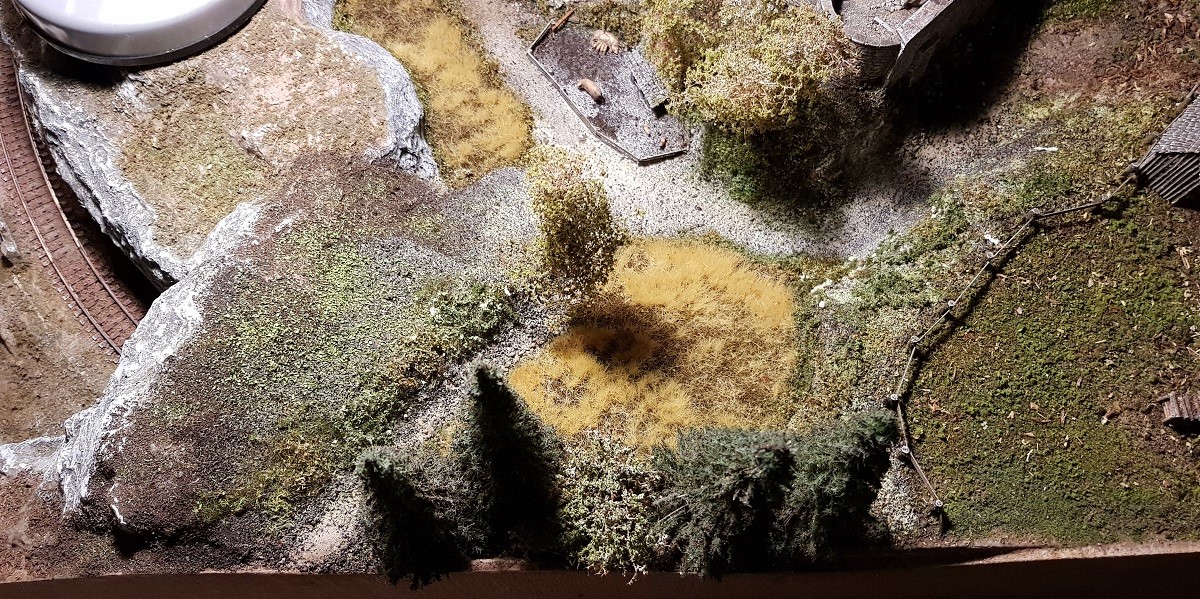
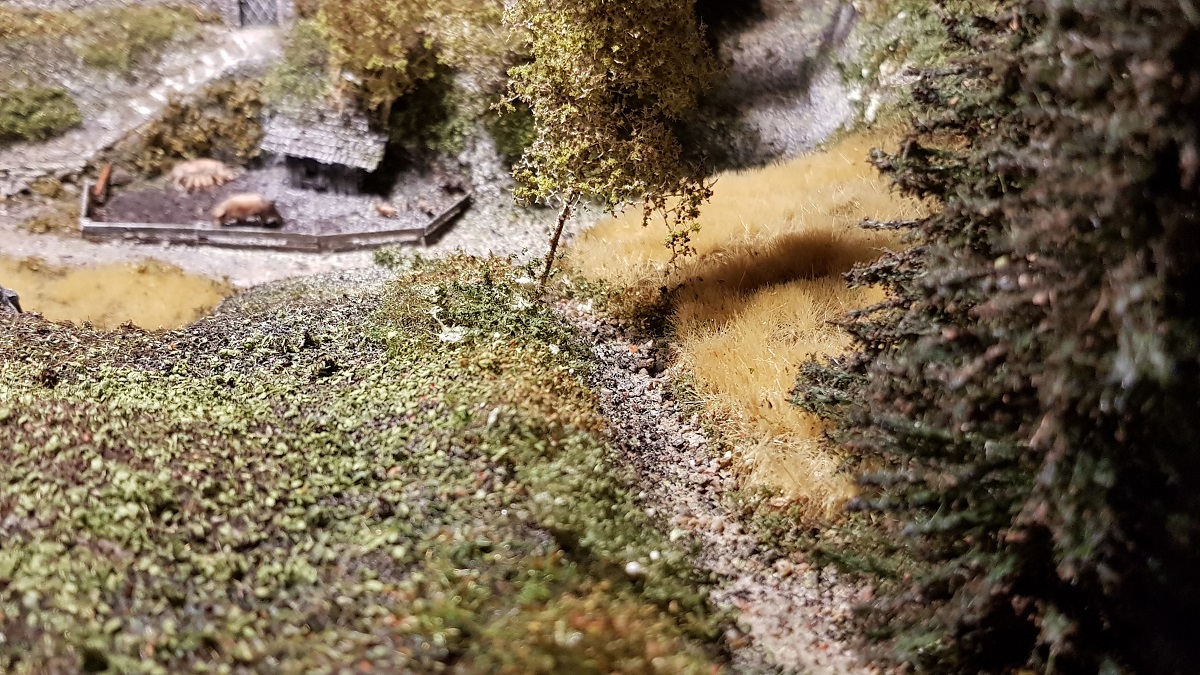
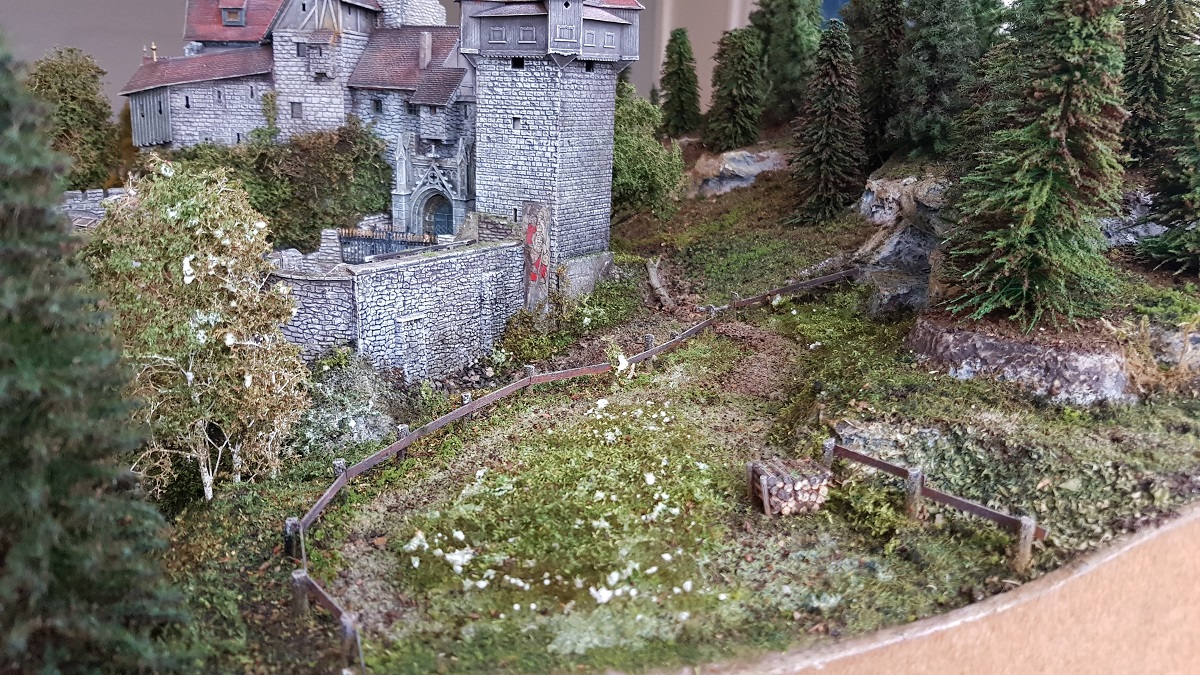
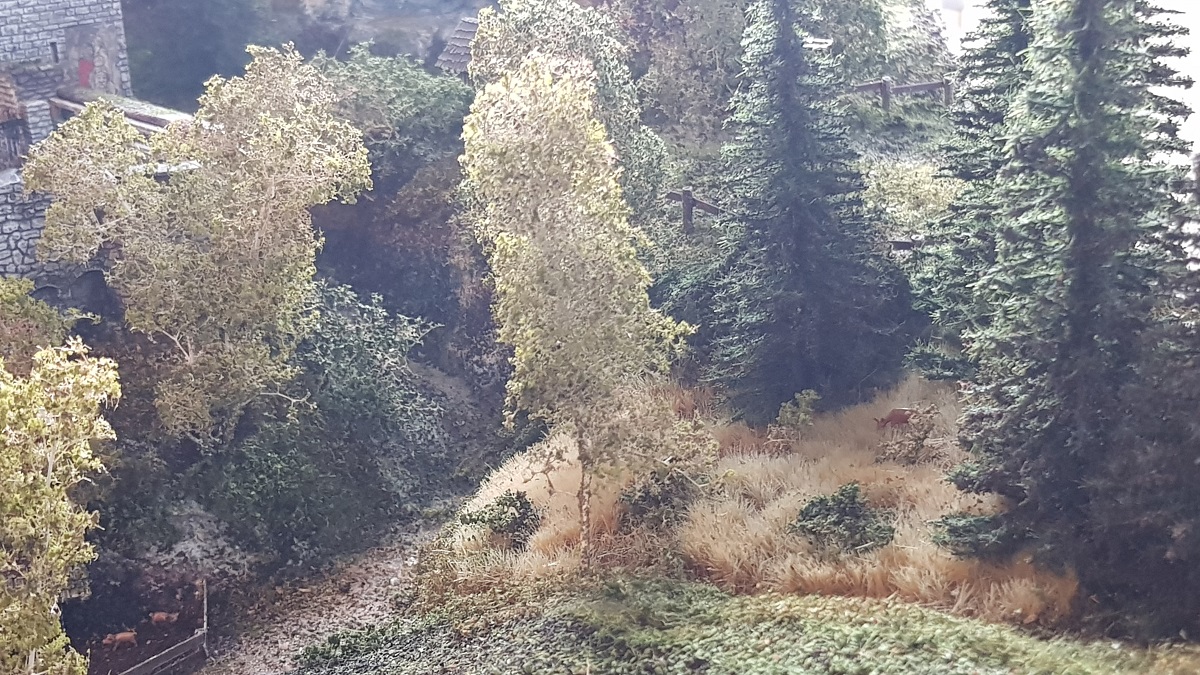
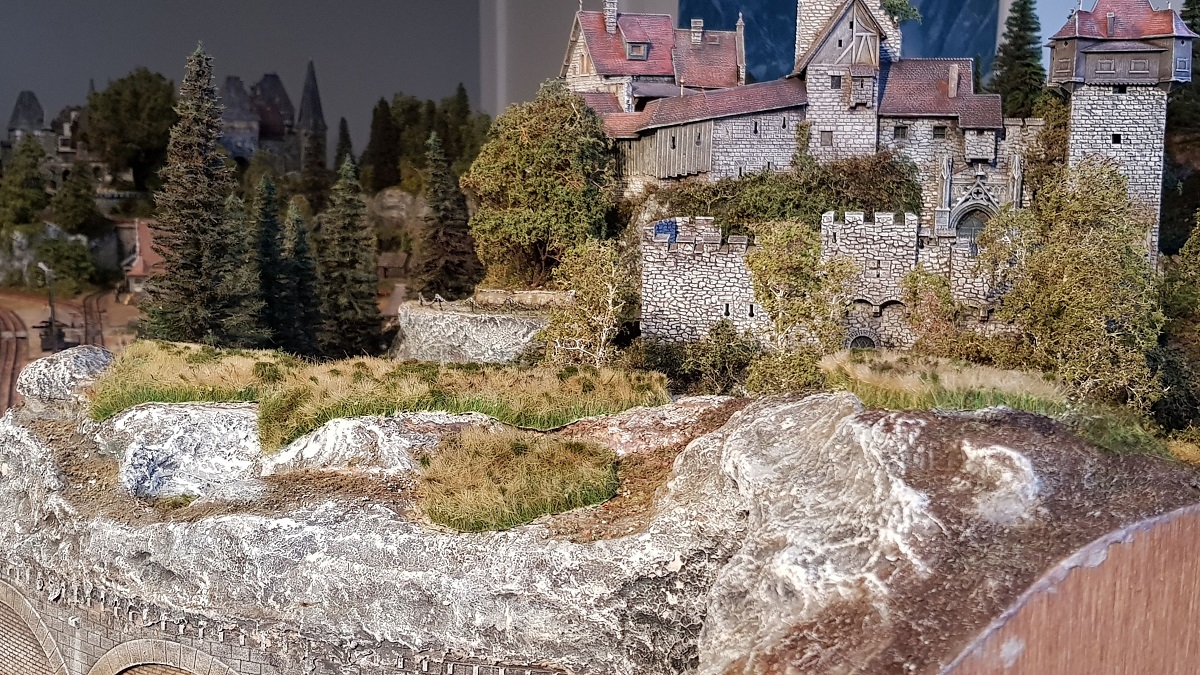
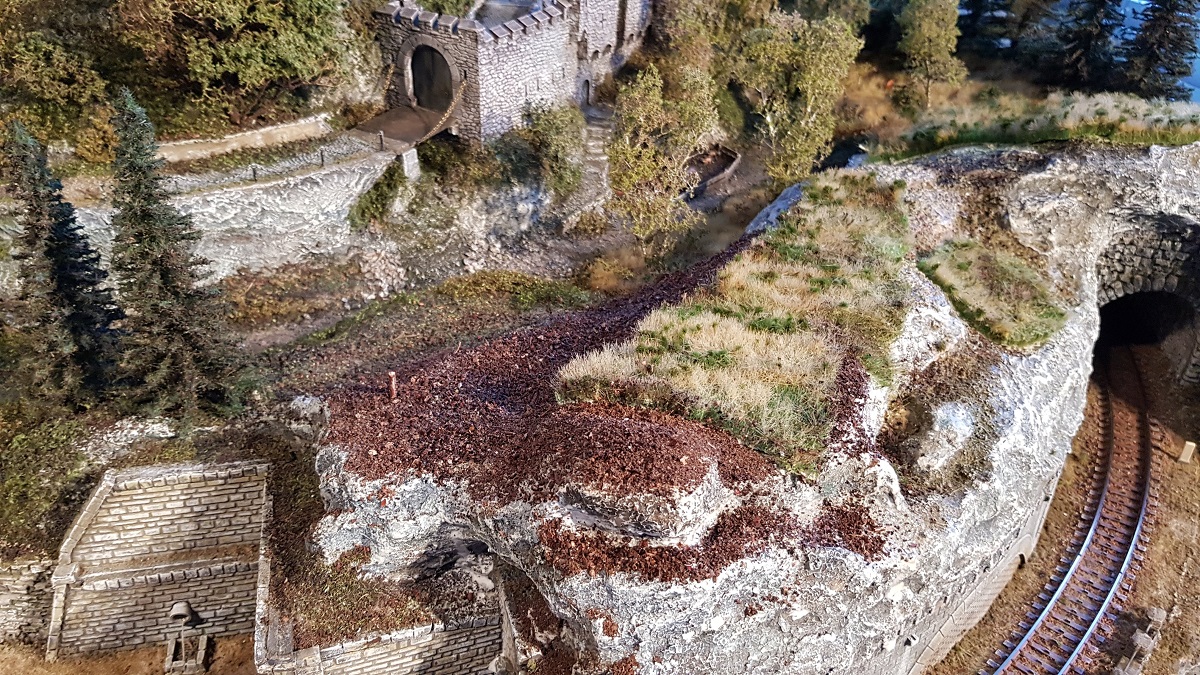
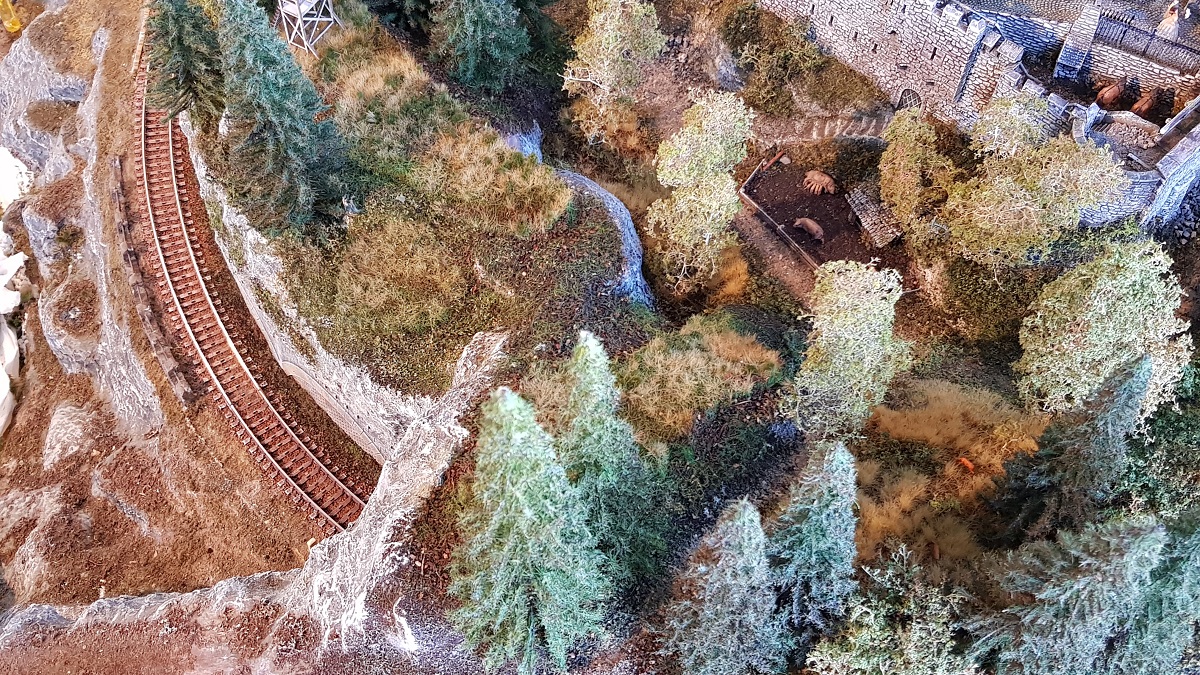
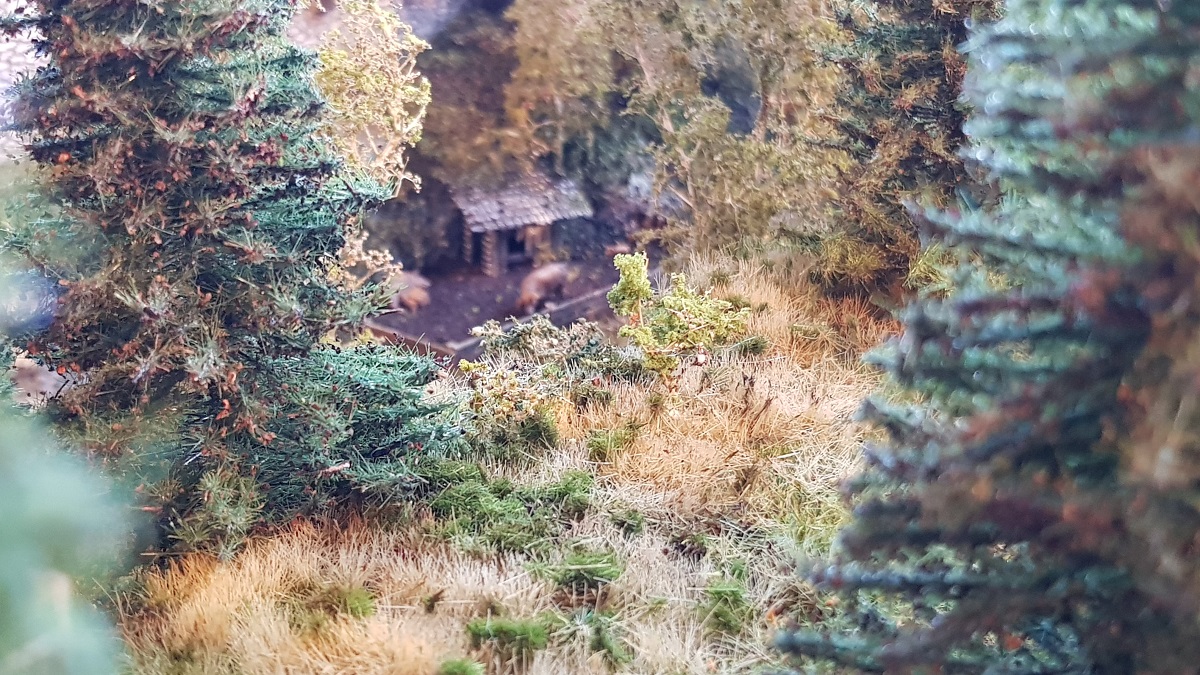
There is a valley on the east side of the castle.
I would like to add a lot of vegetation here, but the view of the castle should not be obstructed too much by tall trees.
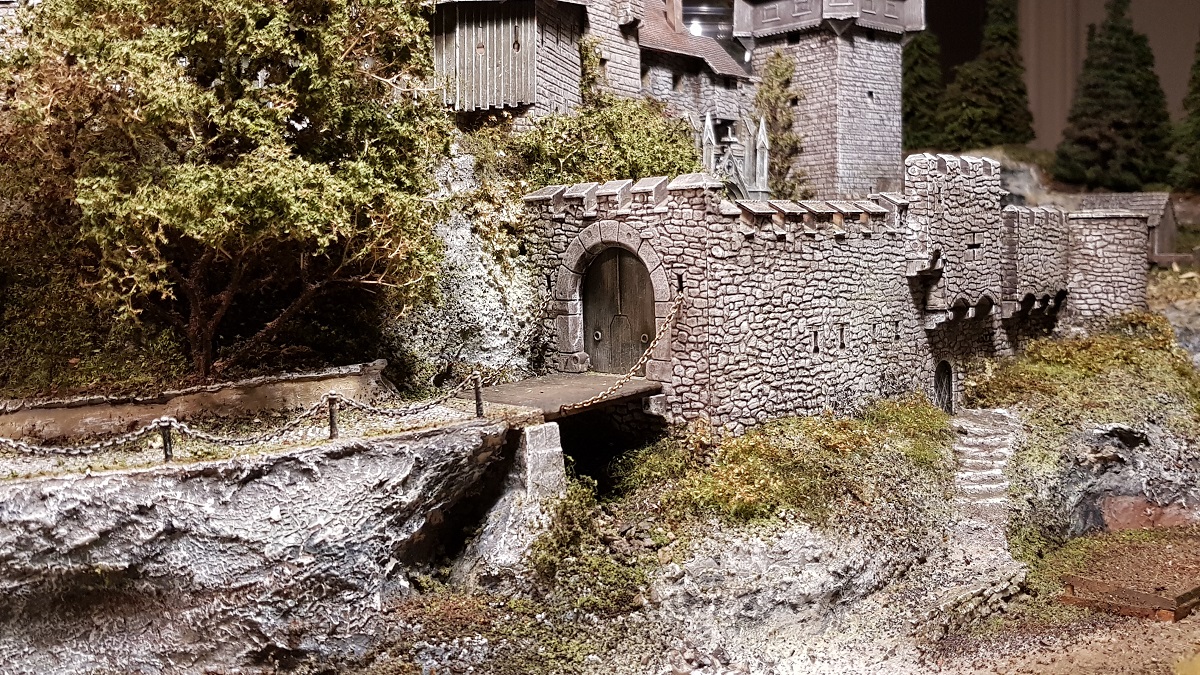
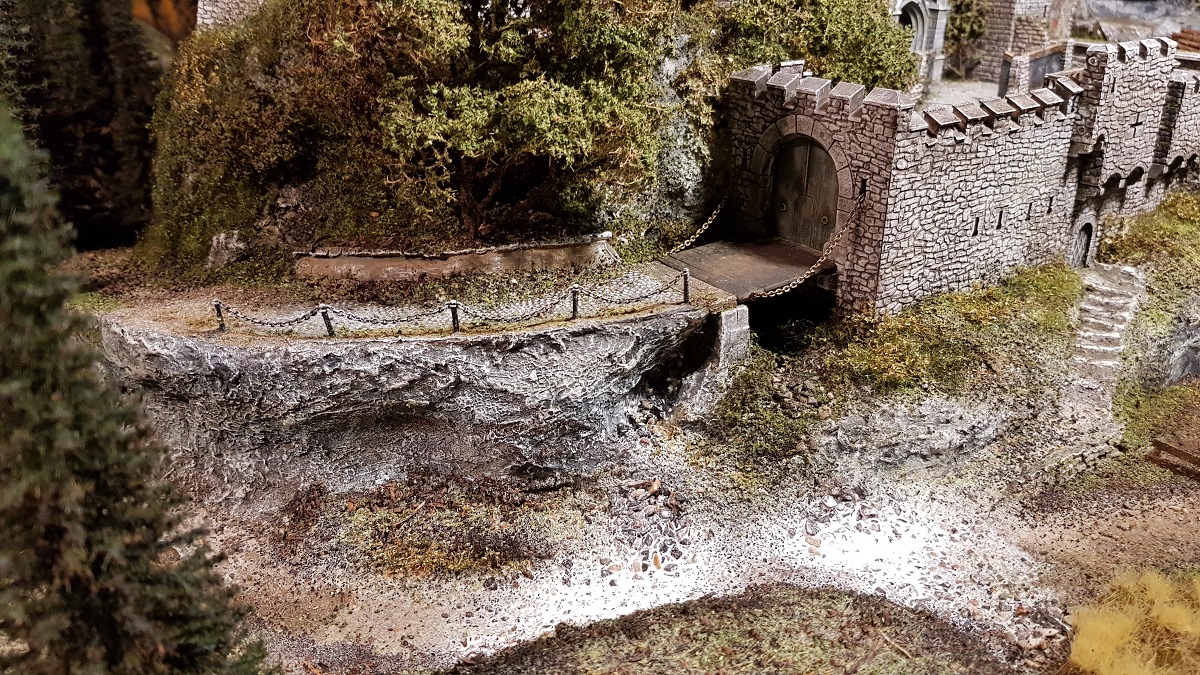
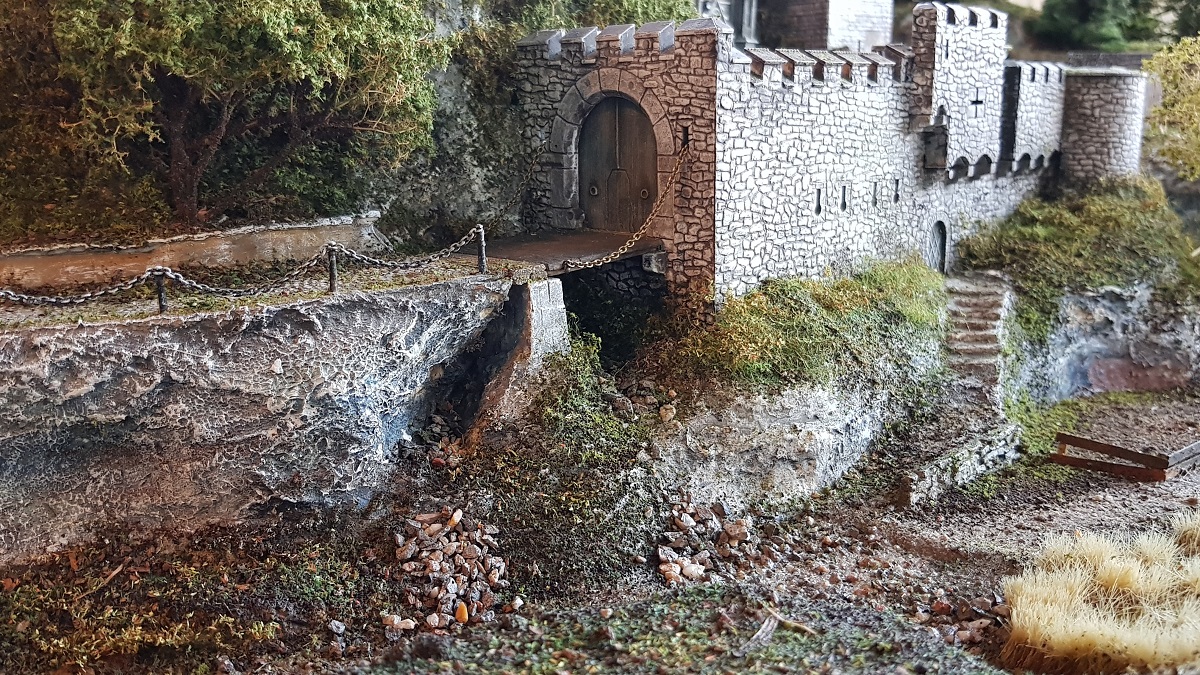
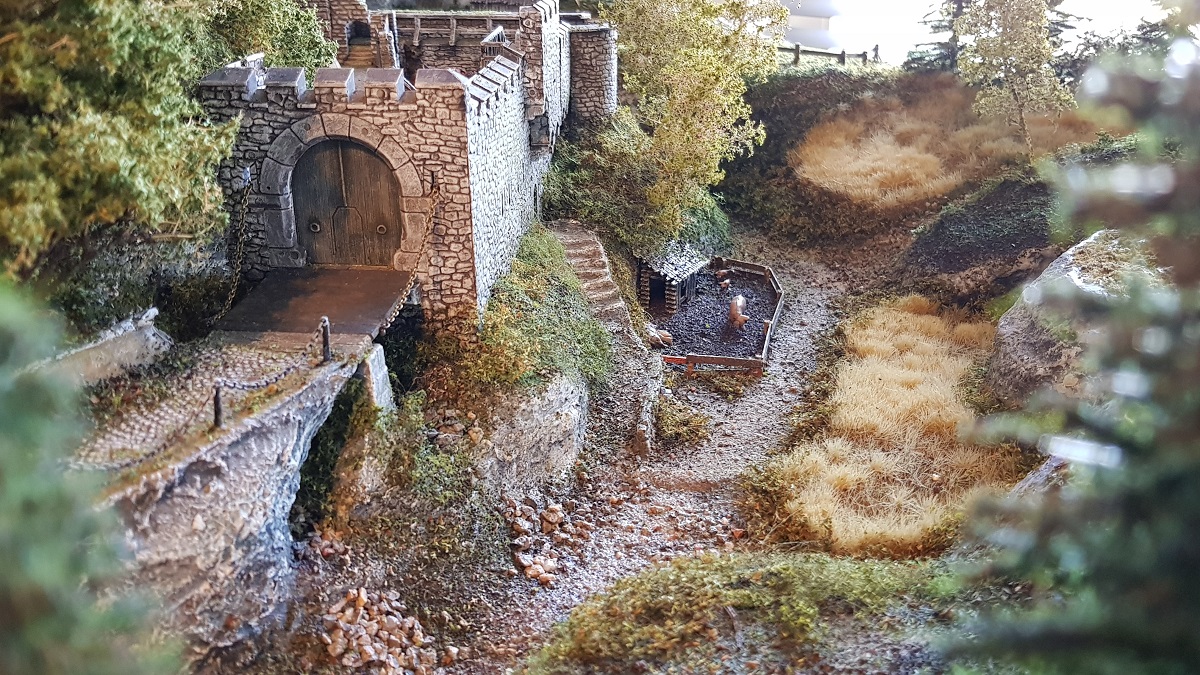
I started with planting a small meadow opposite the piggery with a path in between.
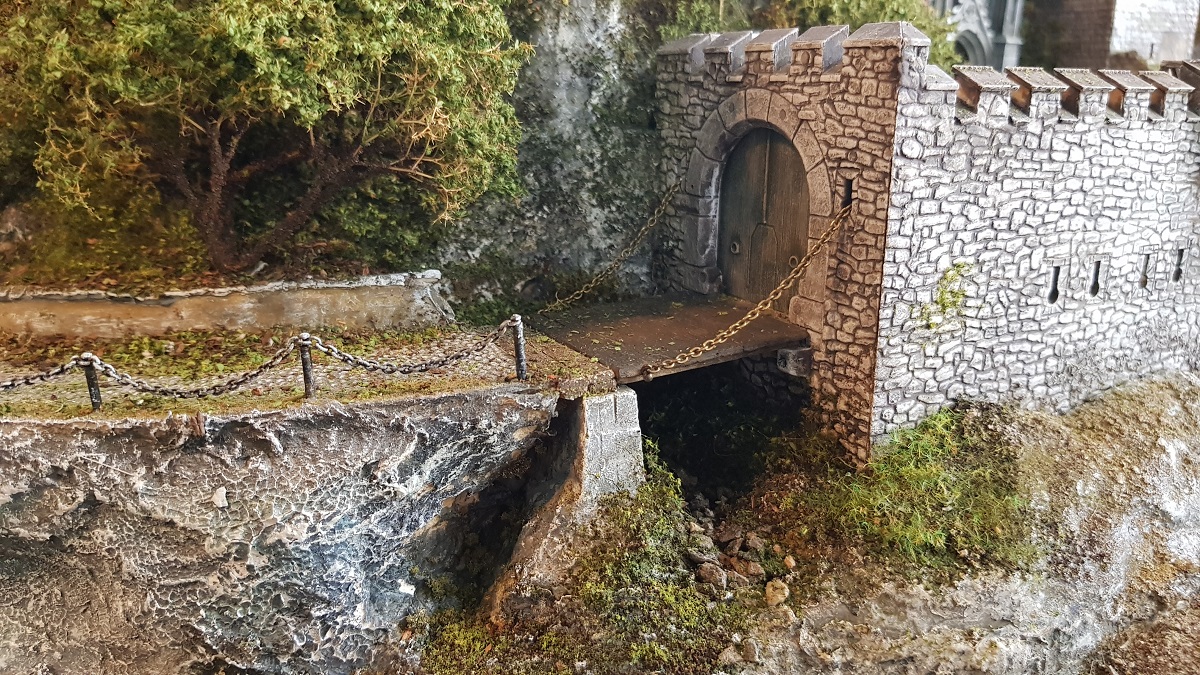
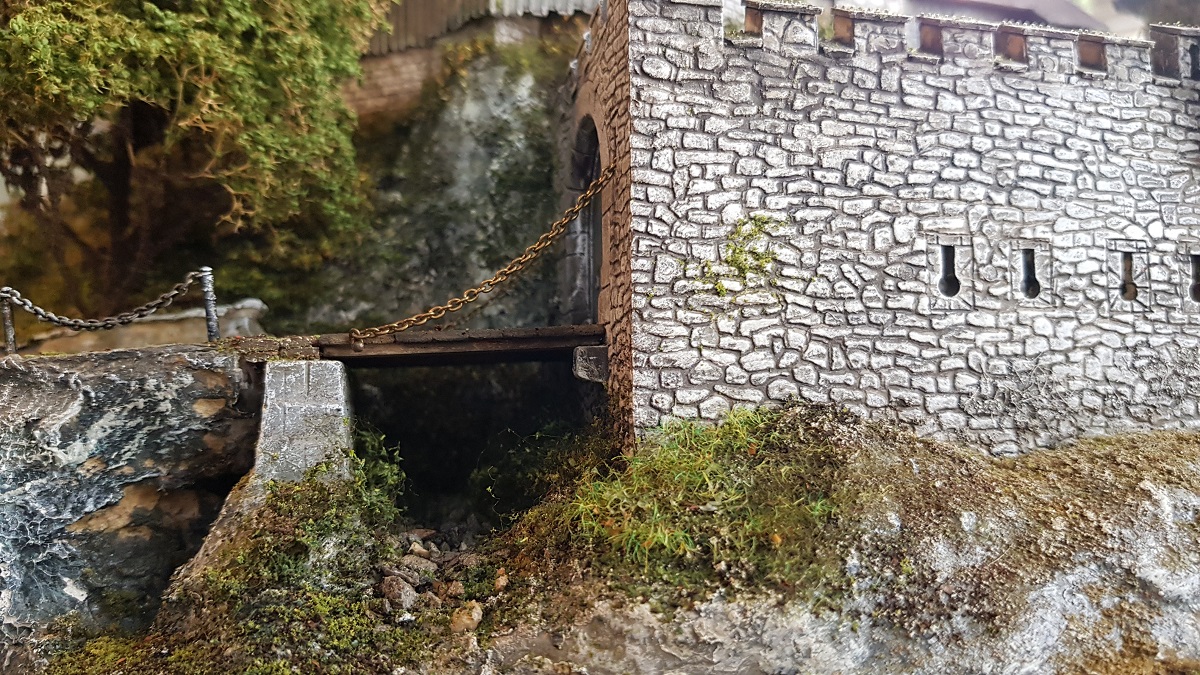
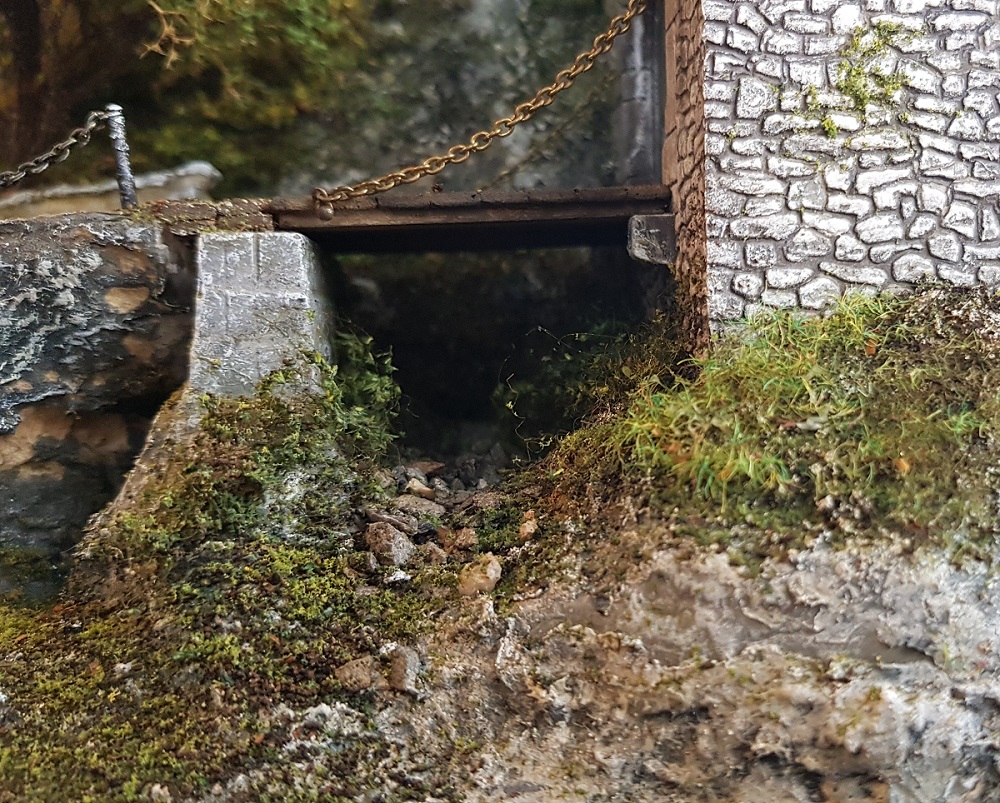
Odd enough there was a sort ditch right next to the bridge, crossing the path.
I filled it with small stones, thus drawing a certain line with the fosse.
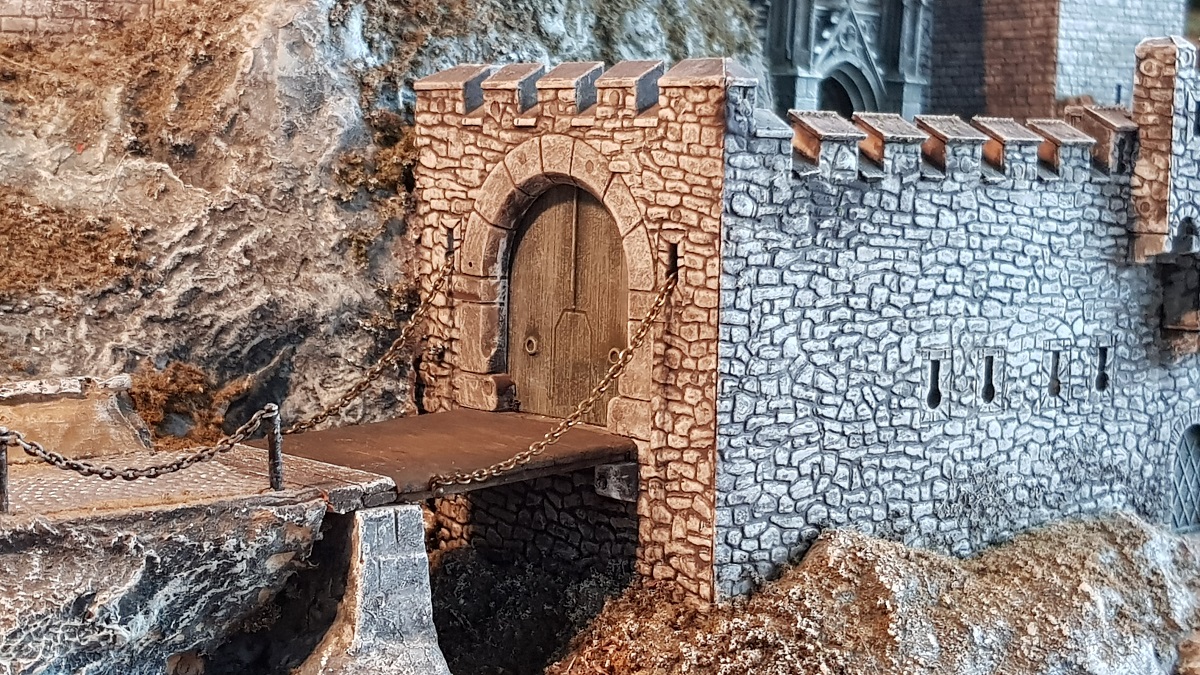
The chains of the drawbridge are in the right position now.

Then it was the turn of the front...


And finally, the right side at the top...
The tree at the front largely makes or breaks the perspective...


27.1.2020
Today I focused on the valley in front and at the right side of the castle.
In daylight I started with this view...
While working with artificial light in the evening, the rocky ground on the outside premise is next for a new layer of vegetation.


29.1.2020
After drying overnight ...
... comes a new day with two of my best friends: the brush and glue pot!
30.1.2020
Last night's idea of planting the triple birch tree on the small hill above the pigsty was realized today.
As an extension thereof the planting of bushes and another tree near the tower followed.
30.1.2020
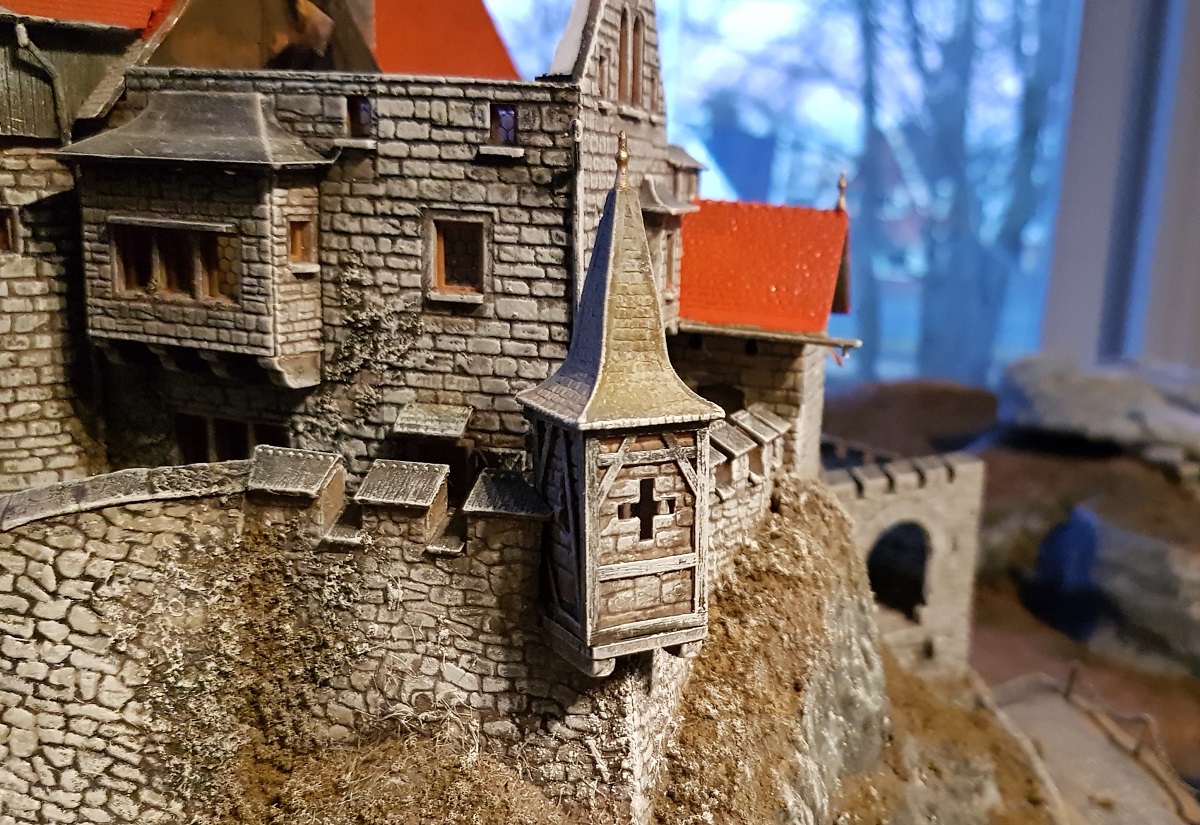
Over 40 years the only damage that hit my castle was one of the tiny flags.
It was positioned in the middle of the roof, covering the castle's defensive wall.
Out of the box with remnants, I picked this ornament as a replacement.
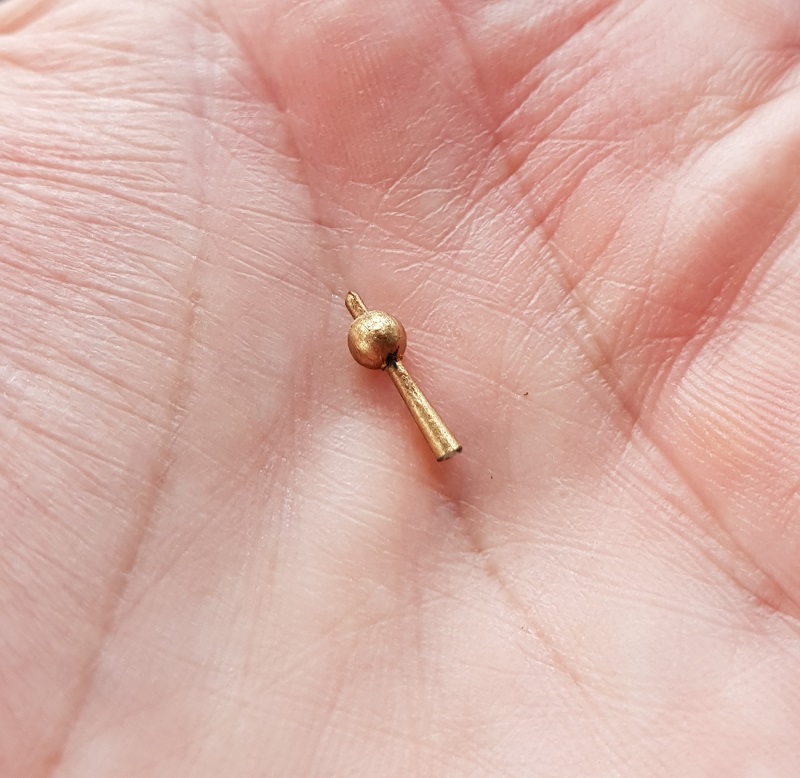
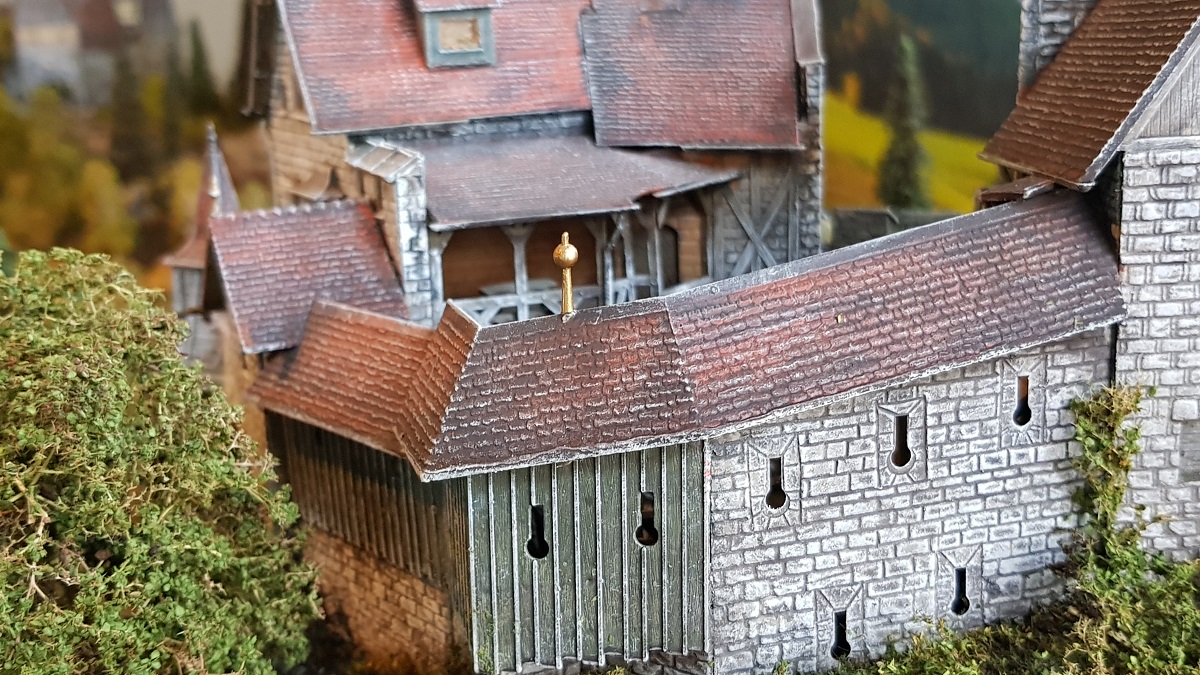
The small yellow meadow got its bushes.
After finishing this valley, the forest will be planted on the very edge of the layout,
both concluding the forest and including the castle!
At this point of the Renovation Proces, a video of the Cochemer Burg was released on 0202|2020
Chapter 23B ~ O u t s i d e t h e b a t t l e m e n t s
(6.2.2020)
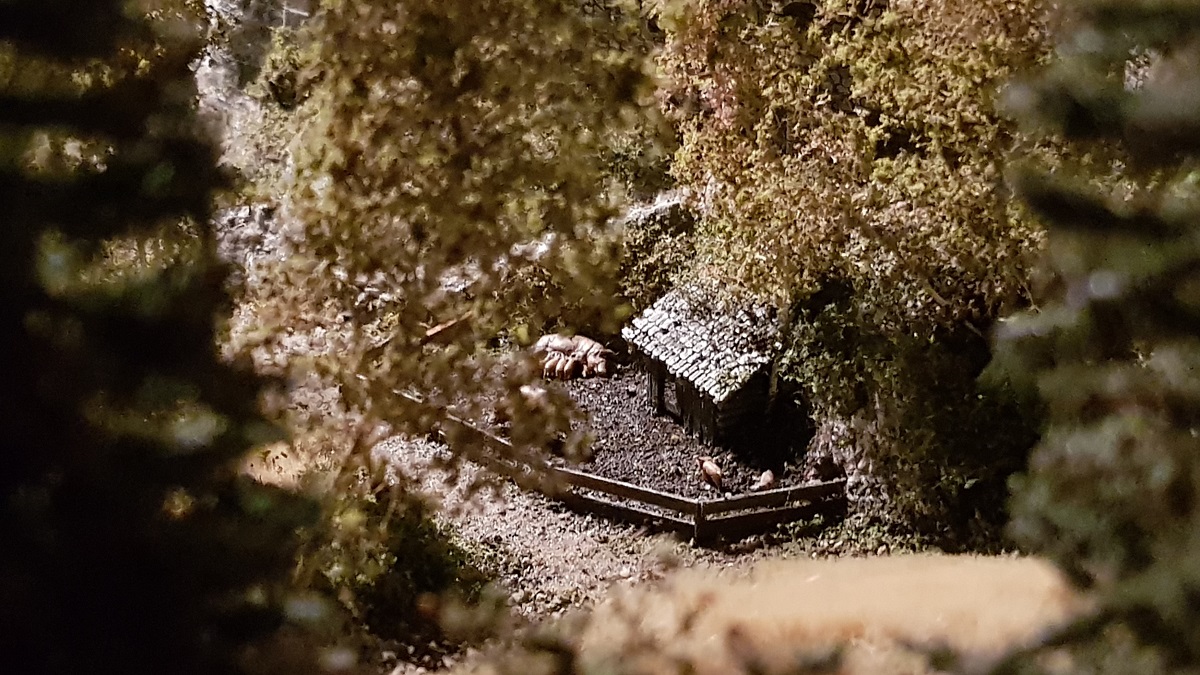
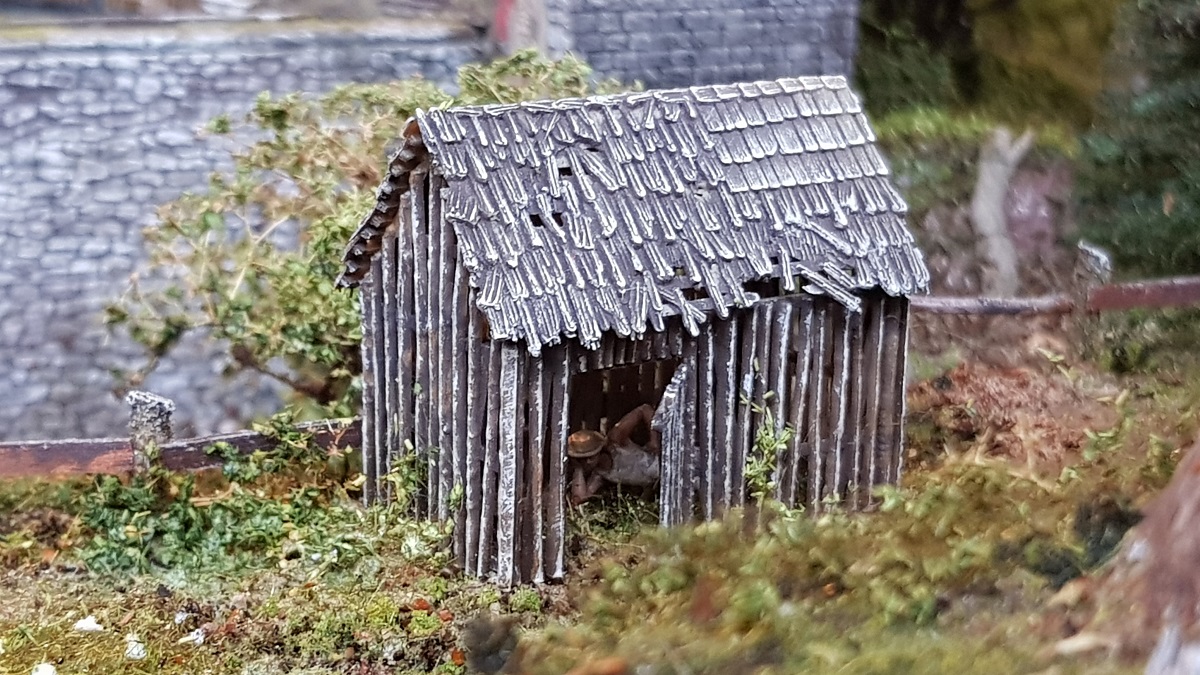
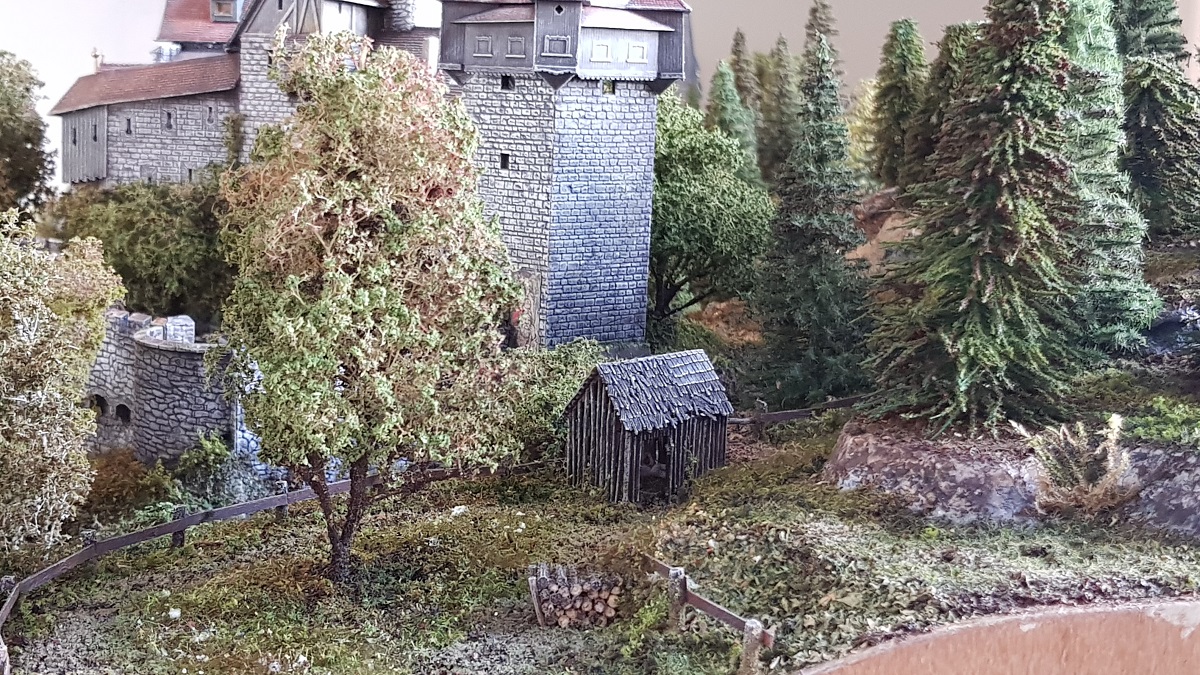
Today everything happened in and around the pigsty...
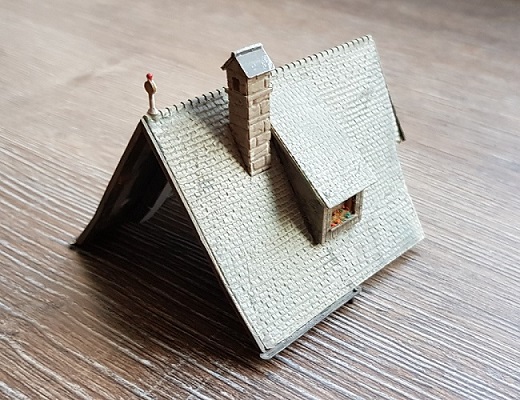
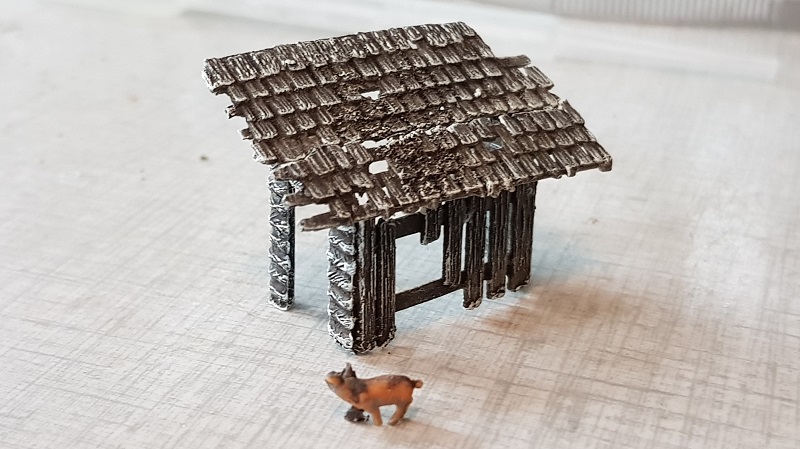
As a kid, I got this Track Maintenance Shed kit on my birthday.
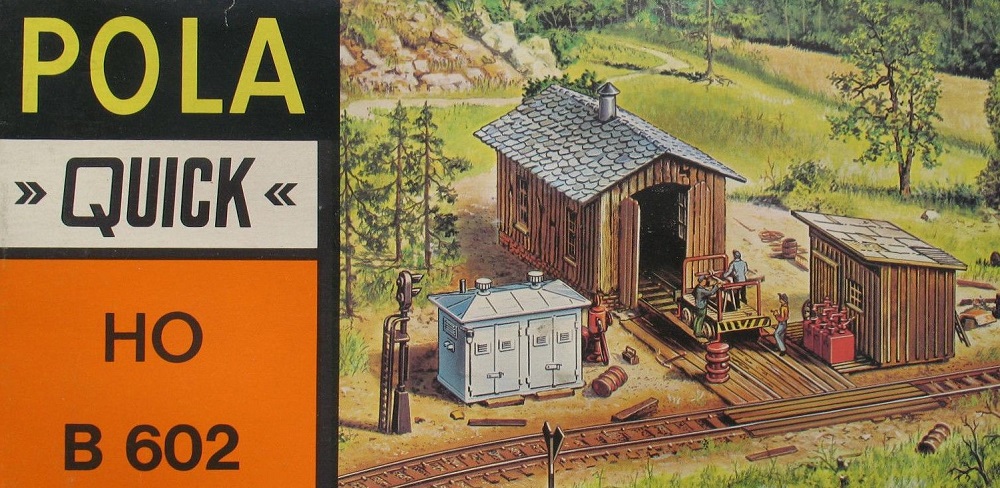
Although it served as a whole on my dad's layout for many years, I only use the small extension in the back now.
Good enough for... a pigsty!
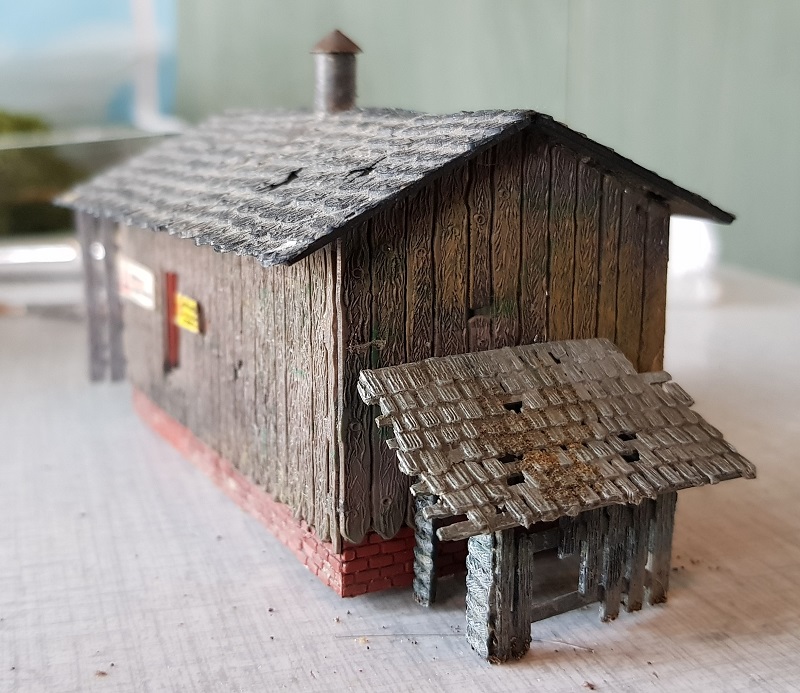
This is how it looked around 2006
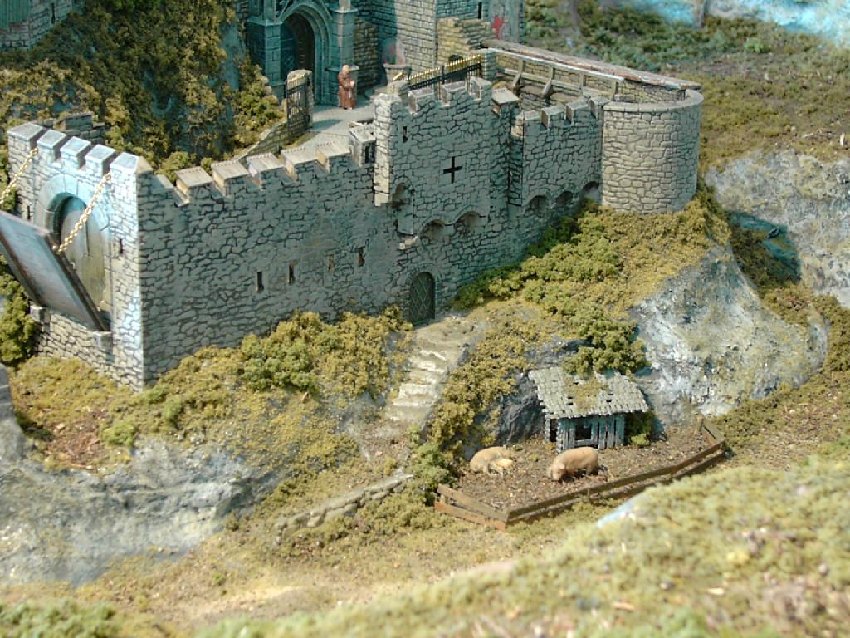
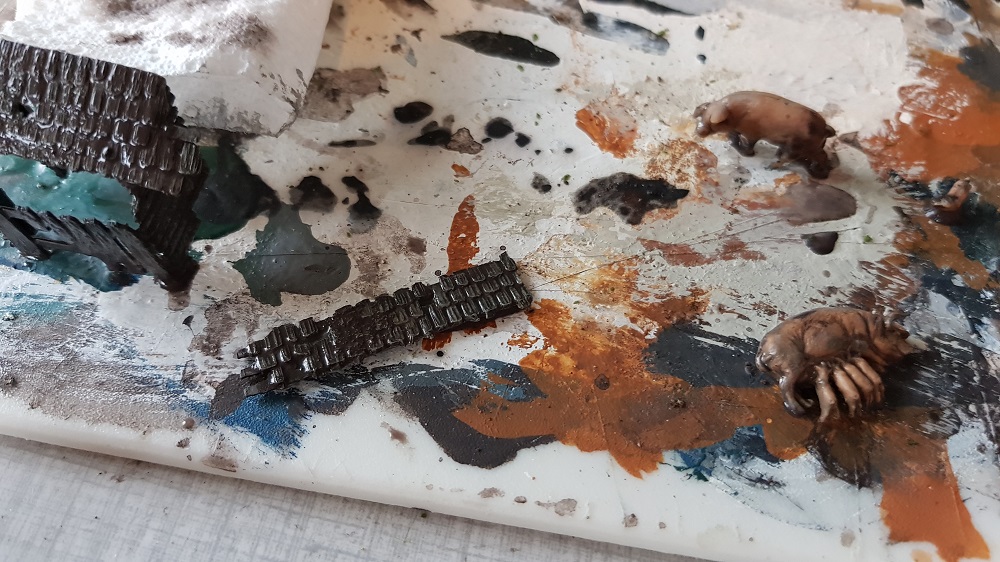
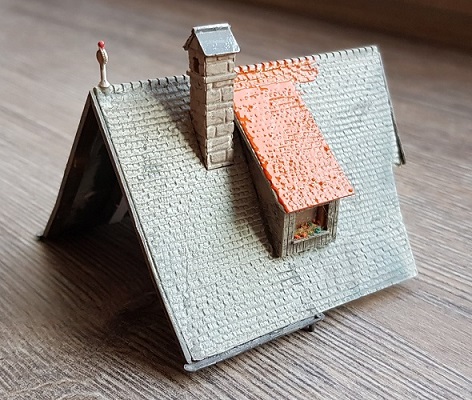
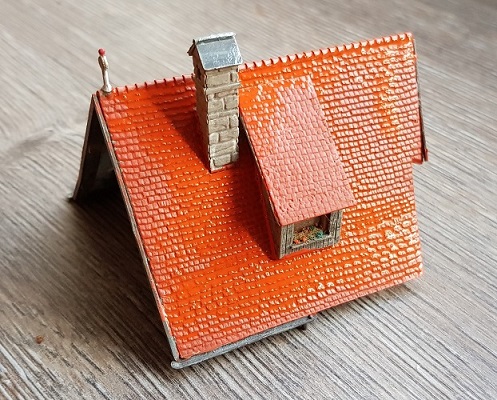
Lasur both on pigs and pigsty.
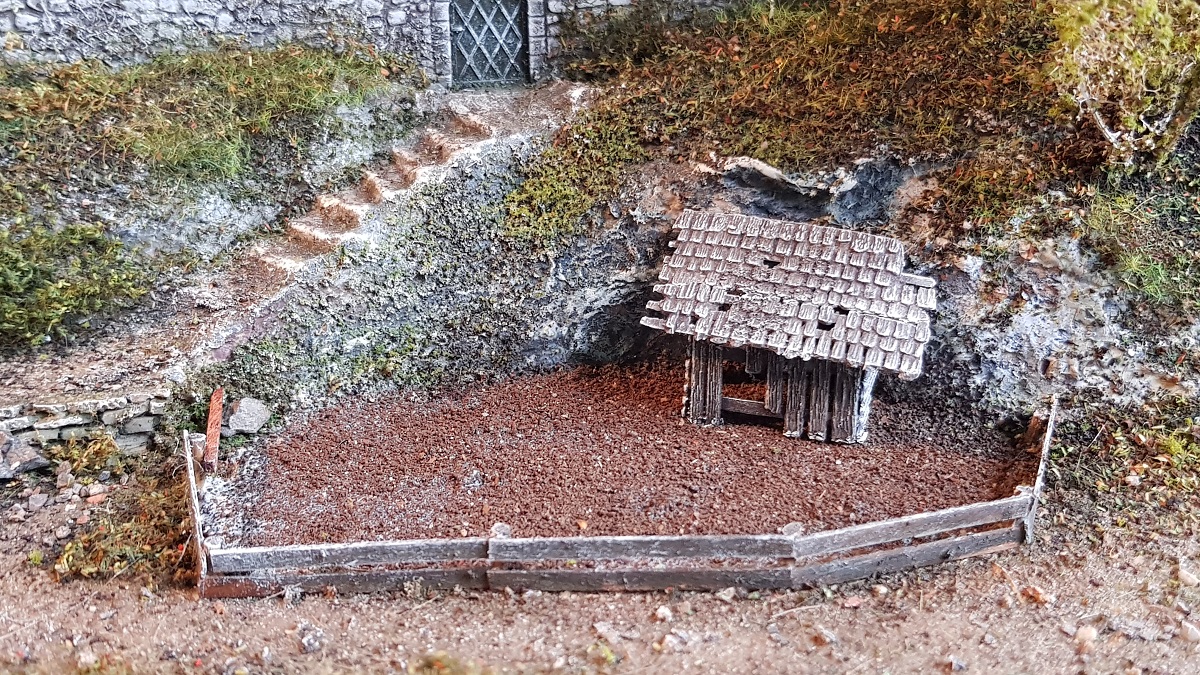

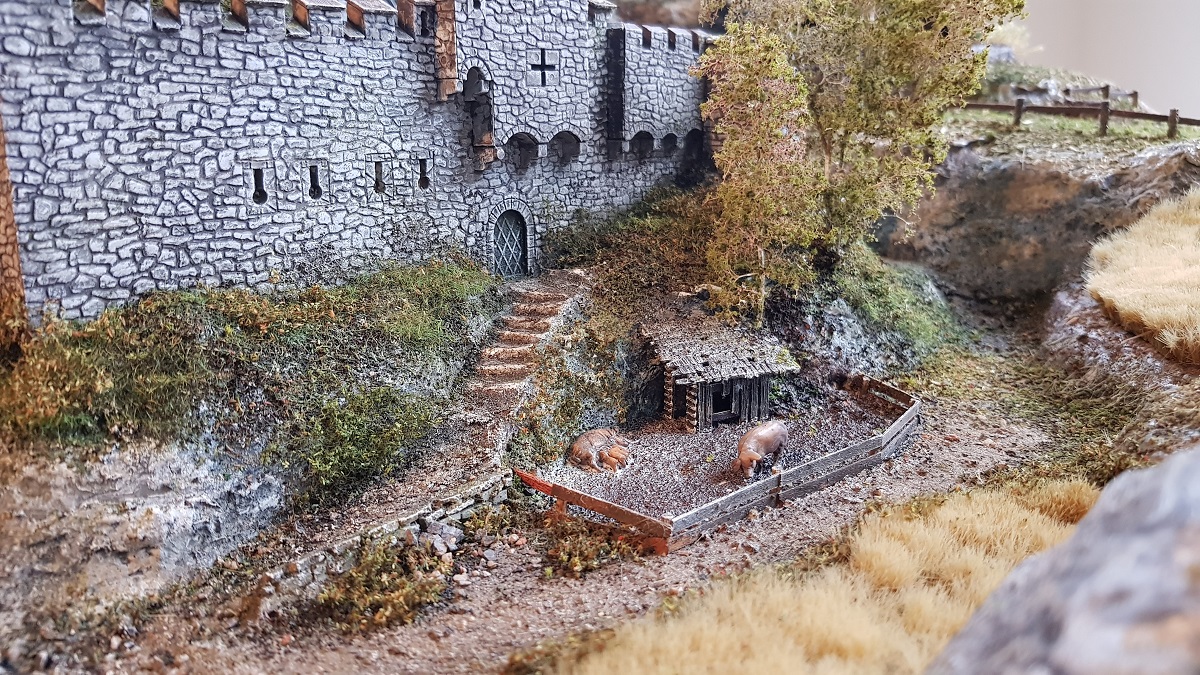
One birch tree grew right through the roof of the pigsty...
A birch tree will be planted right next to the path up hill. The curvature in this path gives a nice alternation!
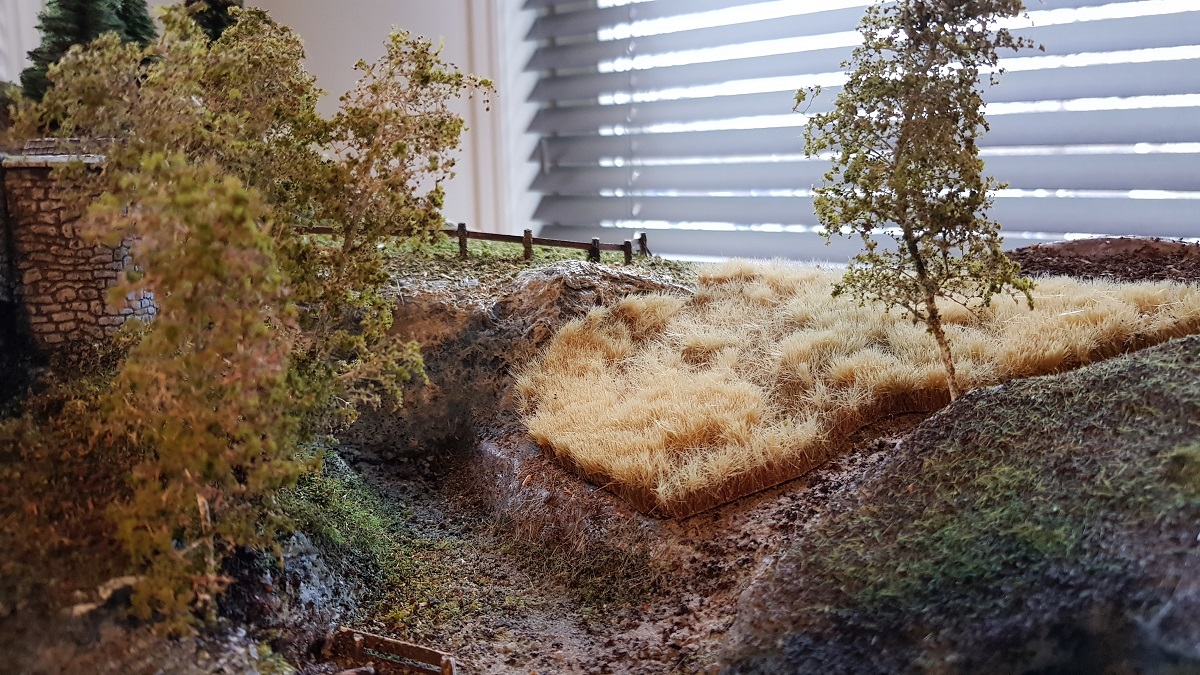
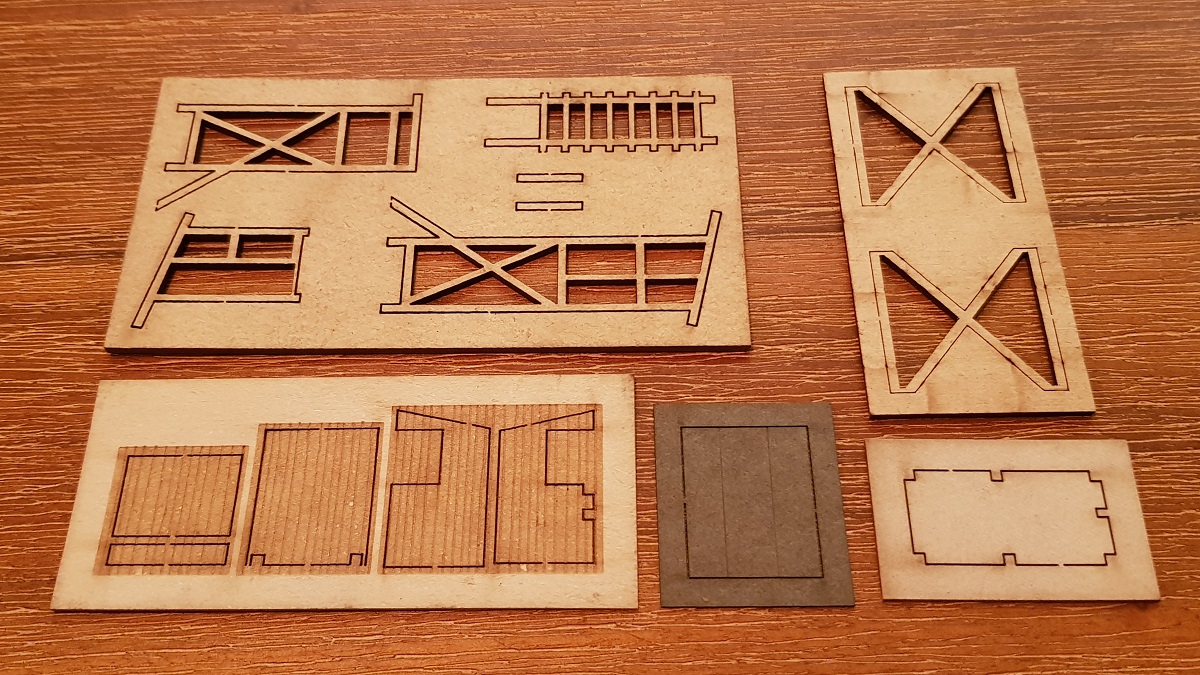
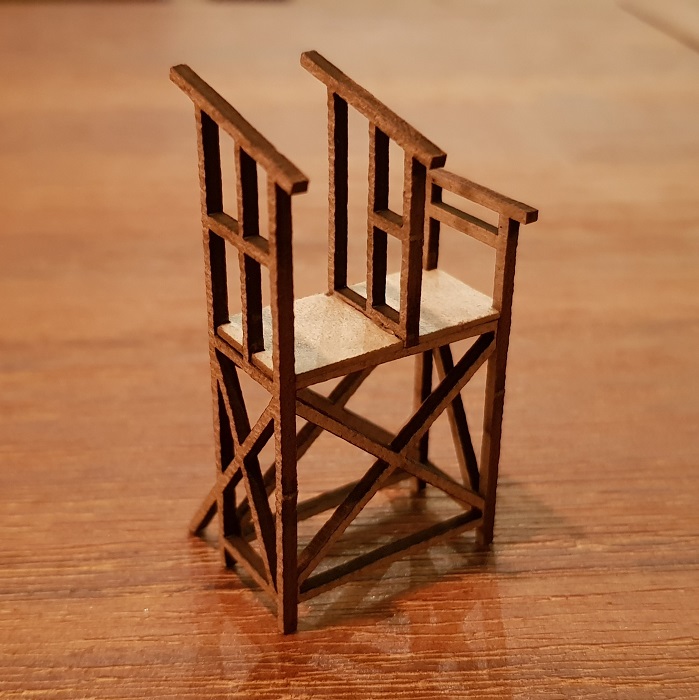
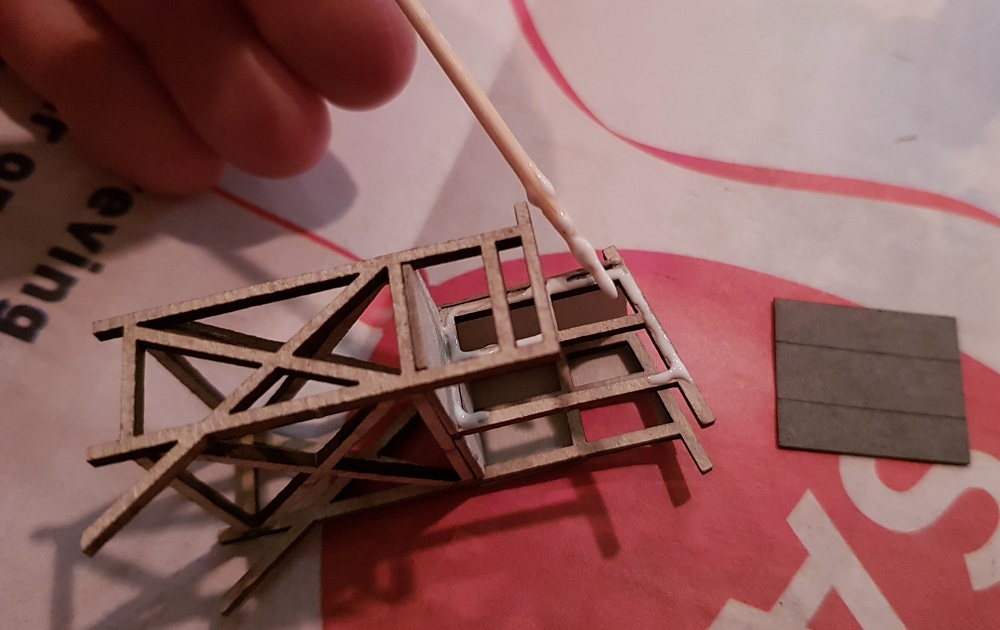
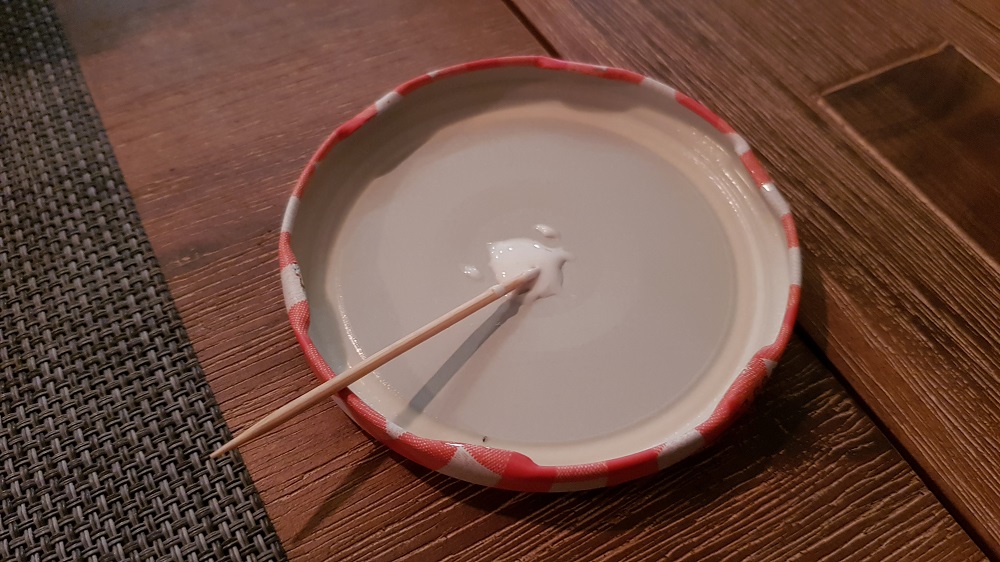
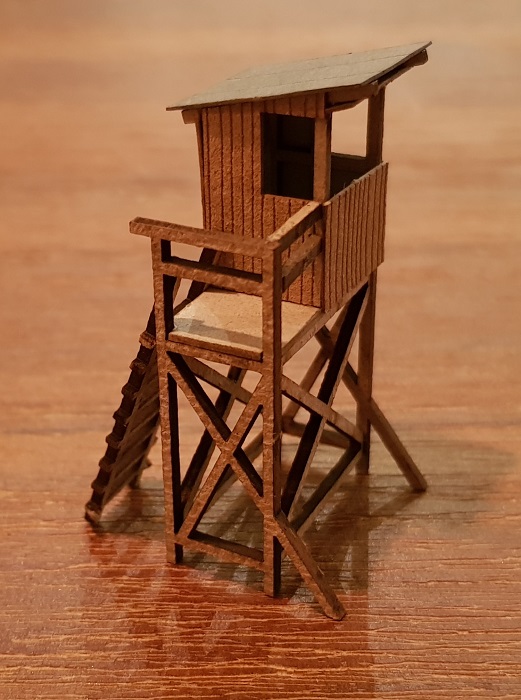
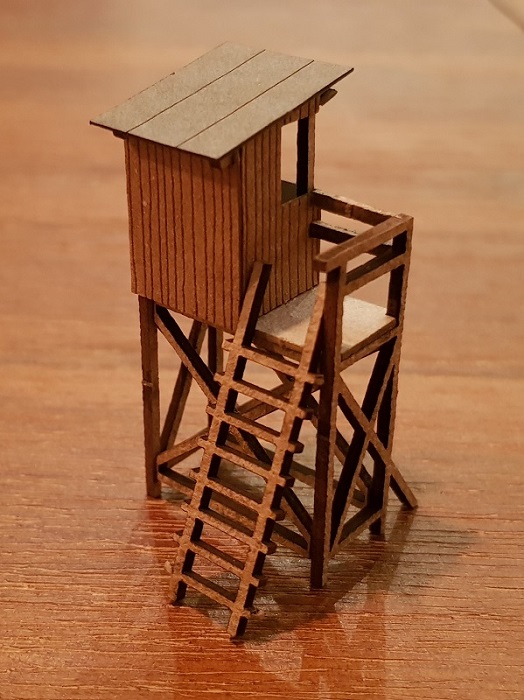
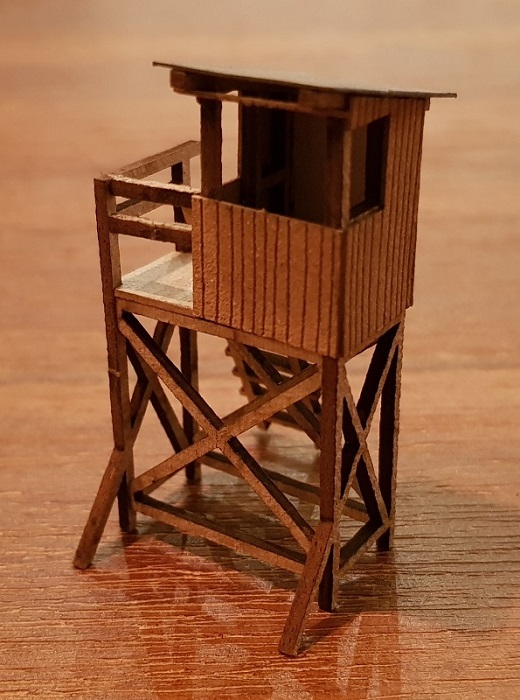
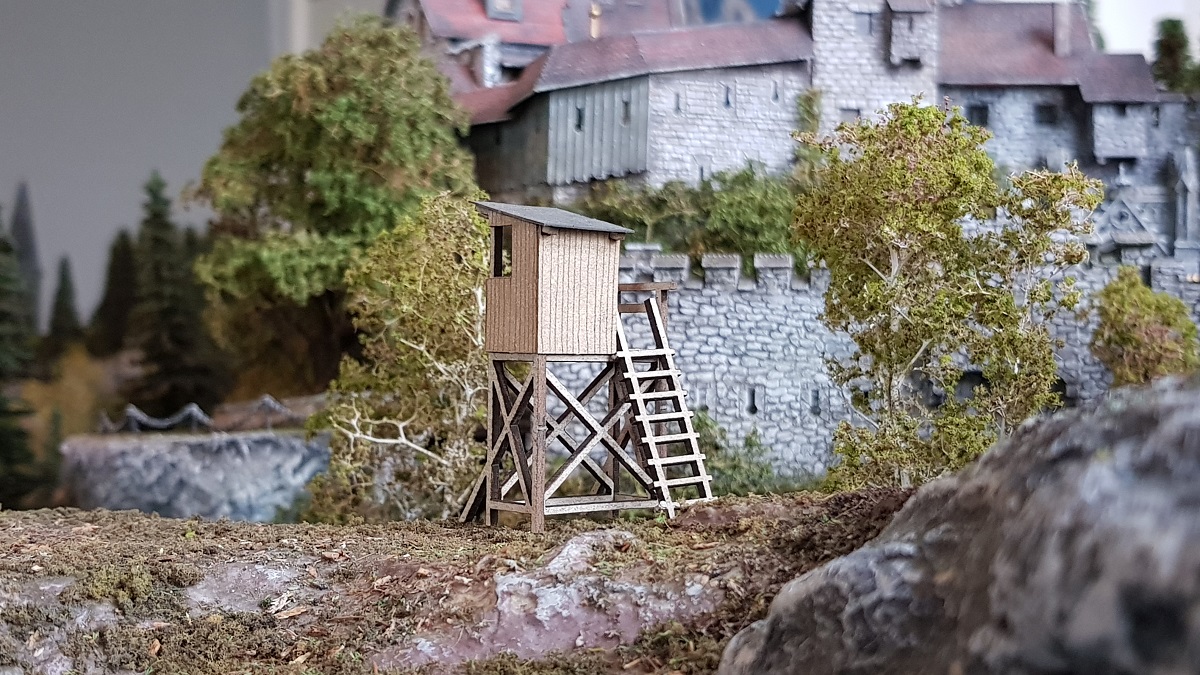
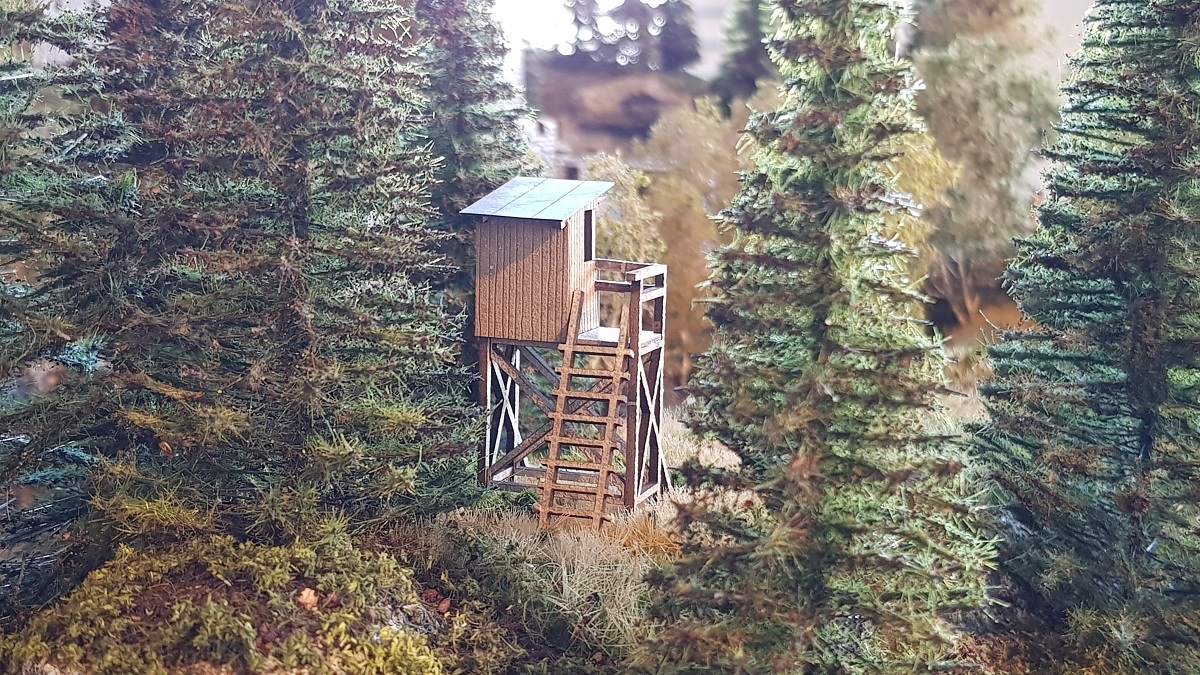
I had this meadow in mind ever since I bought myself this 'Jägerstand', a raised hide.
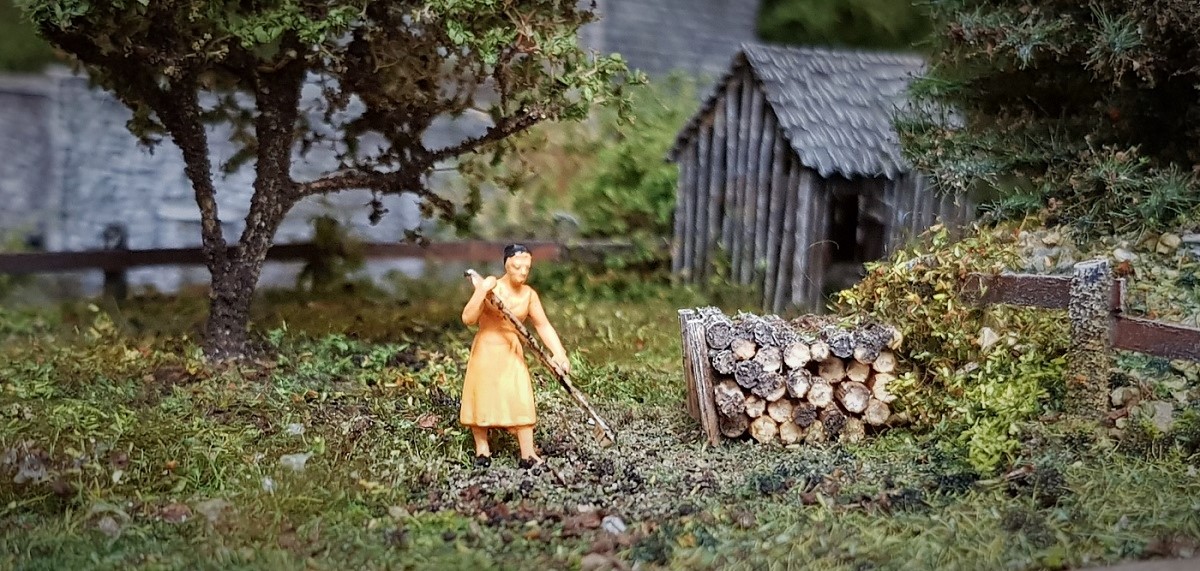
Meanwhile, some vegetation was brought to the little meadow downhill...
The pasture in the east now has a border of weeds and scrub.
I sort of follow the same procedure as I did with the meadows in the west.
The next day, in bright daylight and the glue dried...
7.2.2020
When you get the hang of it... you won't stop!
(11.2.2020)
The meadow - previously called 'Waldweide' - somehow annoyed me all the time. So, after 11 months I decided to do a make-over today.
Even the forest behind the castle, in the utmost eastern corner - which was the very first forest of the 2019 renovation - will be redone in some days!
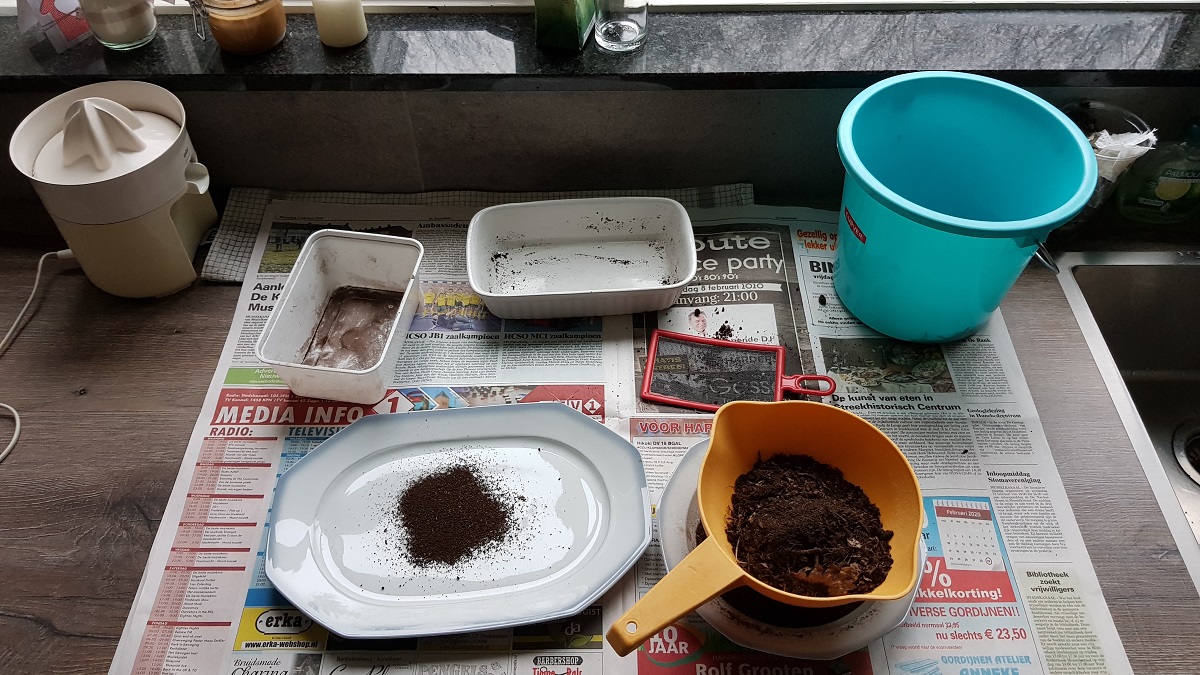
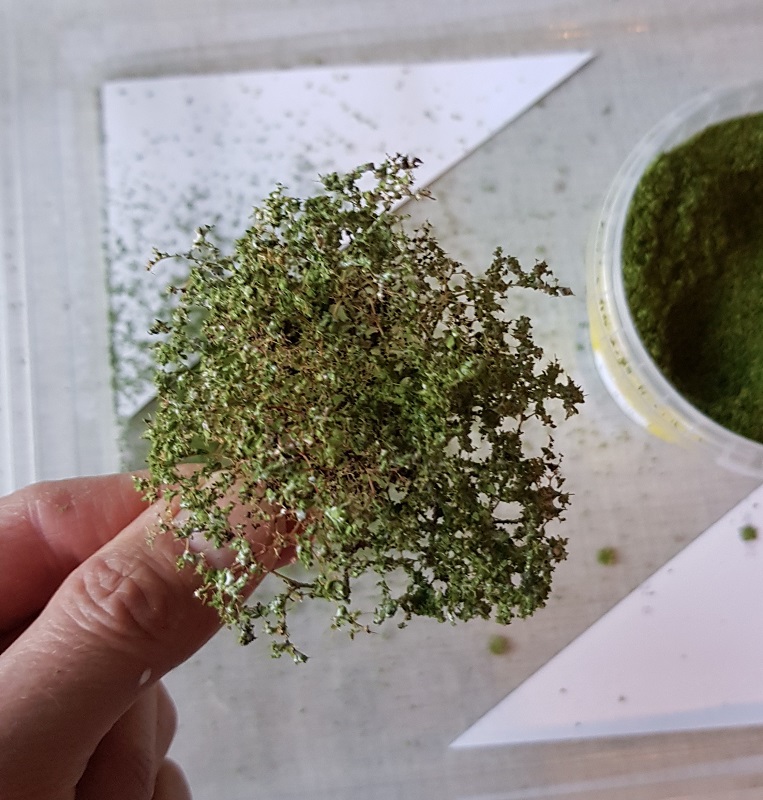
But first, new 'soil' was sieved with pure natural materials taken from the forest.
10.2.2020 ~ yesterday's look at night...
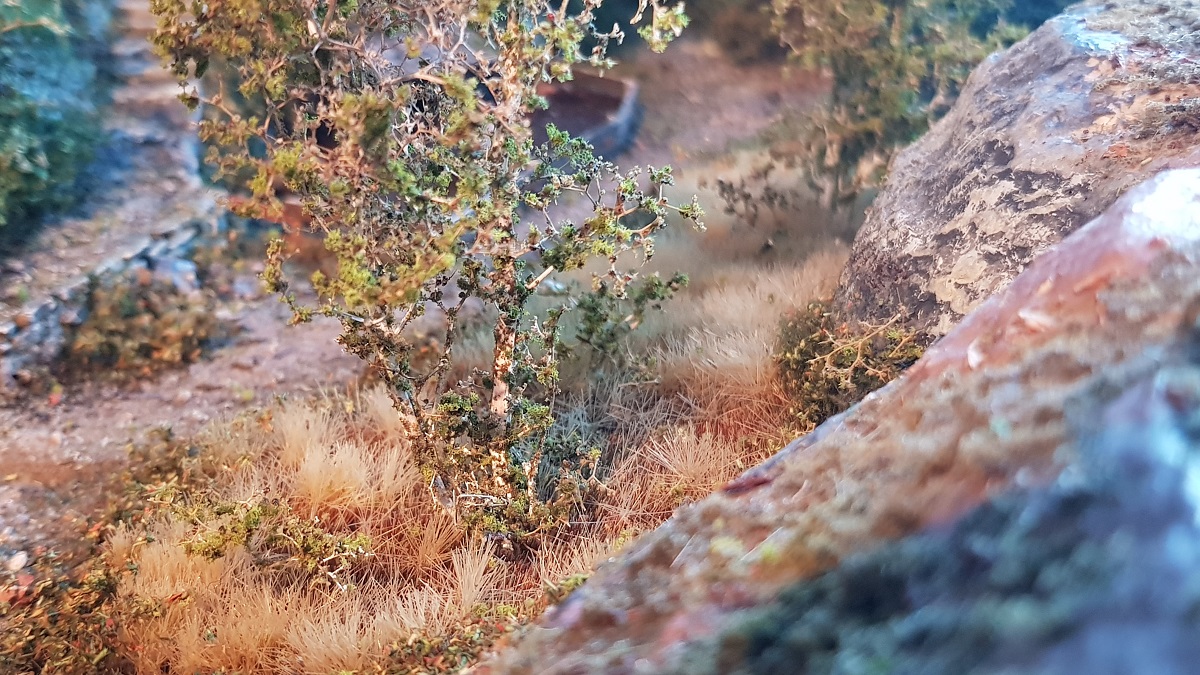
My main goal for today is to add more vegetation on the eastern slope, into the forest edge.
Second, 'Waldweide' will be renewed in the same way as I created the stork meadow behind the station.
And finally, I want to have a last glimpse on the meadow opposite the castle.
A new turf as layer and a sandy path close to the fence.
Sometimes sudden and simple ideas are the best. Like putting a solitary tree in the middle of the field.

The meadow gets some deer, small bushes in the grass and more trees around...


In the morning and...
... in the afternoon.
I n t e r m i s s o n (1)
For some reason I have succeeded in placing three stained glass windows vertically instead of horizontally.
The right ones don't match with the left ones, as a dear friend pointed out to me watching my site!
12.1.2006
Today I fixed it!
11.2.2020
I n t e r m i s s o n (2)
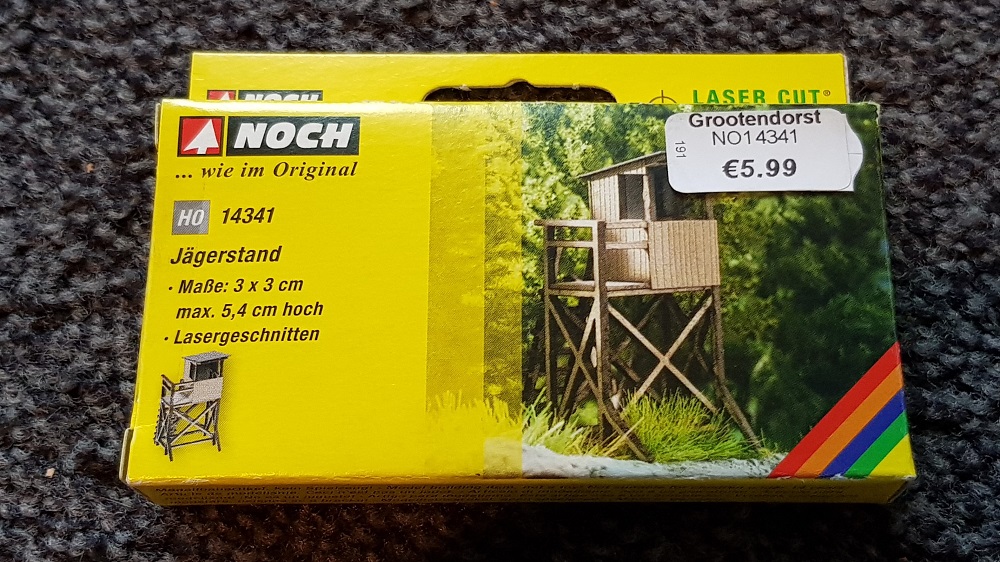
A small kit named "Jägerstand" (Raised Hide, Noch 14341) which I bought earlier was a small gem, which I put together on a remaining evening hour...
I intend to put it either in the yellow grass meadow or on the hill ridge to come. Depending the perspective after I have finished the forest...
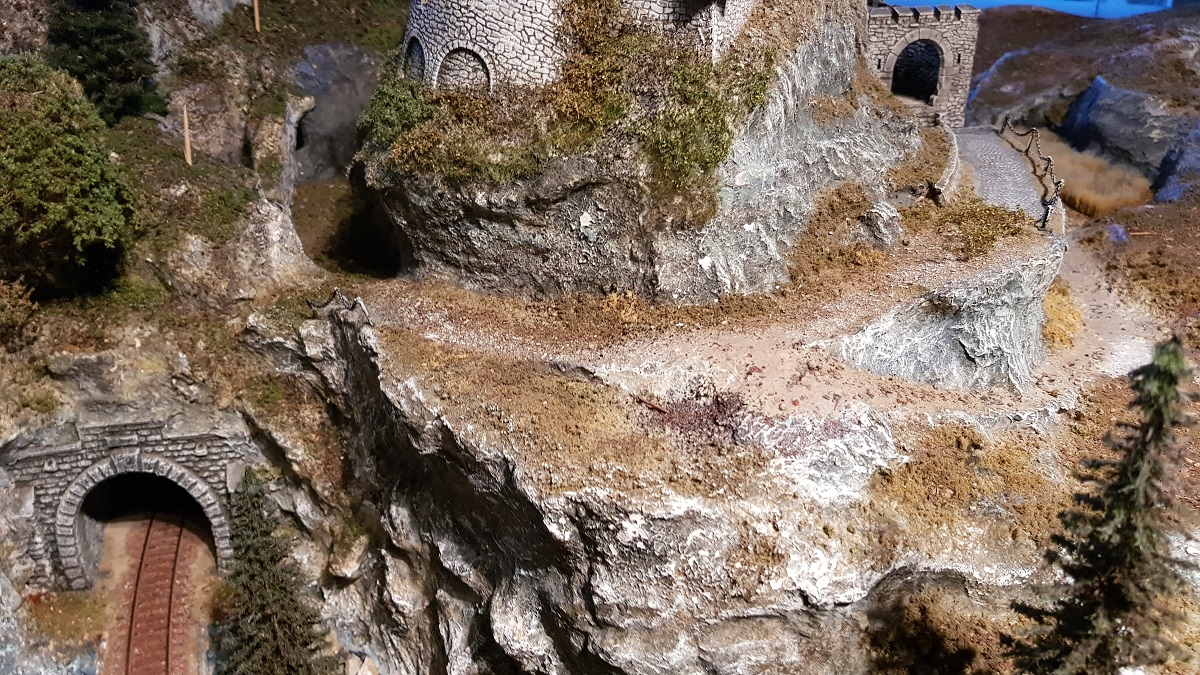
Chapter 23C ~ The Hill Ridge
(24.2.2020)
Last weekend working on the hill ridge at the south-east side of the Castle
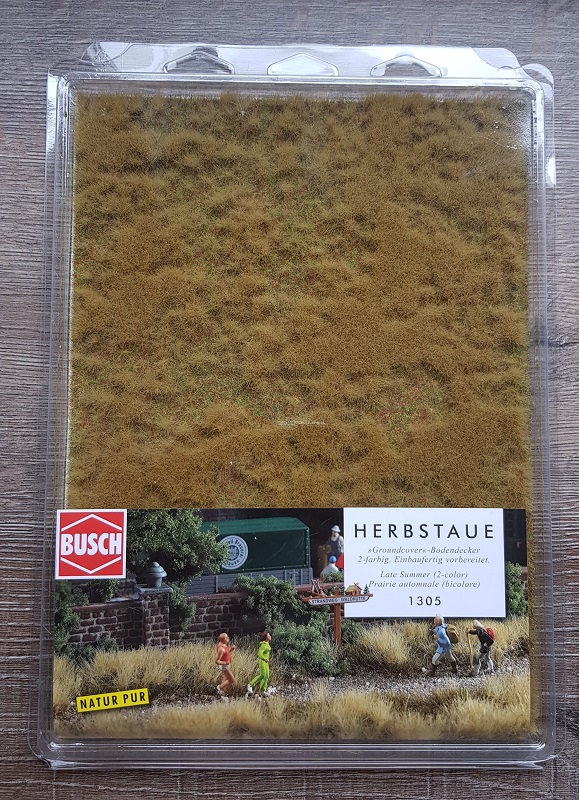
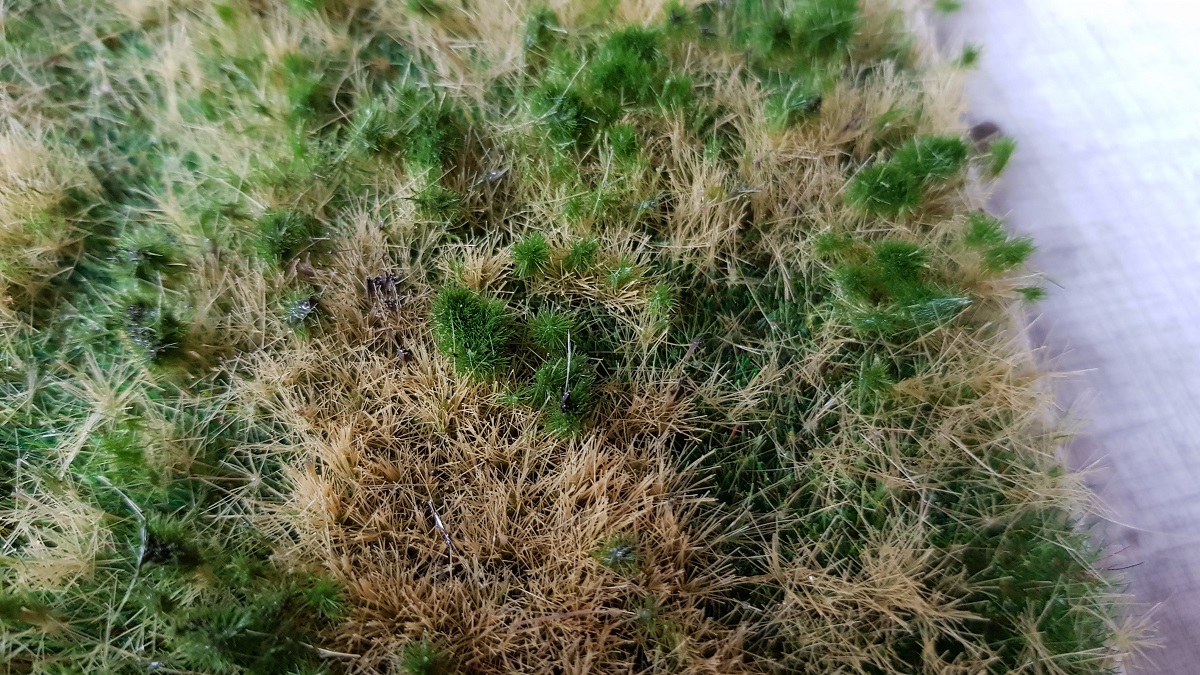
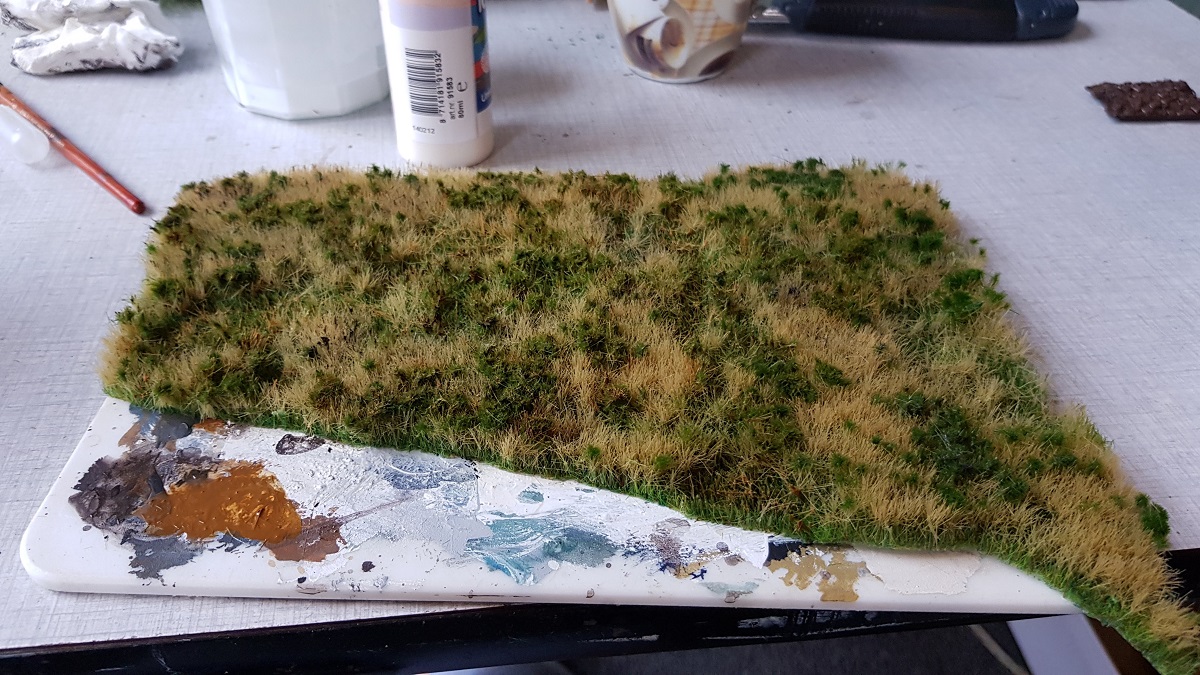
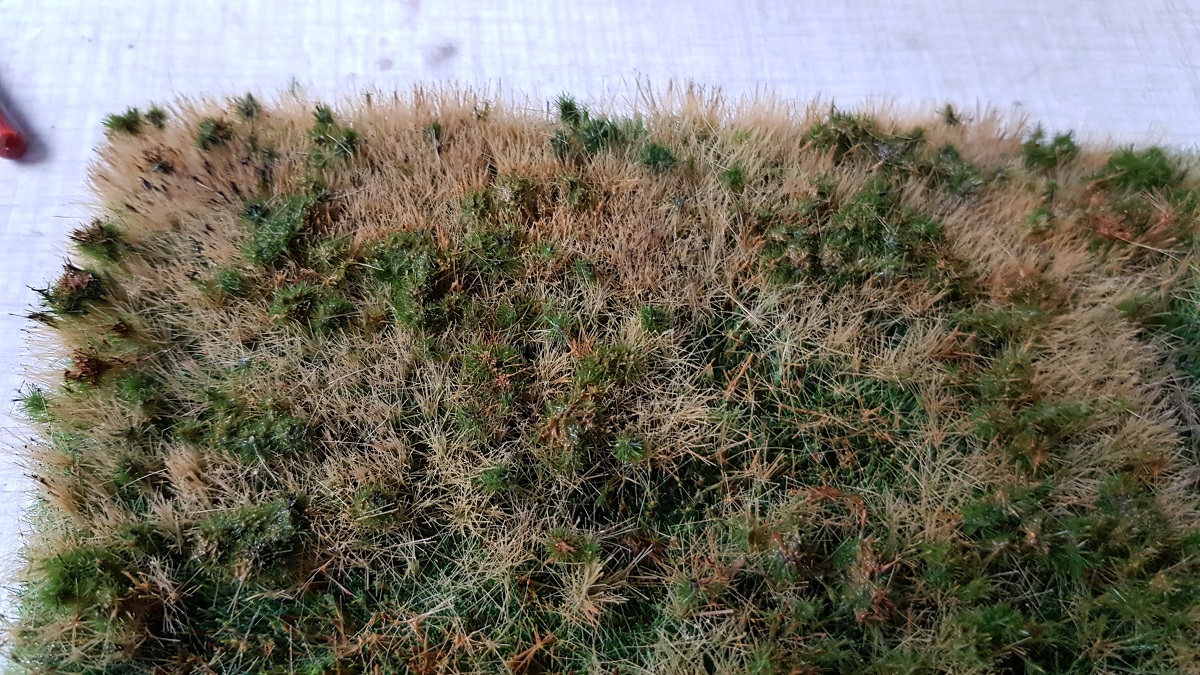
Although I'm careful in ordering online, I needed "Busch 1305 Herbstaue" this weekend for another meadow on the hill ridge.
So I ordered it by modelbahn-shop Lippe. Alas, although the right item, it seemed to be a pretty outdated box.
A totally wrong colouring and half the size it should have been.
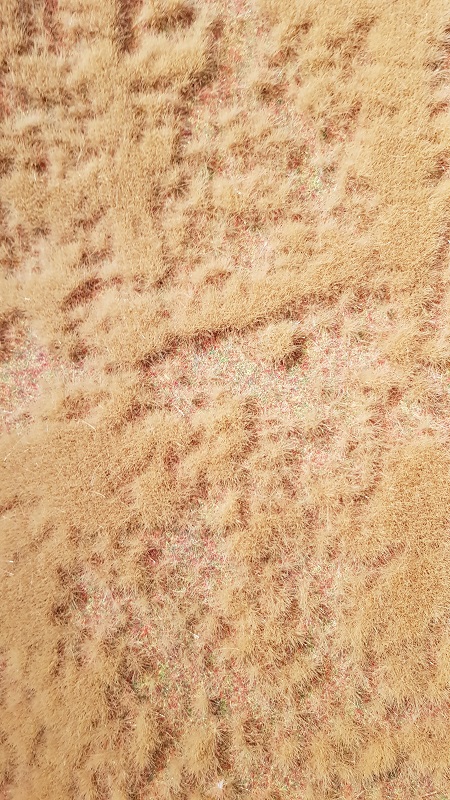
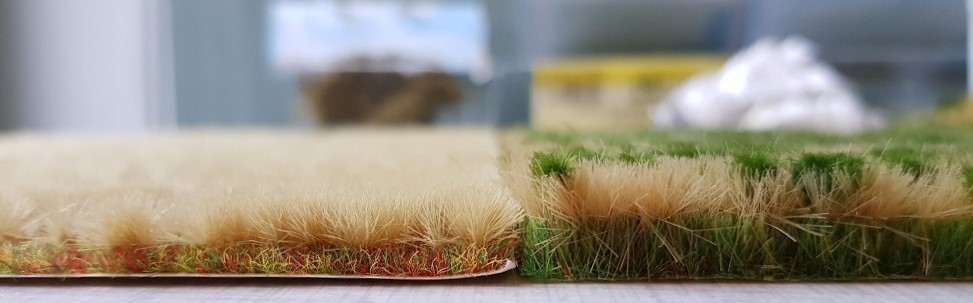
Compare the hight of the grass (left: the 'erroneous' 1305, right: 1308). Also mark those awkward green and red spots...
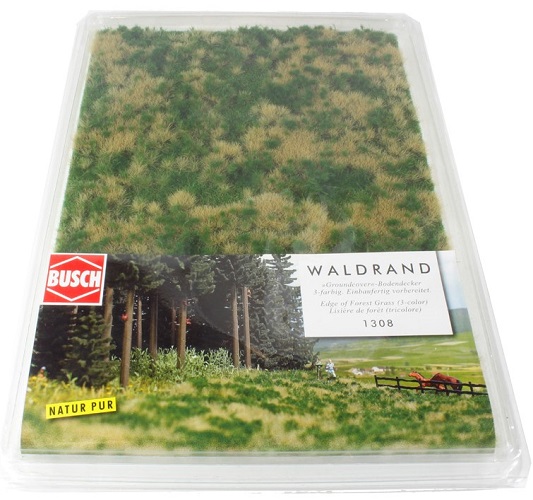
Since I still had a piece of 1308 Waldrand - not directly my favourite, since to me it's too dark greenish and I became rather fond of Herbstaue 1305 -
but yet I wanted to do something in this weekend, I took paint and fantasy... and that's exactly how things work.
And than there is the planning of where to have grass and where the trees.
There will be trees anyway, but I don't want them to block the view on the castle from different angles.
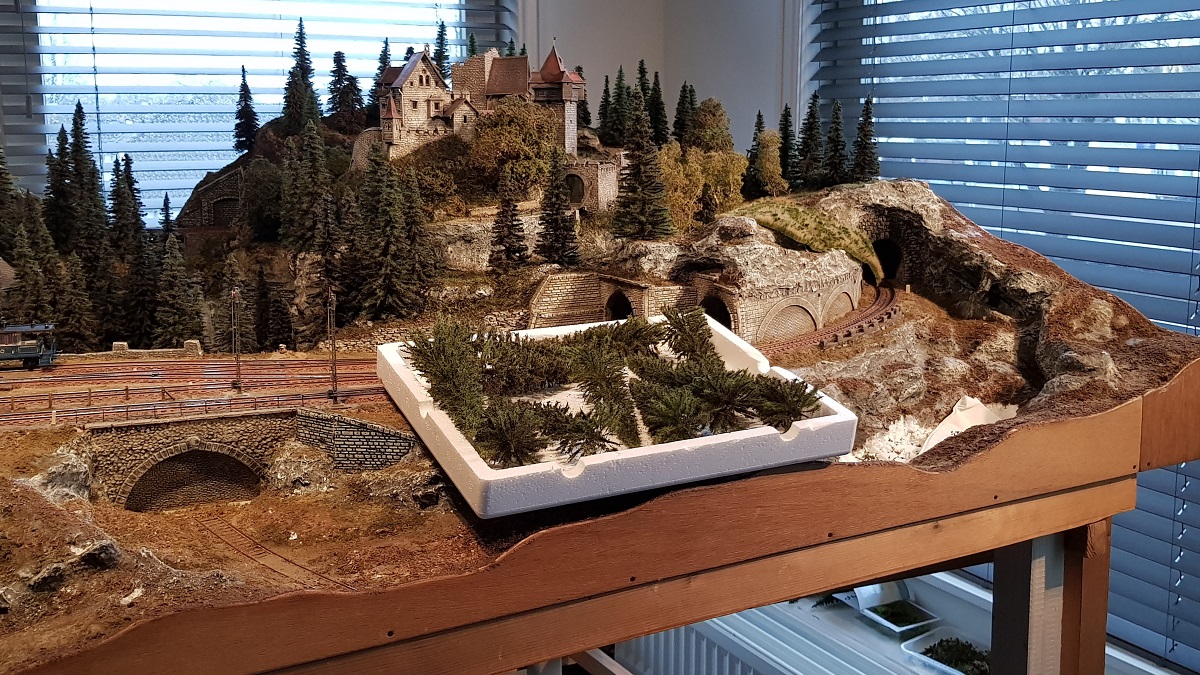
By the way... those trees in front are the exception to the rule.
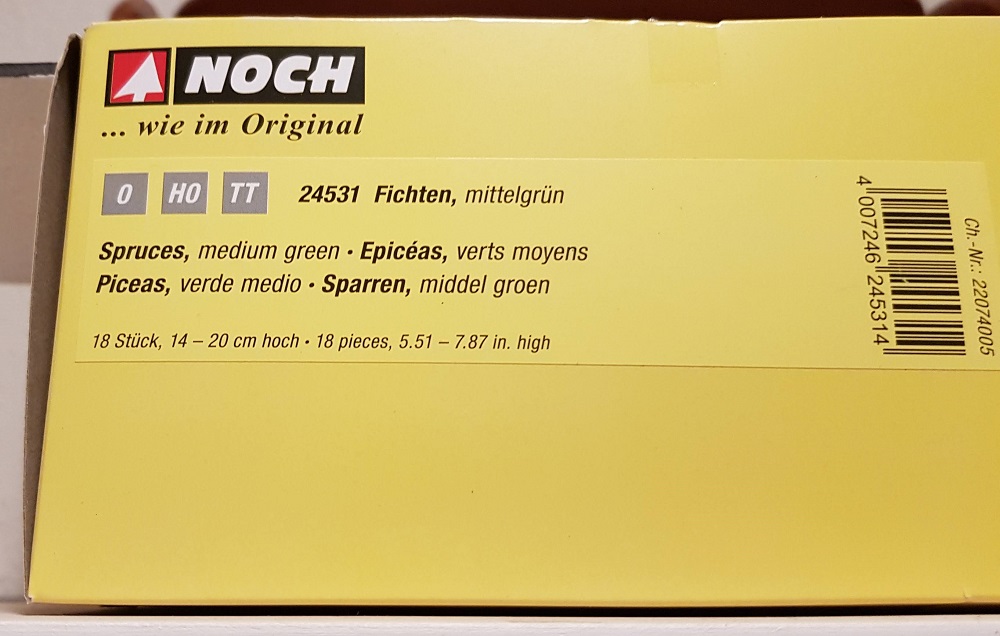
Untill now I used 24350, but this one is a box with Spruces in medium green!
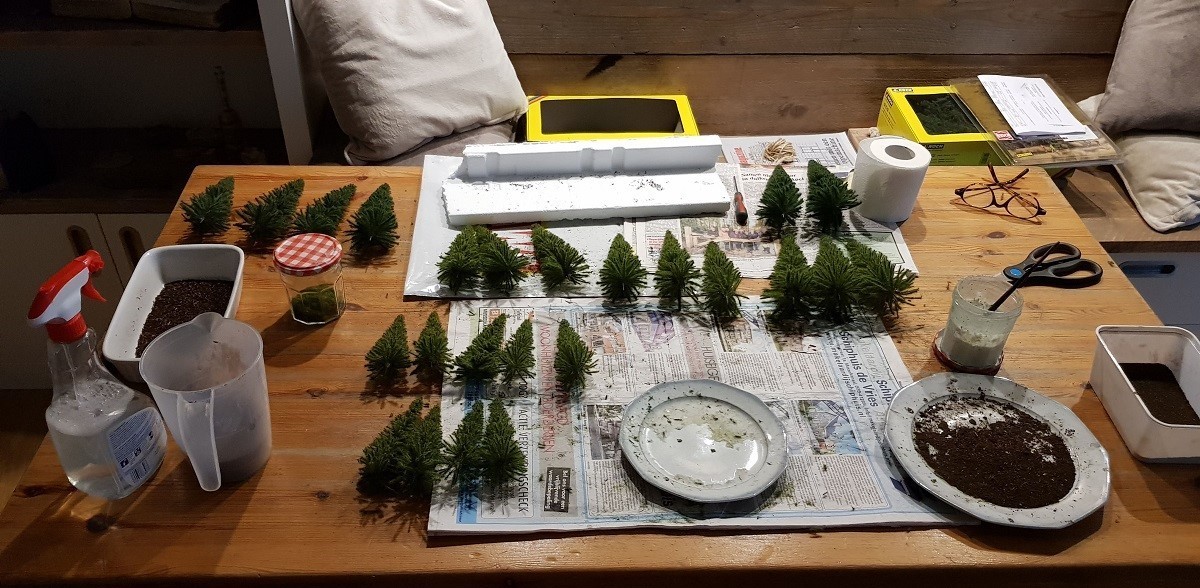
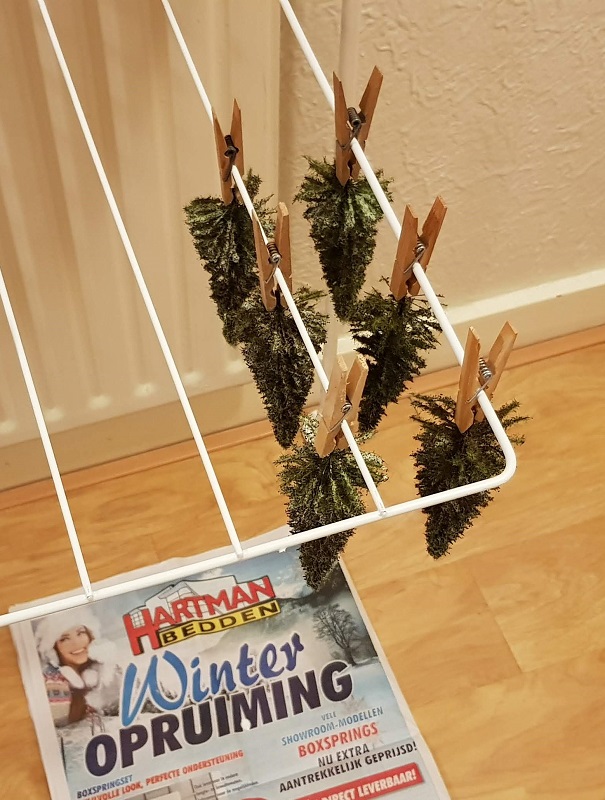
I also used a different method: hanging instead of standing drying.
To prevent styrofoam from sticking to the stem.
Alas, most tree tops have a glue cone now...
23.2.2020
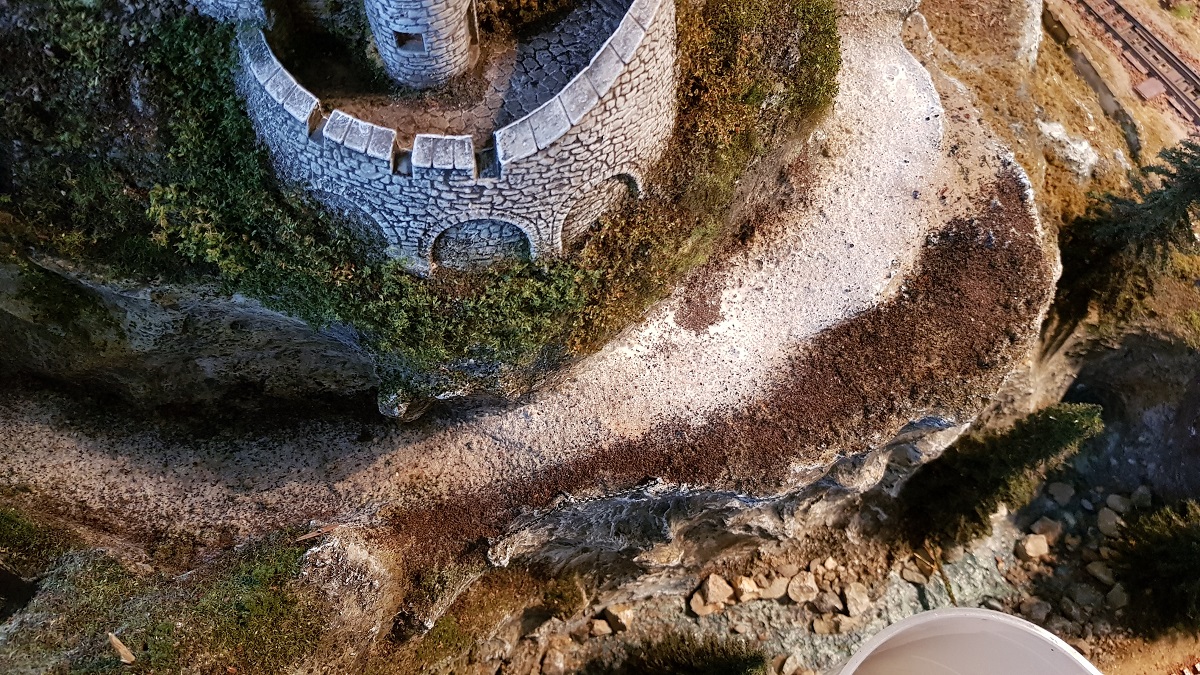
The first week of March has arrived and I have added more trees and grass to the Eastern Slope.
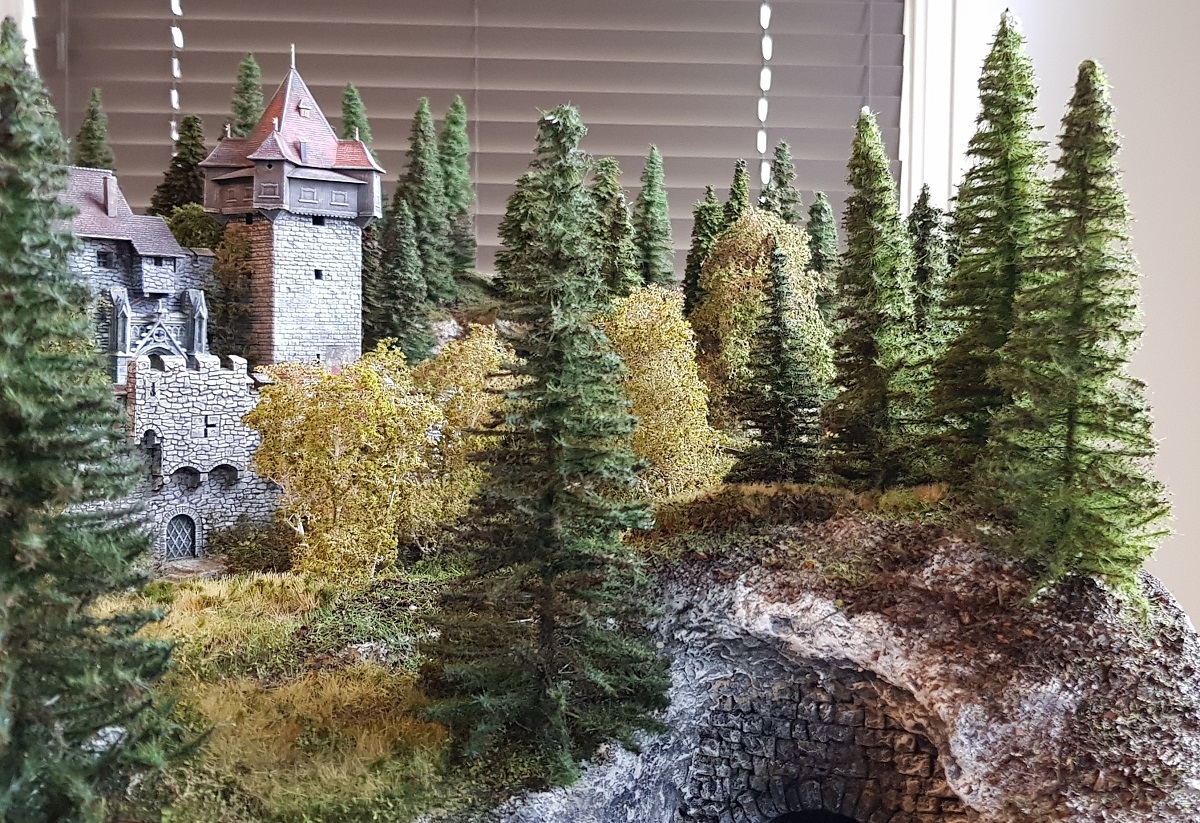

Working clockwise, the front part was at stake this afternoon...
(3.3.2020)
My friend Ron insists on saying it all the time:
"Make the vegetation as thin as possible. Paper thin...!"
Therefor the result is most rewarding...
3.3.2020
Furthermore, I had to finish some edges, by applying bushes and low scrub here and there.
I like the variety that is becoming increasingly visible.
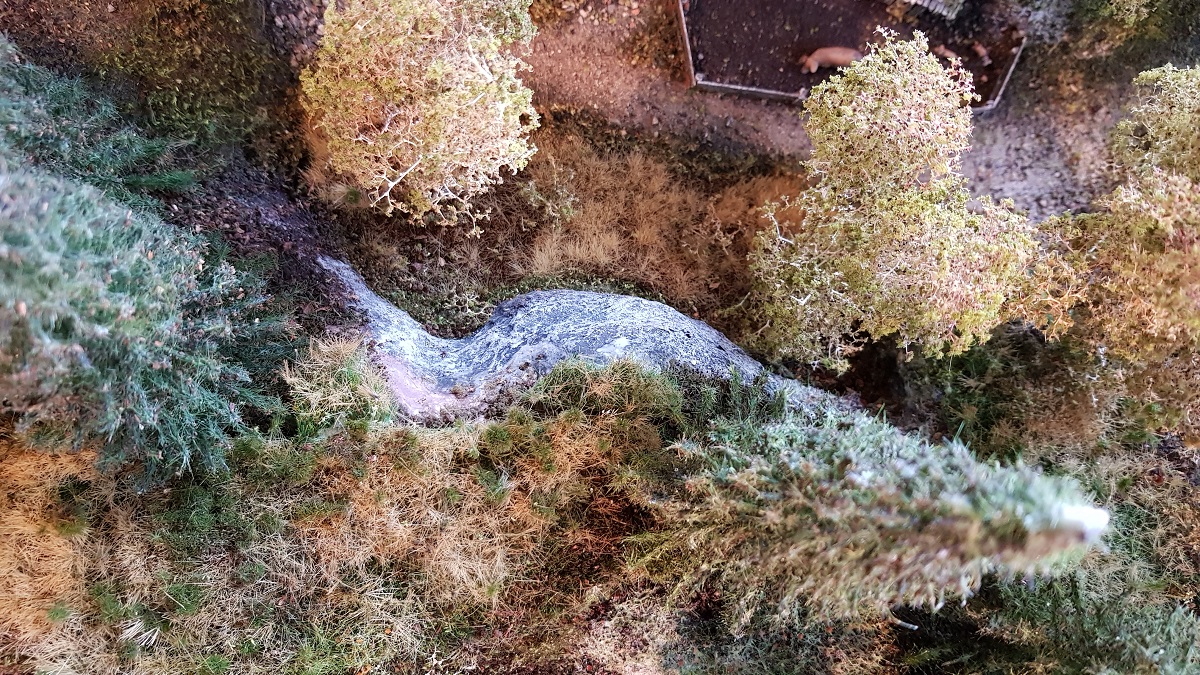
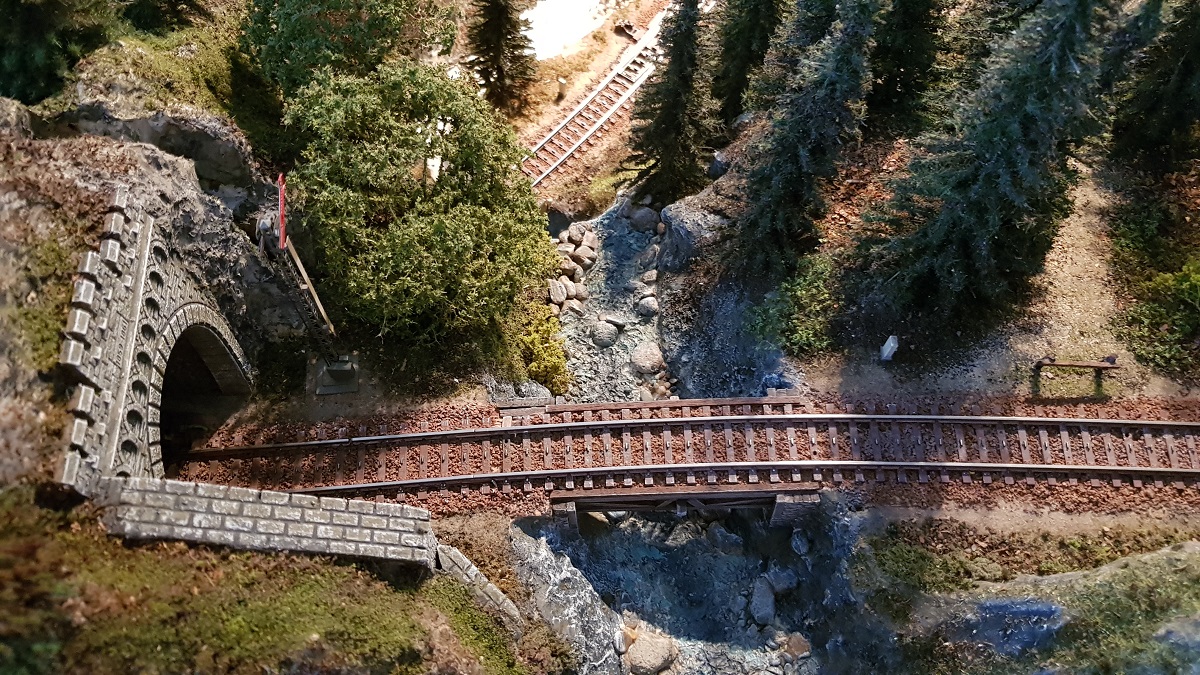
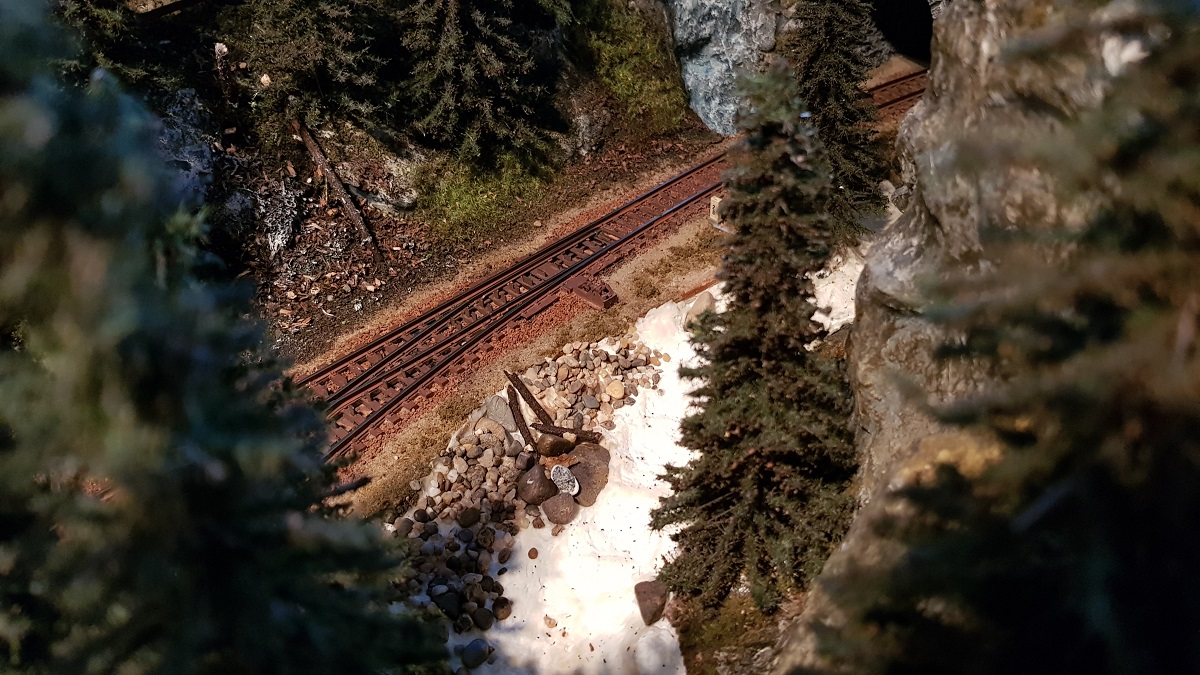
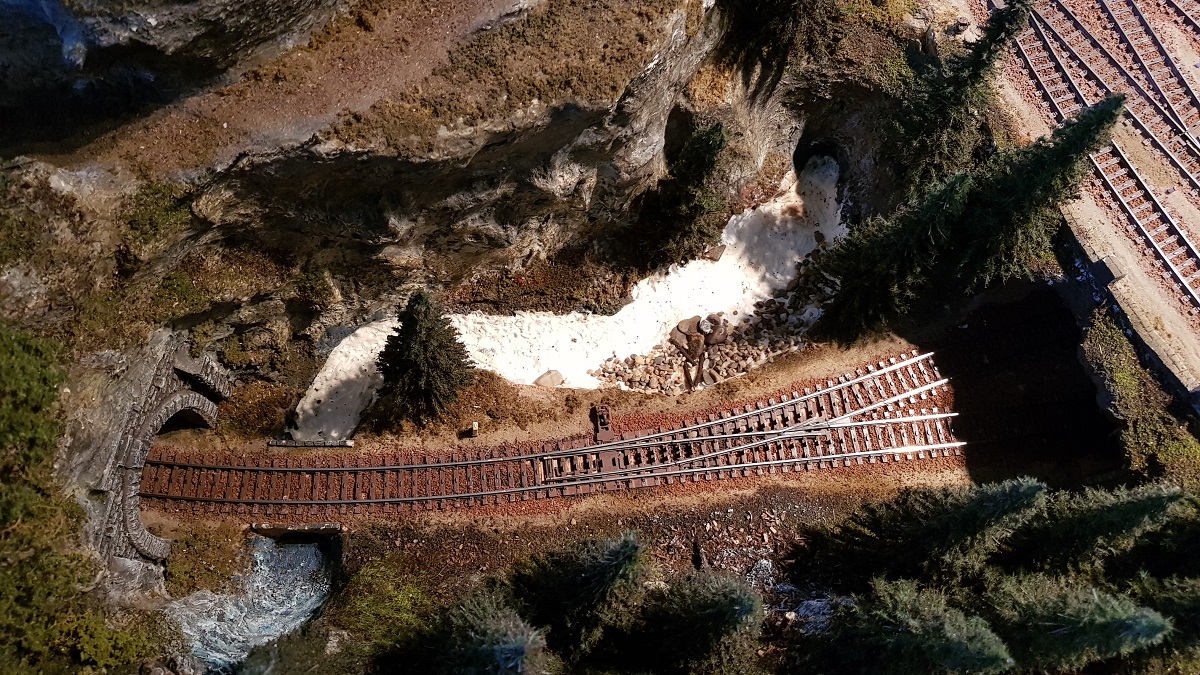
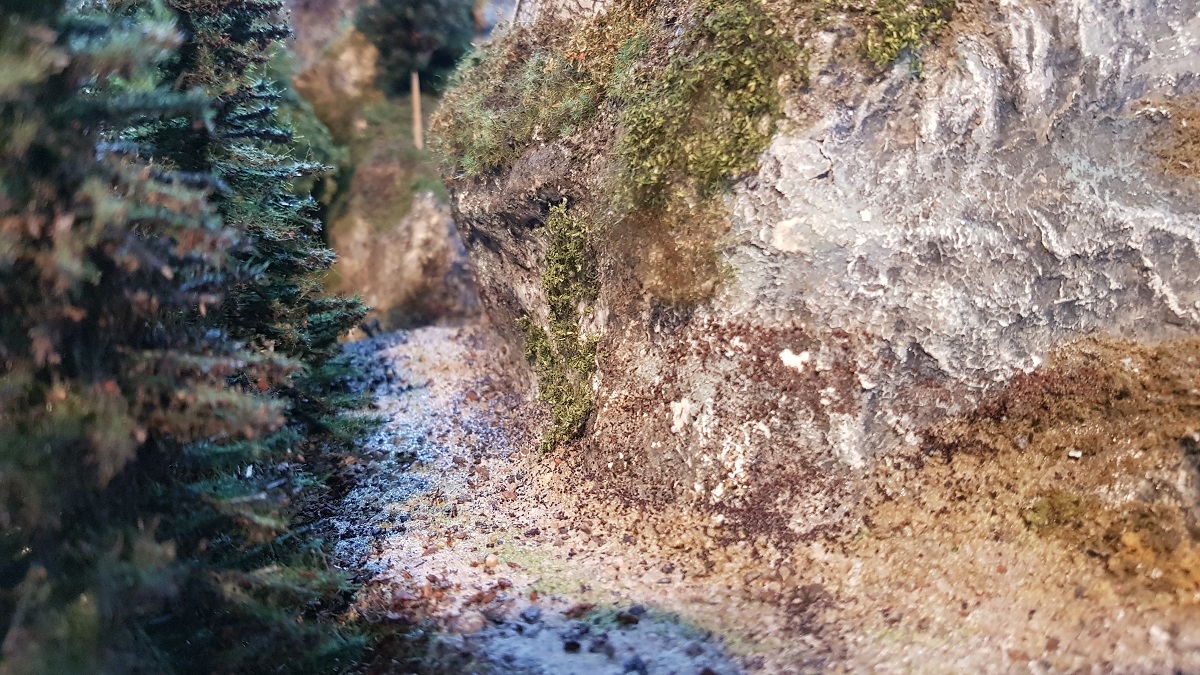
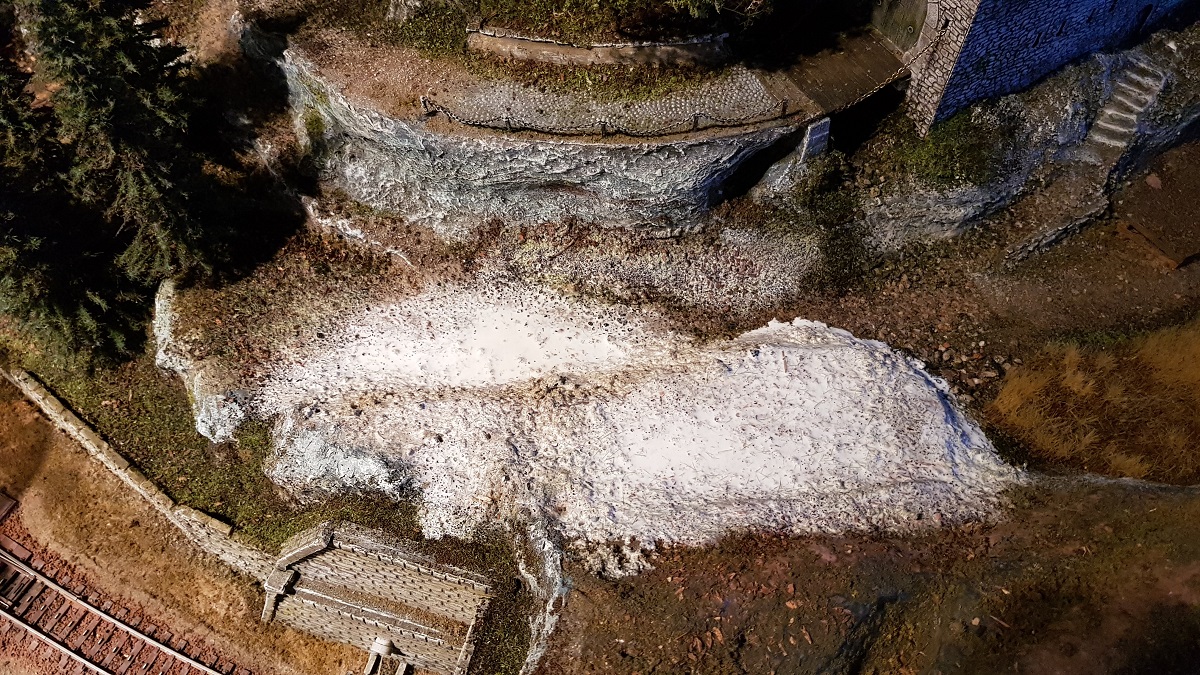
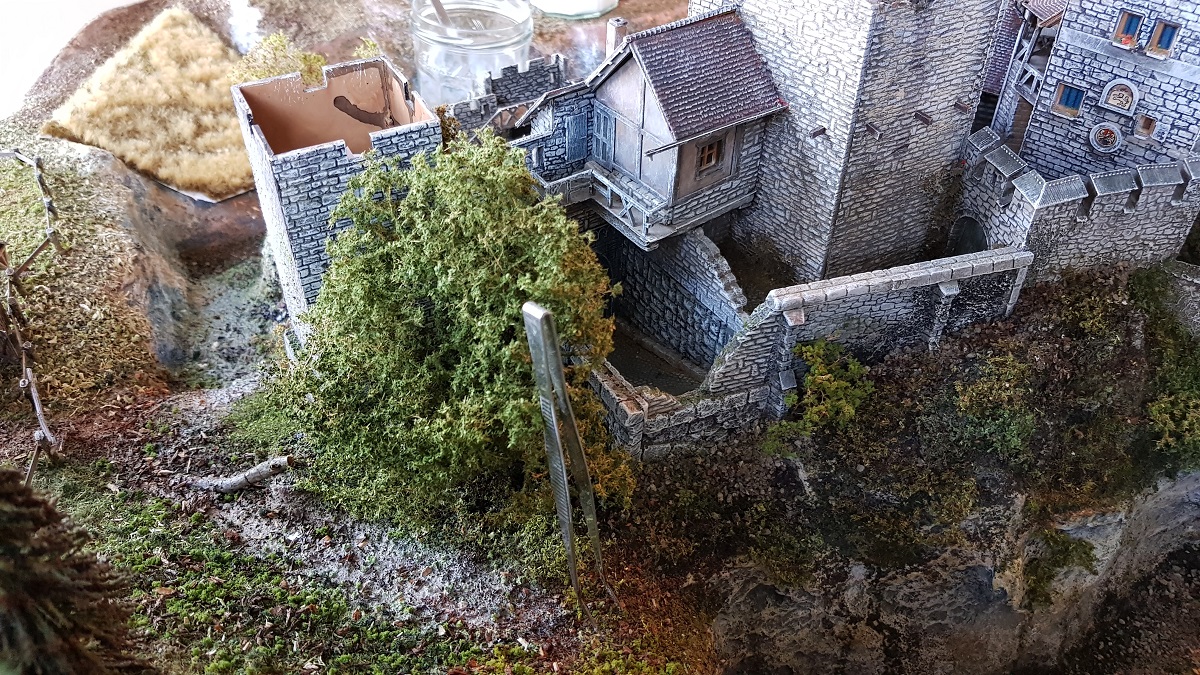
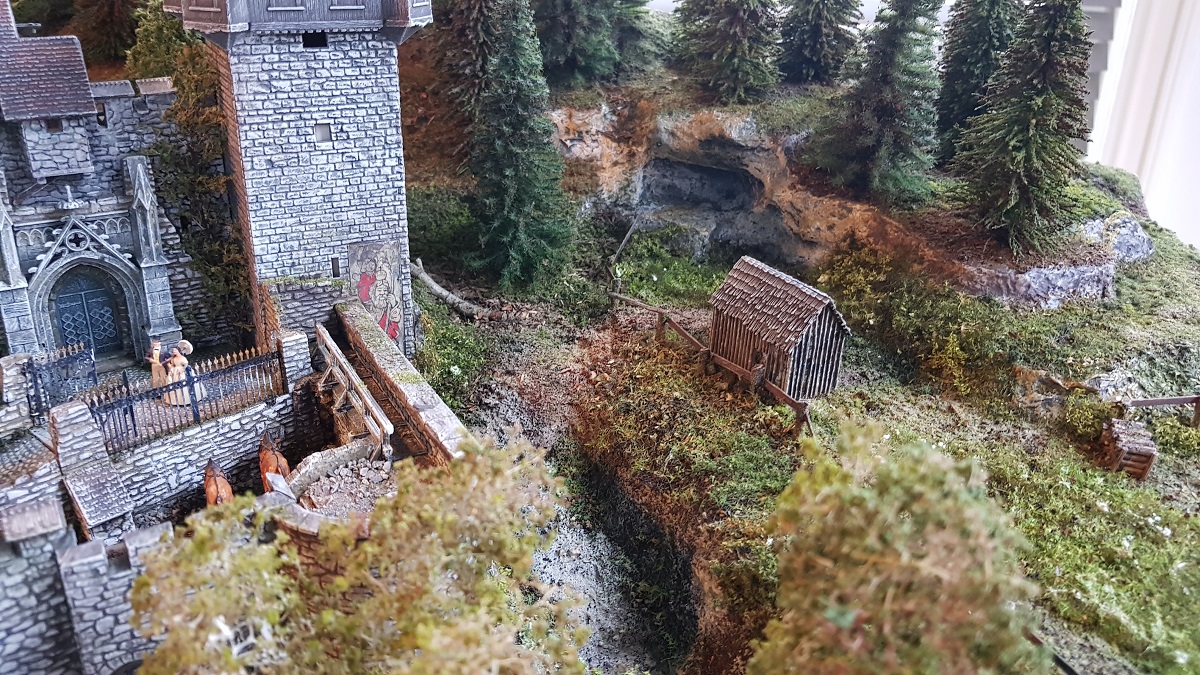
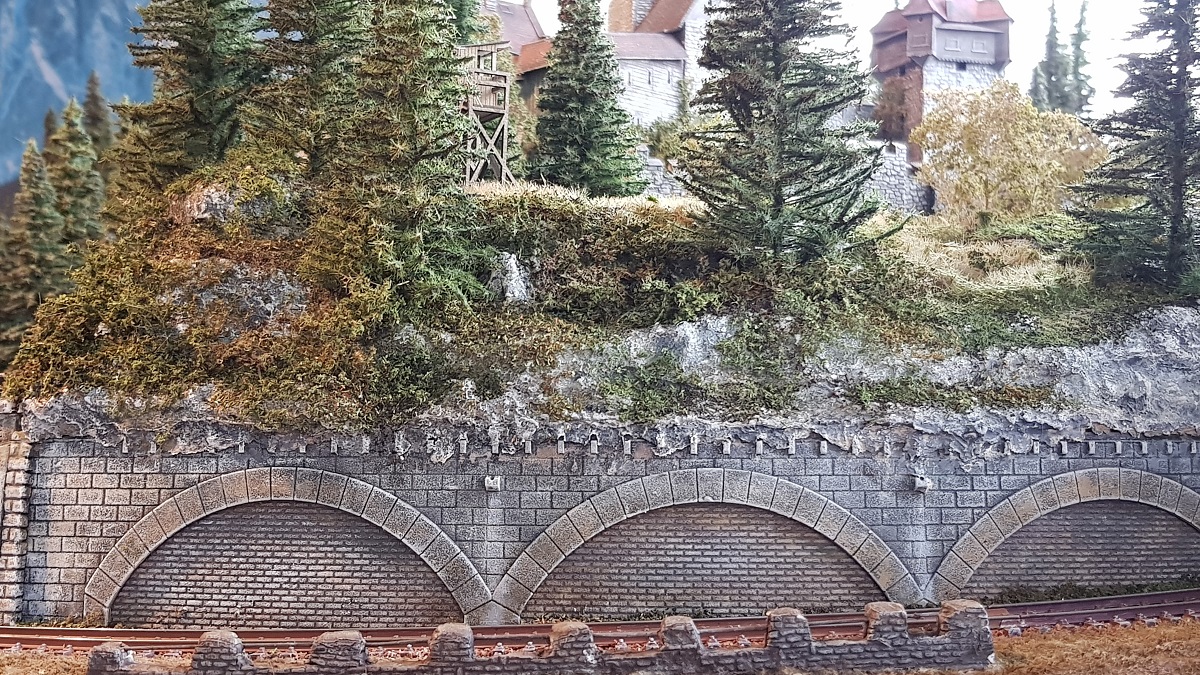
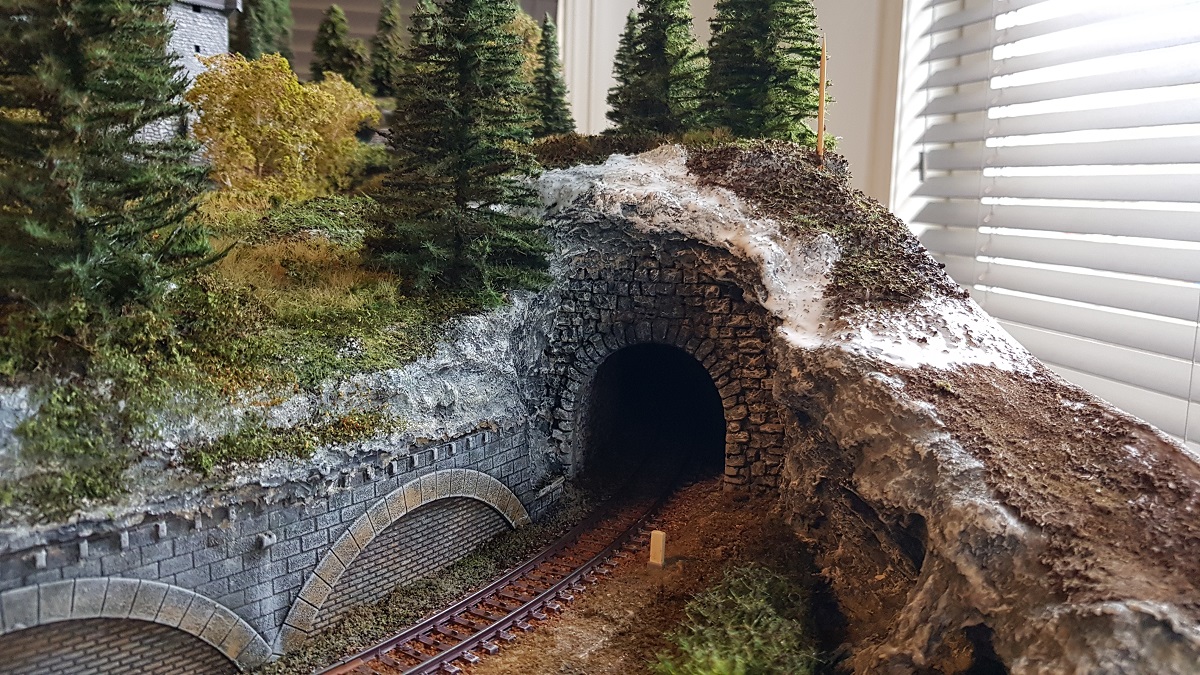
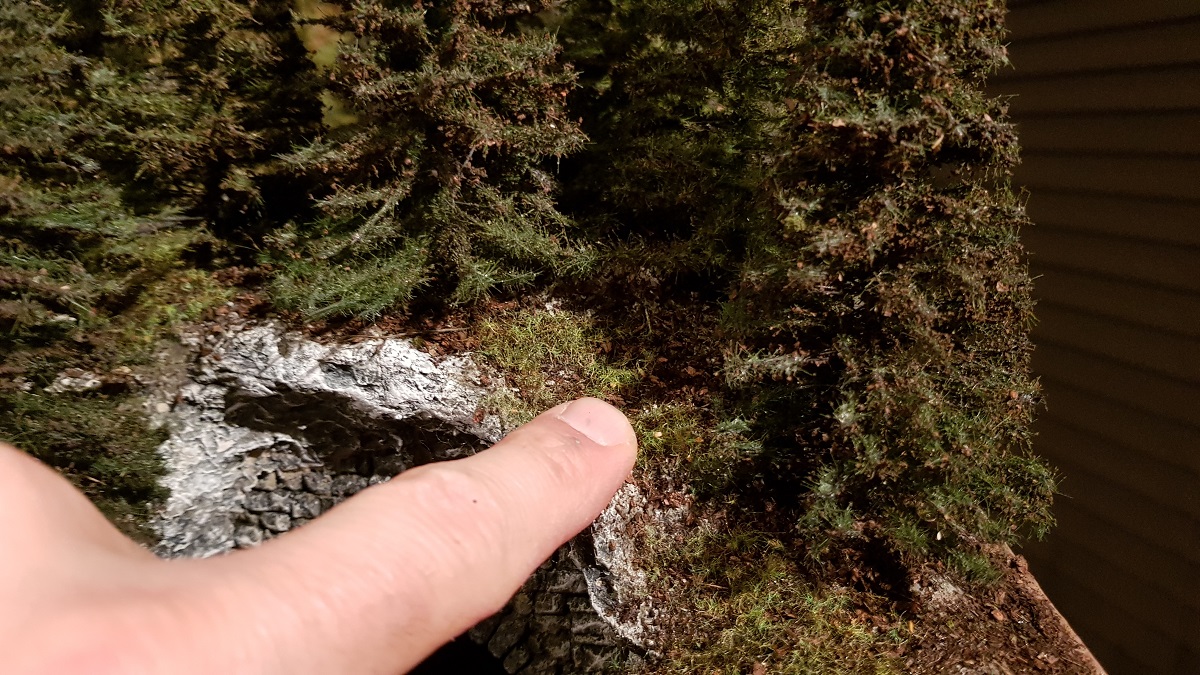
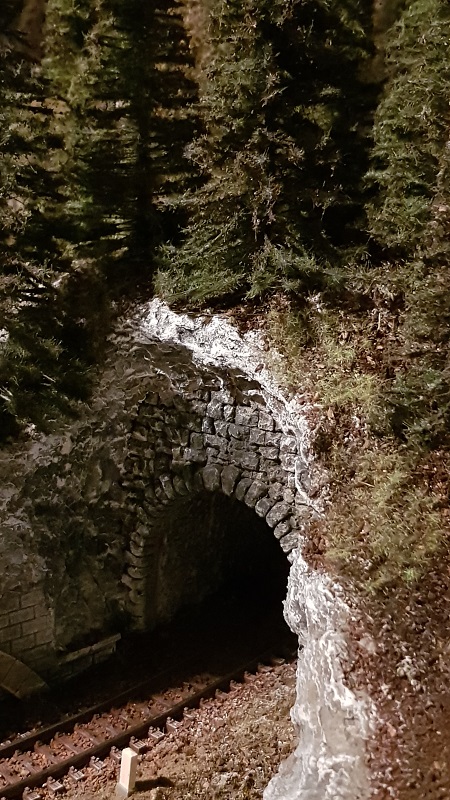
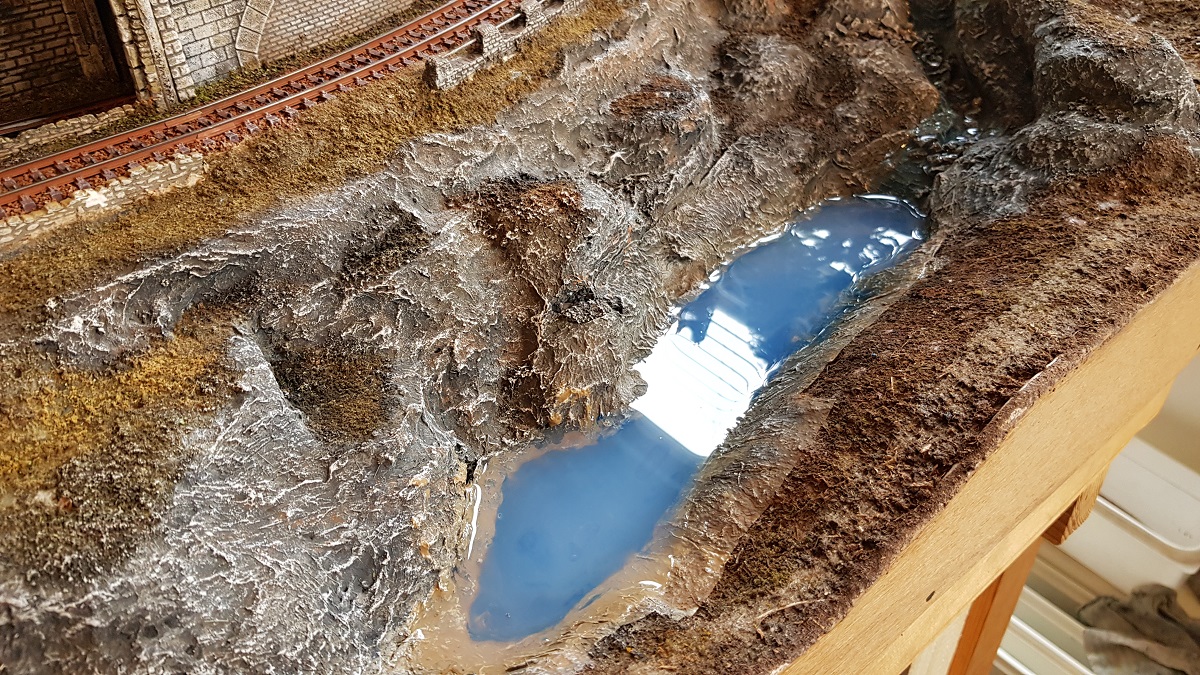
Chapter 23D ~ A pond in the forest
Since by chance there was this kind of gorge and I always wanted a small pond in the forest,
I will try to make another waterfall - moreover a brook - at the right of the layout, which will be surrounded by the forest!
2.3.2020
3.3.2020
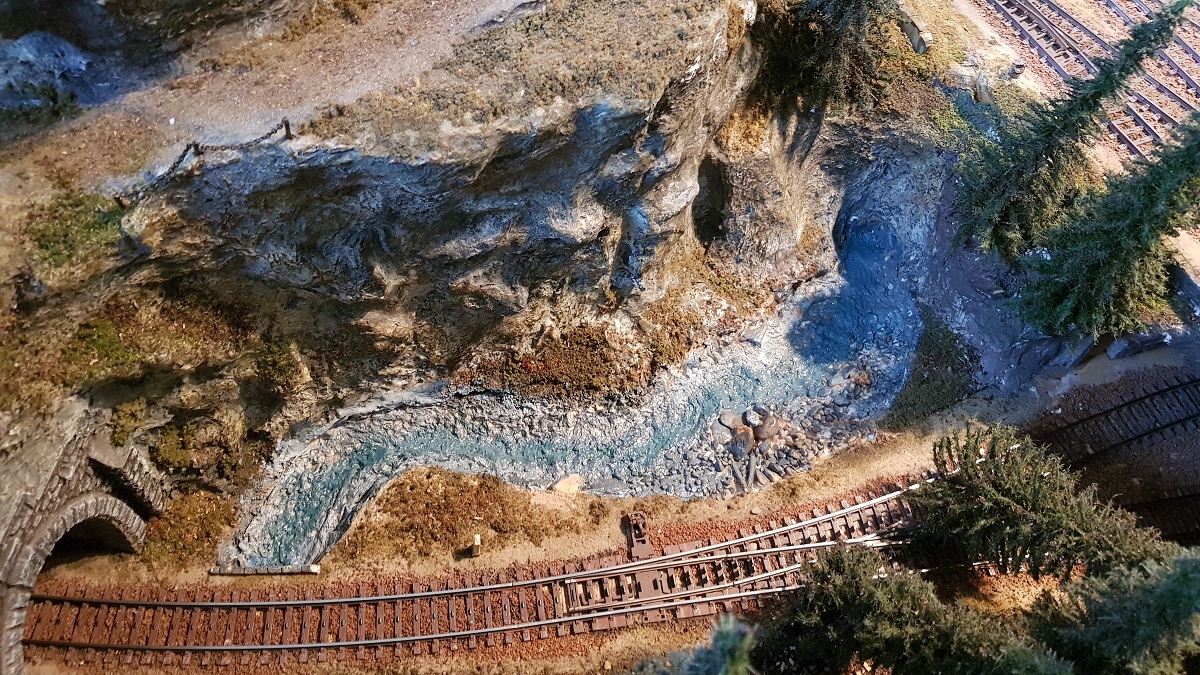
After four days and for one reason or another, the bottom of the pond is still not dry.
What was that awkward stuff in the bottle I used?
Nevertheless, I painted the gorge on this Friday afternoon...
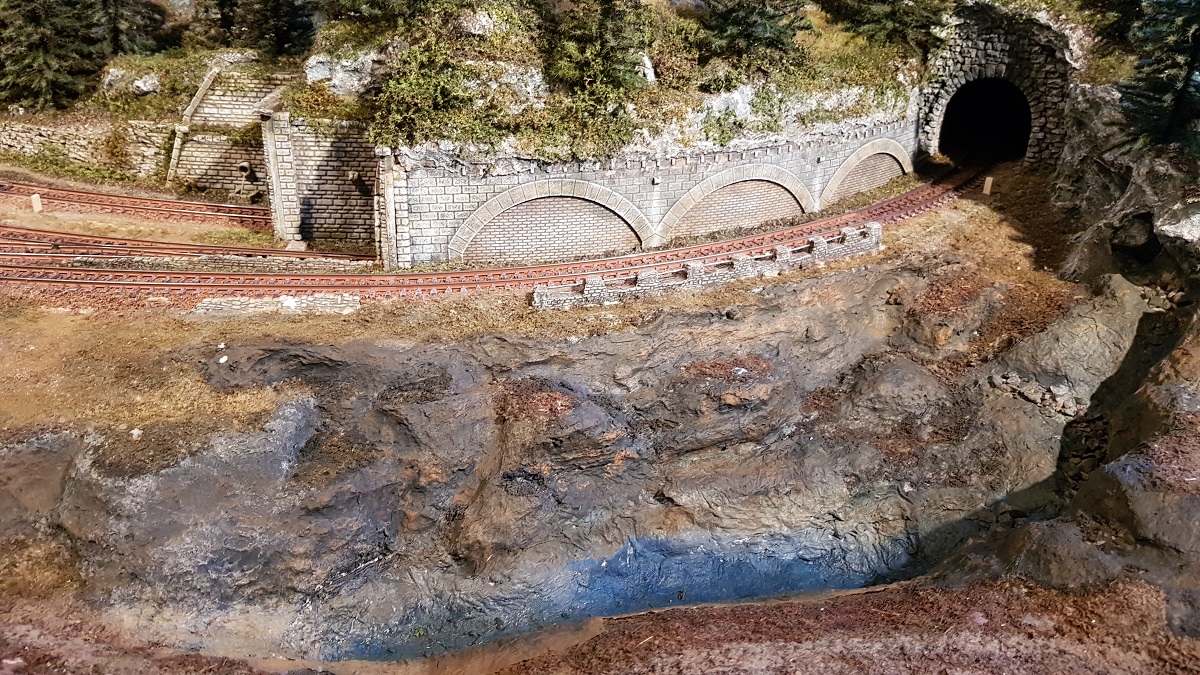
6.3.2020
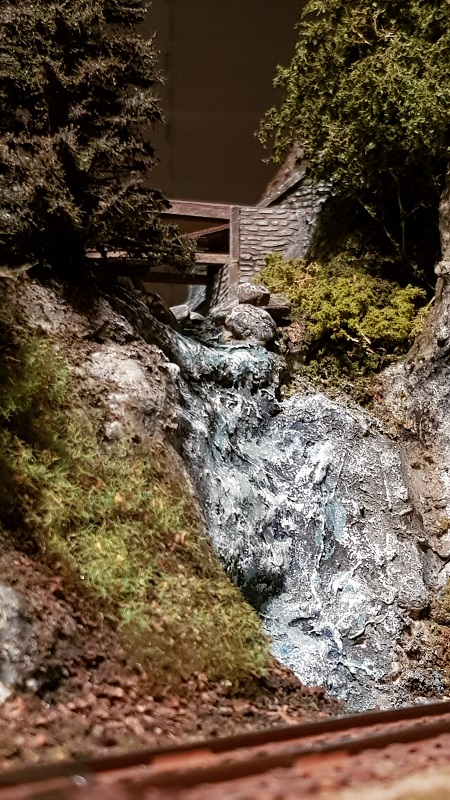
Here we go!
My first water experiment in scale1:87...

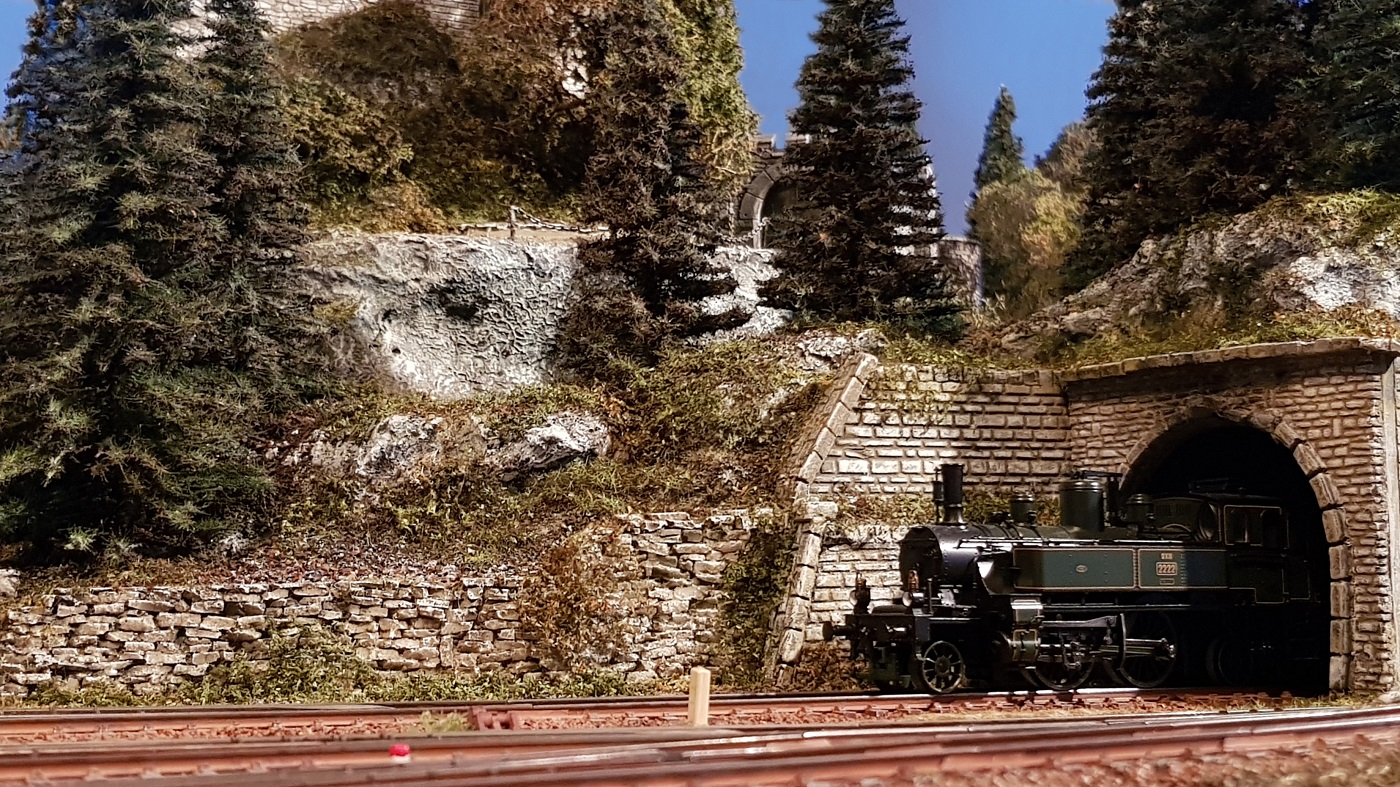
7.3.2020
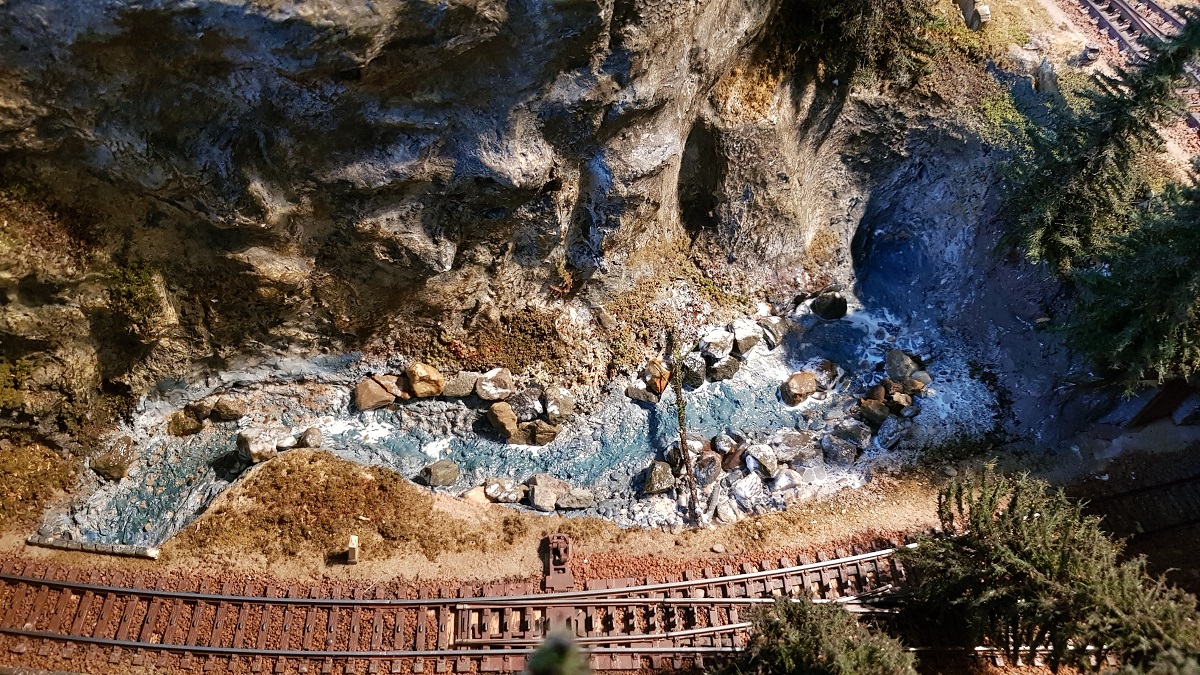
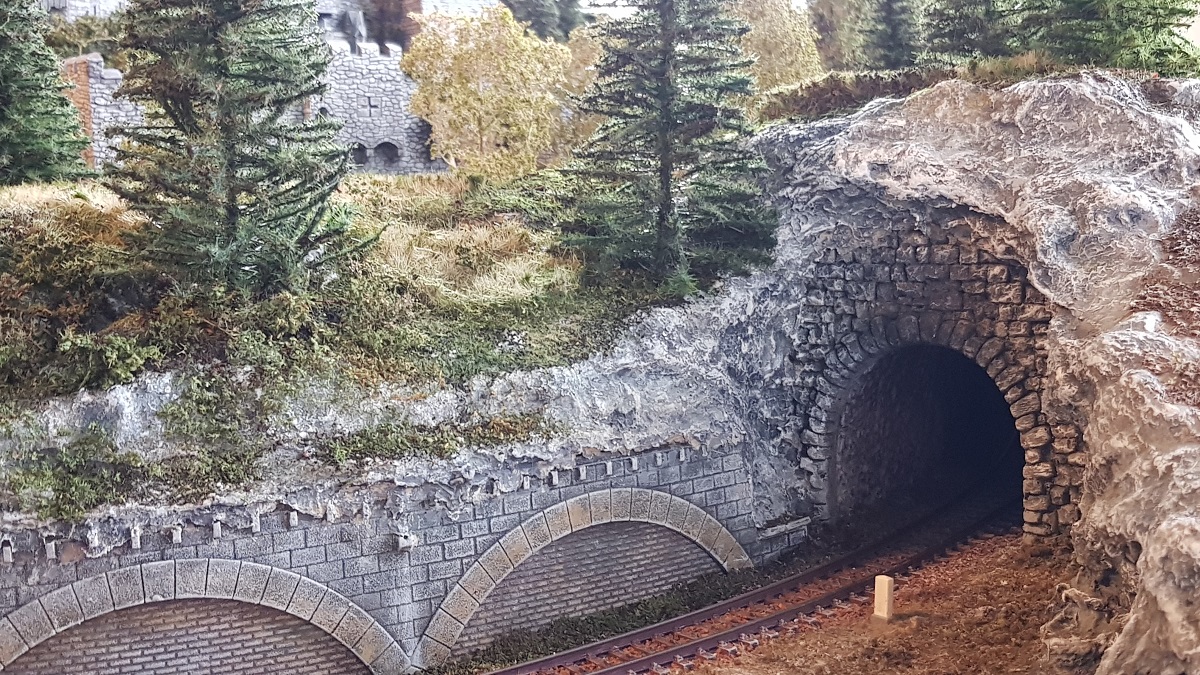
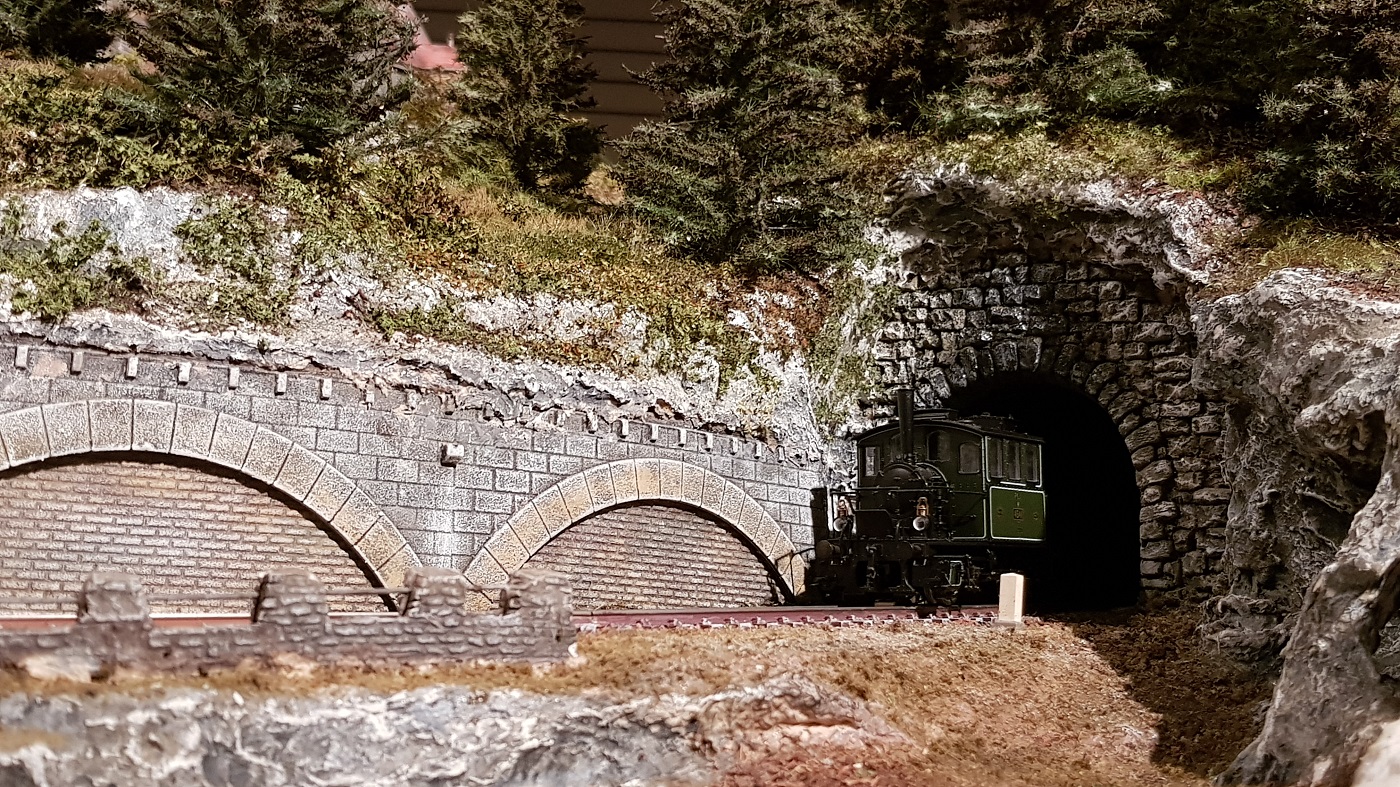
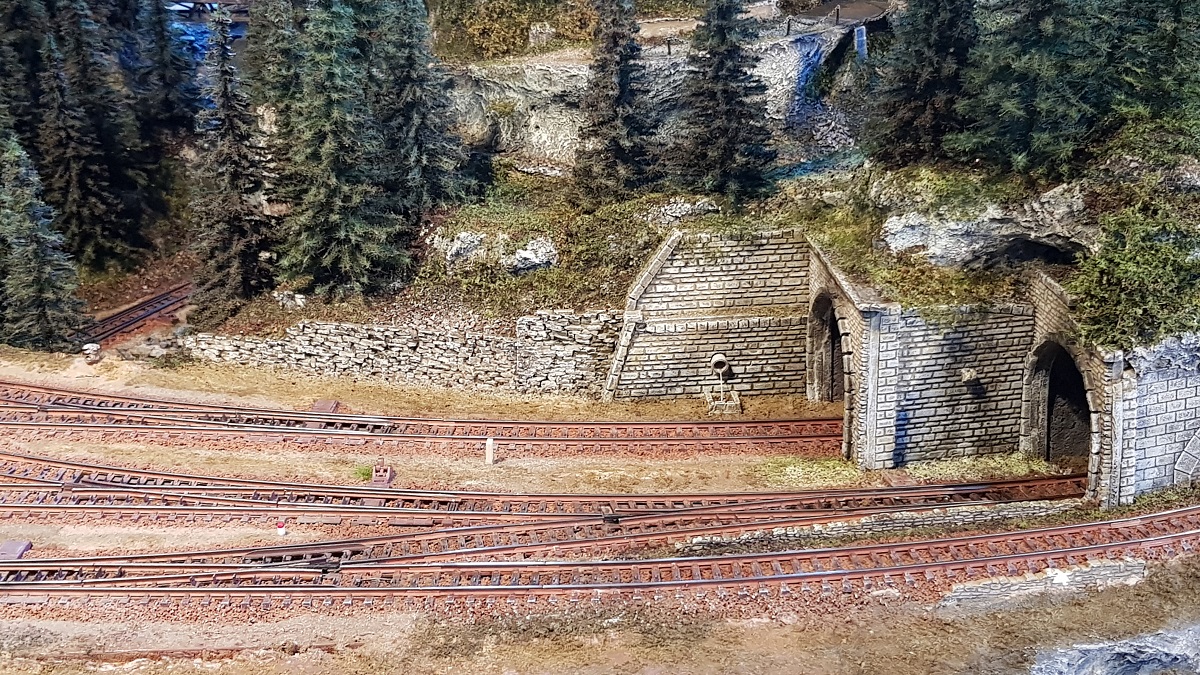
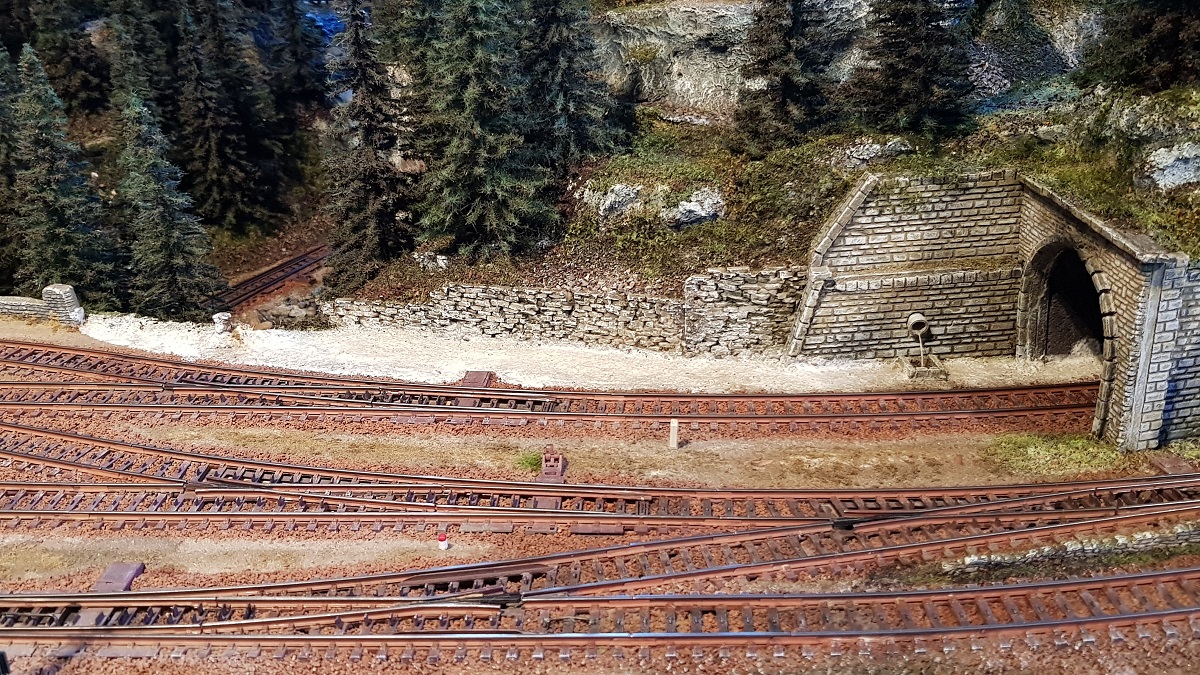
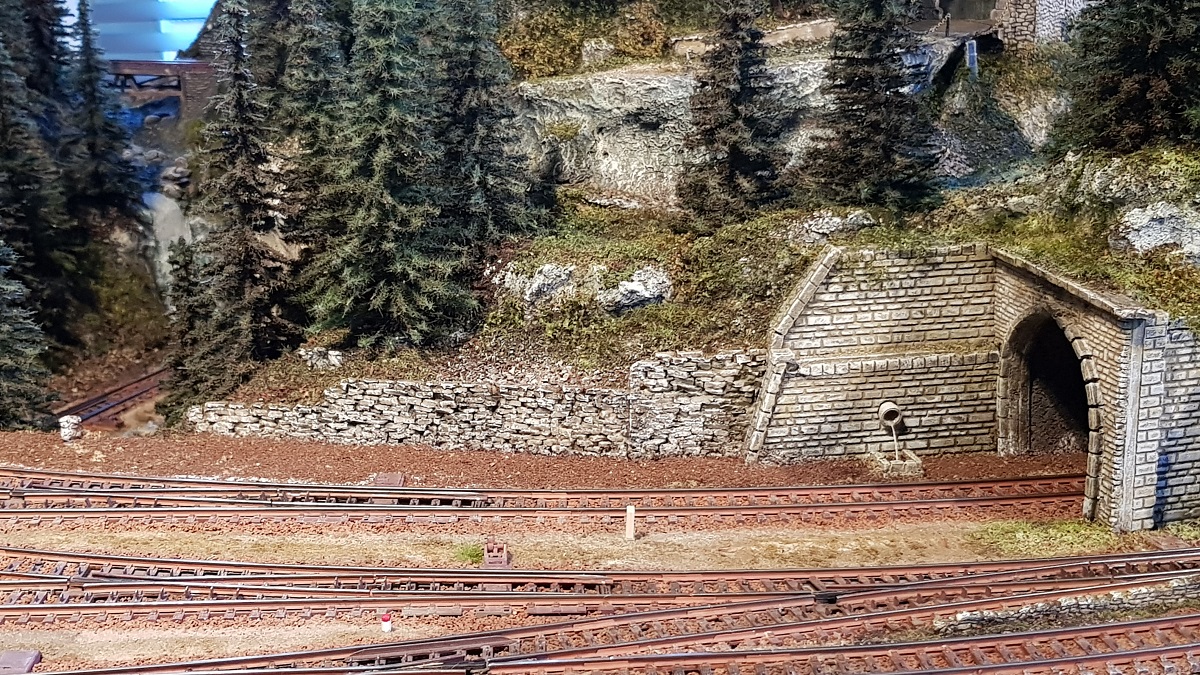
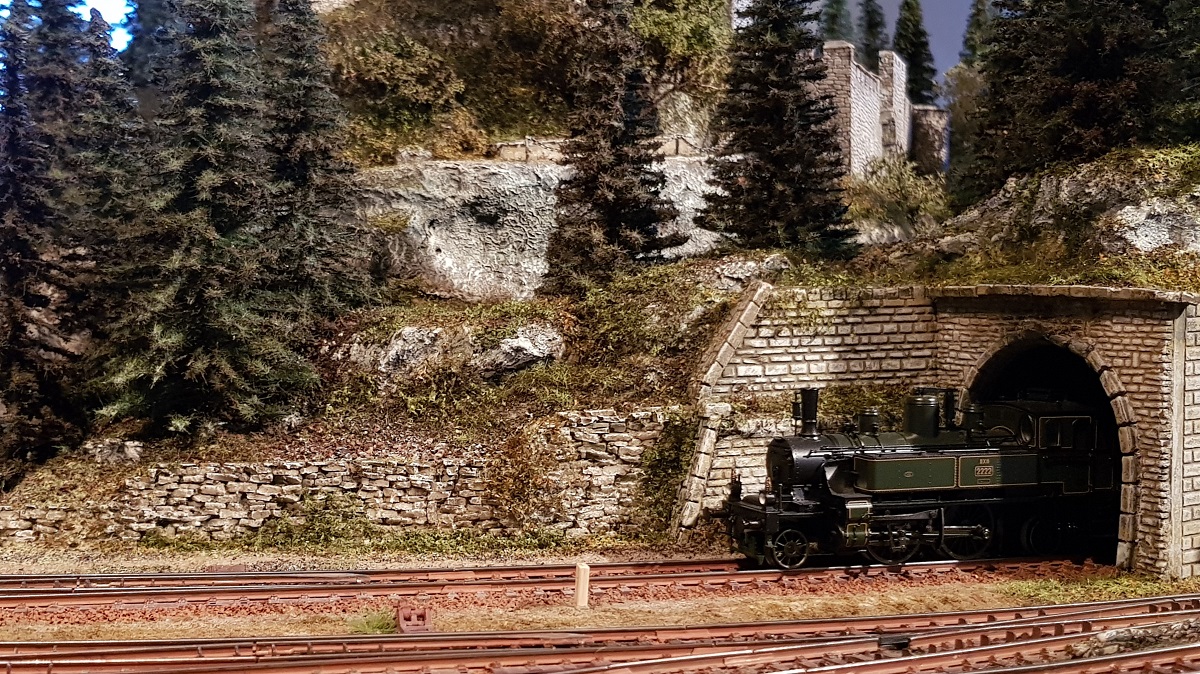
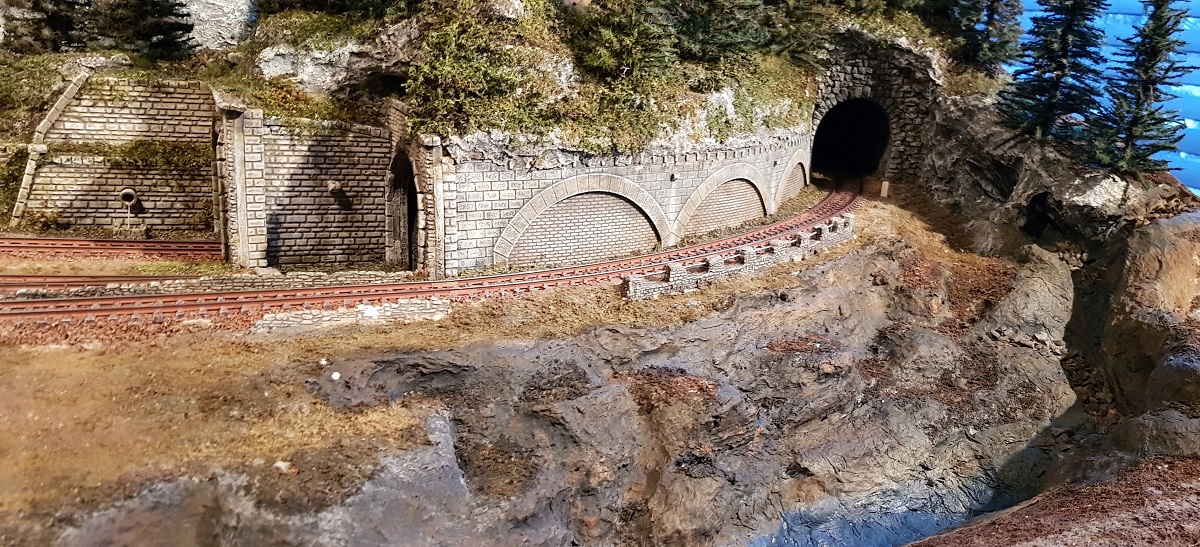
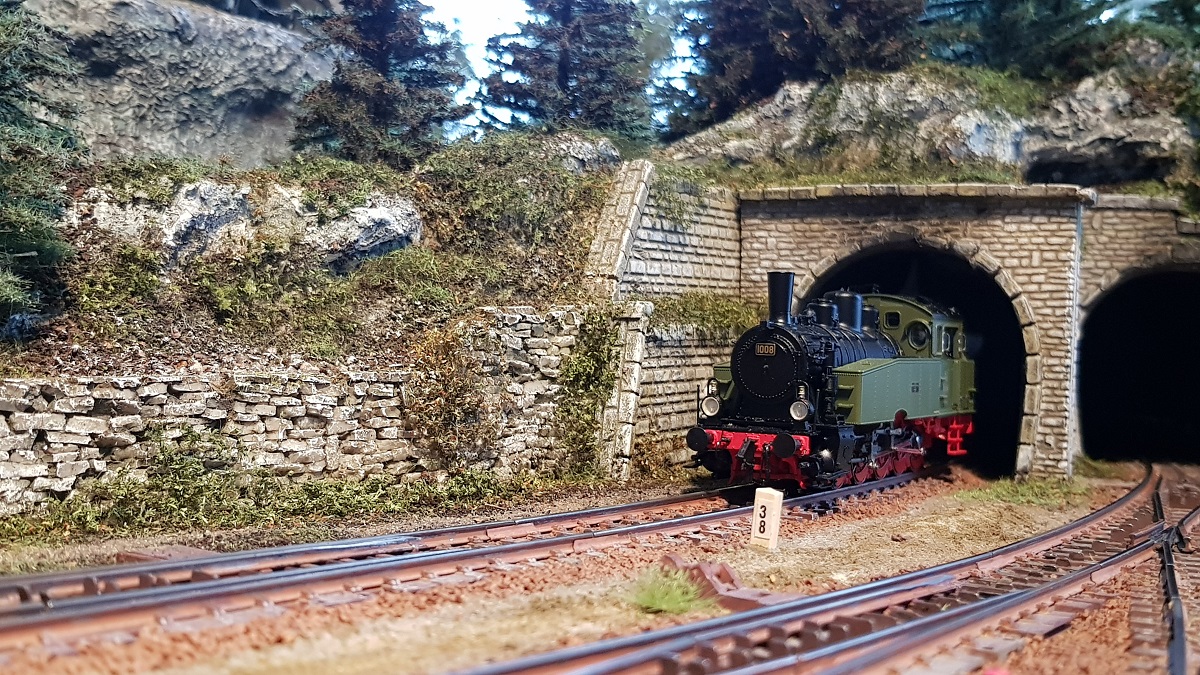
I am pretty curious myself how this tunnel entrance will look like, when it
will be surrounded by a forest in the front.
It will most certainly affect film and photography.
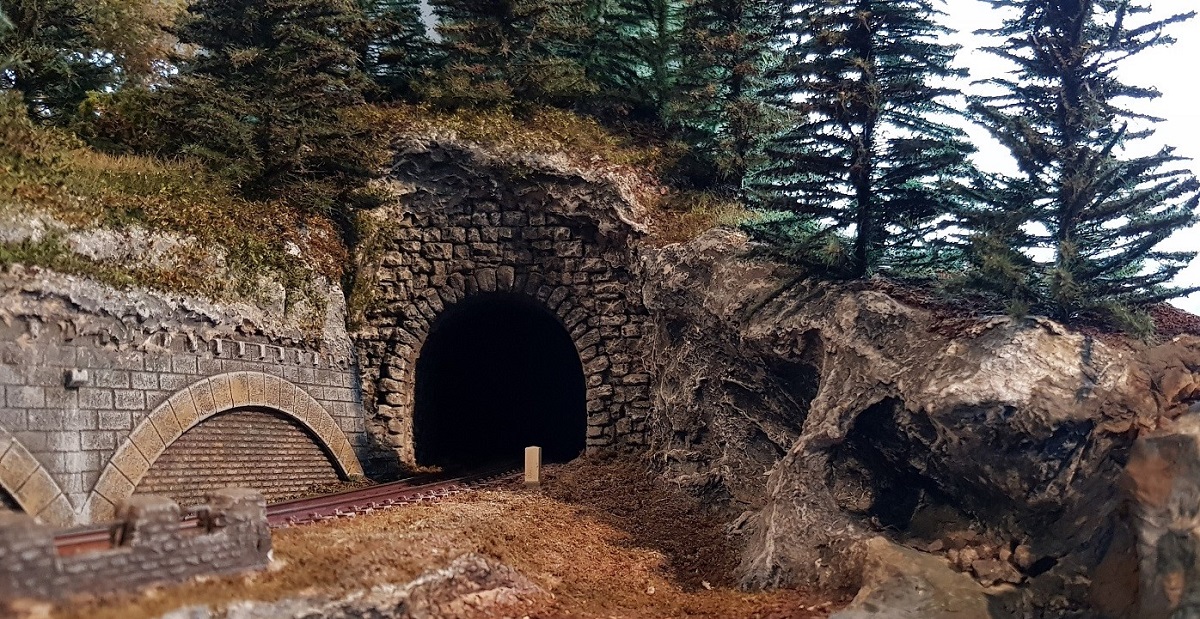
6.3.2020
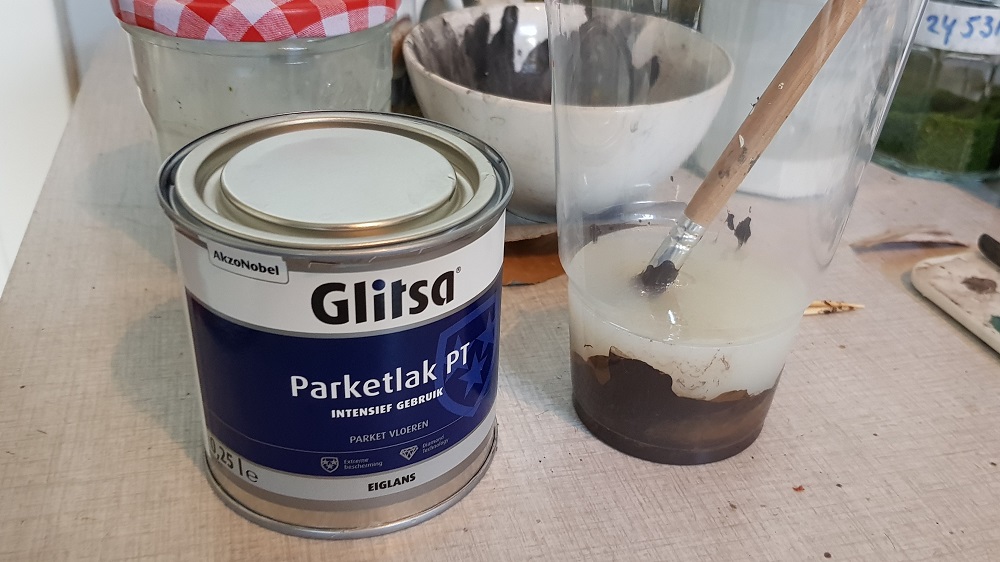
However... trial and error.
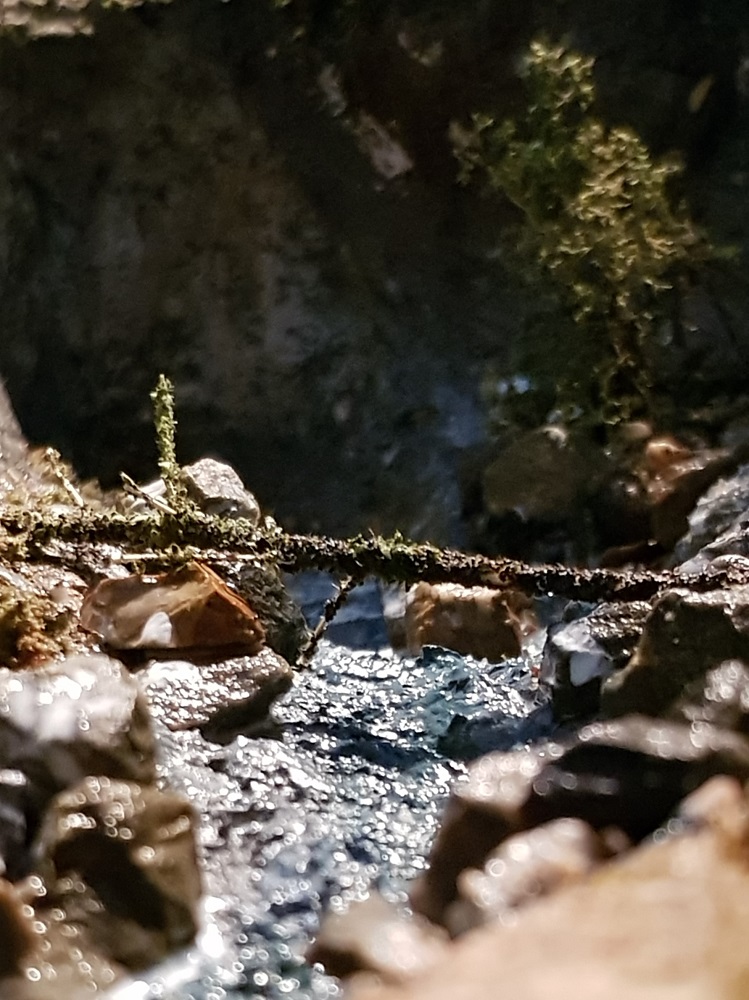
I wanted to try Glitsa parquet lacquer for water.
It not only turrned out to be non-glossy, but it also dried ... well... see for yourself!
T o t a l f a i l u r e !
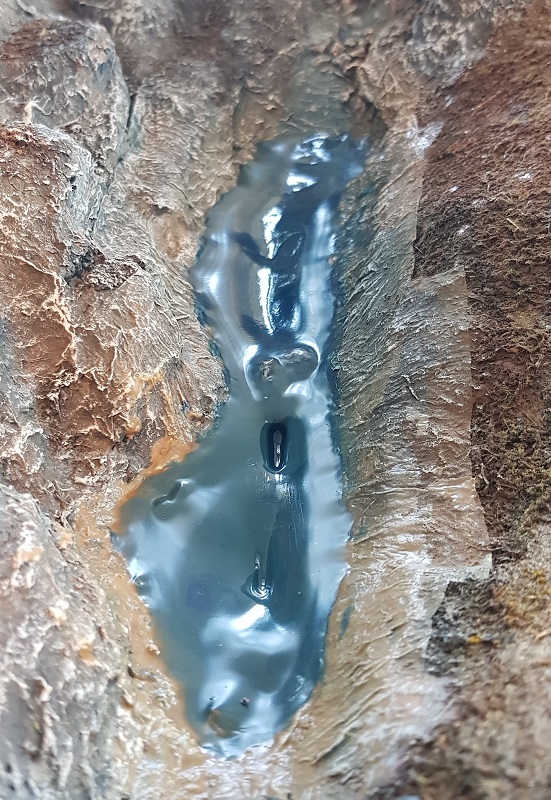
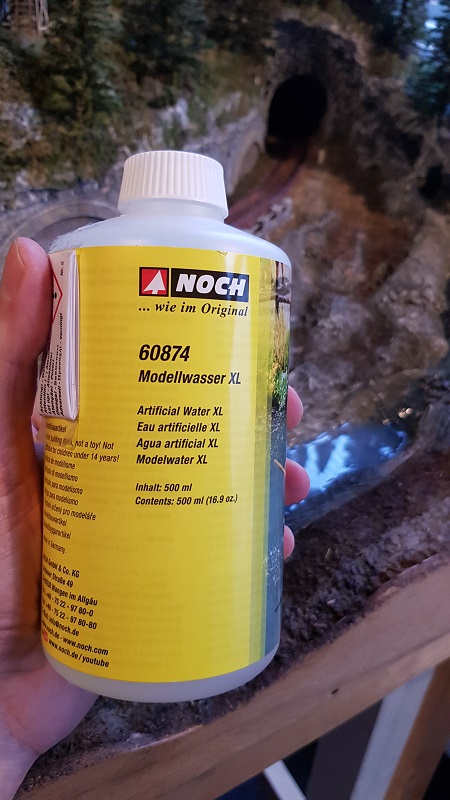
I hope that I can 'fill in the gaps' with Noch "Modellwasser"...
So I did on March 16th 2020:
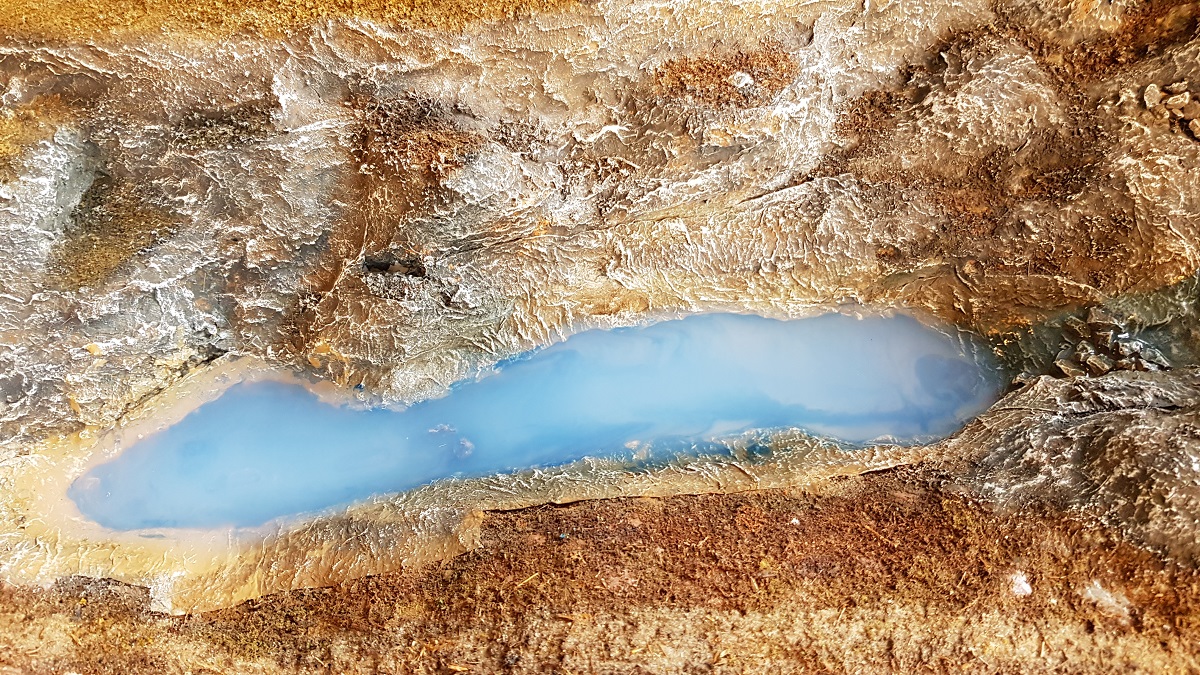
" L o c h C o c h e m i e n s i s "
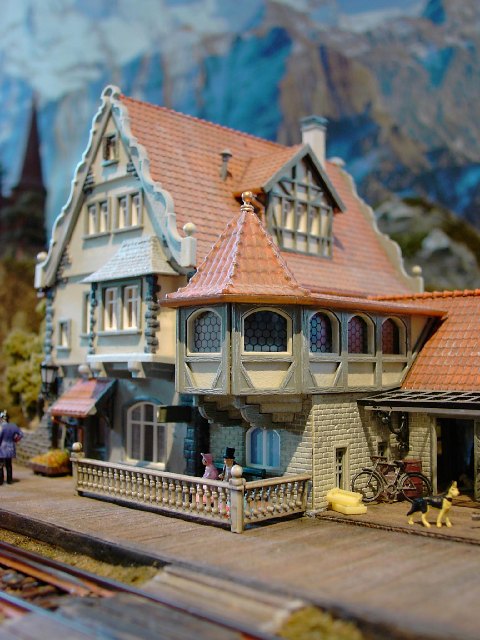
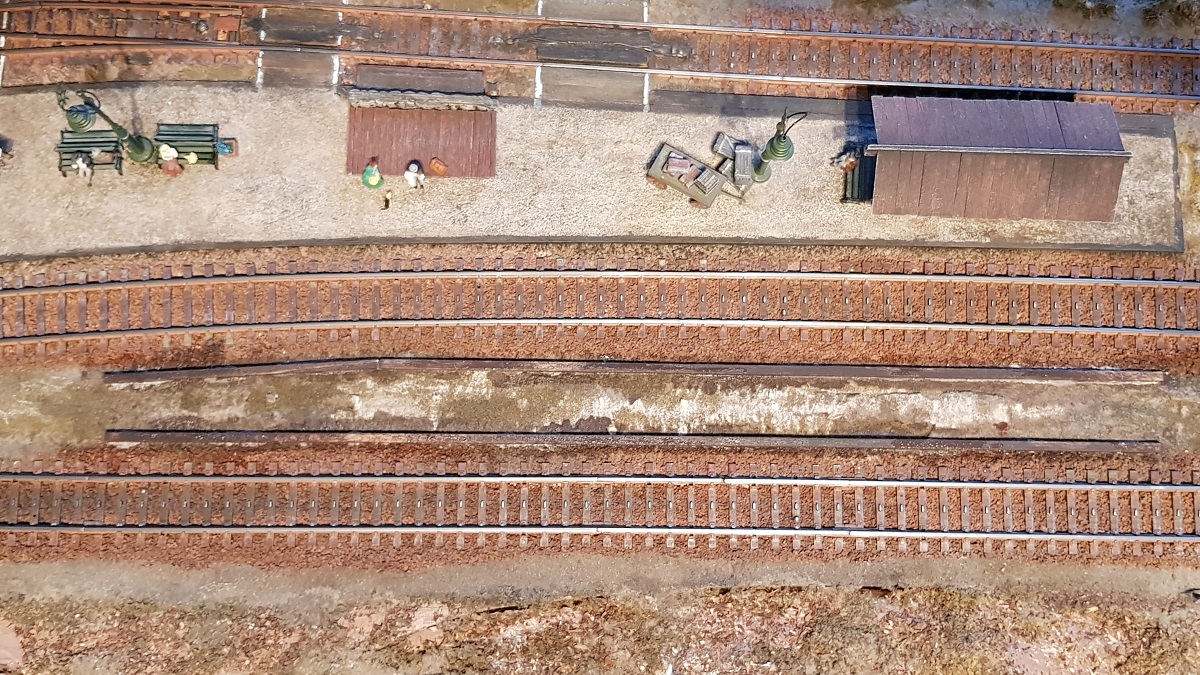
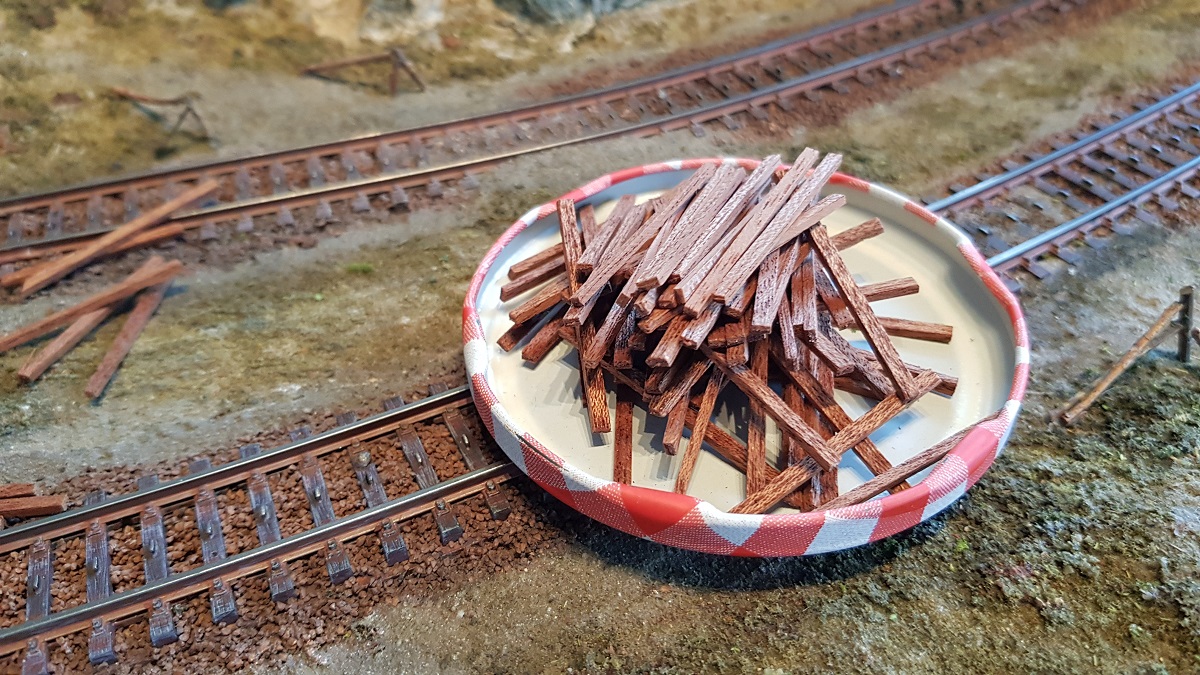
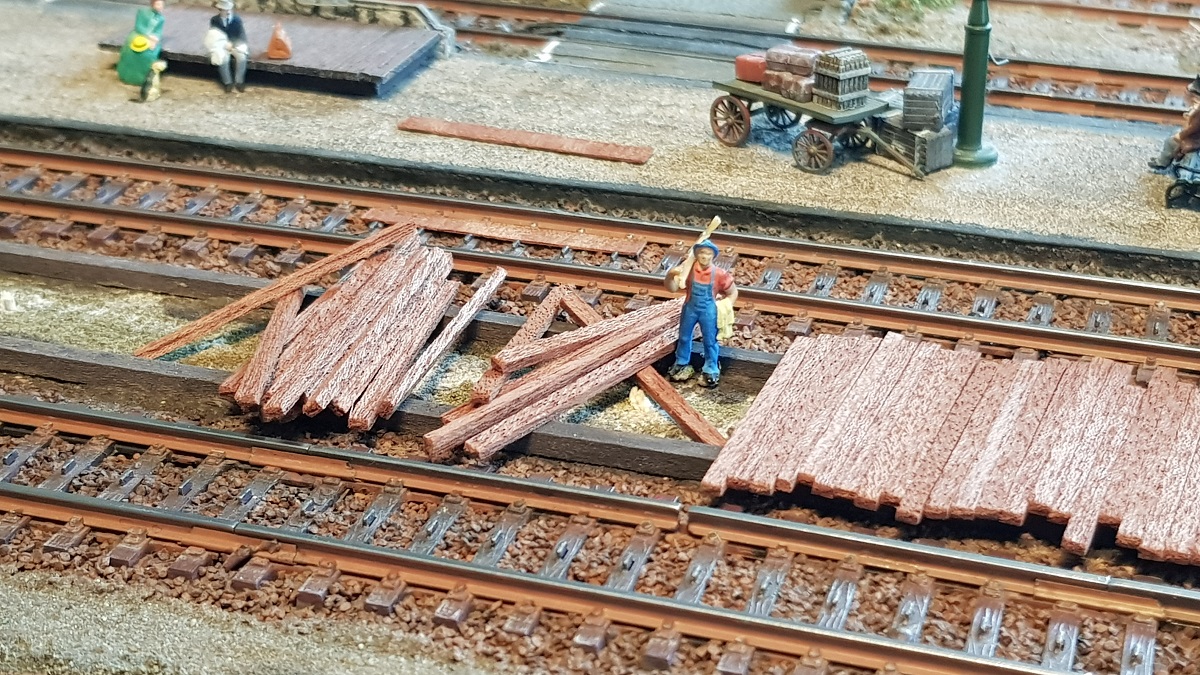
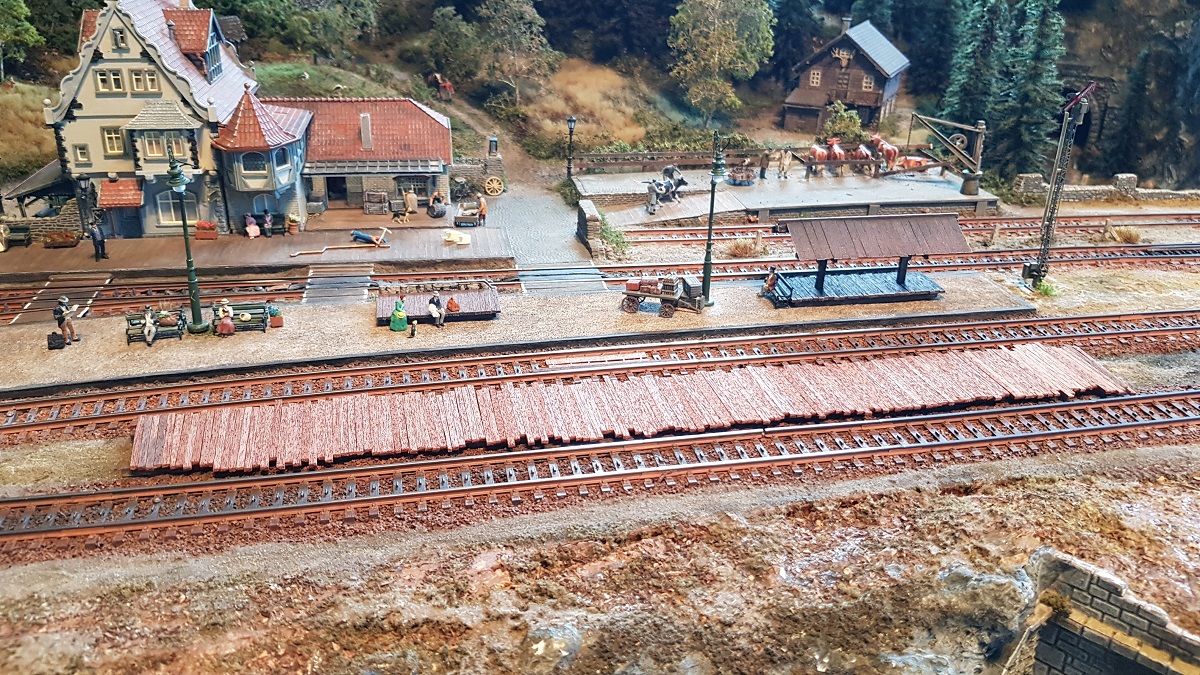
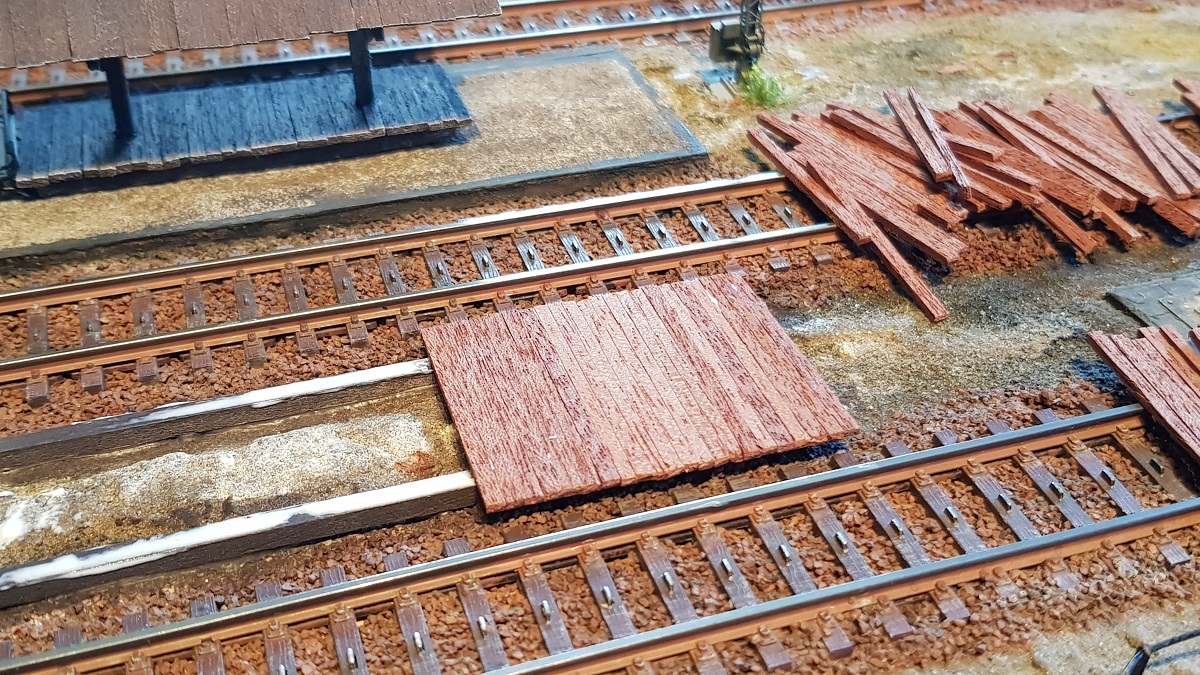
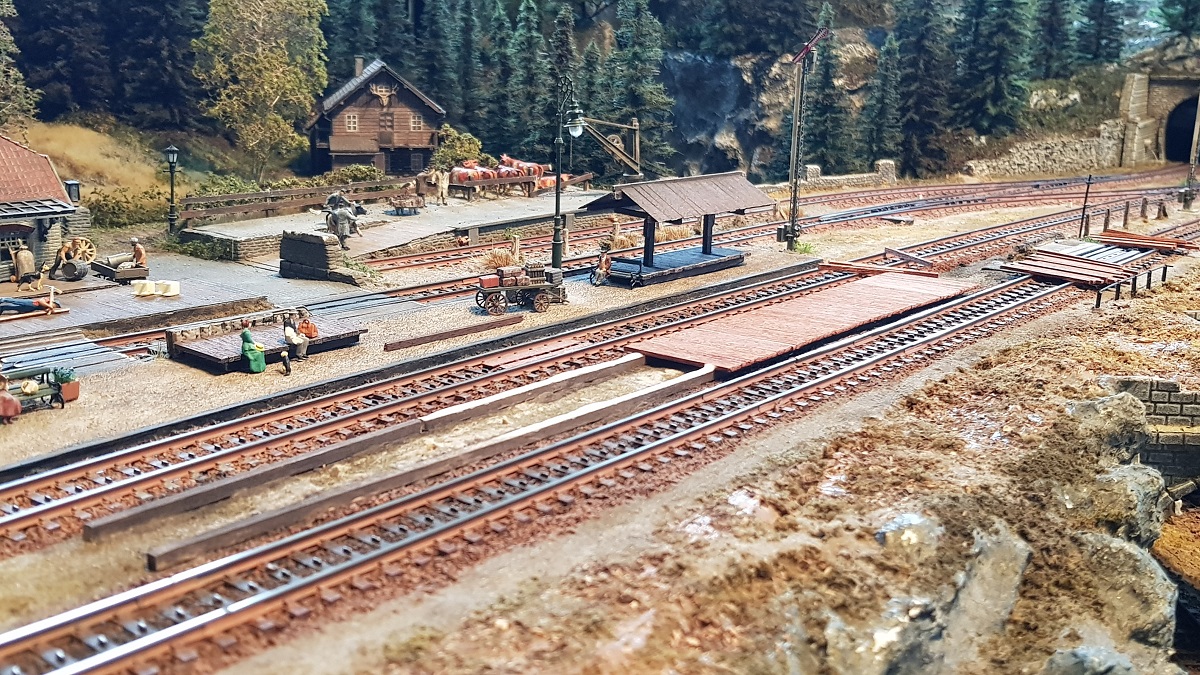
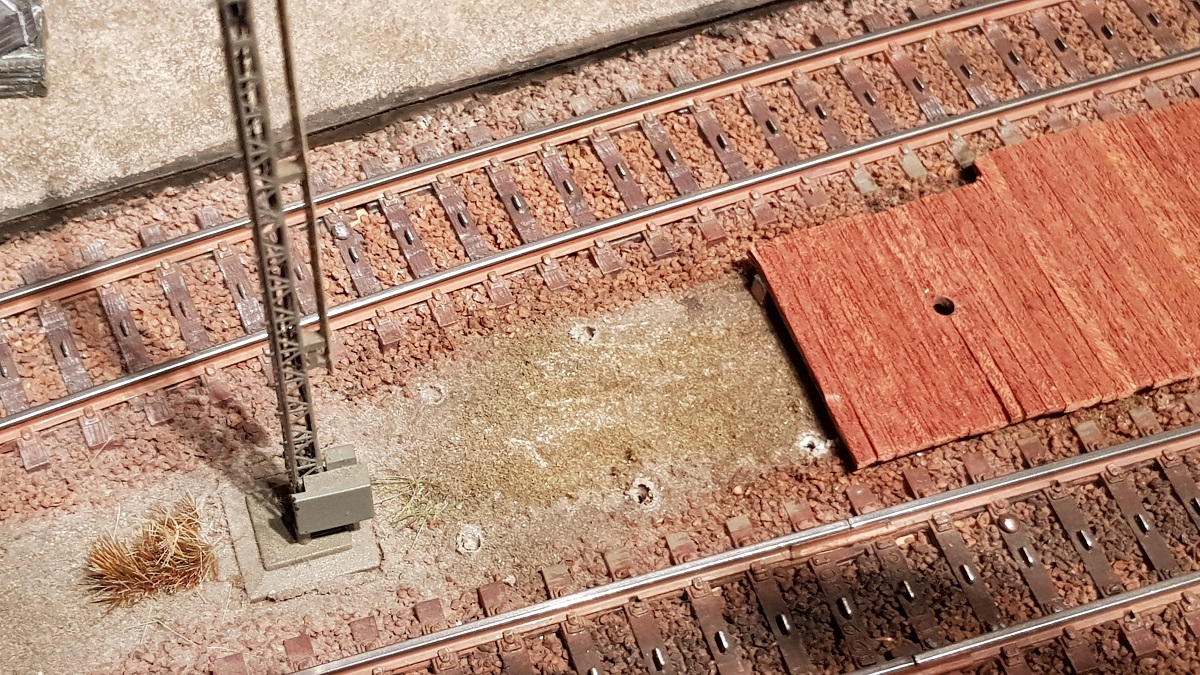
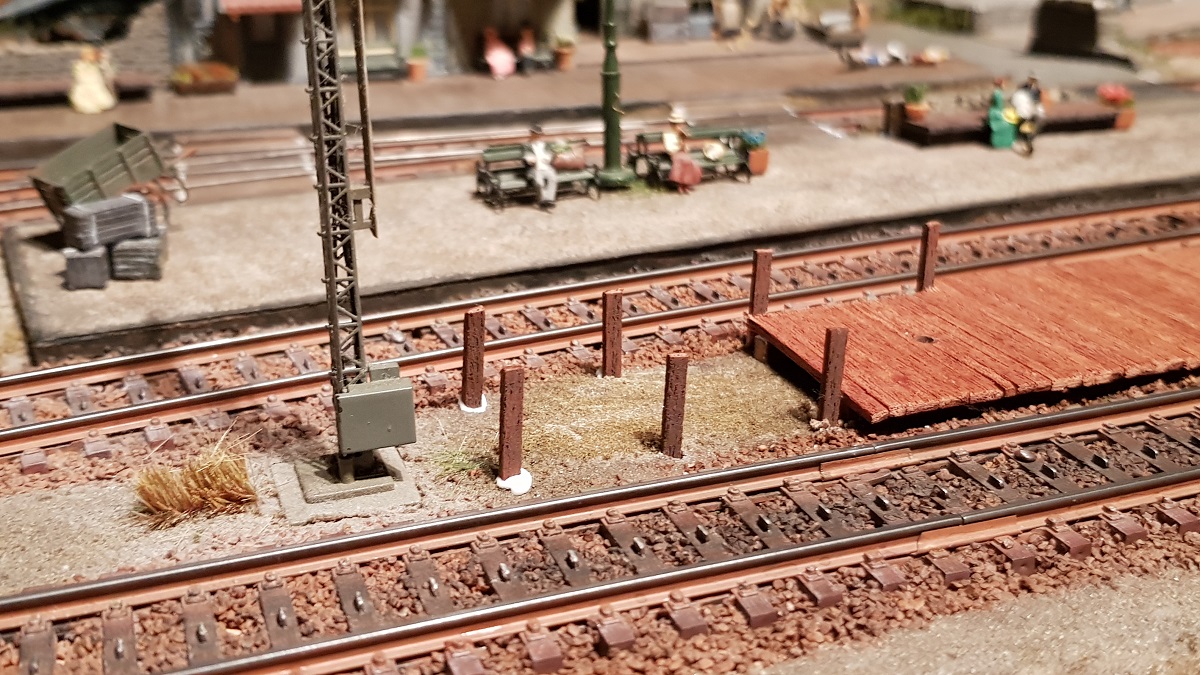
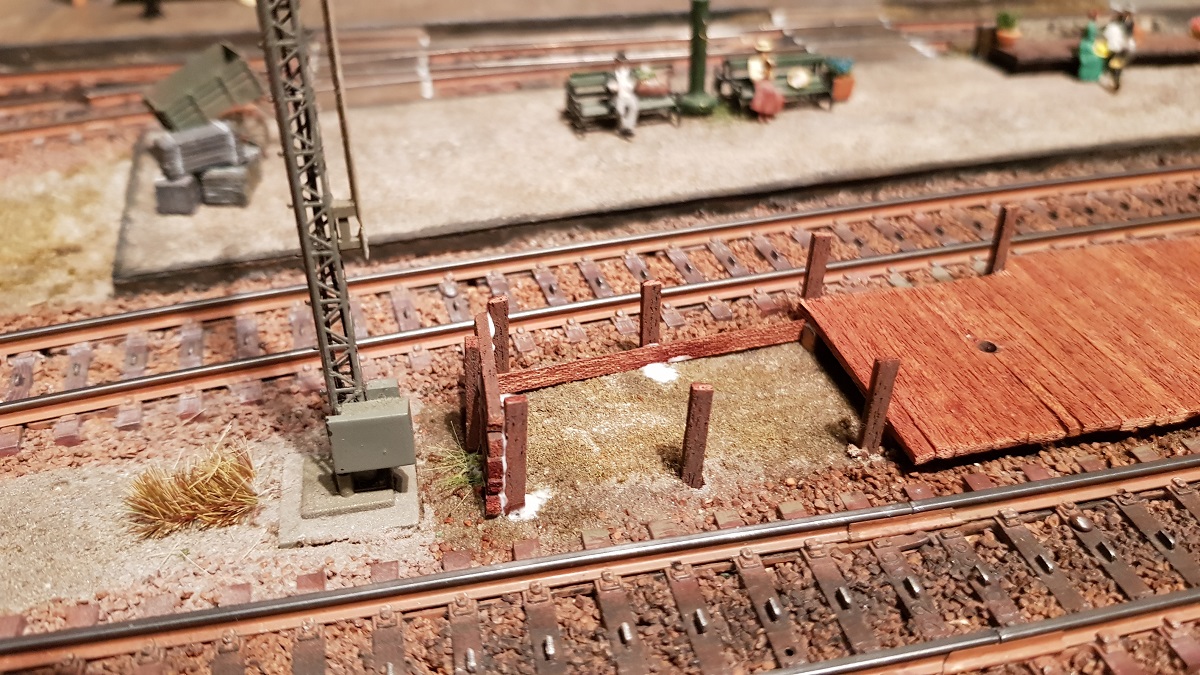
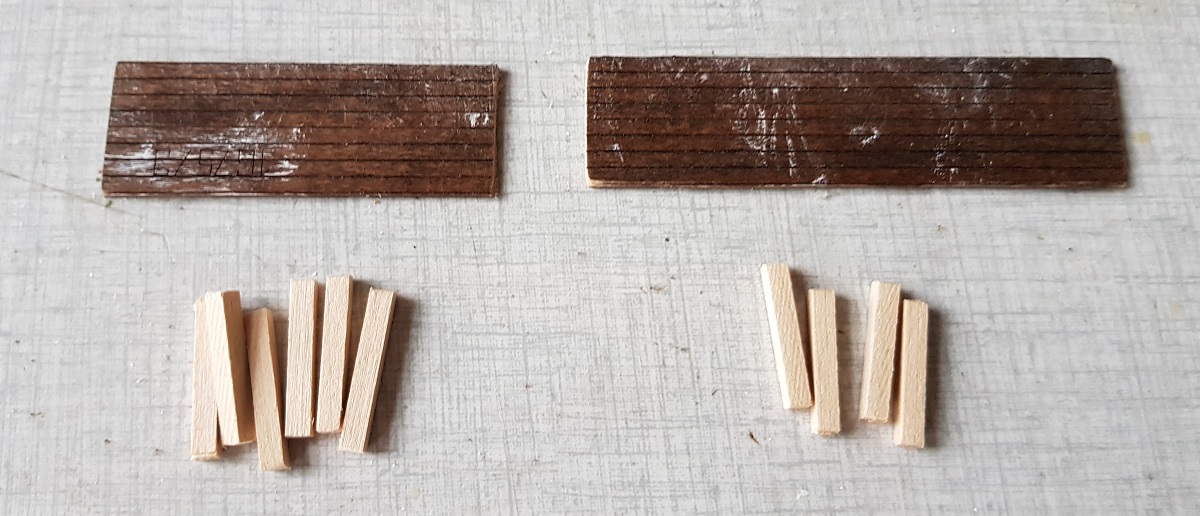
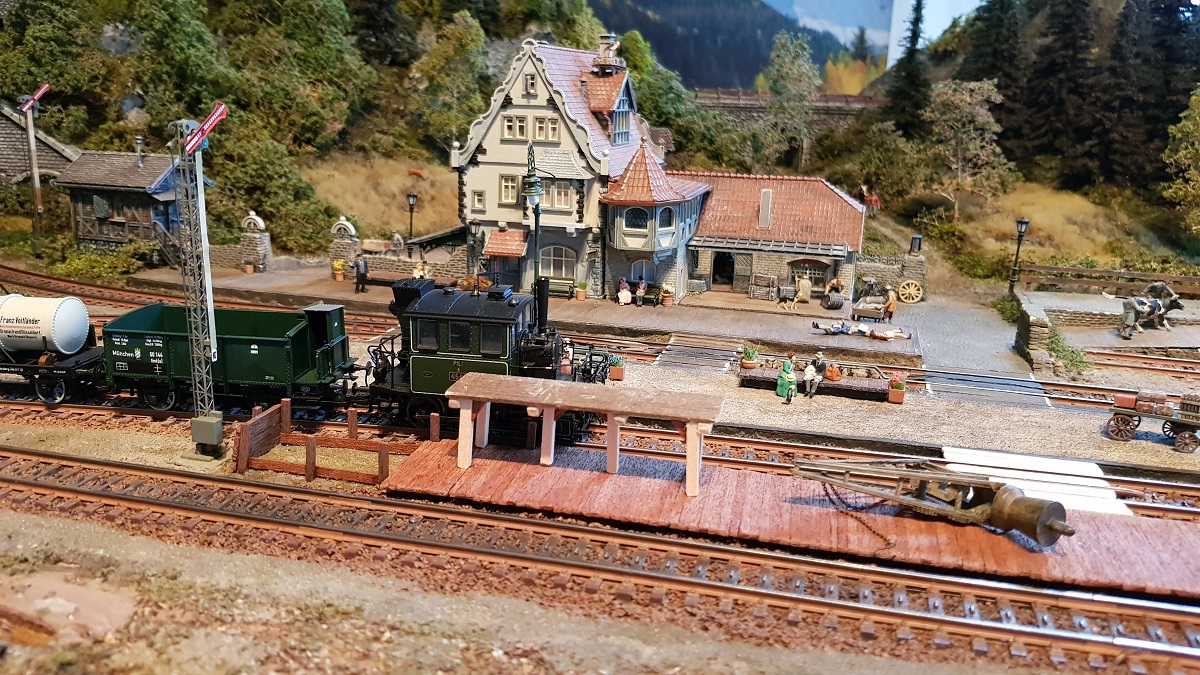
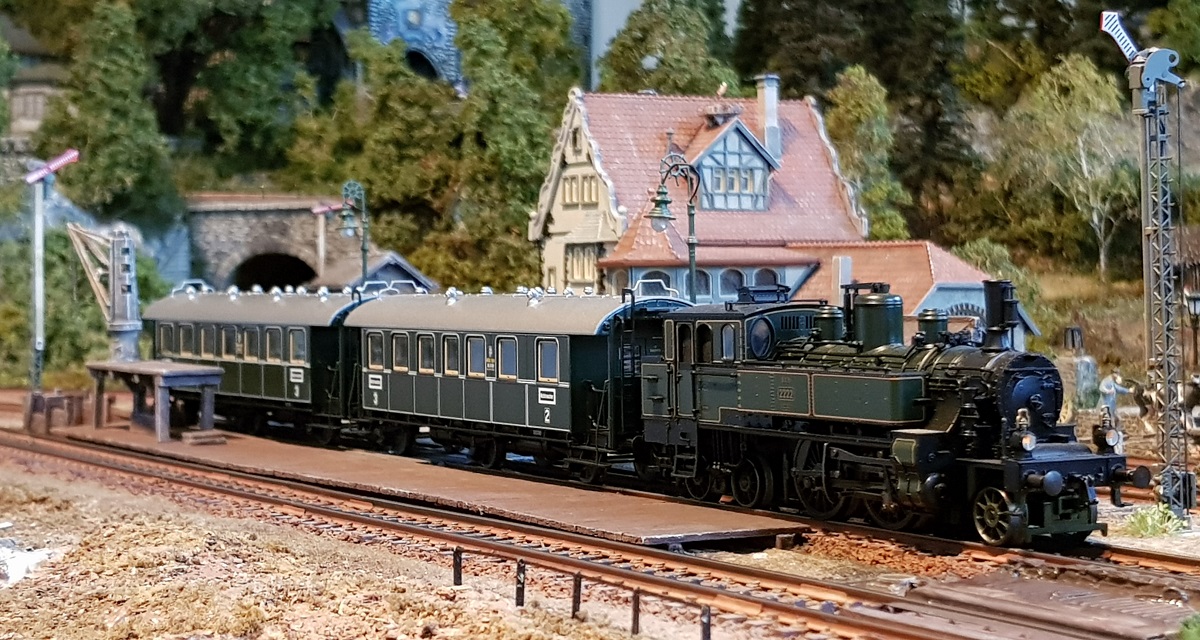
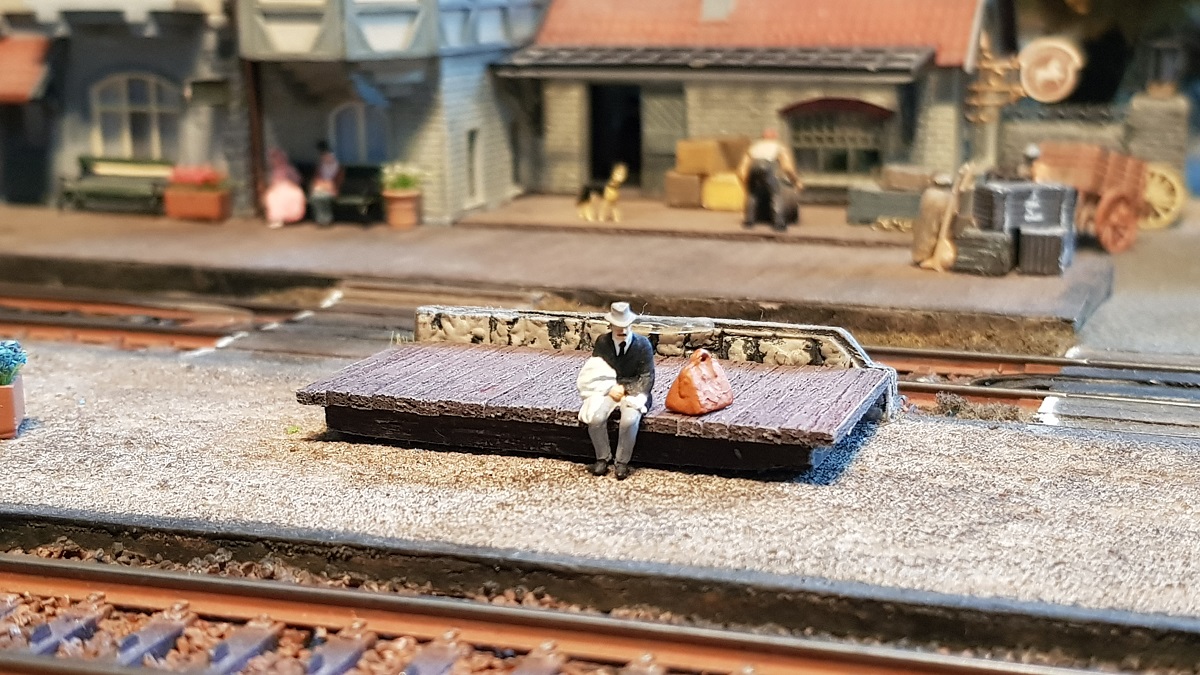
Chapter 24 ~ A n e w P l a t f o r m
(8.12.2019)
Some years ago, a visitor of the Cochemer Bahn pointed out that something in the track plan did not correspond to reality.
Trains coming downhill couldn't stop for boarding or getting off the train,
since a platform near the track or a switch to get on the adjacent track were missing.
I have made the decision to follow his advice, not in the least inspired by the former platform I made at the Endbahnhof,
but also inspired by the thought that the main station might need a more active look.
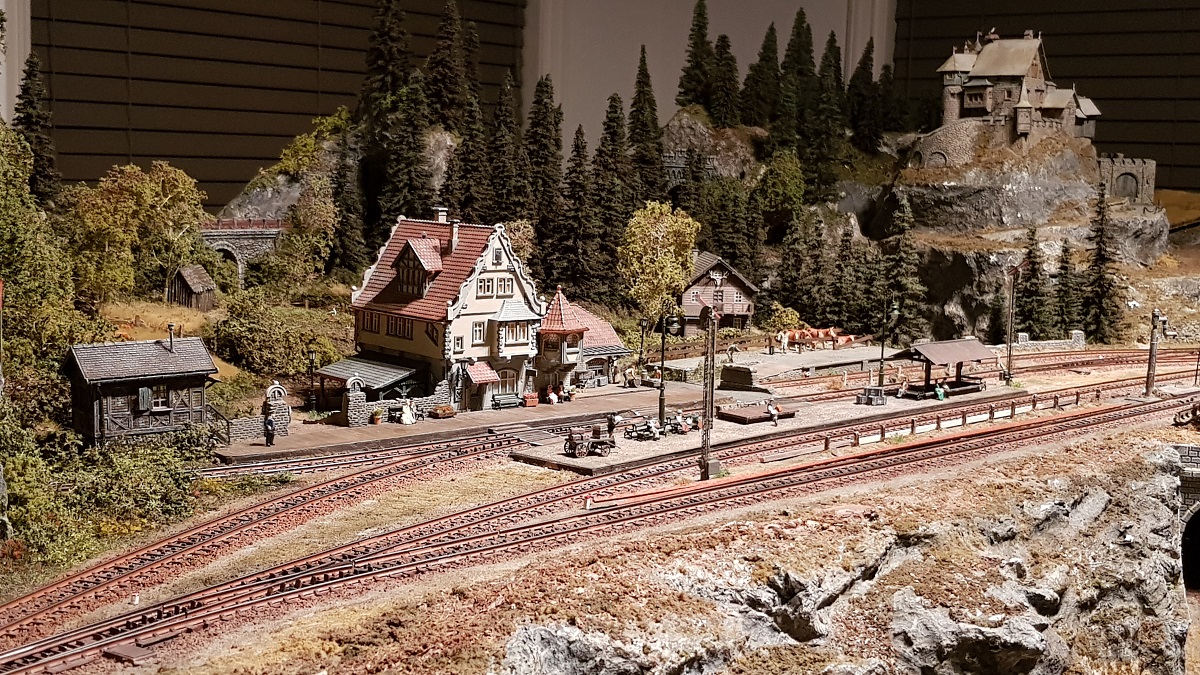
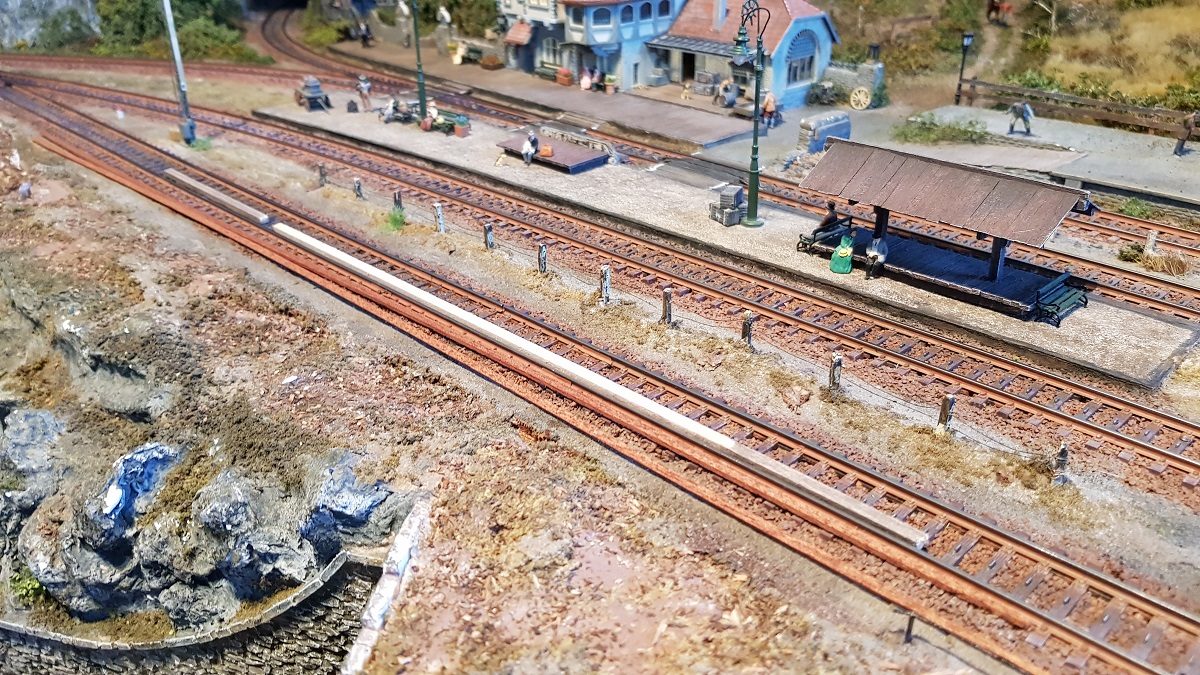
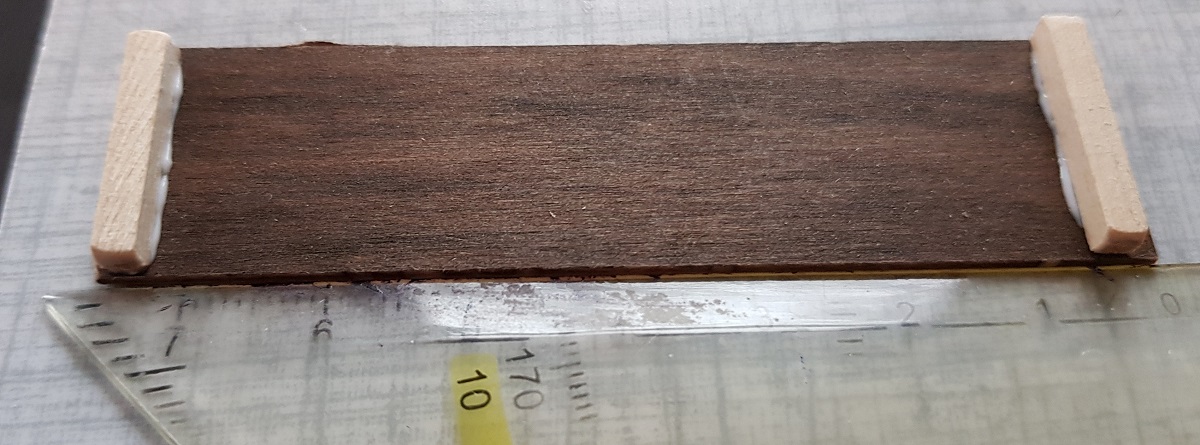
I will set the platform between the water crane and signal, almost the length of the main platform,
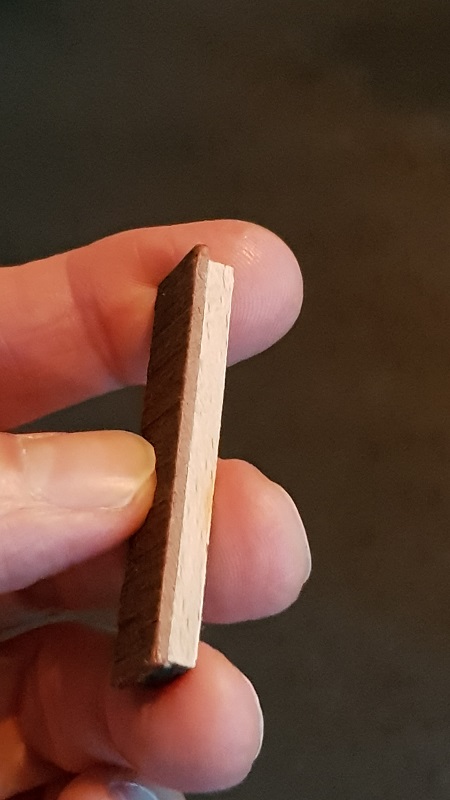
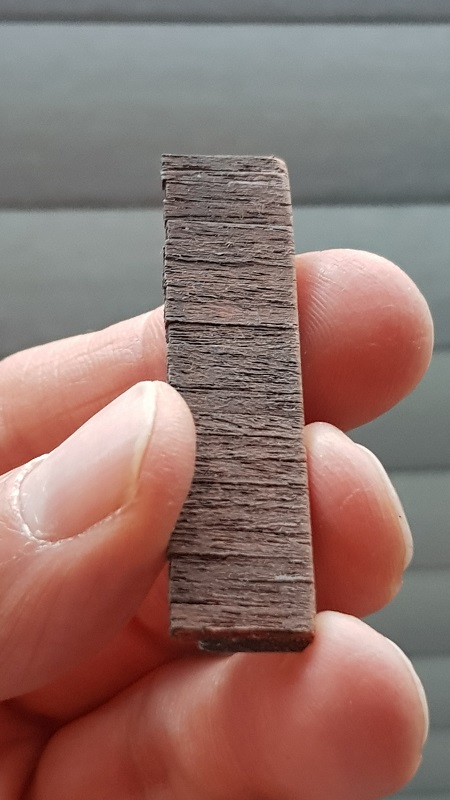
but effected in the old-fashioned way with wooden beams and boards.

I needed a chisel to get rid of the matches and layer of sand which was hard as a rock due to white glue.
11.1.2020
The foundation is laid
30.1.2020
Wednesday 12.2.2020
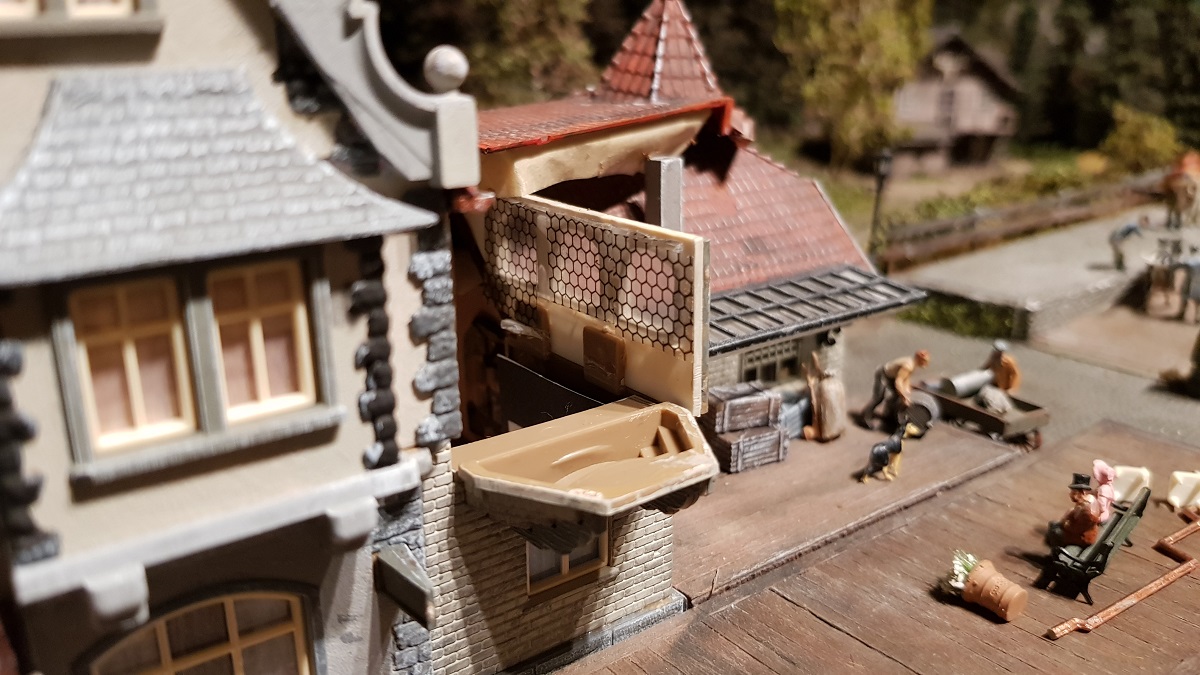
The platform was made and a new idea was born
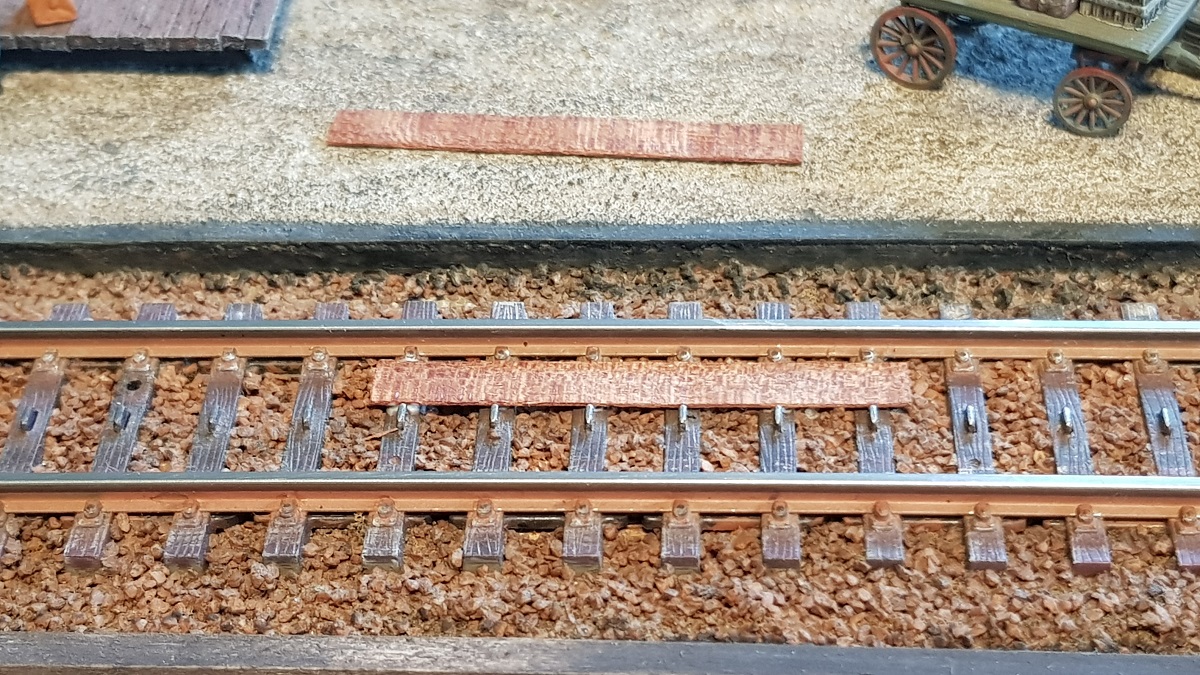
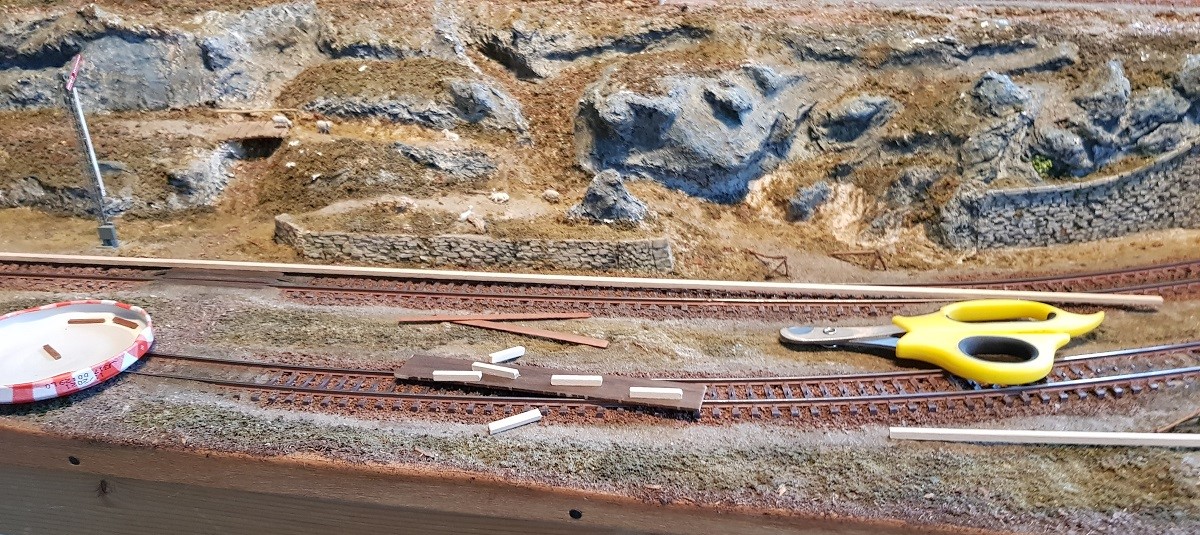
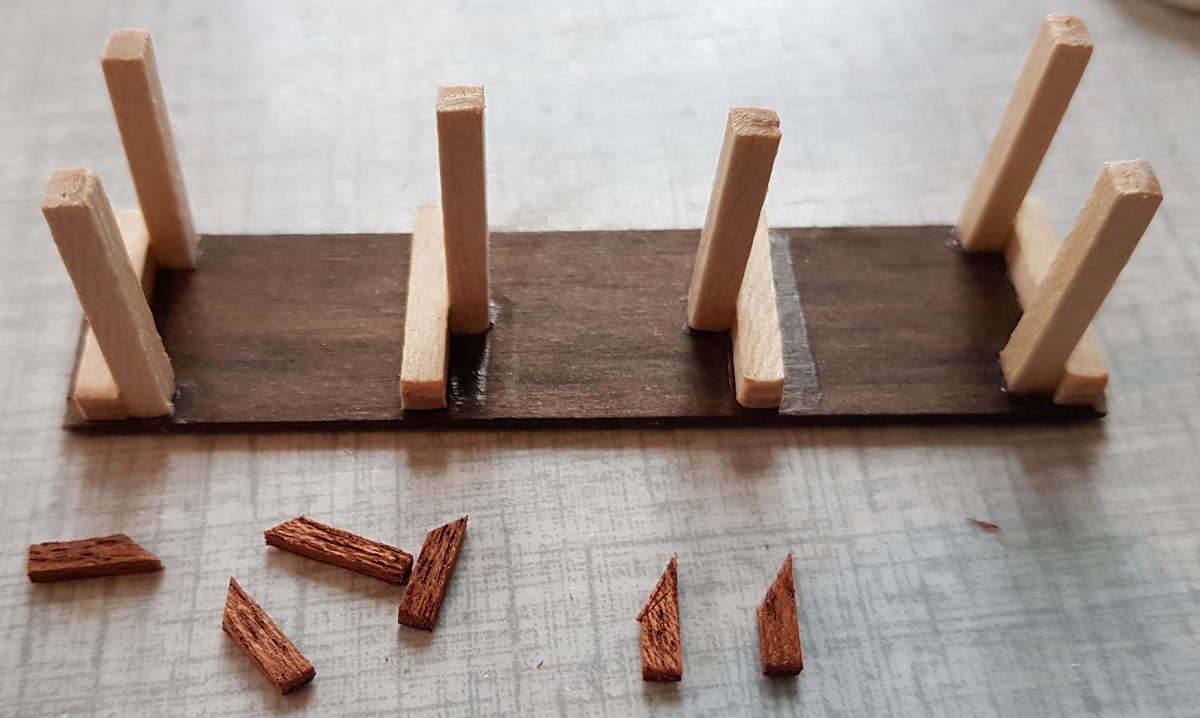
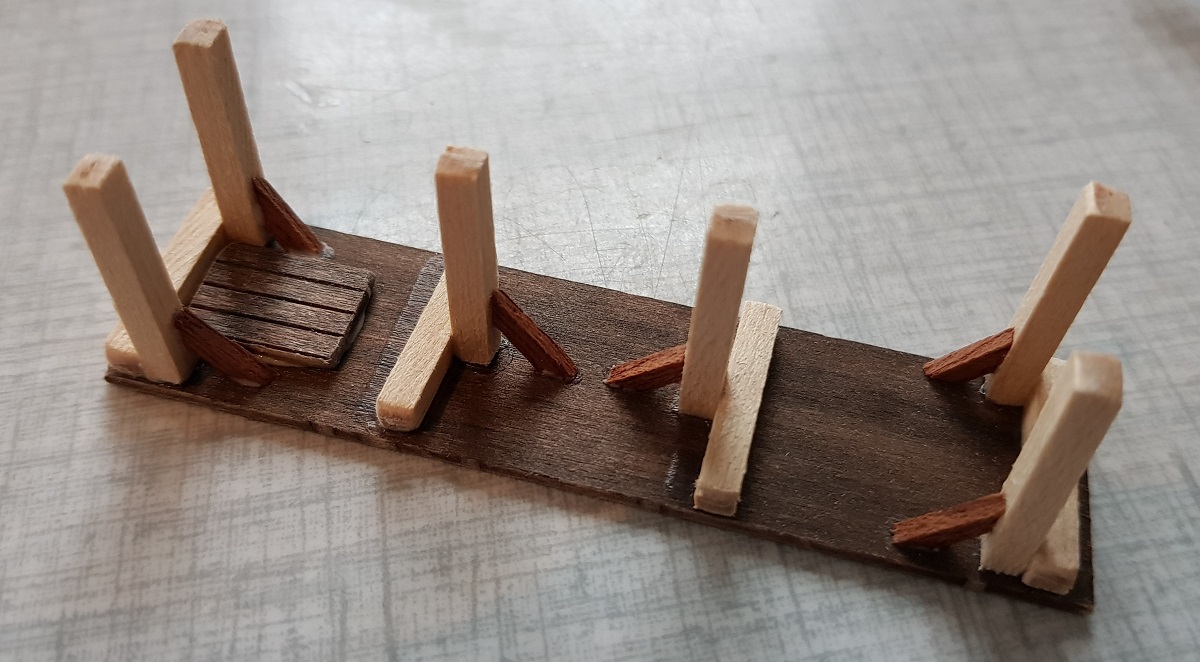
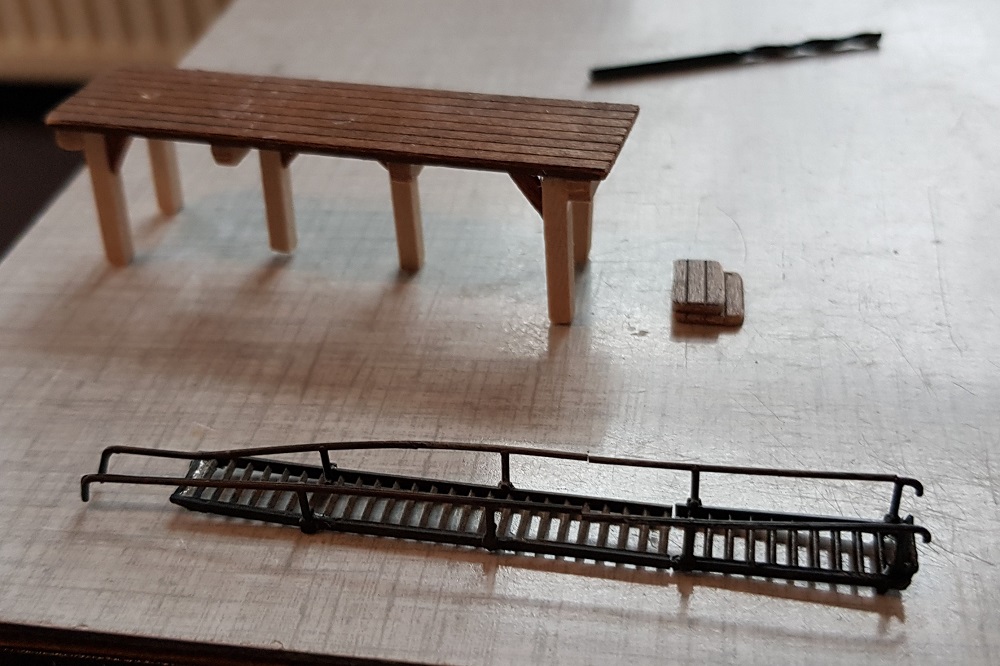
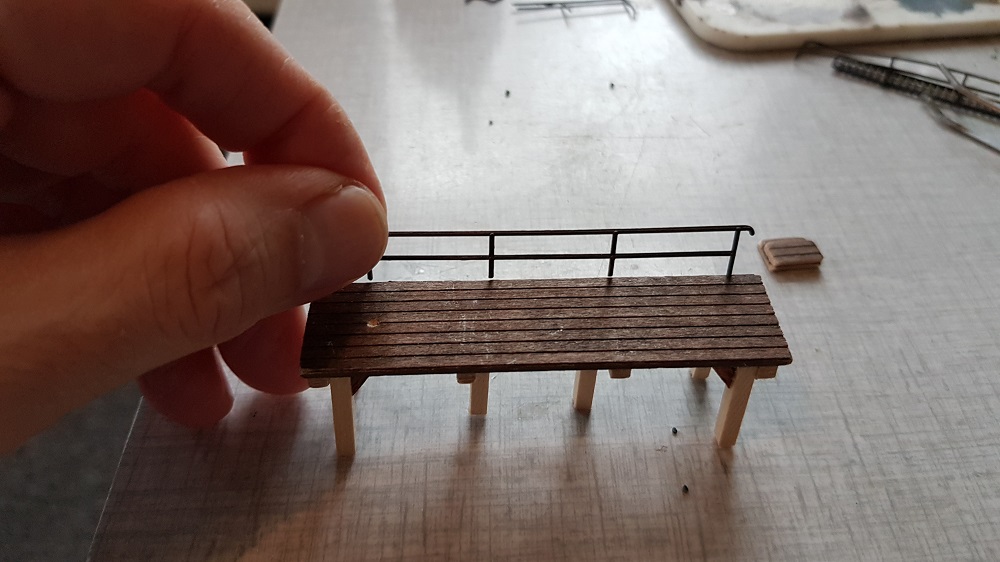
Today I had every opportunity to throw myself undisturbed on the construction of the platform.
But the day began with the cutting of no fewer than 154 beams for the top layer of the platform.
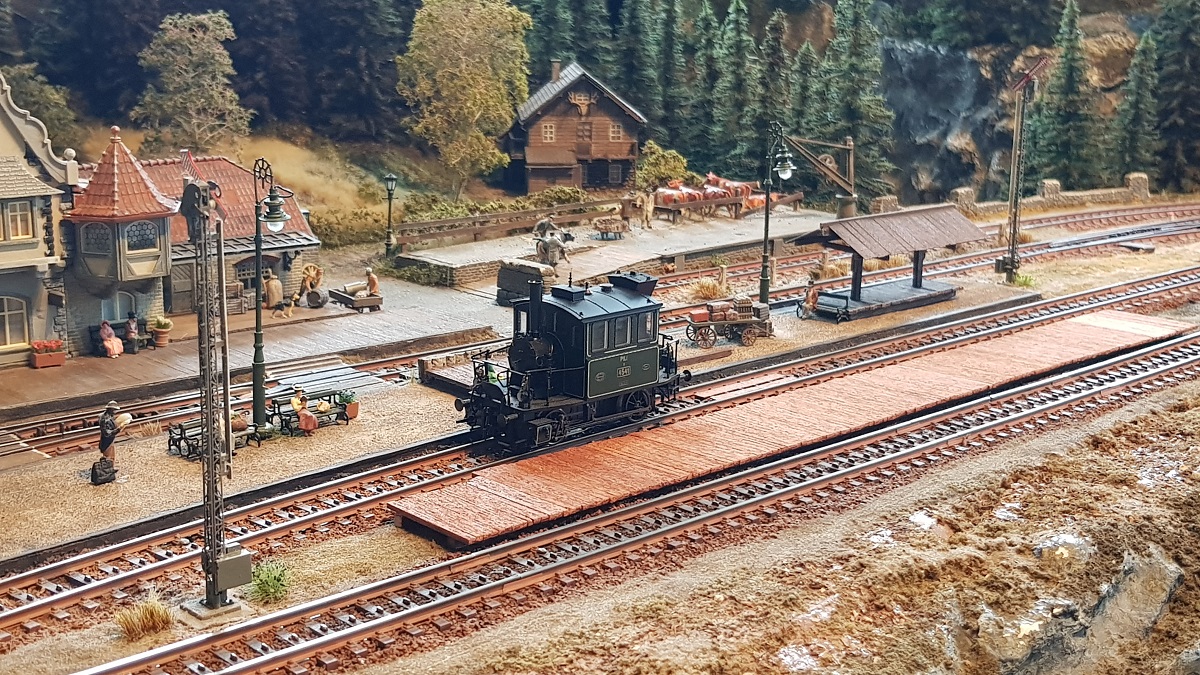
A beautiful platform for King Ludwig II of Bavaria.
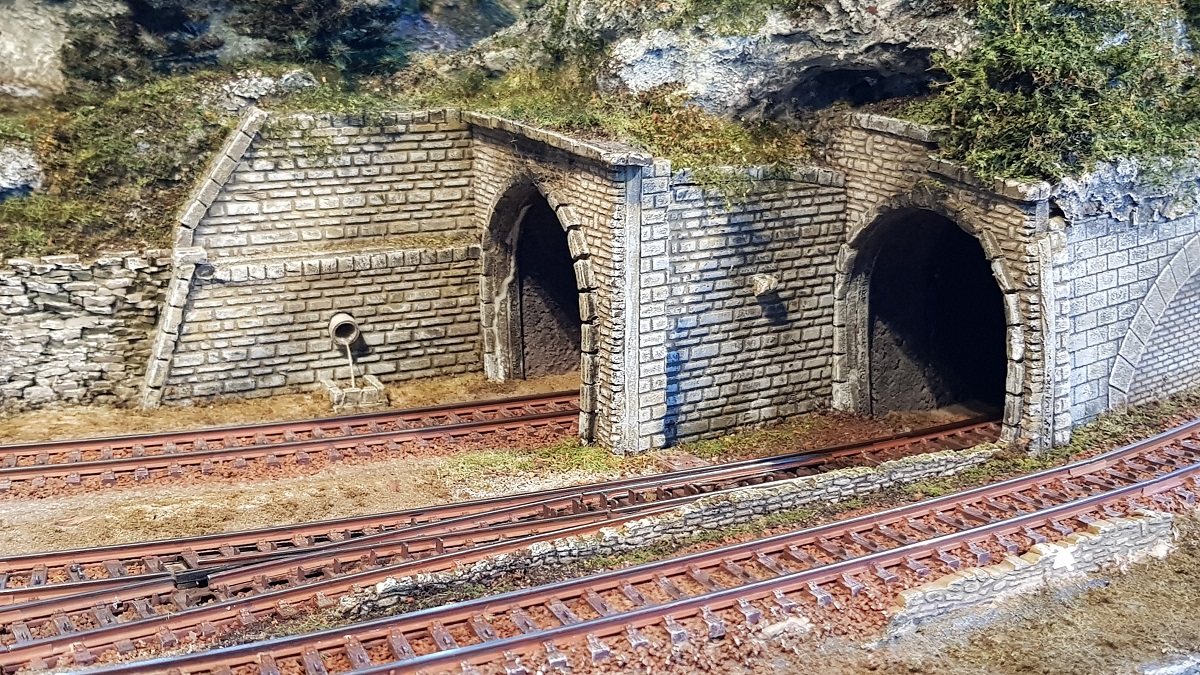
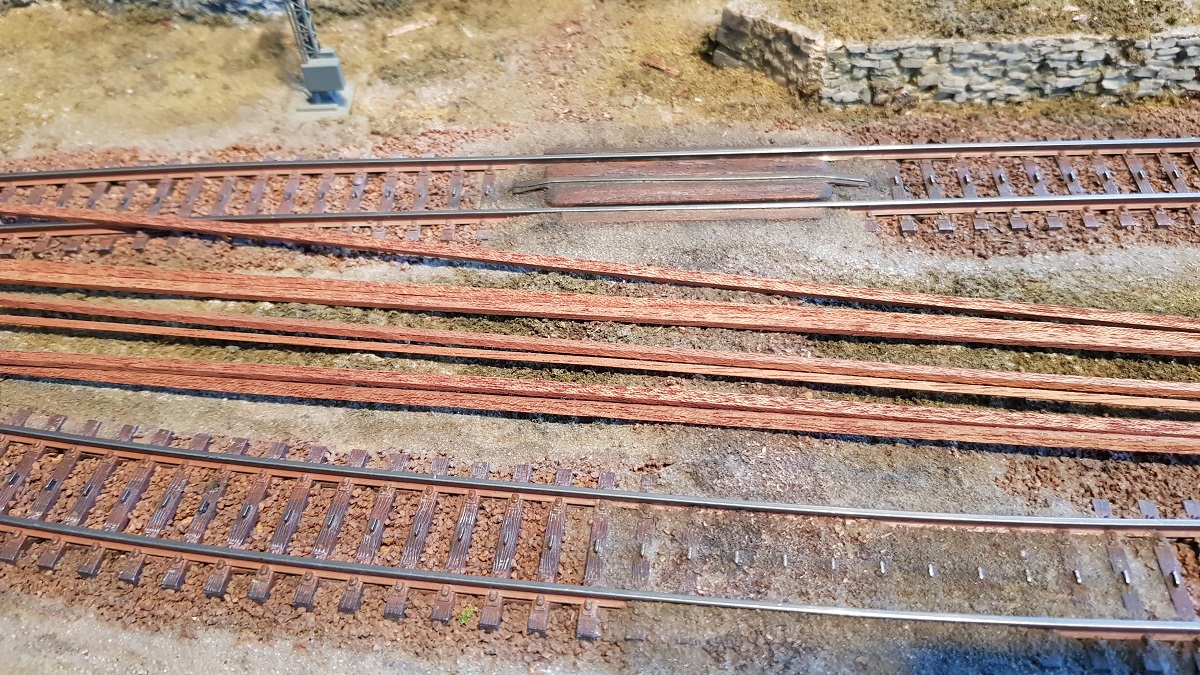
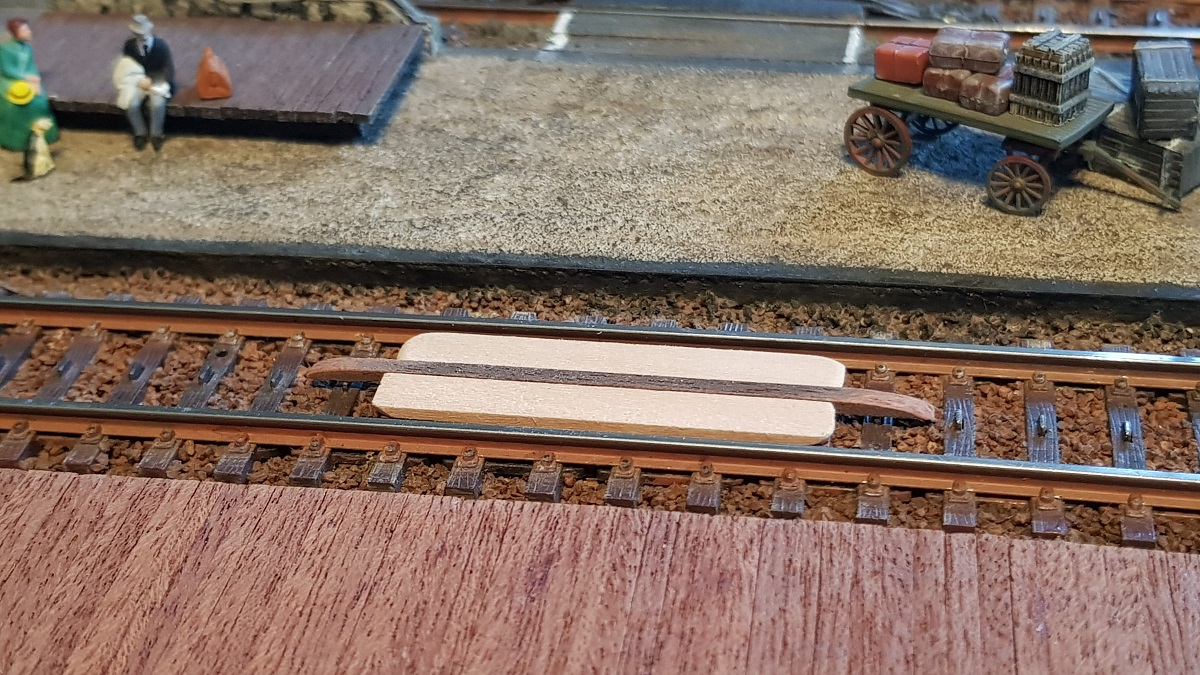
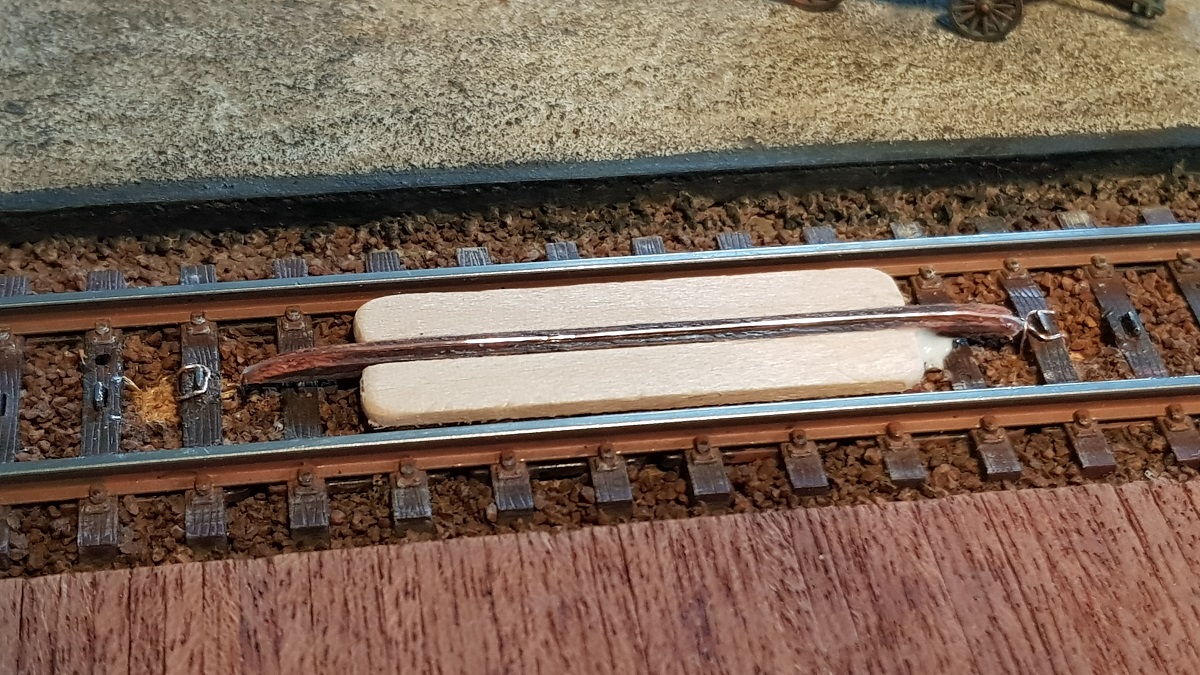
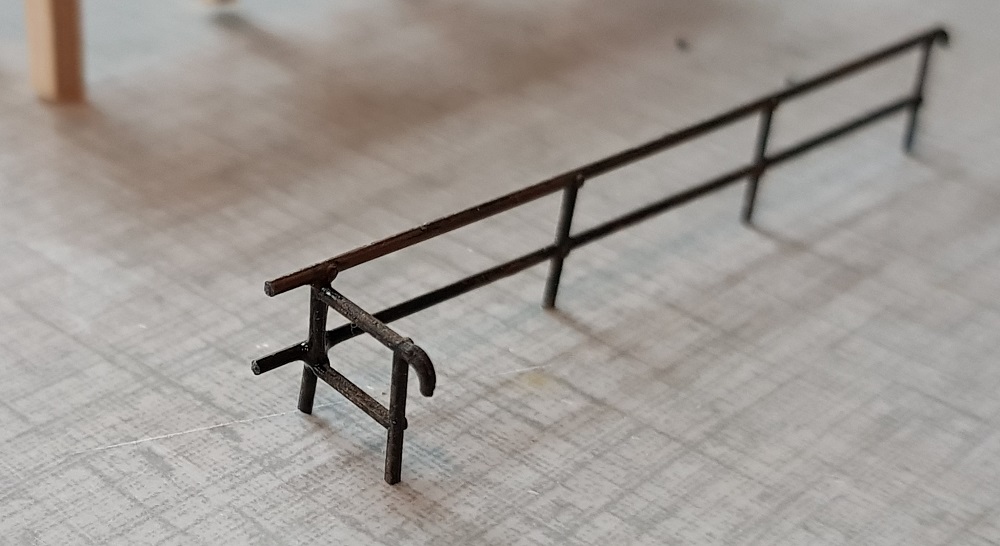
Furthermore, there is need of a R a i l r o a d C r o s s i n g.
With Märklin rails there's an extra challenge in it because of the point contacts (puko's).
Fortunately, I found a copper wire that I could use for the current conduction.

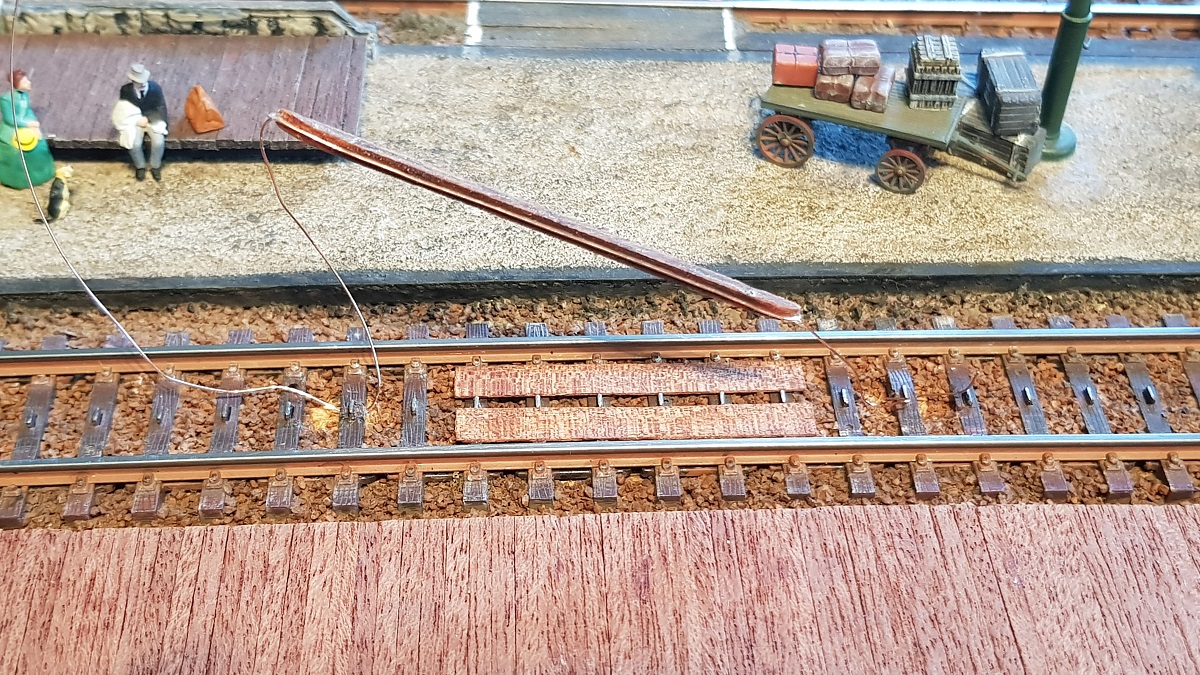
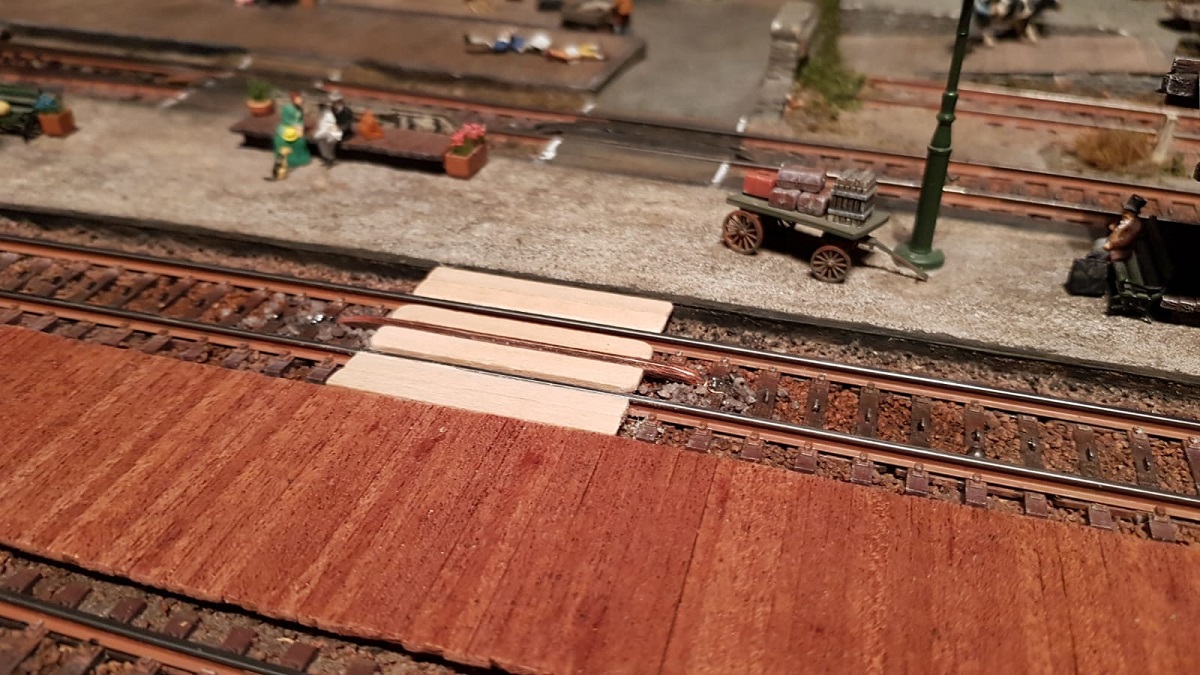
Now, since the tracks are bending towards each other, the platform had to become narrower at the left side.
For some reason I miscalculated the length of those beams, as you can see on the next picture.
Now, this kind of things happened several times during the renovation.
My lesson is that due to such errors and mistakes creativity is stimulated and usually lead to something better and more beautiful.
So...

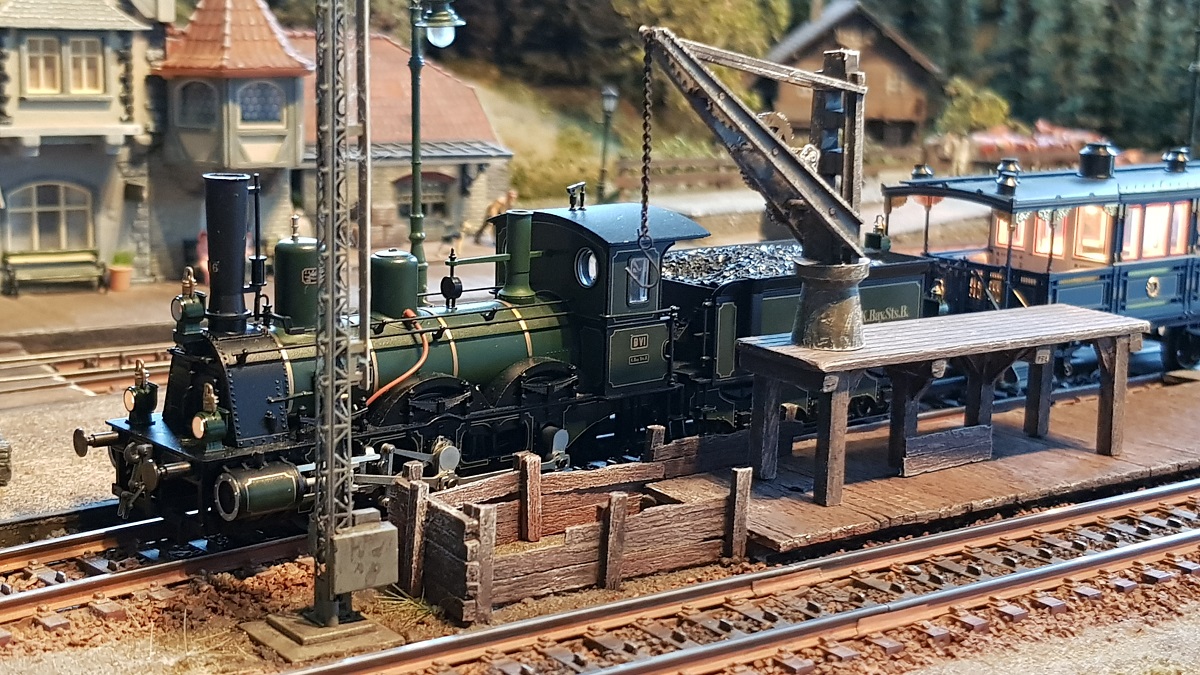
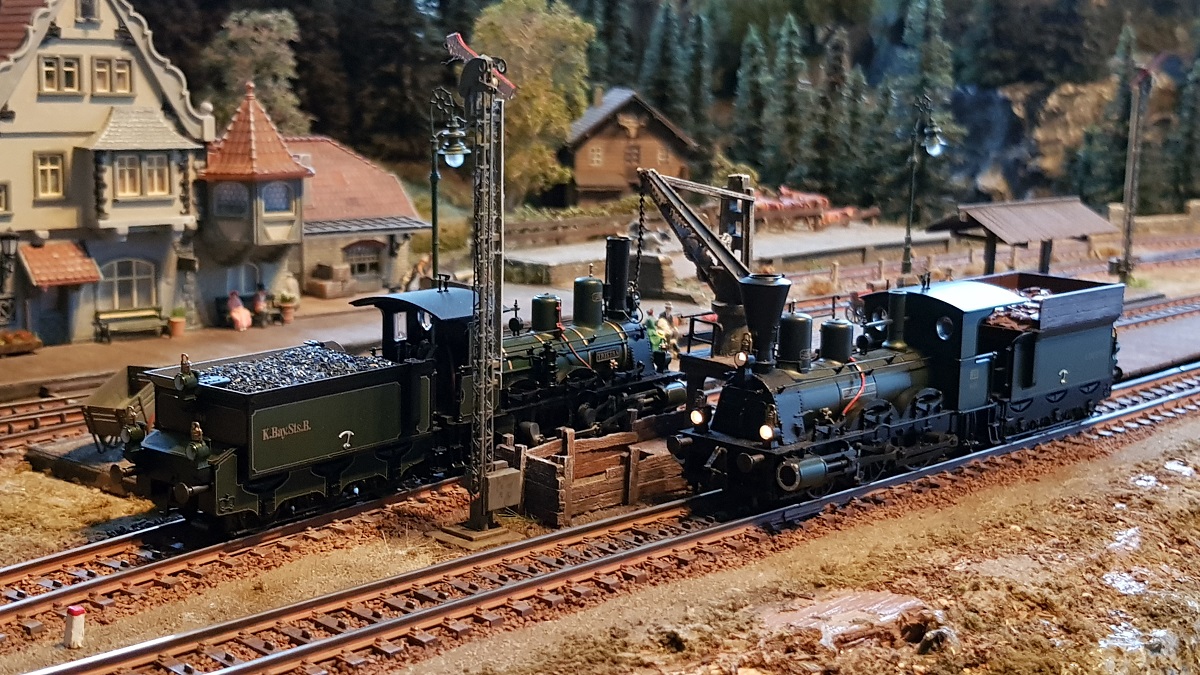
I followed the easy route and thought I could simply place the coal crane on the
platform. Hence the borehole.
However, this morning it turned out that this
crane can never lift a basket high enough to load a tender locomotive.

13.2.2020
So, there had to be a raised platform...
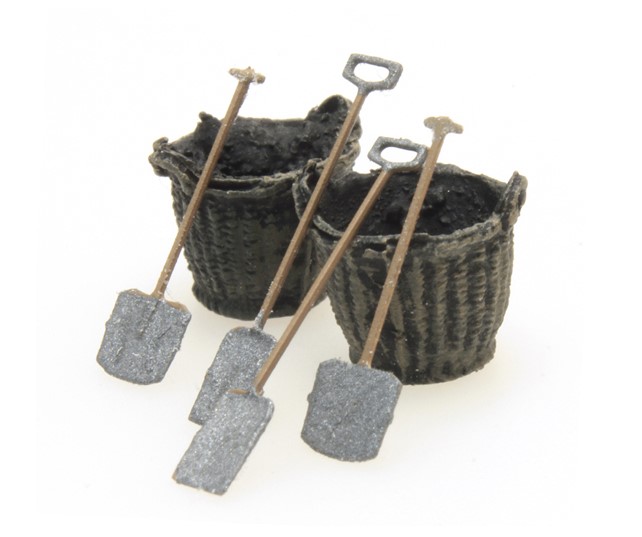
This wooden frame, a remnant of the Forsthaus (Busch 1675), suits most perfect as a platform for the coal bunker.

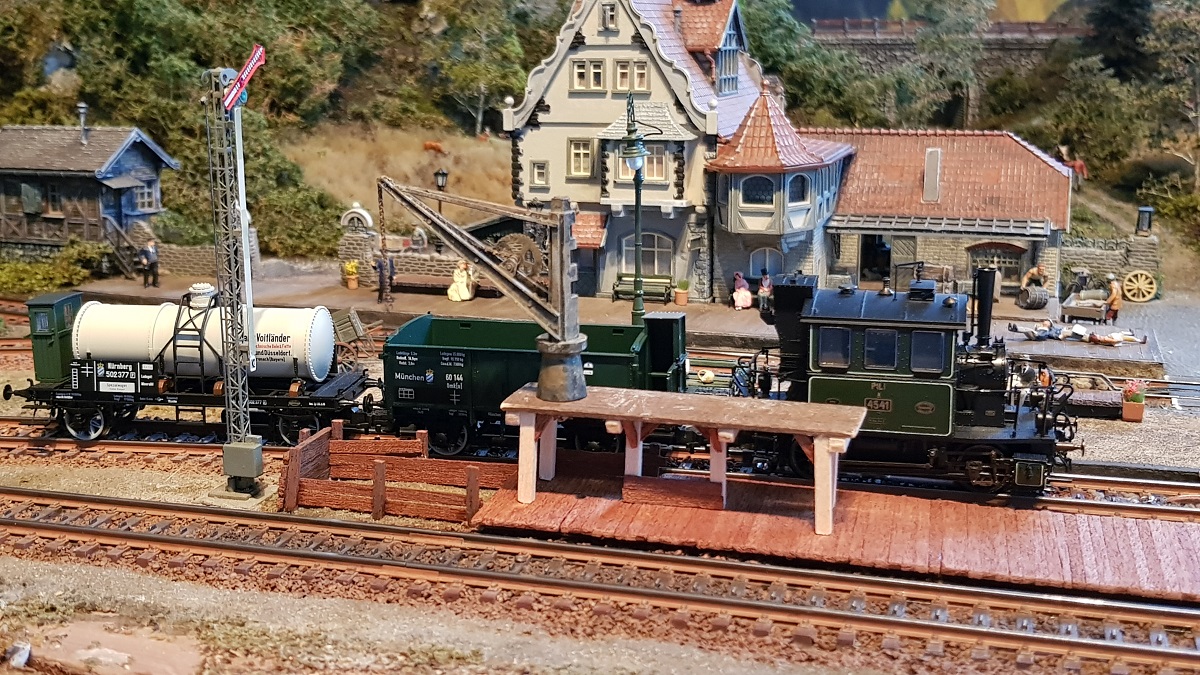

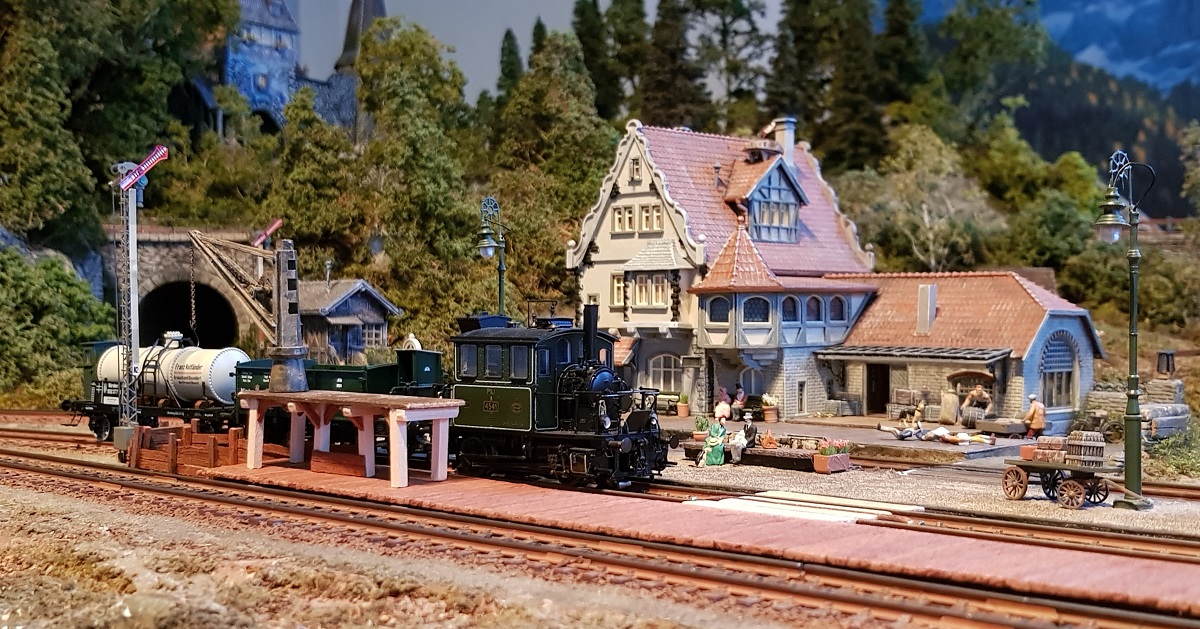
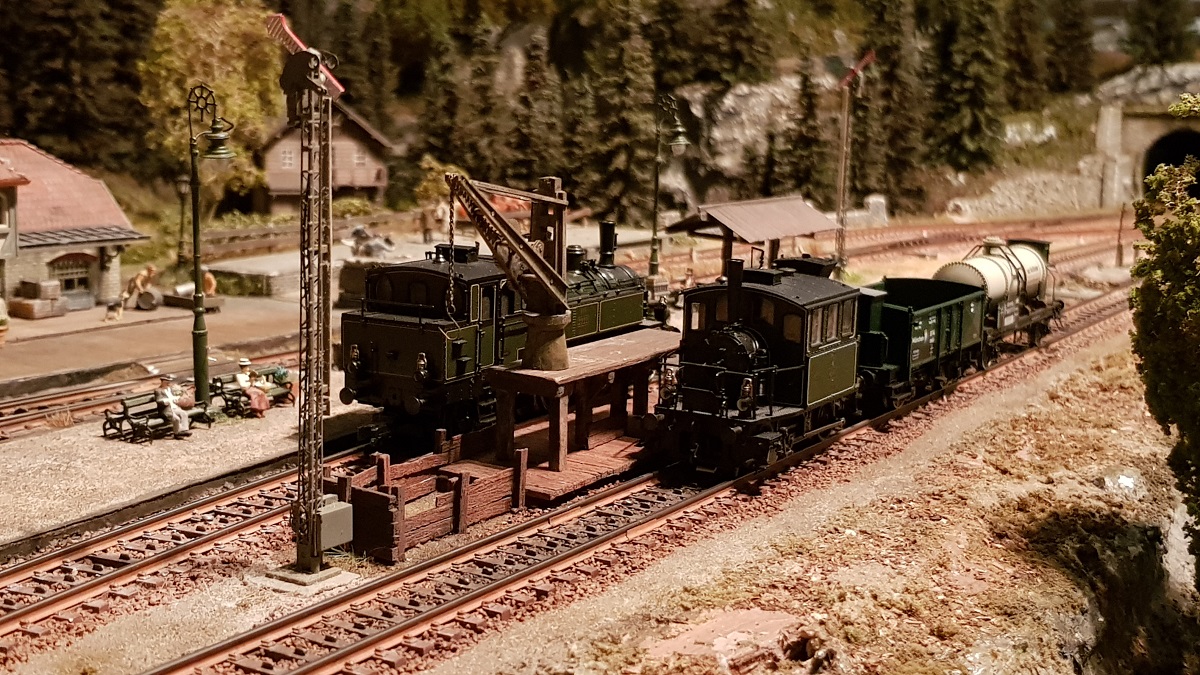
Small branch line locomotives are able to load coal at this small coal bunker now.
Coal baskets were ordered at my dealer's...
The next morning more lasur, white brush and some minor craft and handiwork...
14.2.2020
I n t e r m i s s i o n (1)
This bench was too wide... so I cut it endlong in two!

12.2.2020
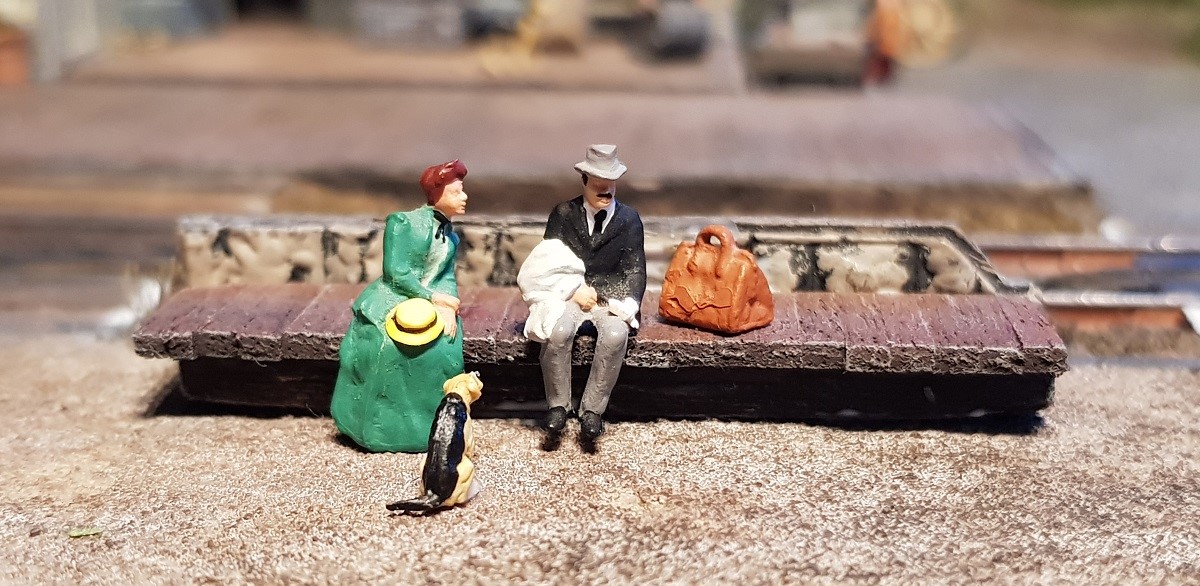
One here...
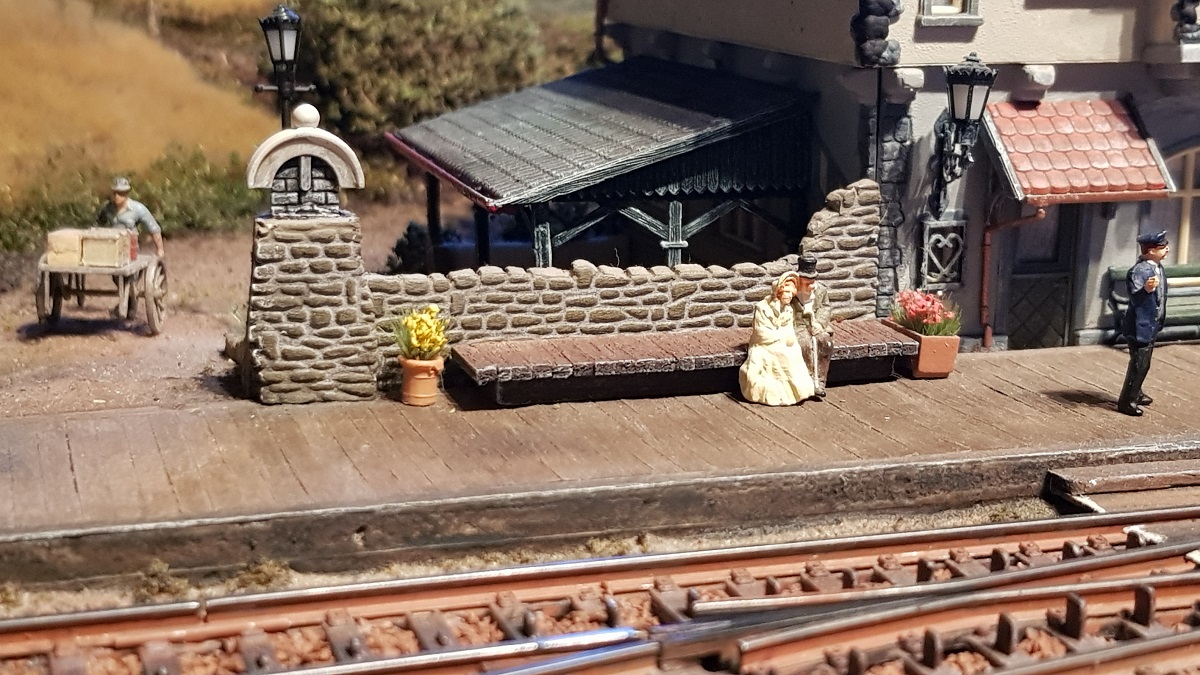
... and the other there! How cosy it can be!
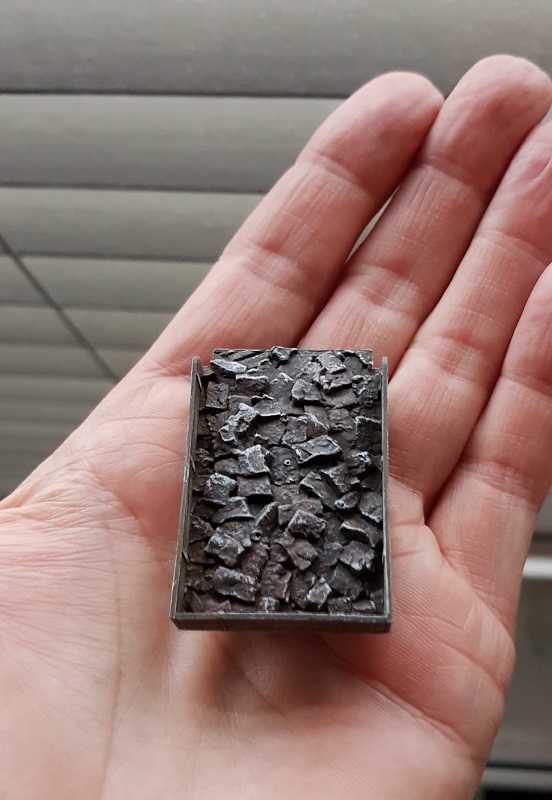
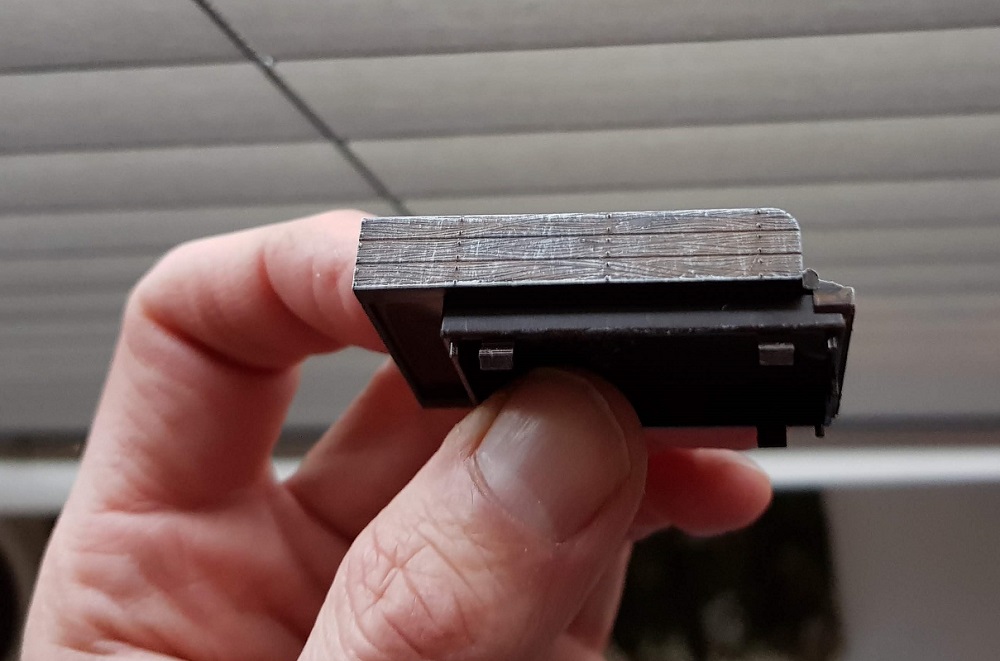
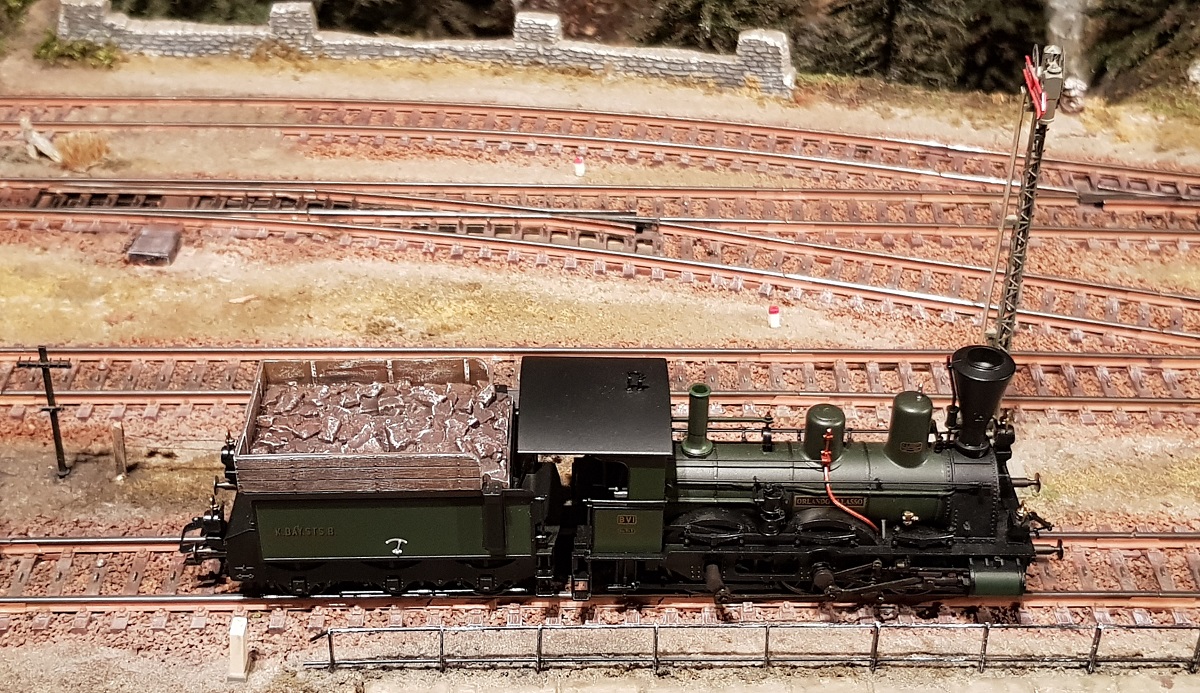
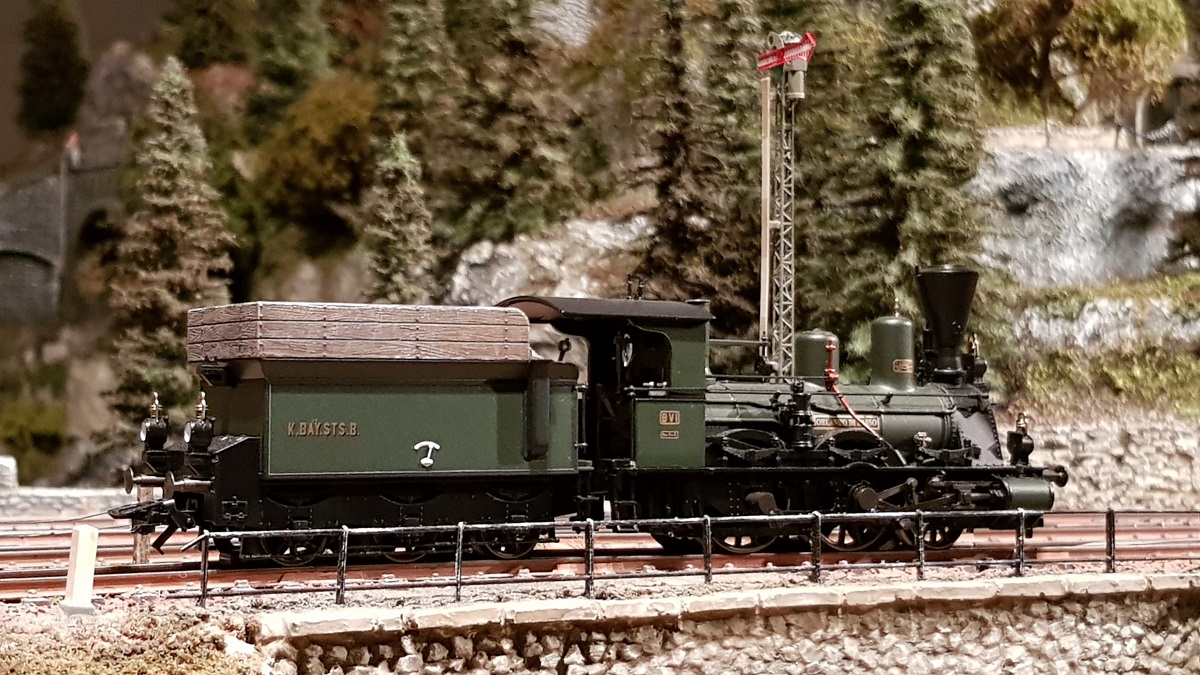
I n t e r m i s s i o n (2)
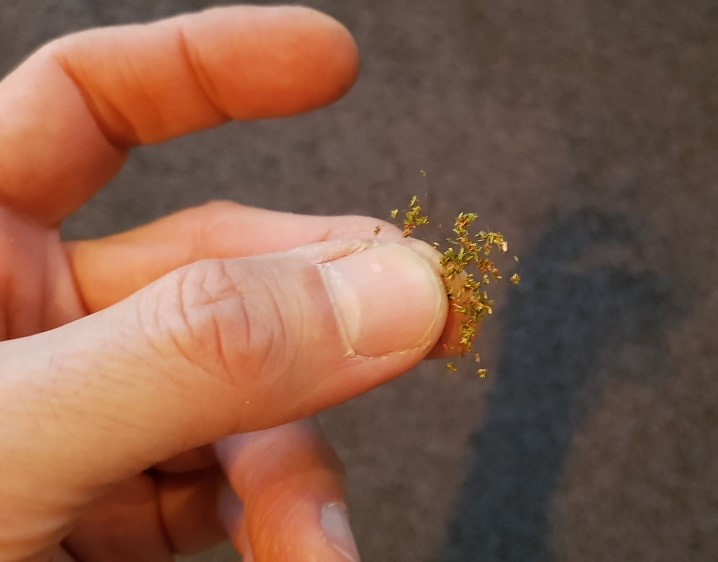
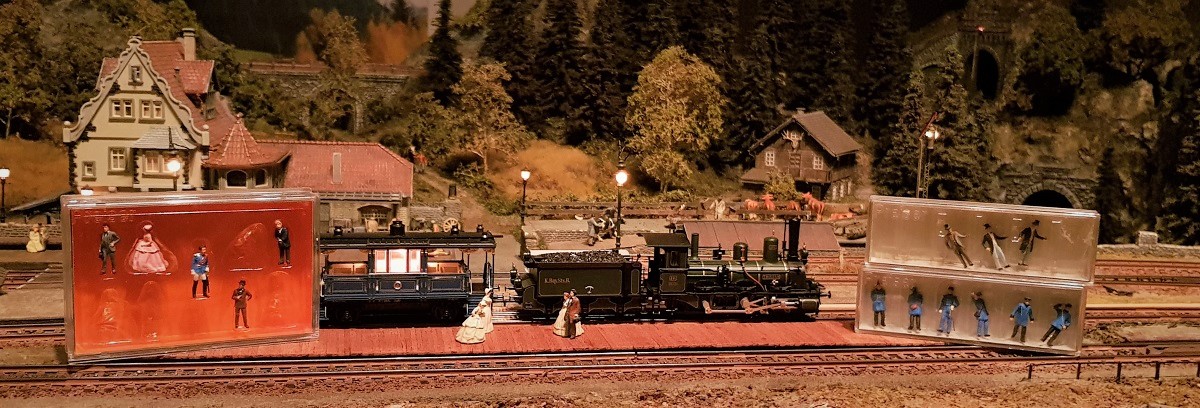
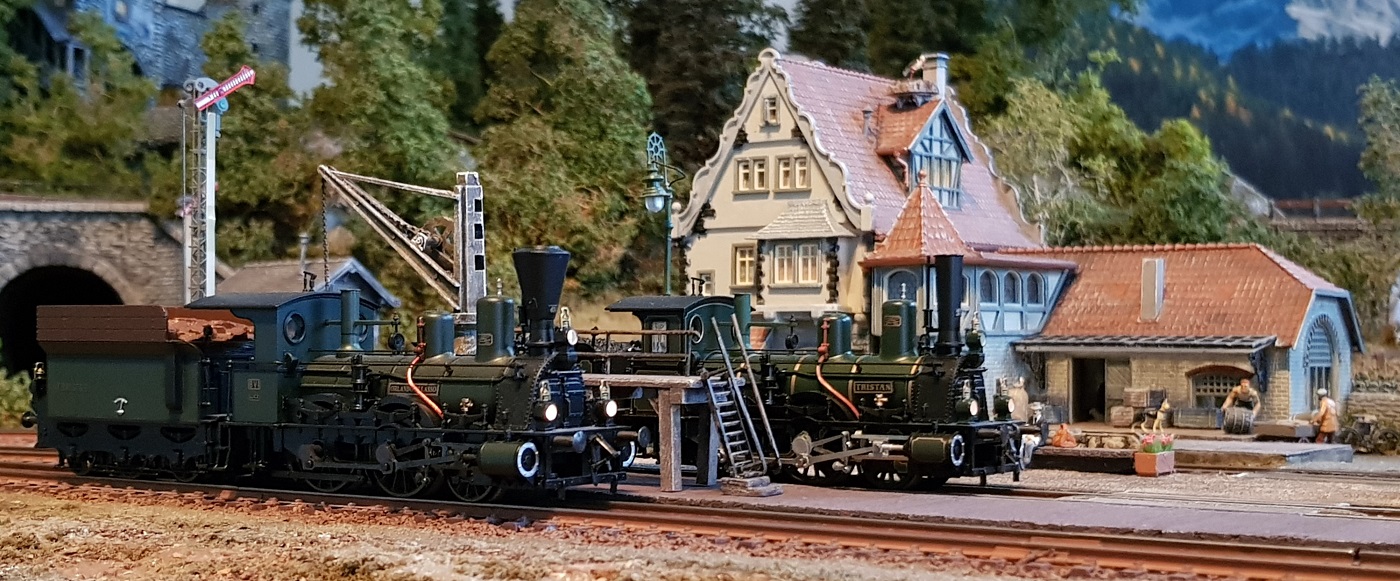
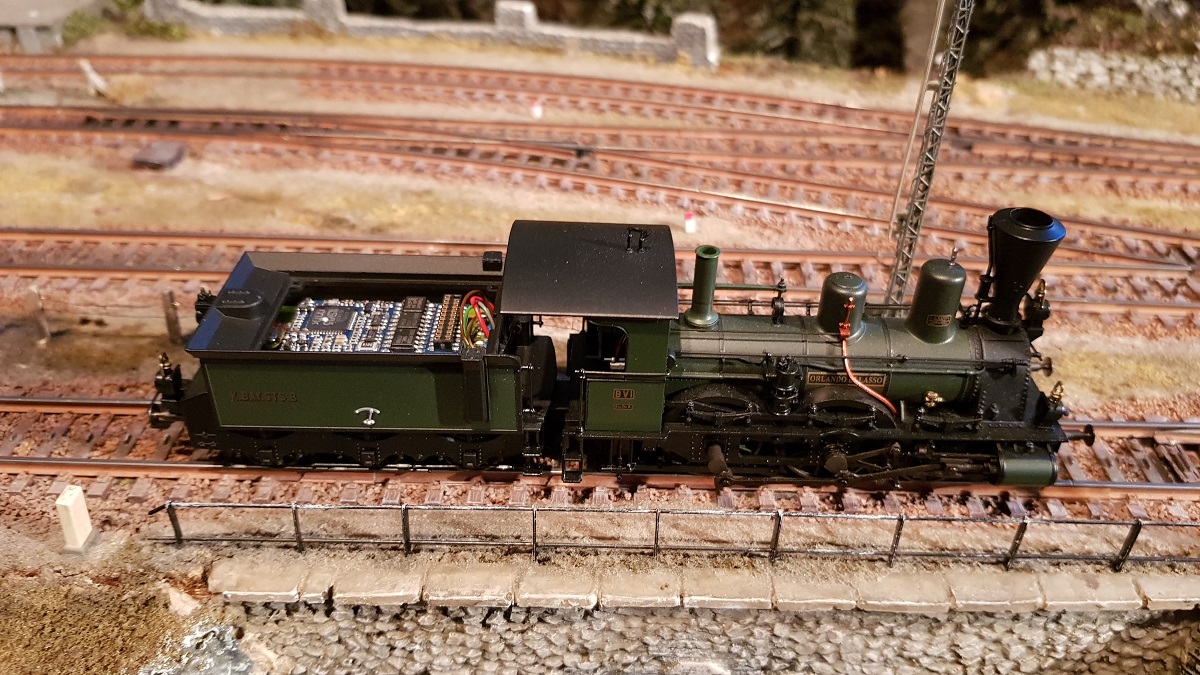
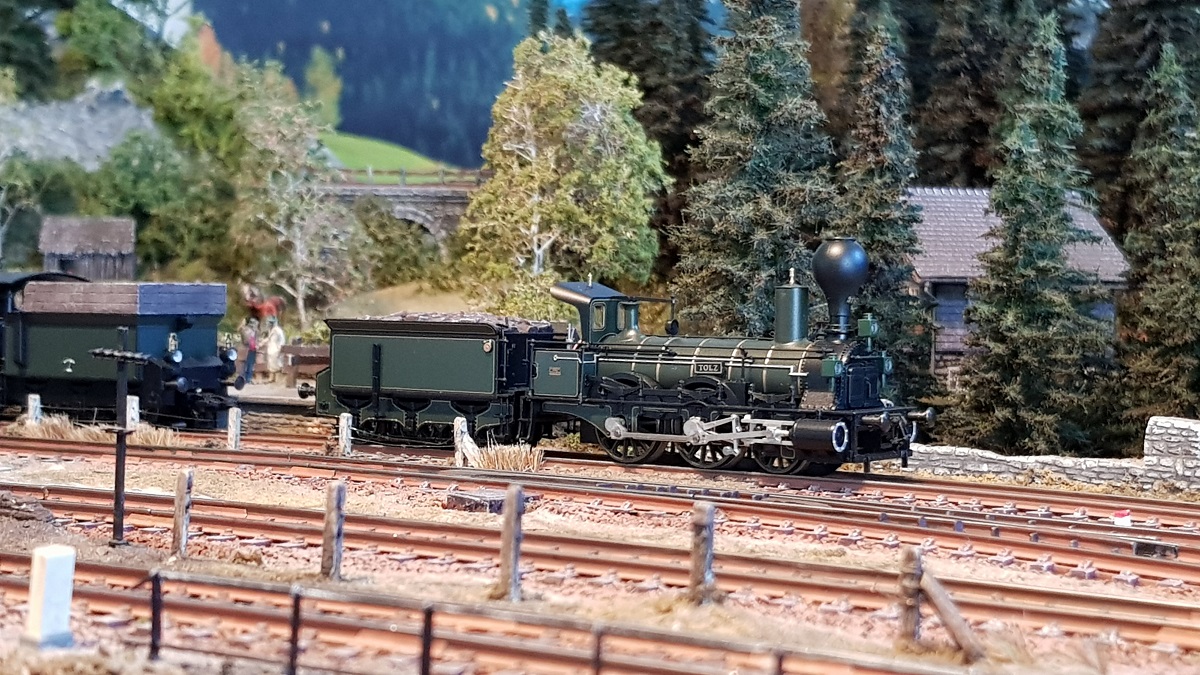
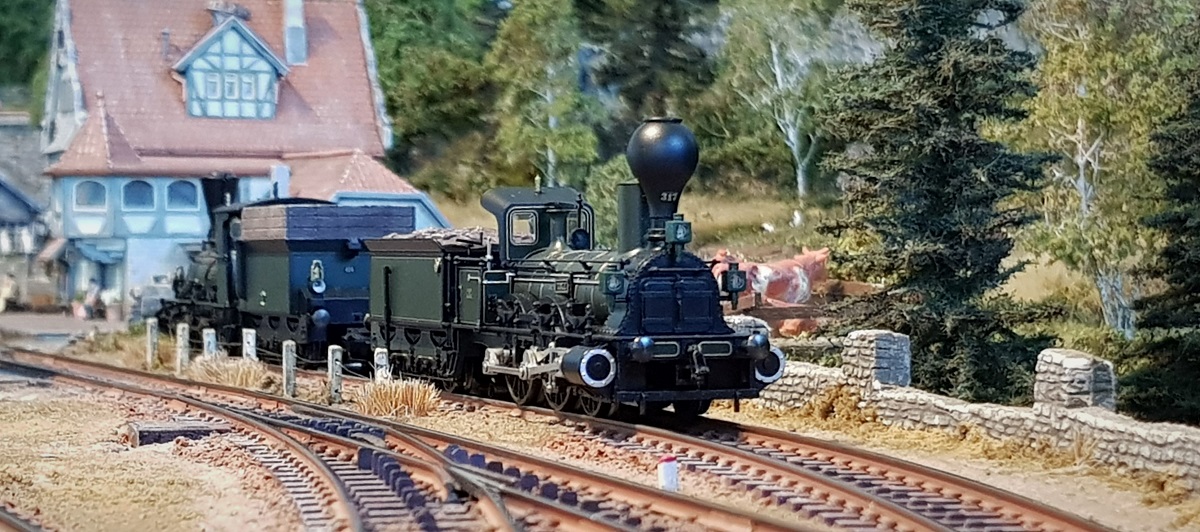
Since the model railway gets more and more prestige, I also want to give locomotives a better prestige where possible.
Therefor I decided to adjust the two loads of peat both on the Töltz and the Orlando di Lasso.
From the factory, both peat loads were quite shiny and plastic-like.
Because most Era 1 locomotives were well maintained, I decided to only tackle the fuel load.
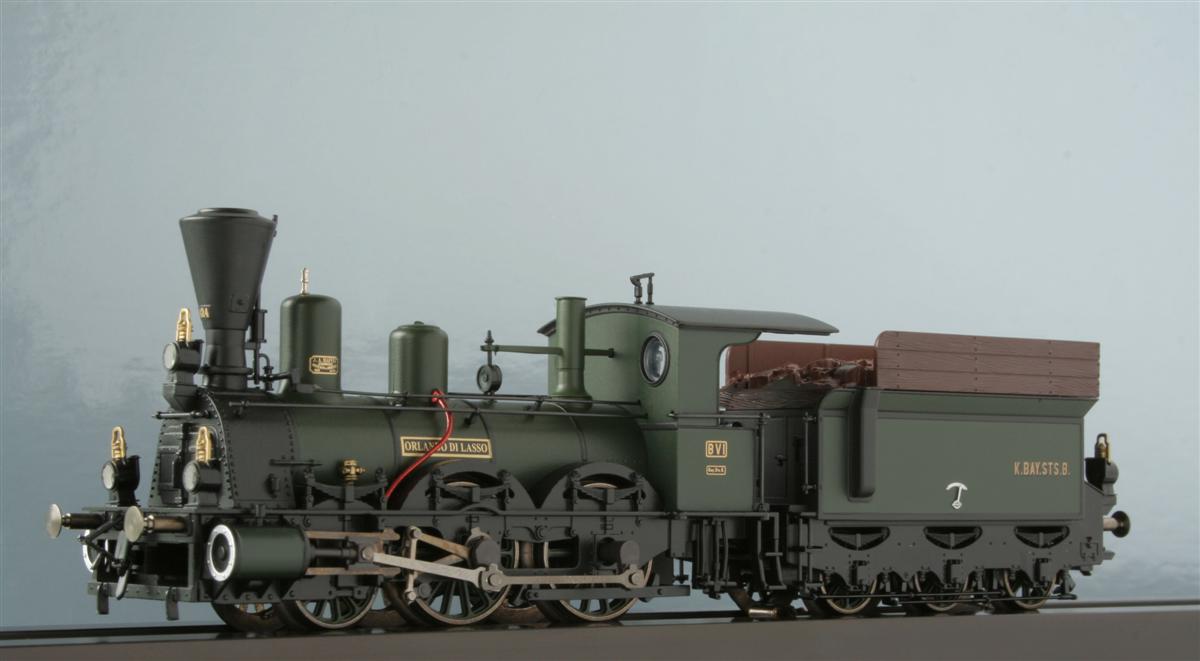
Märklin 37975 in its original state
I n t e r m i s s i o n (3)
It's in detail...
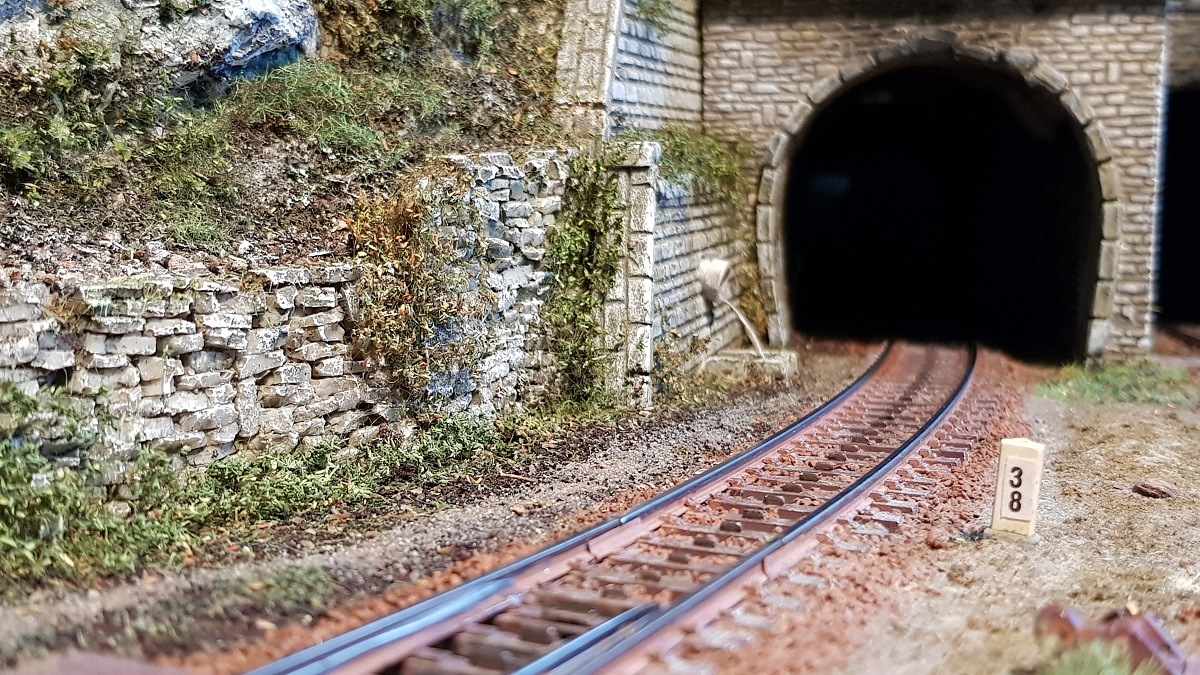
I've never finished numbering the other milestones.
Now is the time.
6.3.2020
The Journal continues in Part 4
~~~
Frits Osterthun © 19.3.2020