R e n o v a t i o n J o u r n a l
2.5 ~ T h e T r a i n B r i d g e
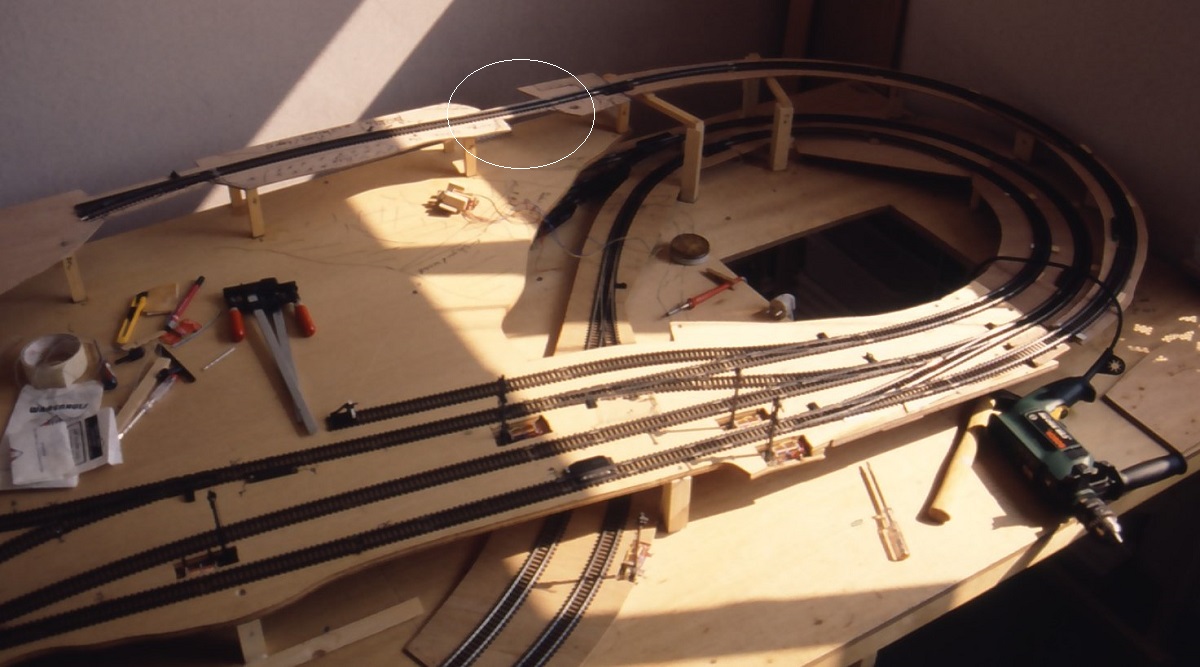
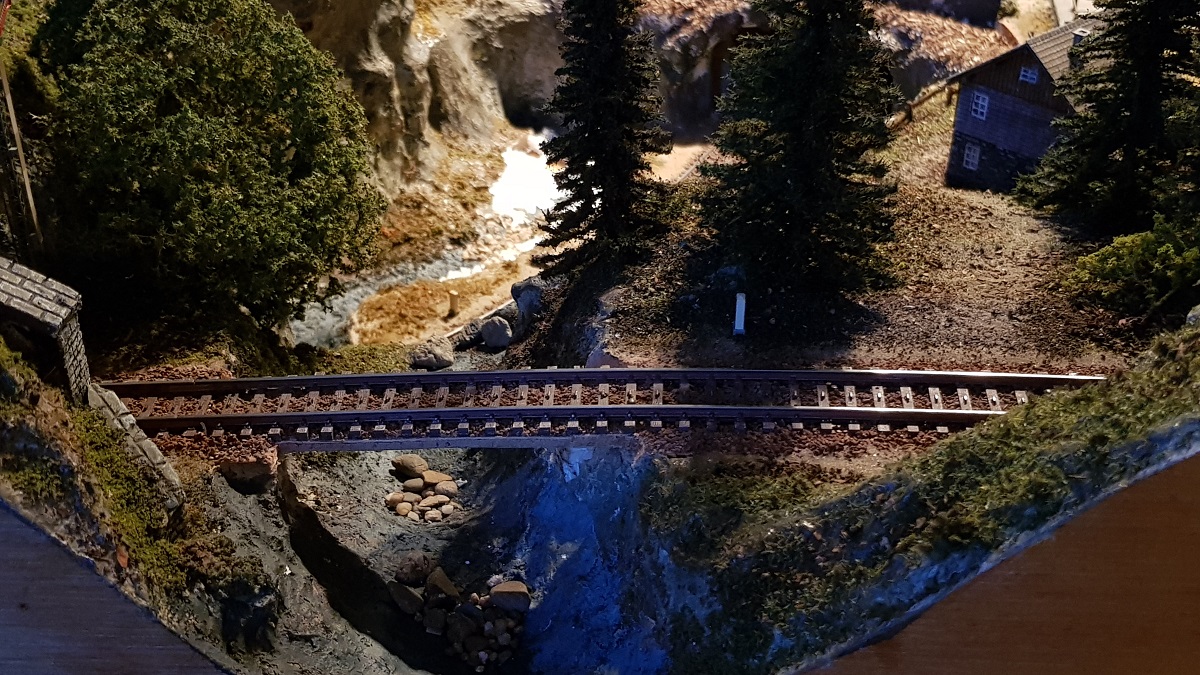
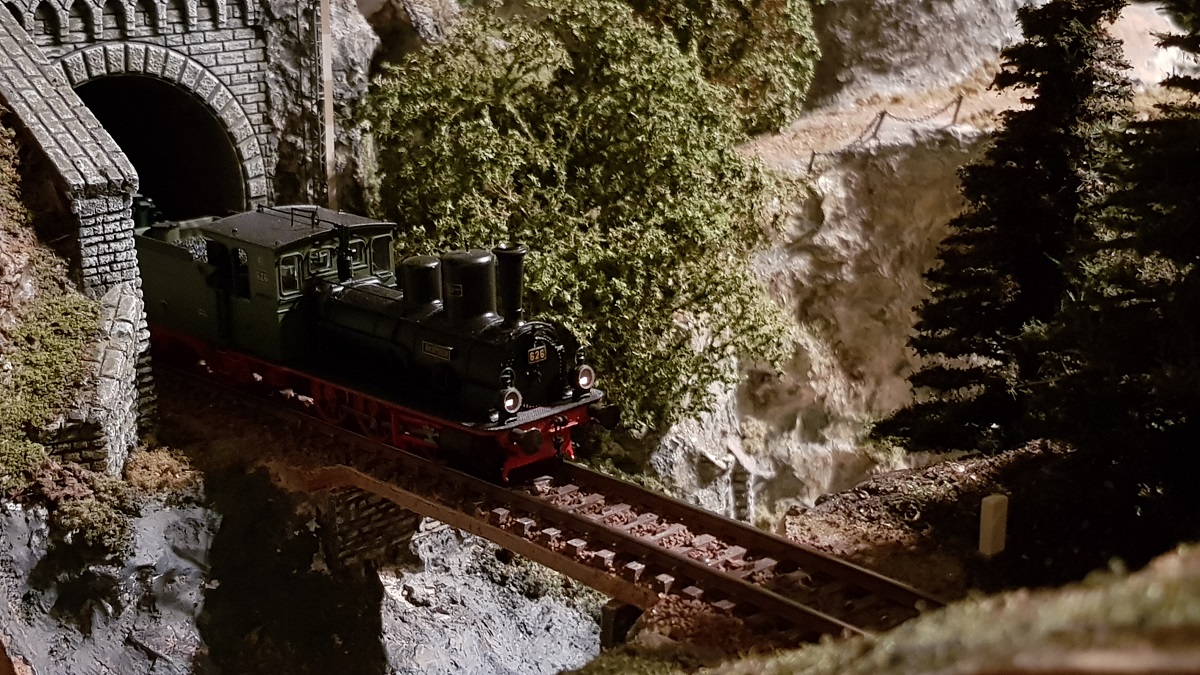
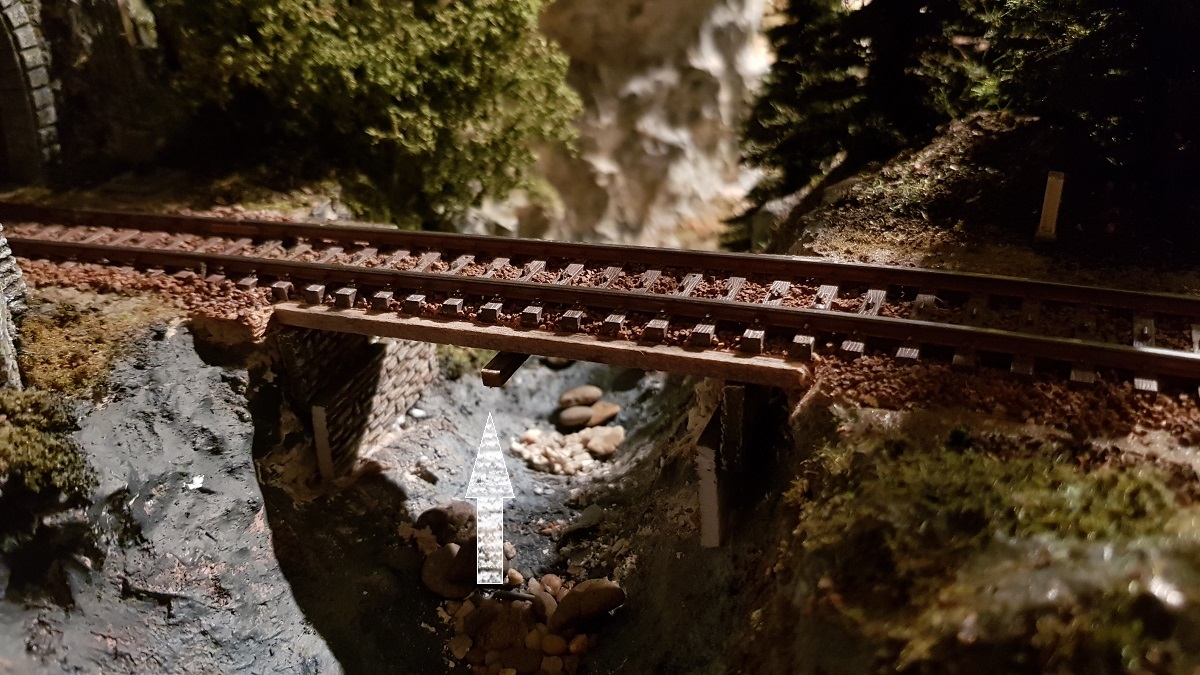
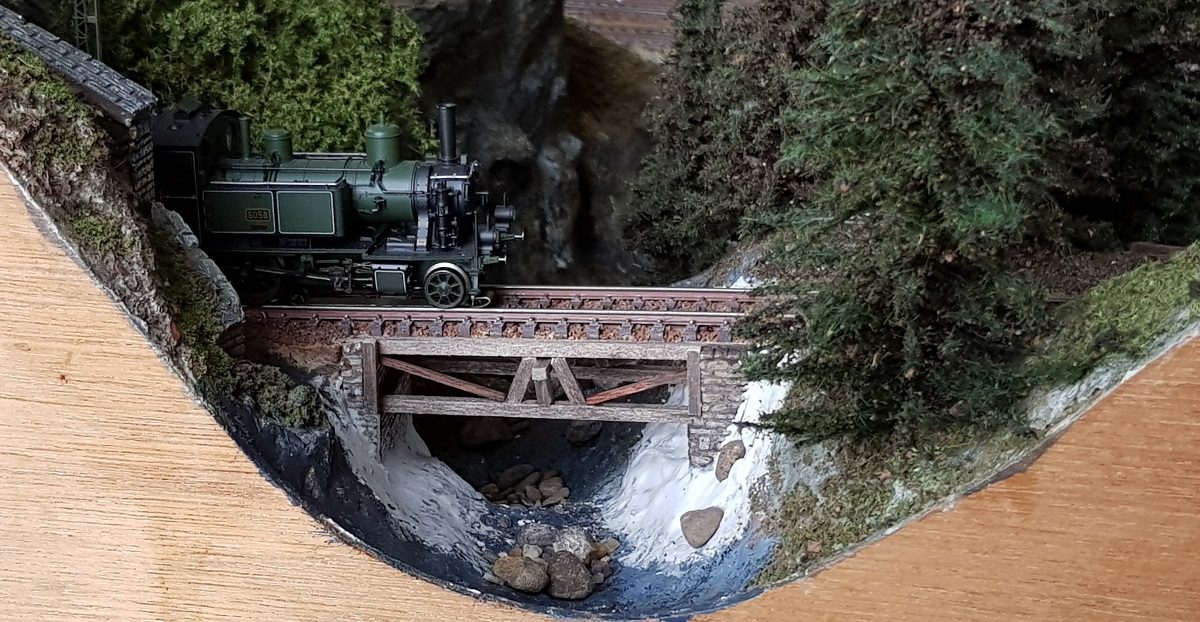
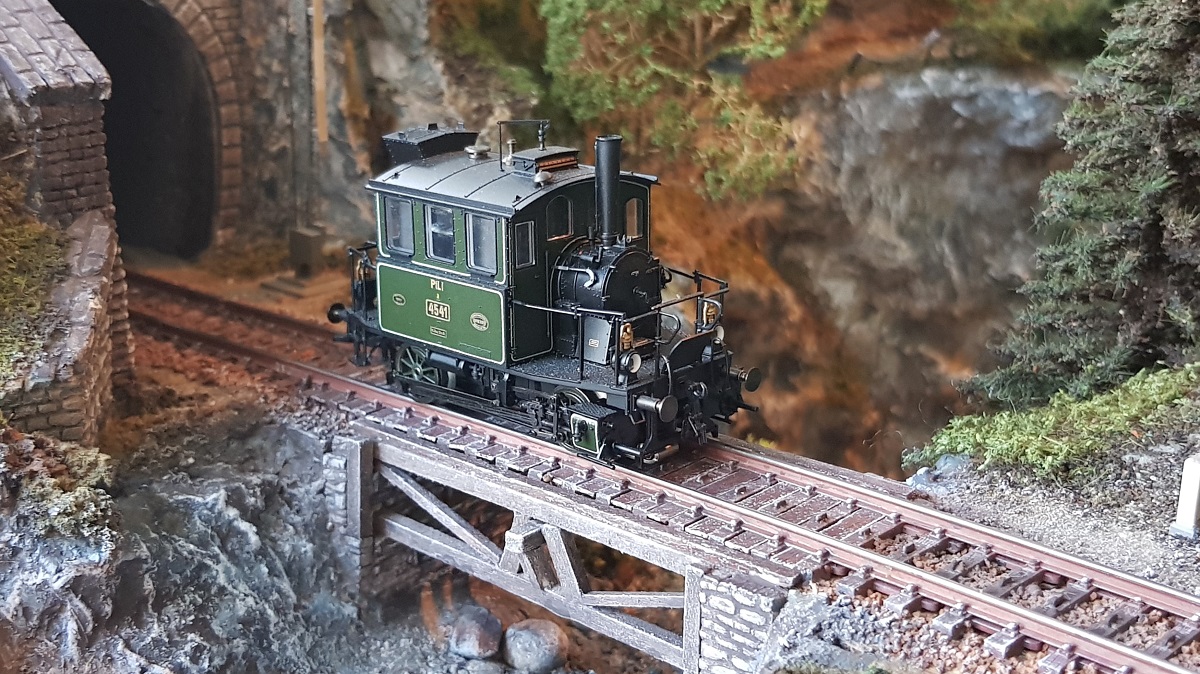
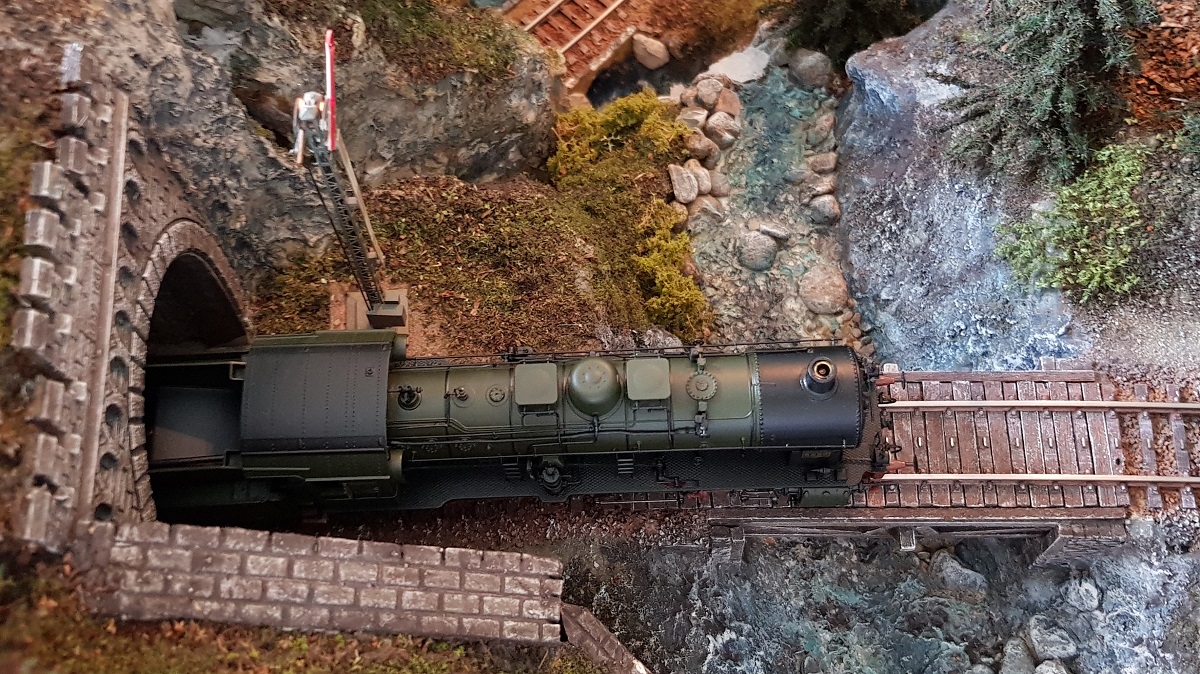
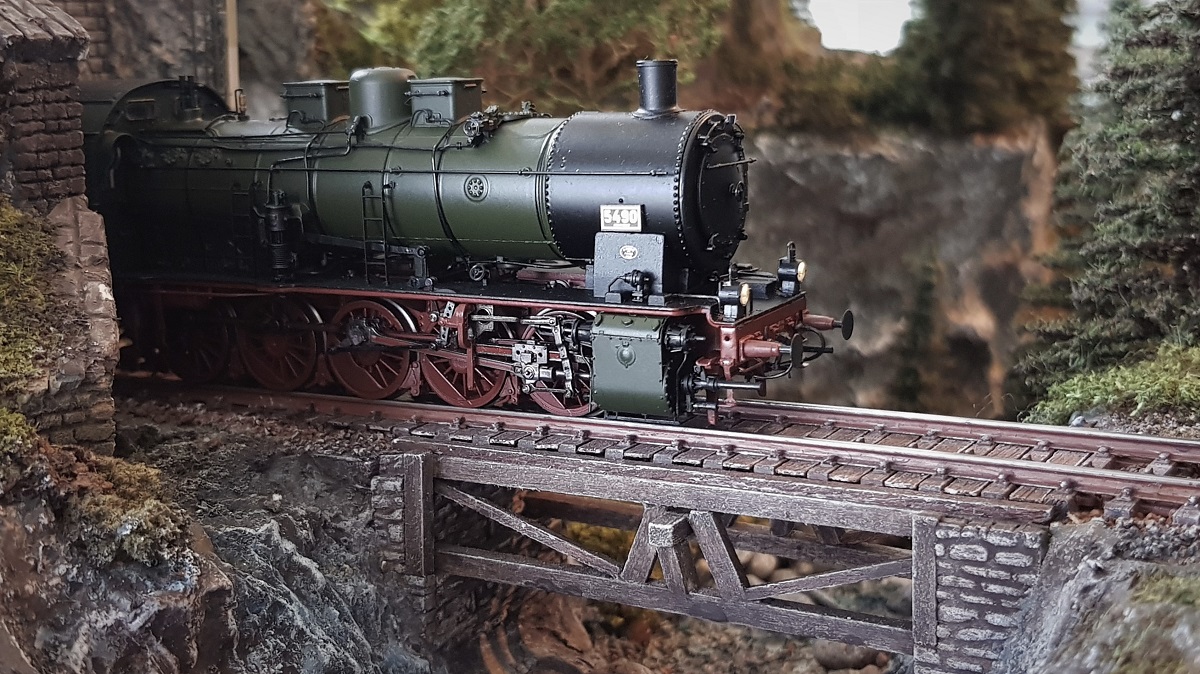
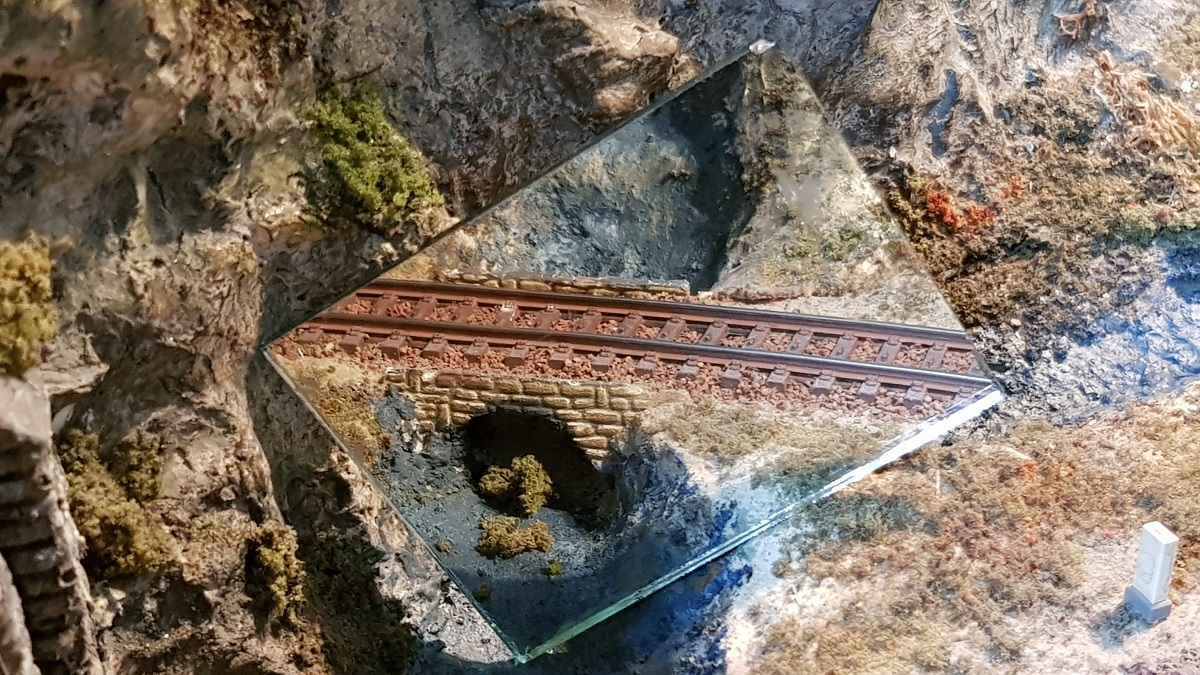
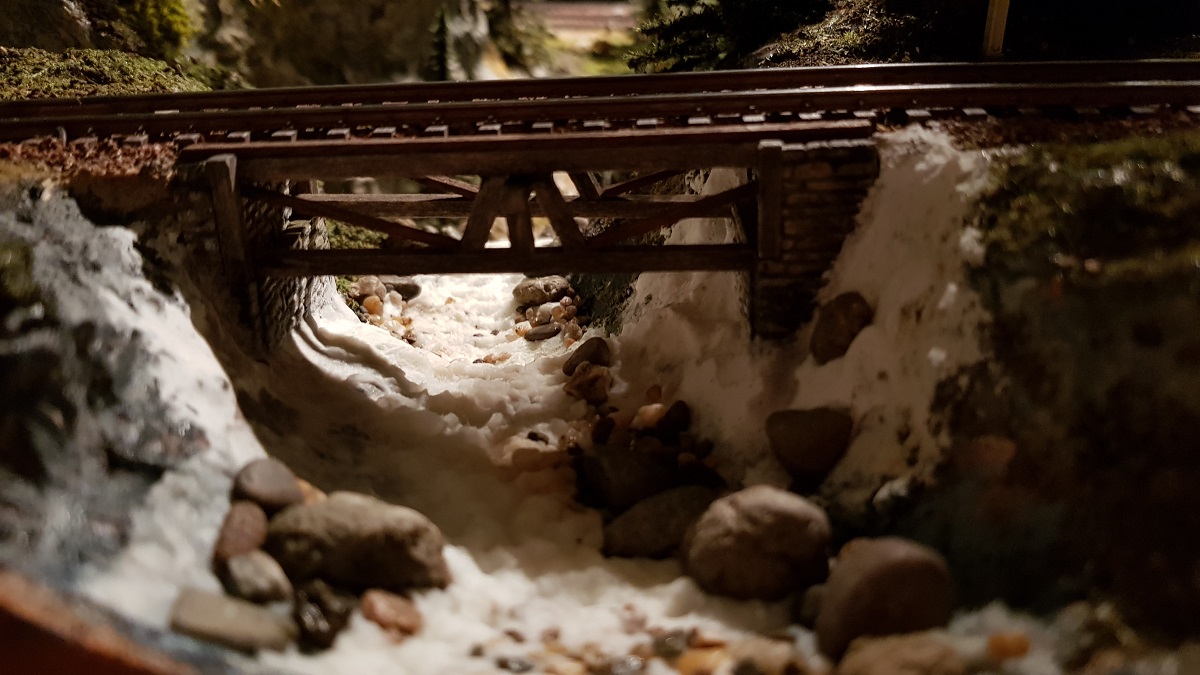
For decades, there has been this small bridge crossing a gorge with waterfall.
Halfway the 1990's, when I commenced building the Cochemer Bahn, I already had the idea of a small bridge in the distance.
It started like this...
In the years to come, it developed no further than adding ballast. As you can see, it was no more than the top shelf.
~~~
2.5.1 ~ G e t t i n g s t a r t e d... the other way around!
Some months ago, I started cutting the edges of the bridge, but it didn't work out then for lack of a fretsaw.
But even the fretsaw wasn't up to this work. So I did it the hard way... with a saber saw.
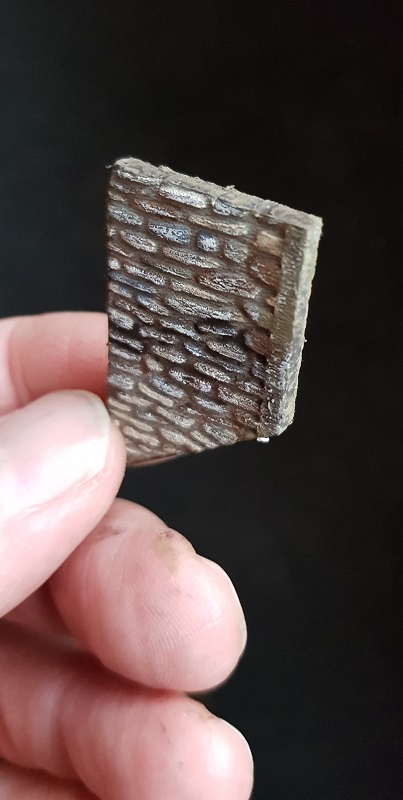
For the abutment (or bridgehead) and carrying construction, I used painted structured Styrofoam and balsa, both weathered with Heki Lasurfarbe.

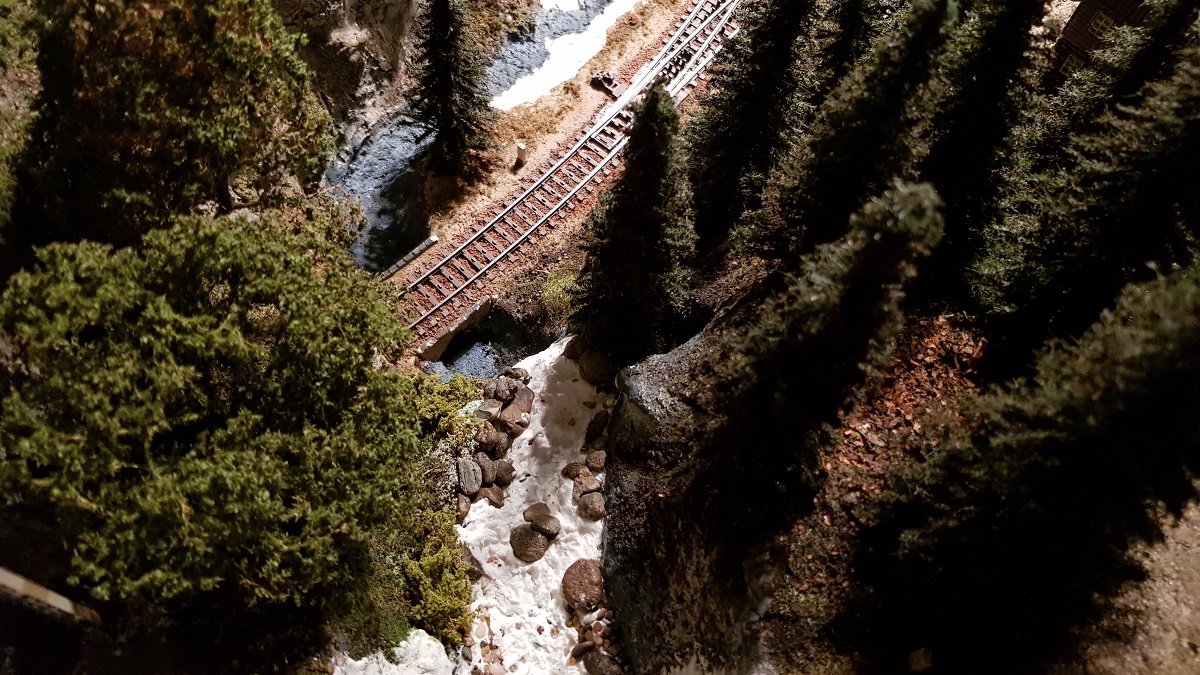
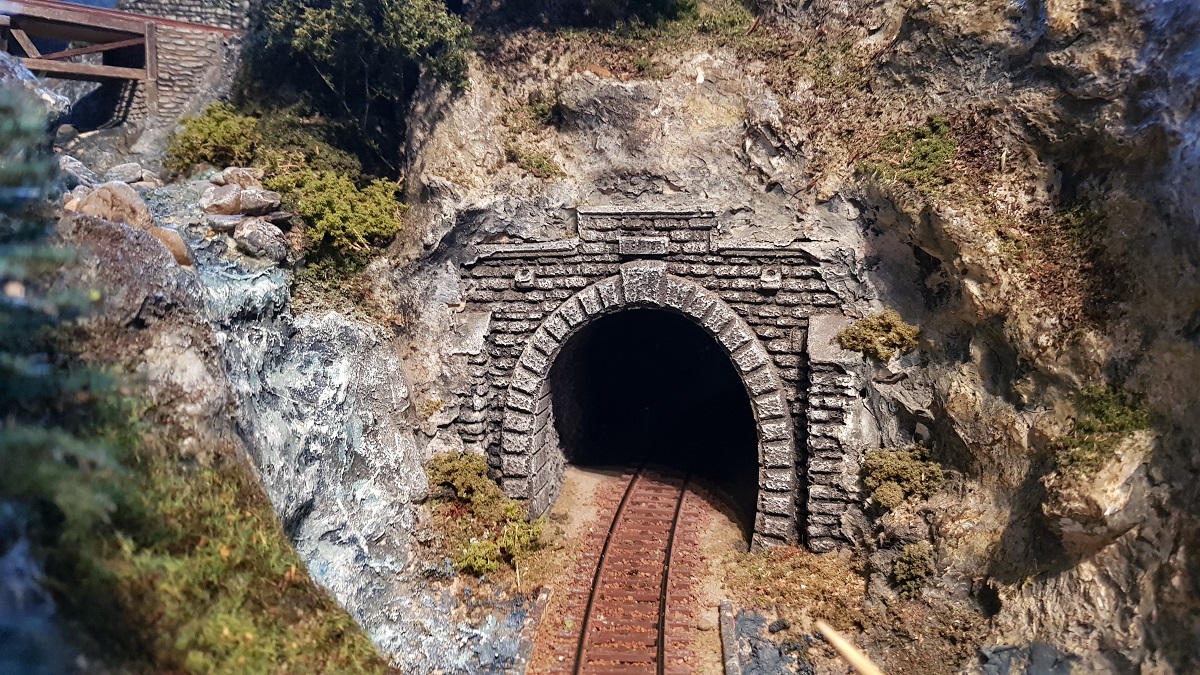
In the meantime, new fir trees are planted behind the Forest Lodge.
I want this little diorama at the back to be a real cosy spot on my layout, filled with geniality...
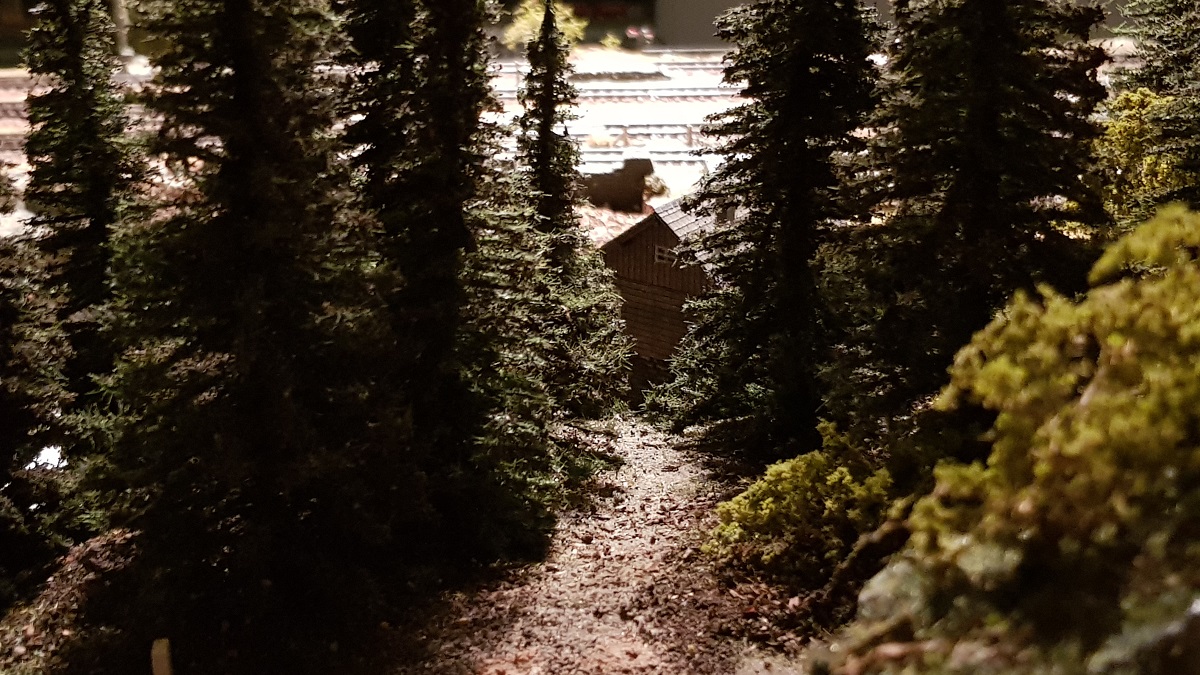
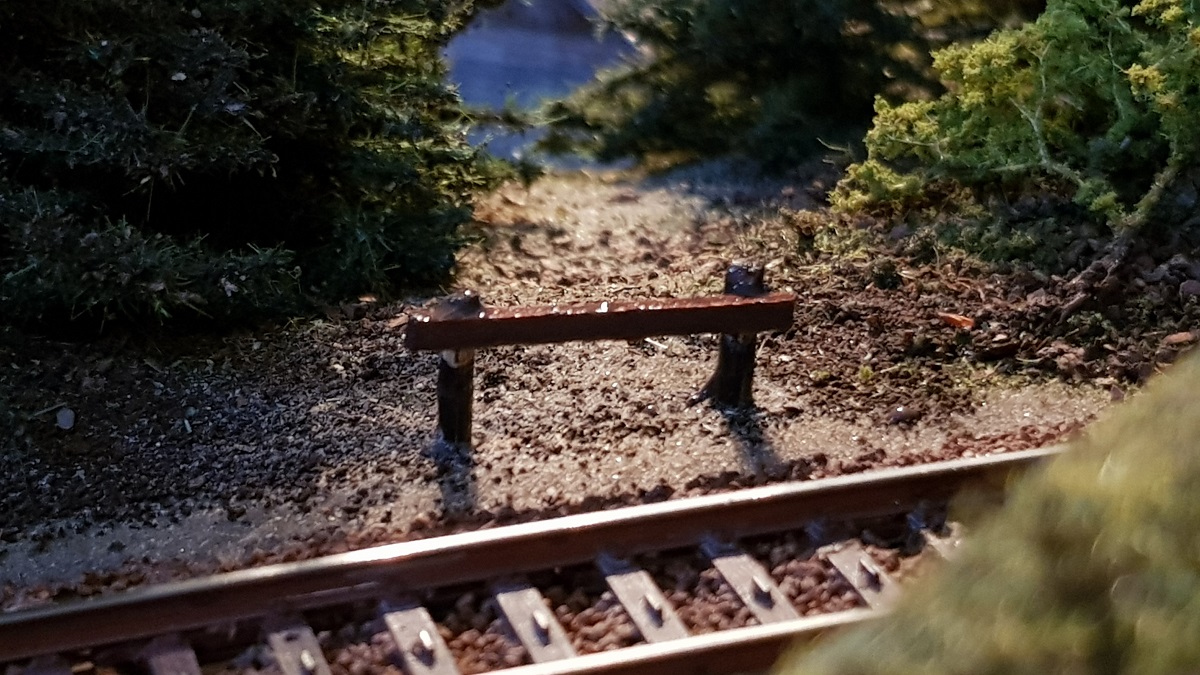
A footpath through the forest is one of the ingredients to bring this to reality.
To avoid people crossing the track when a train is nearby, I thought a small fencing rather appropriate.
... and that's it for today!
~~~
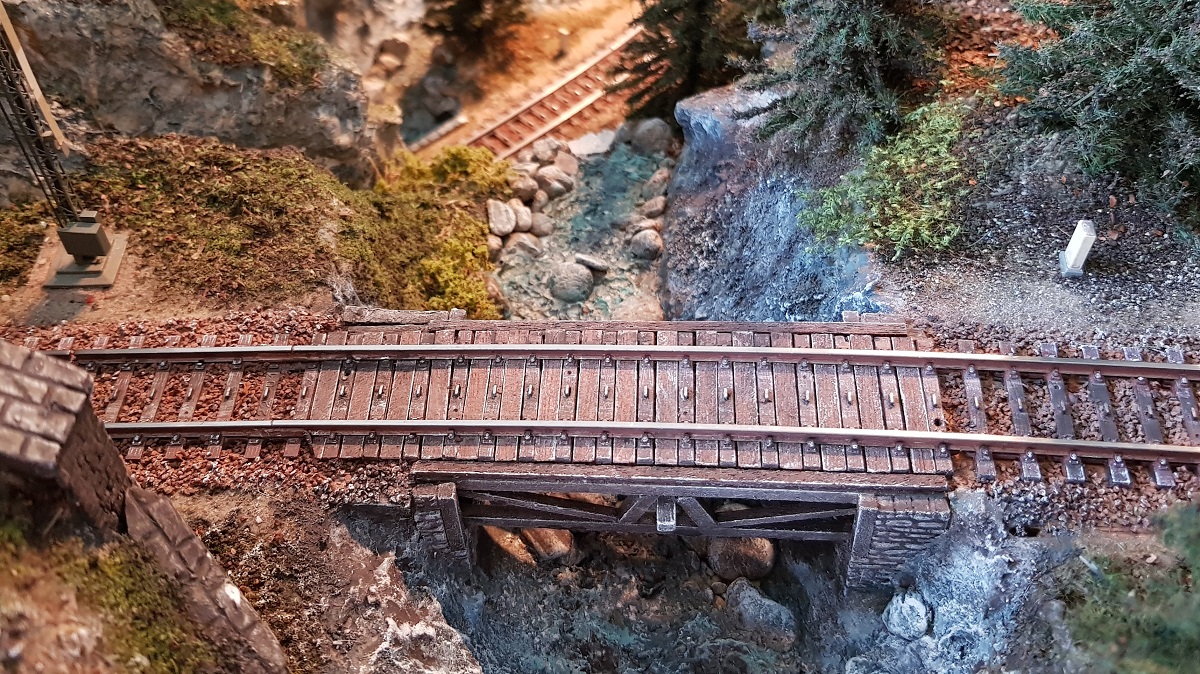
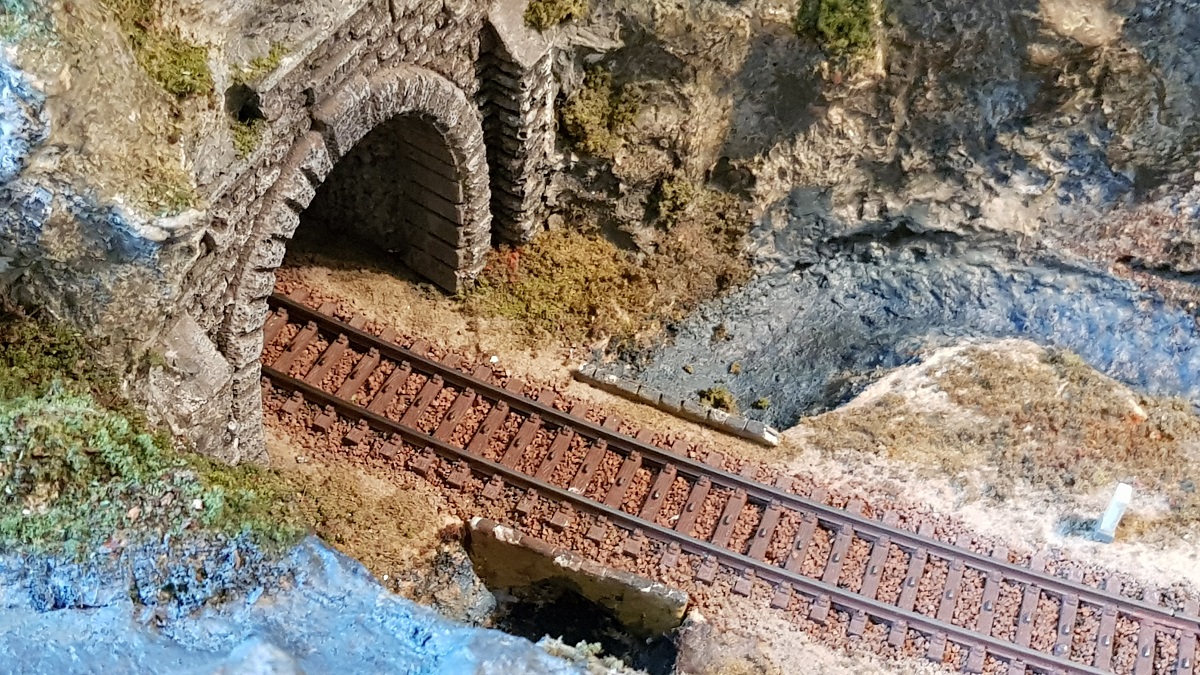
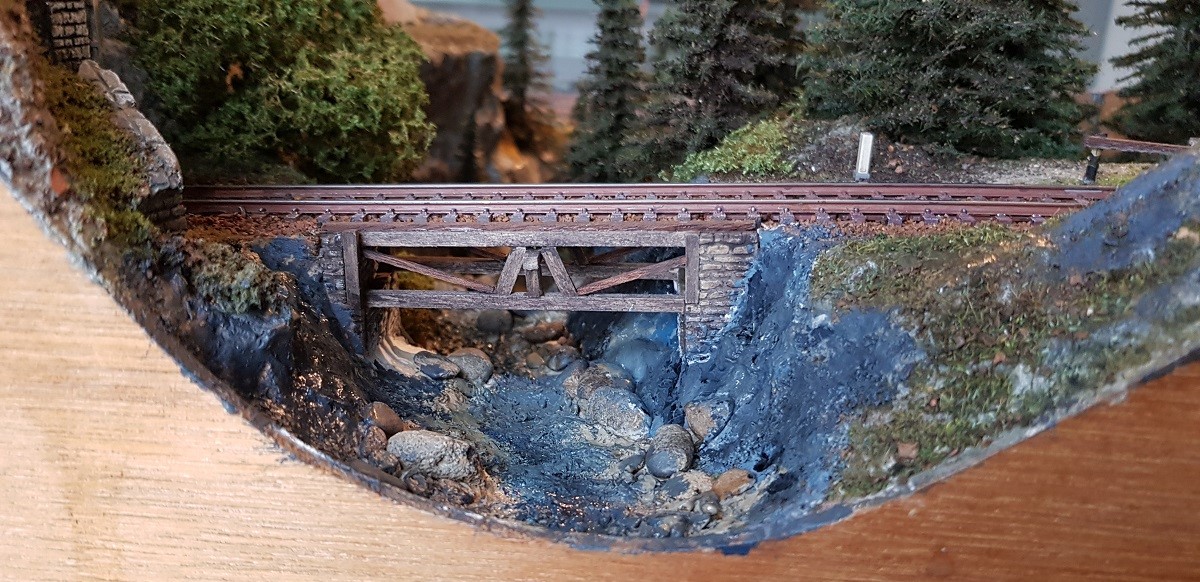
The next day (November, 4) I am focusing on the abutment and beams that will support the bridge underneath.
Wooden beams are fixed next to the track
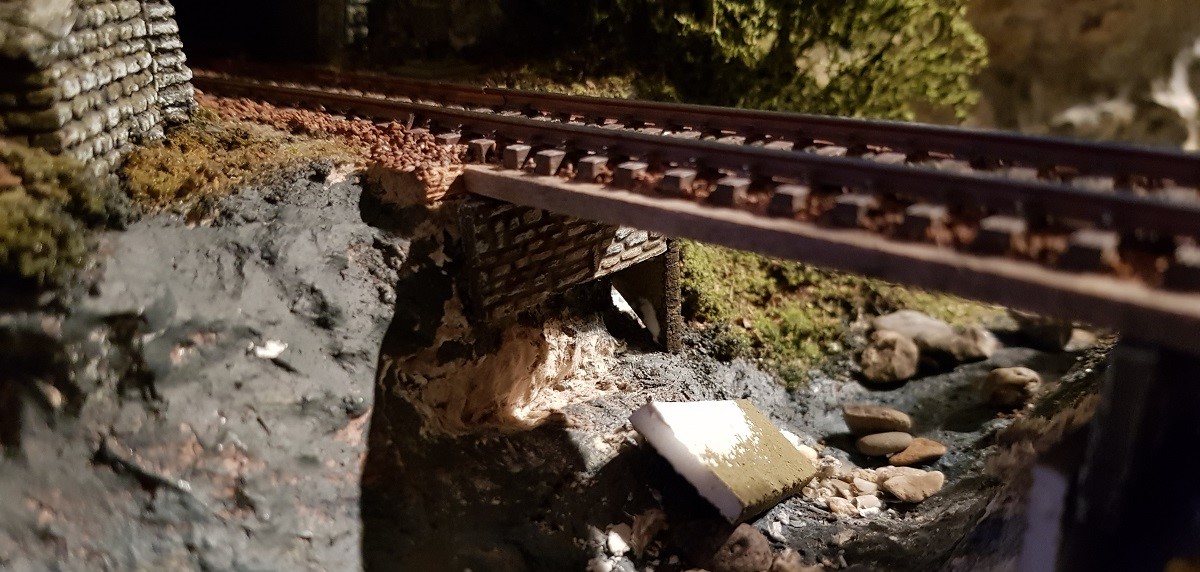
A second stone wall at the base of the abutment will support another pair of beams
Having come to this point, I was wondering: "Now what? How to continue?"
Well, this small wooden girder decided for the rest to come!!
The next evening - in some two hours - I finished the construction underneath the bridge.
Odd enough, I didn't quite know where to start, let alone how to finish.
But while contemplating on what you see and then imagine to see, things are just going to happen spontaneously.
At least... to me!
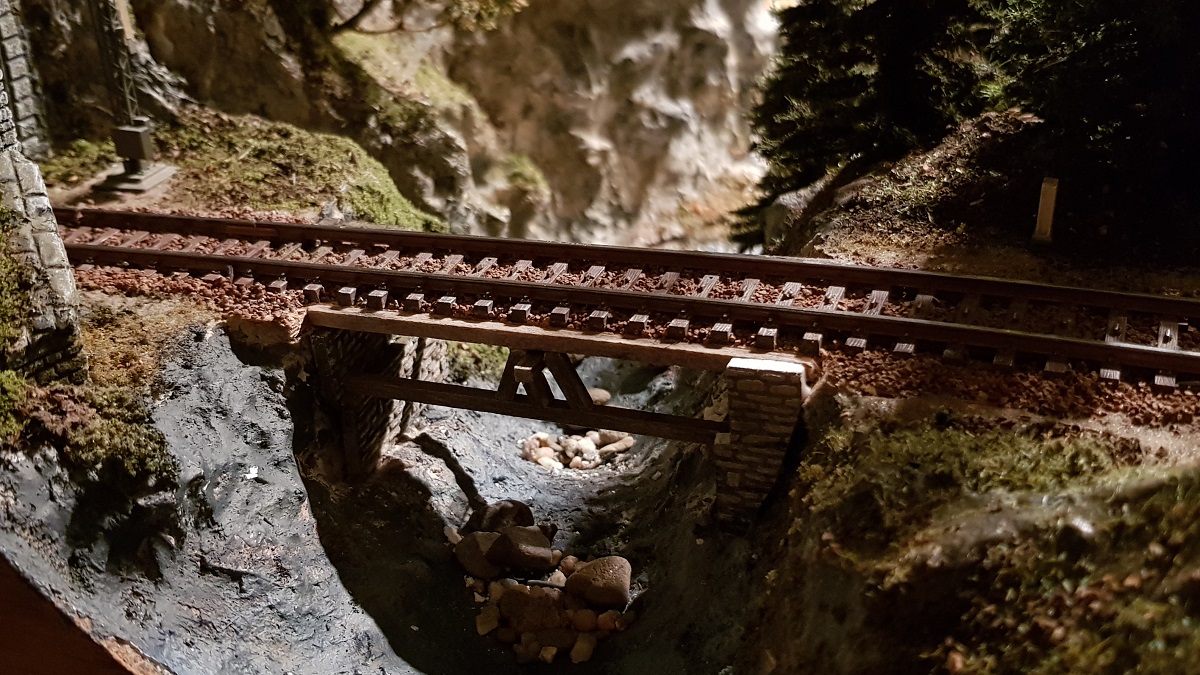
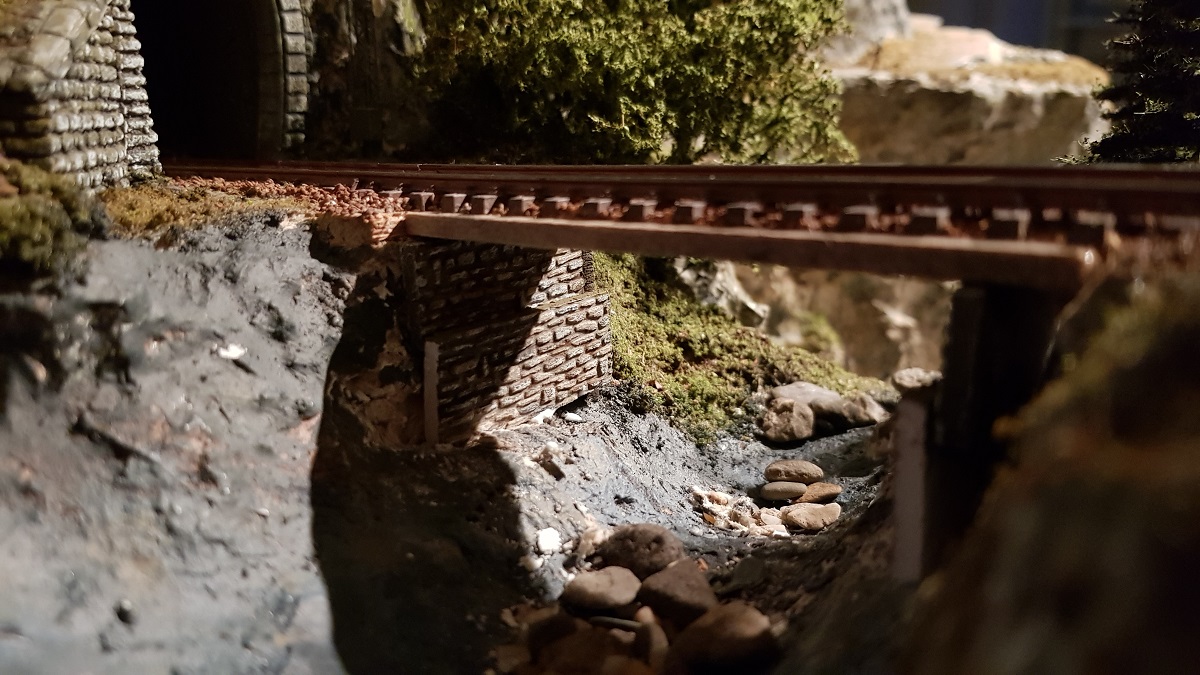
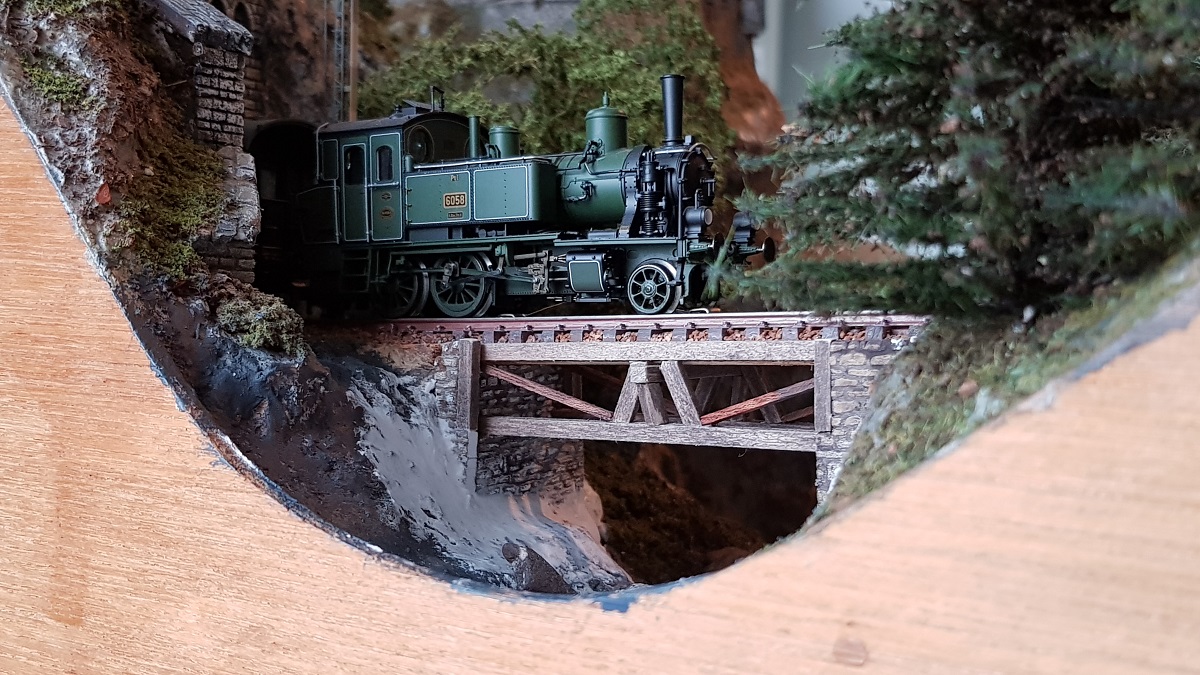
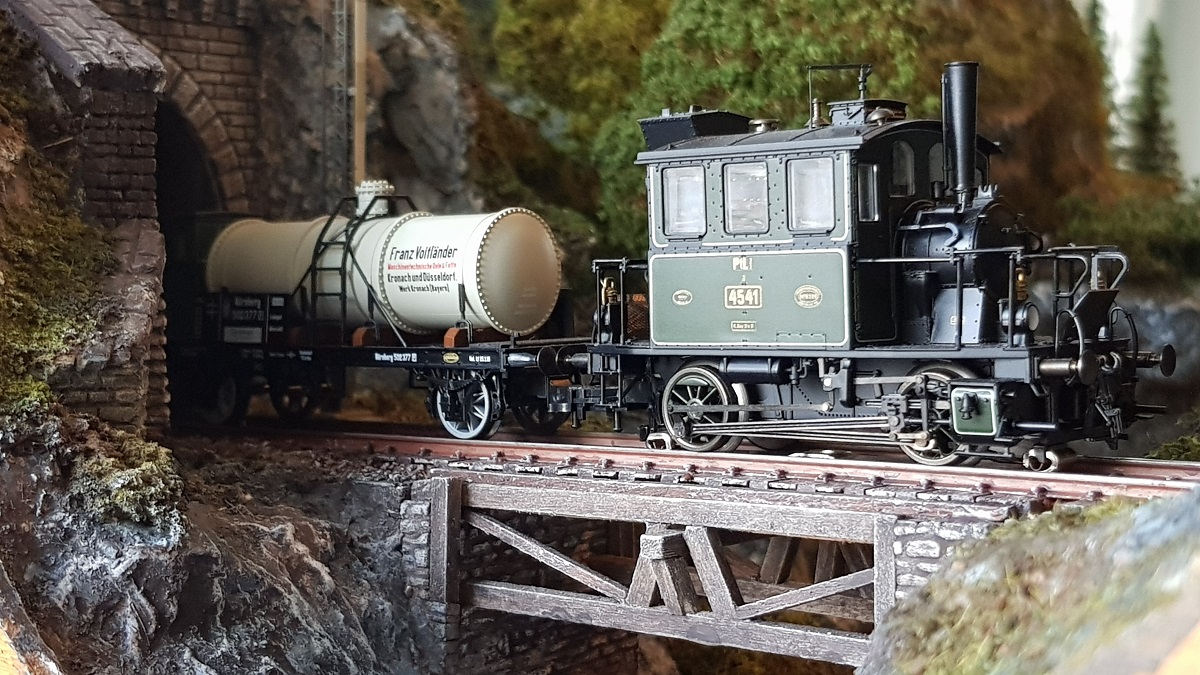
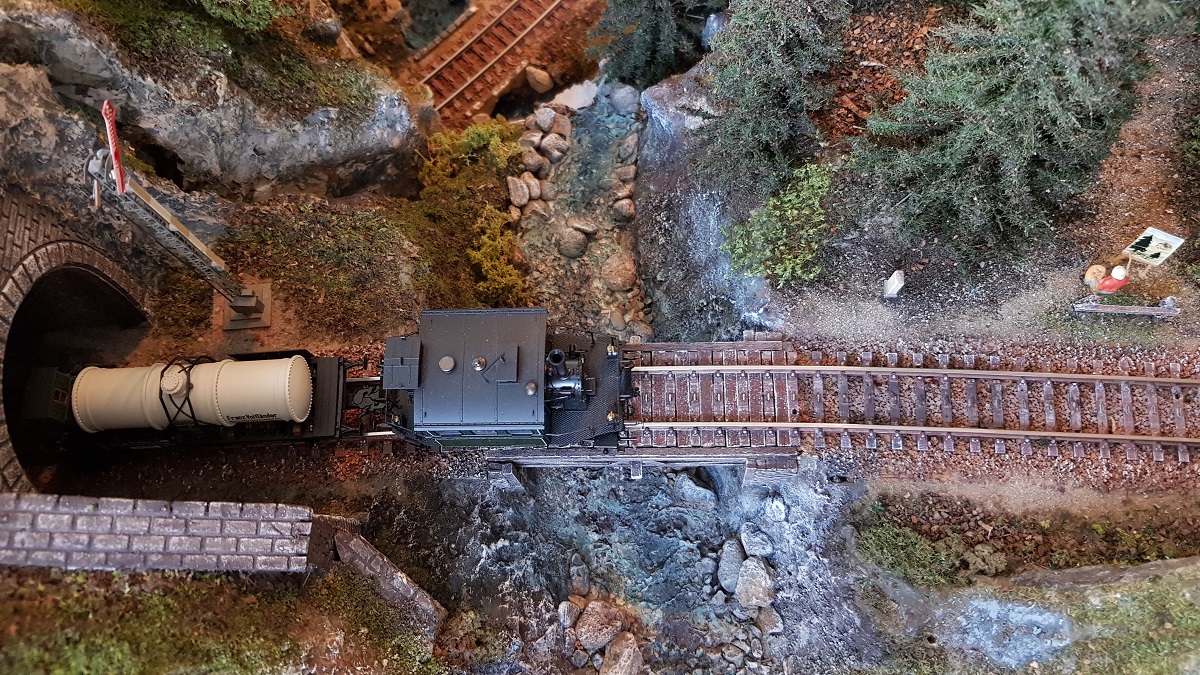
Since I wanted to see the train in full view, I decided to put the supporting construction underneath.
I admit, that while modelling, you normally make the bridge first, and after finishing it, you develop the landscape around it.
However, since my layout was finished already - and renovation was aft - I had to do it like in real life: adapting nature to culture.
Nevertheless, it enhanced my creativity not in the least.
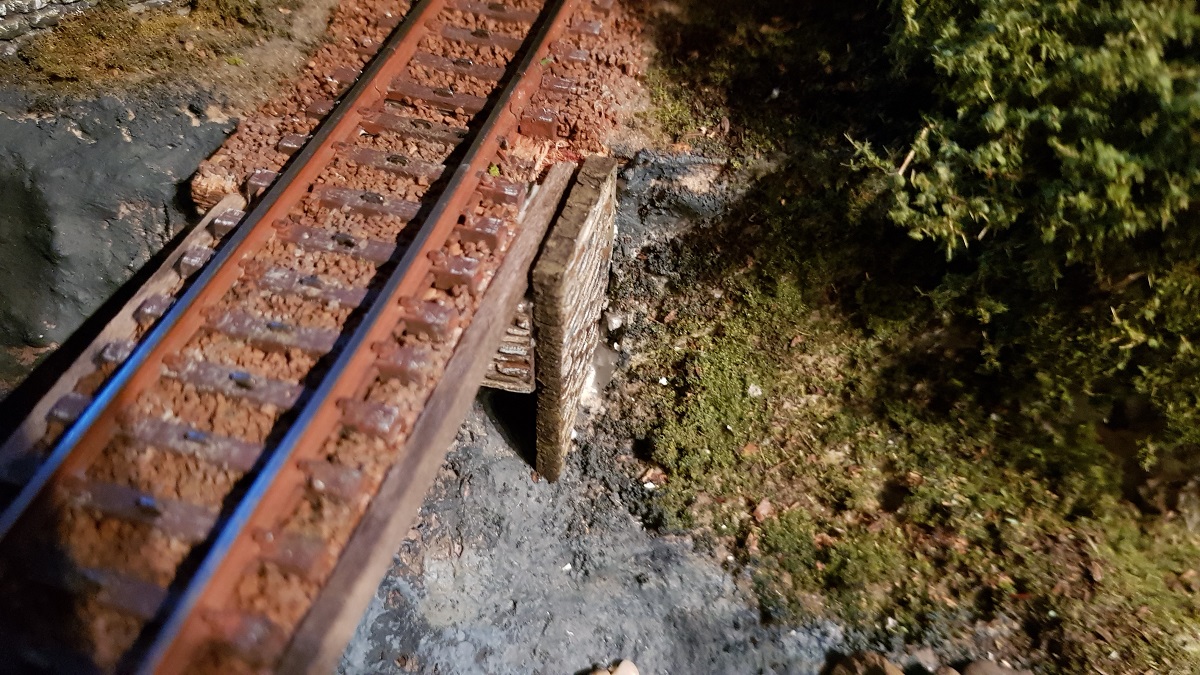
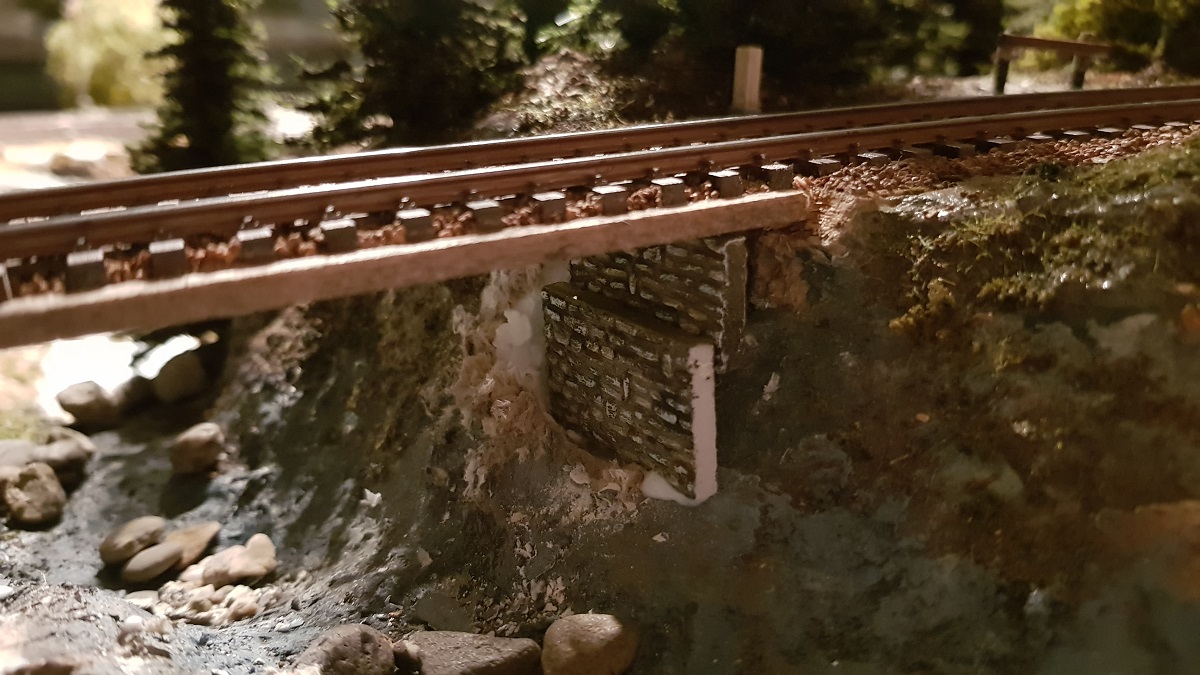
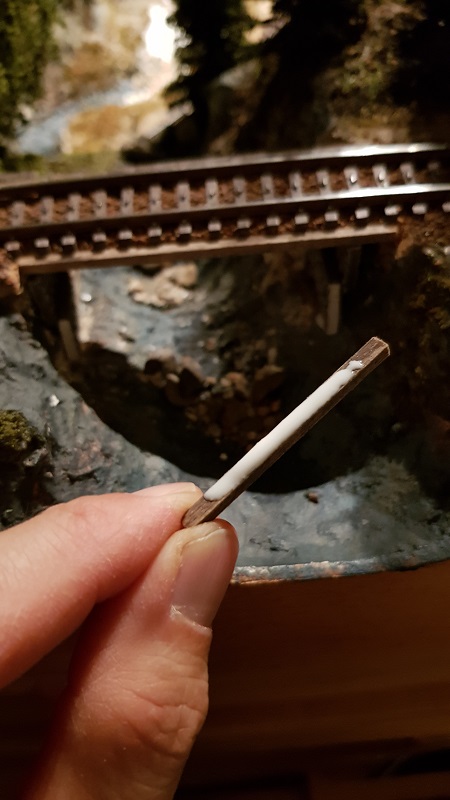
The next morning (5/11), I noticed that the L-shaped form in the abutment was, like, disturbing.
Two more beams at both ends, with coincidentally a perfect fit, were just what I needed.
Finally, filler (putty) connects culture and nature.
Matching colours and vegetation will be applied afterwards, when all has dried well.
The funny thing is, that this lovely scene is all in the back of my layout, hardly to be seen from the front!
After a fortnight absence, I continued working on the bridge and collecting new ideas on November 25th...
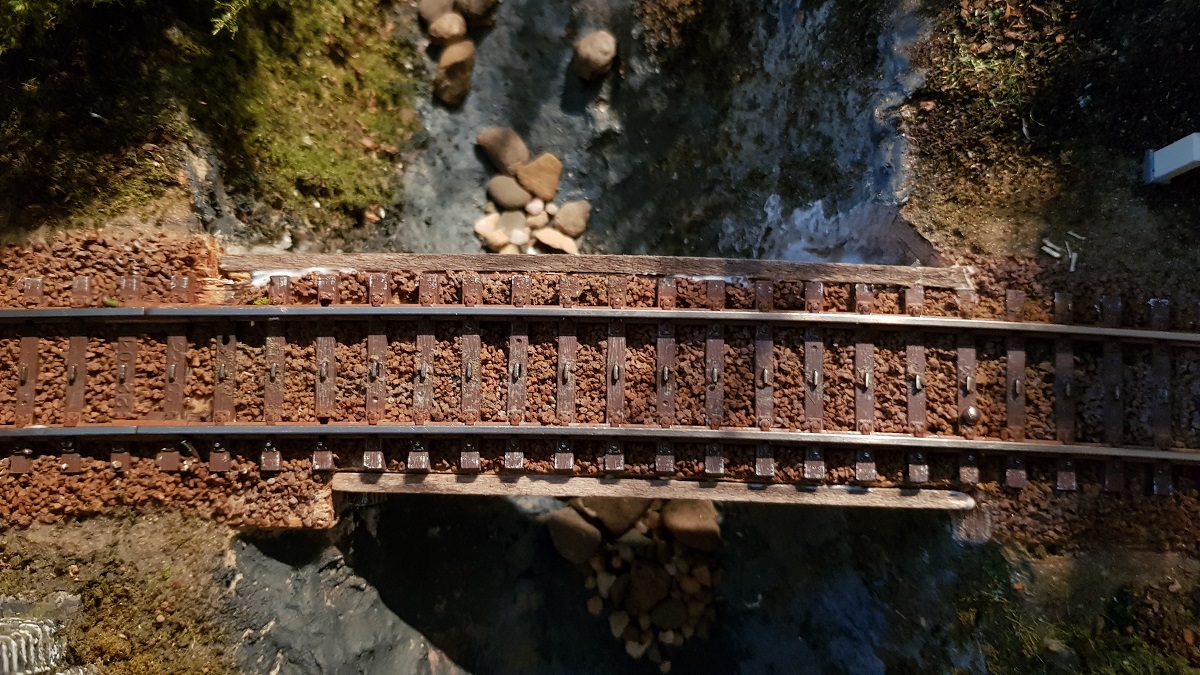
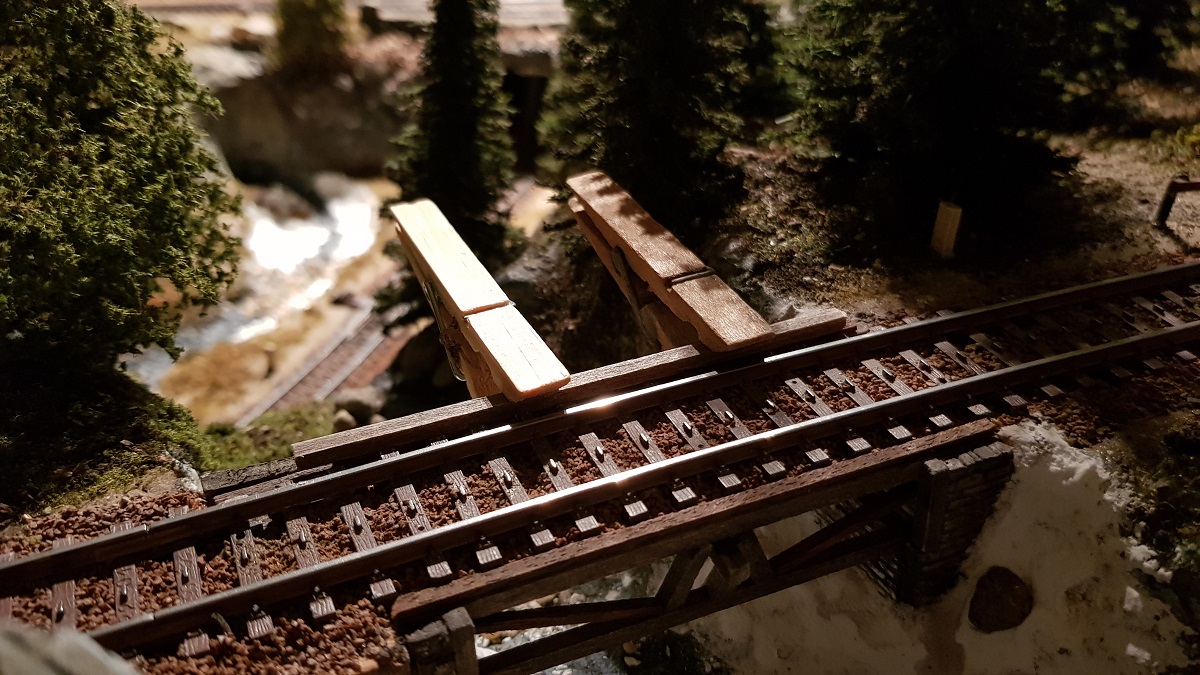
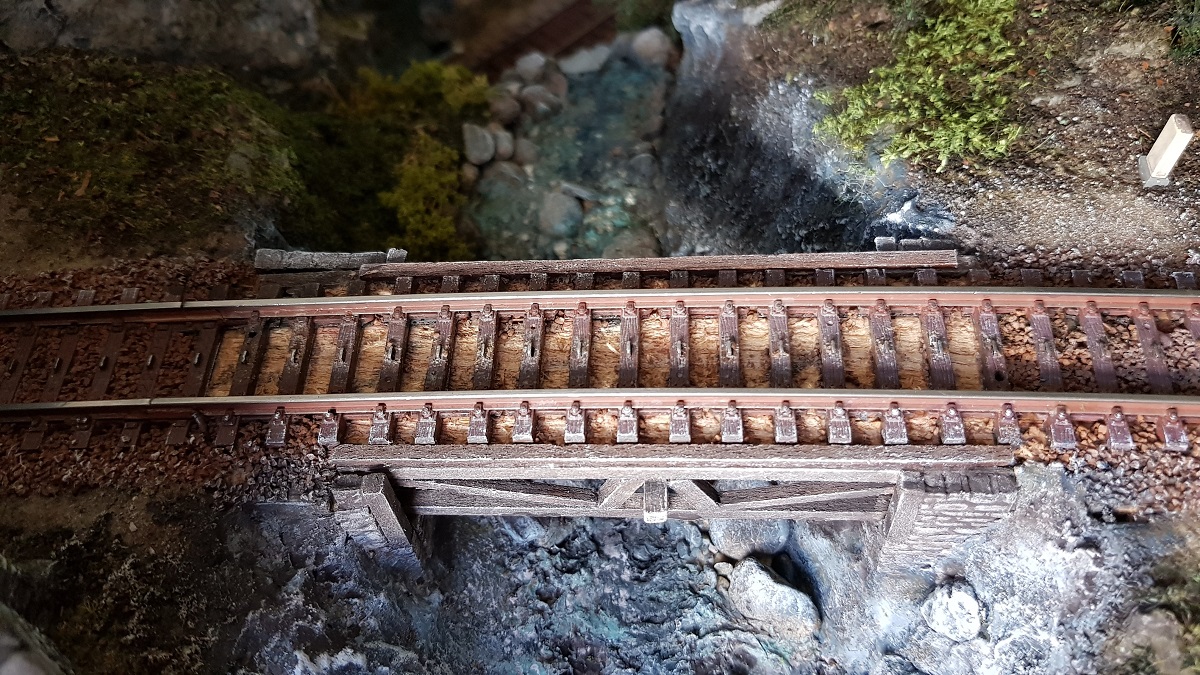
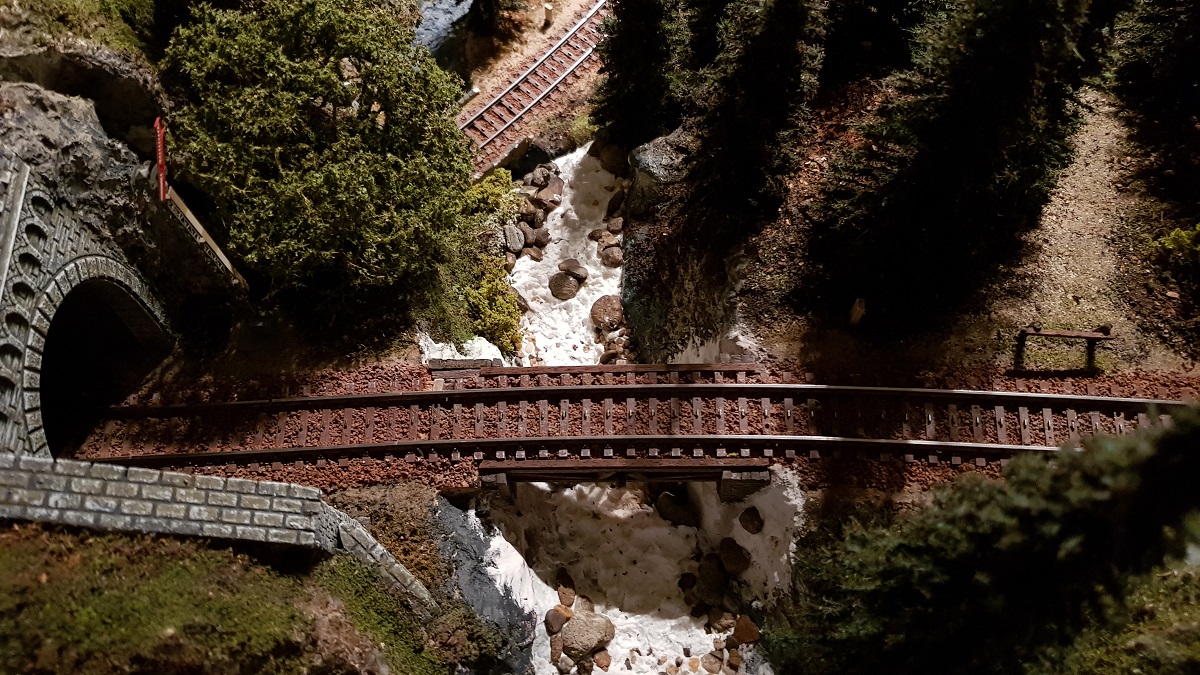
I wanted those sleepers on the bridge to be demarcated, hence these extra slats at the side.
~~~
2.5.2 ~ H o w e v e r . . .
(18.2.2020)
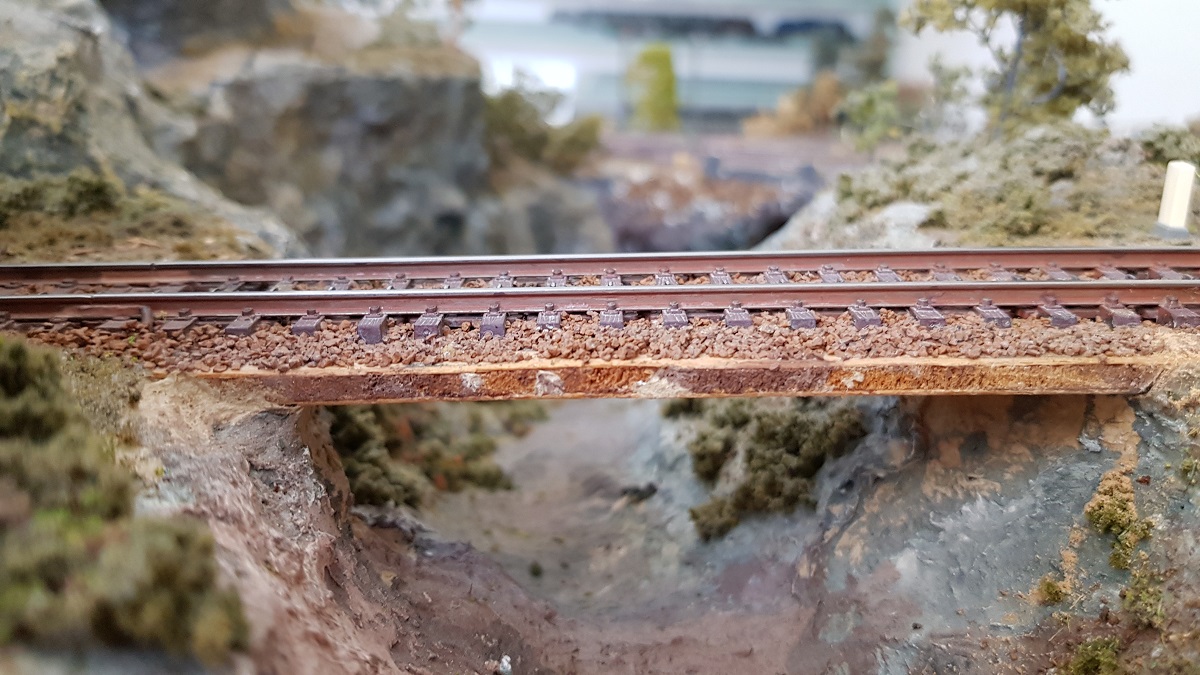
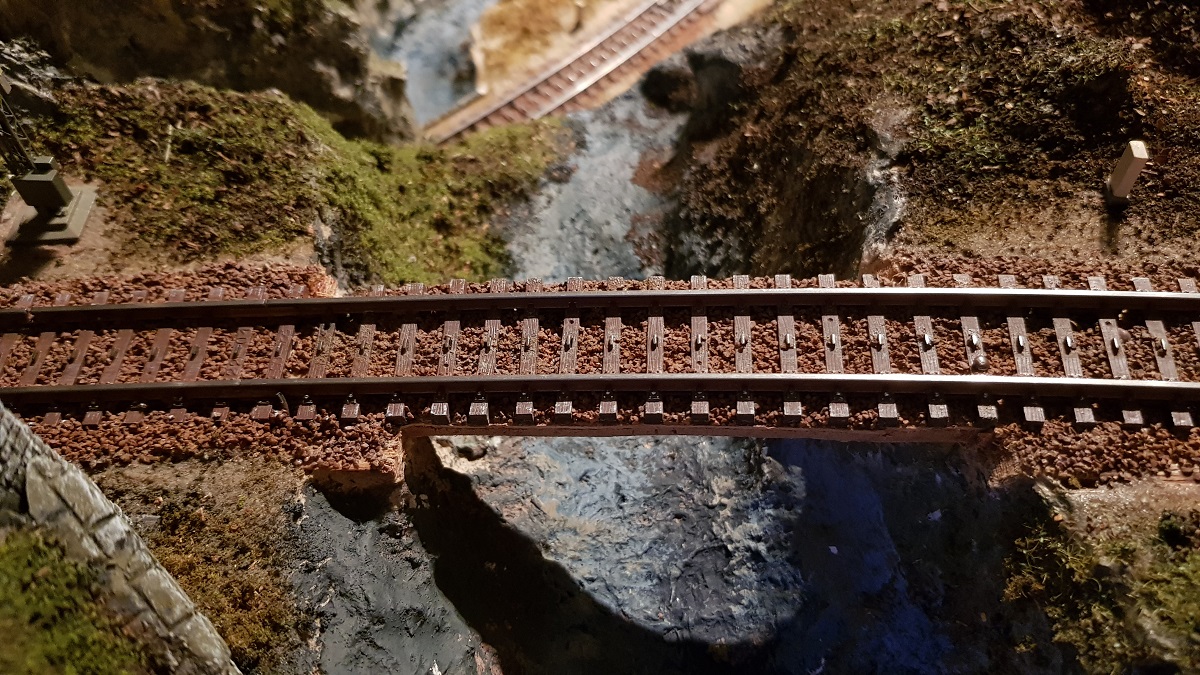
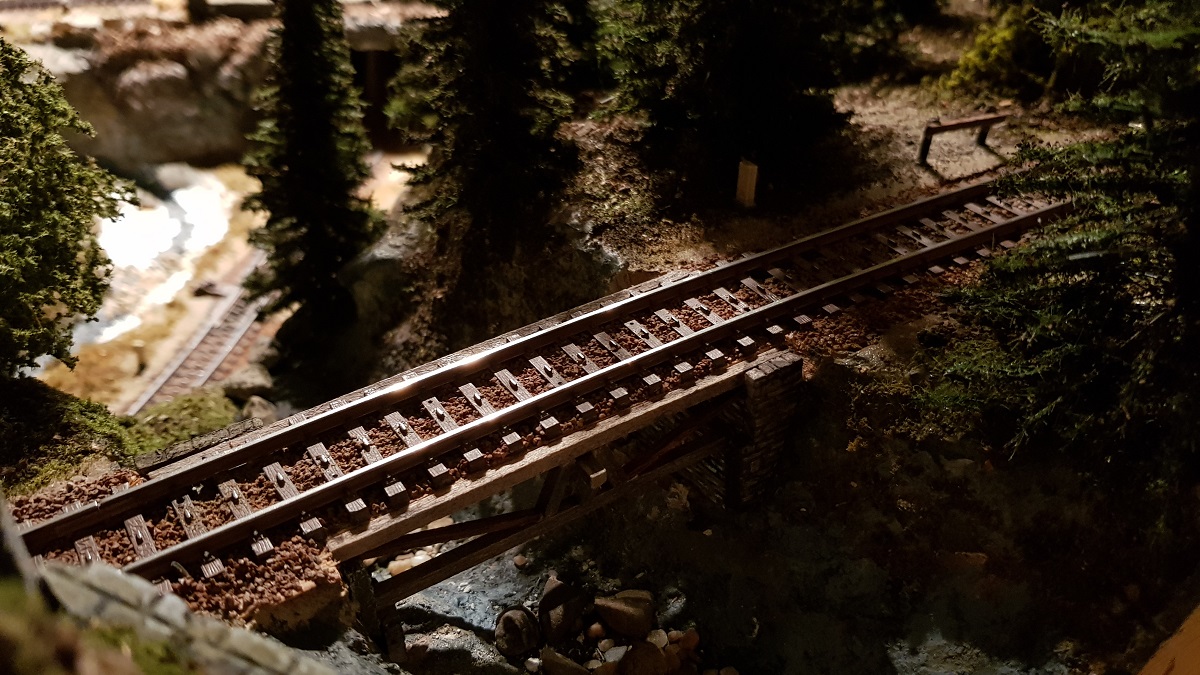
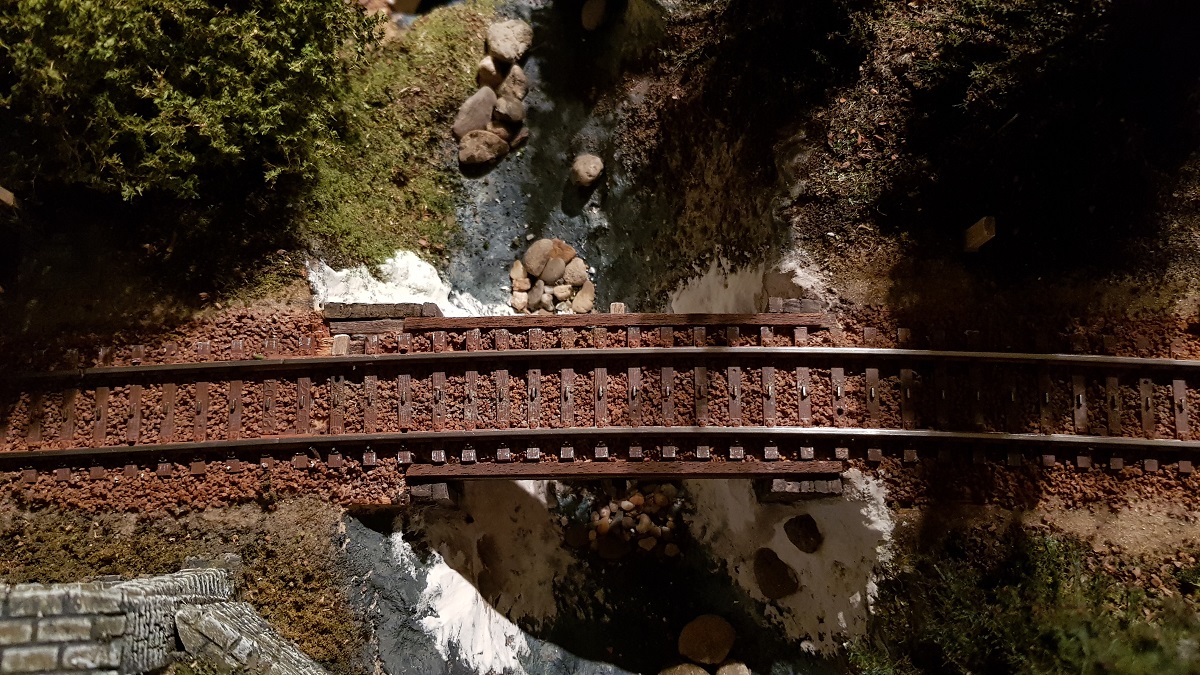
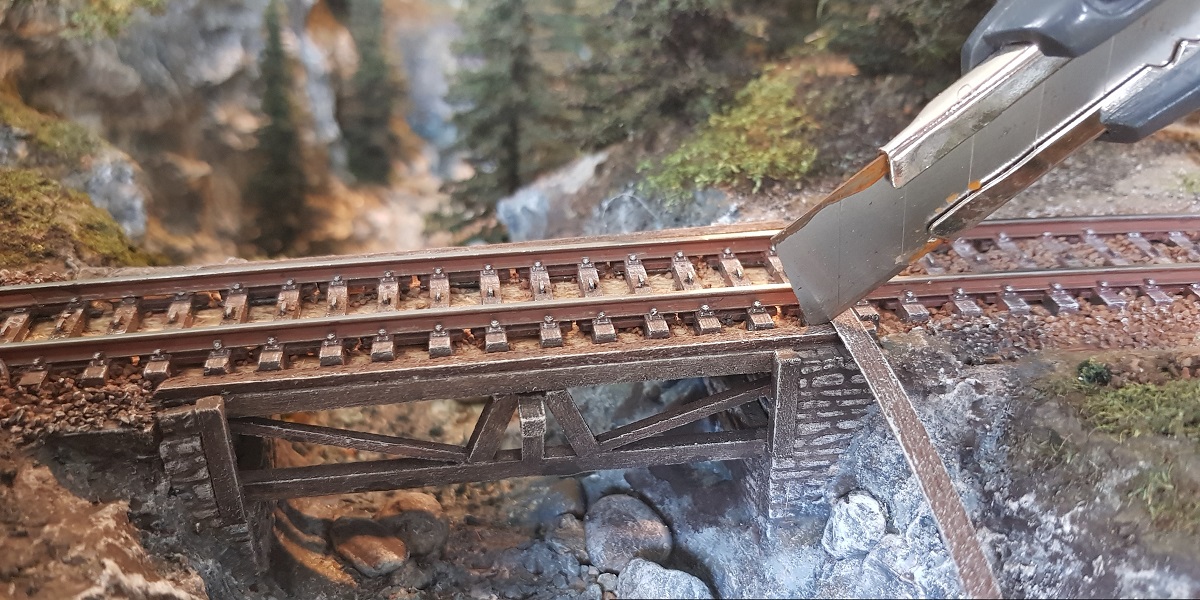
For one reason or another, it still bothers me the past three months, that there is ballast on the bridge between the sleepers!
It was there for almost three decades and glued pretty tight with white glue, so I was reticent for not wanting to damage things...
However, today I decided to give it a shot. And... it worked all right!
Carefully taking away all the ballast...
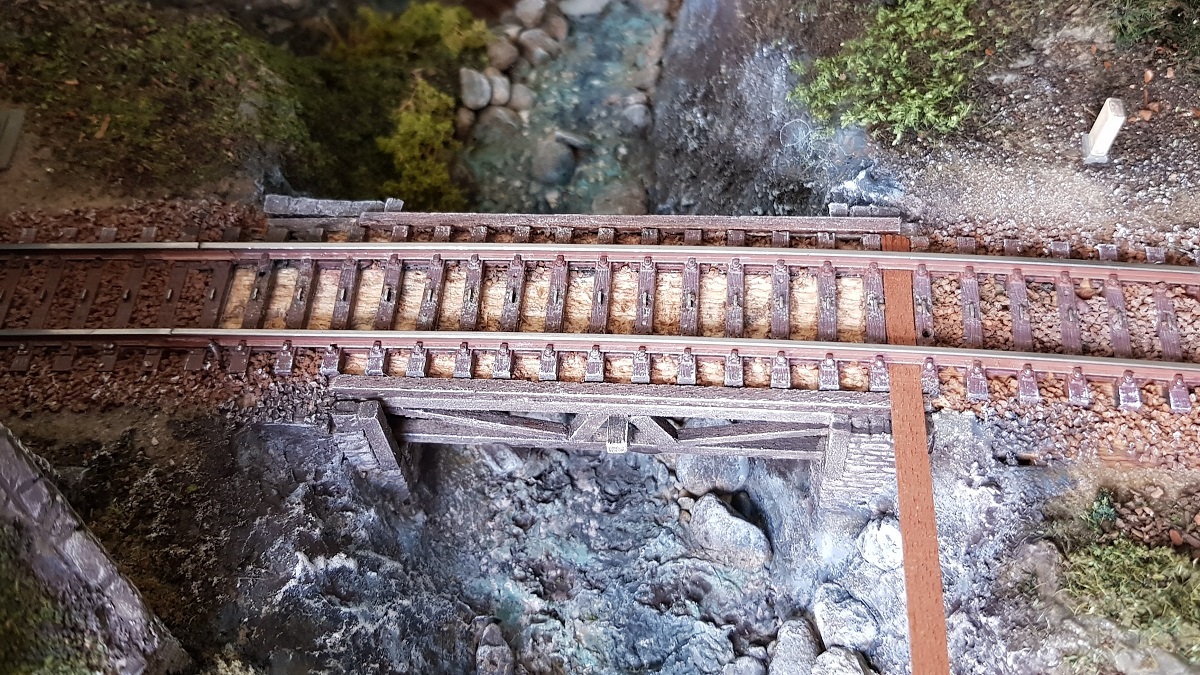
... I first had in mind to use the same beams as the platform, two between each sleeper. They didn't fit.
Then I took these flat wooden boards, that miraculously fit right between sleepers and rail. The perfect solution!
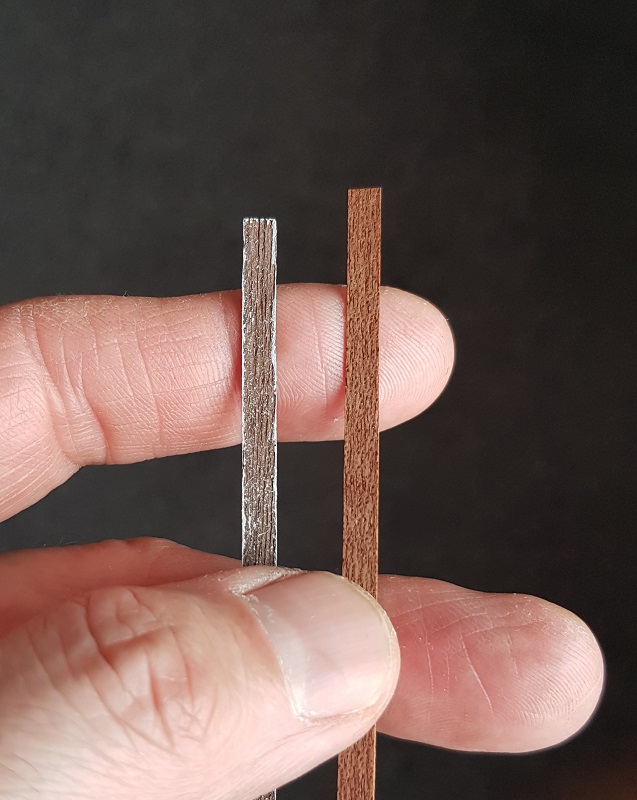
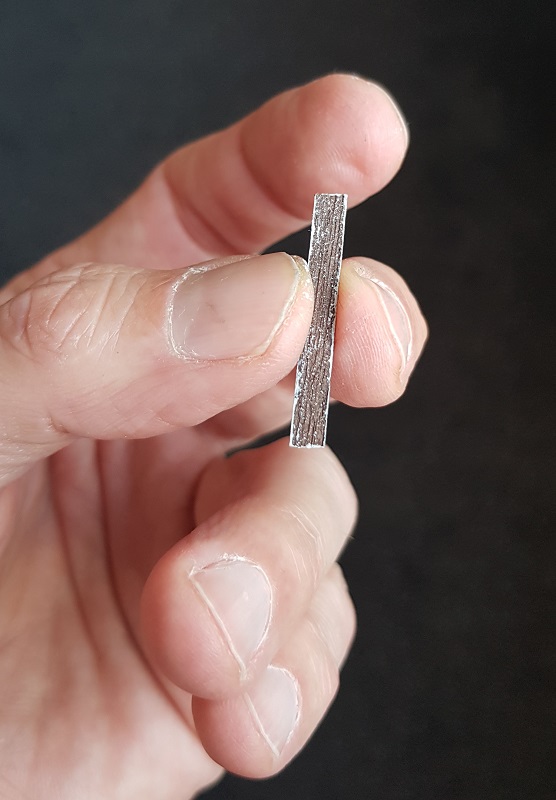
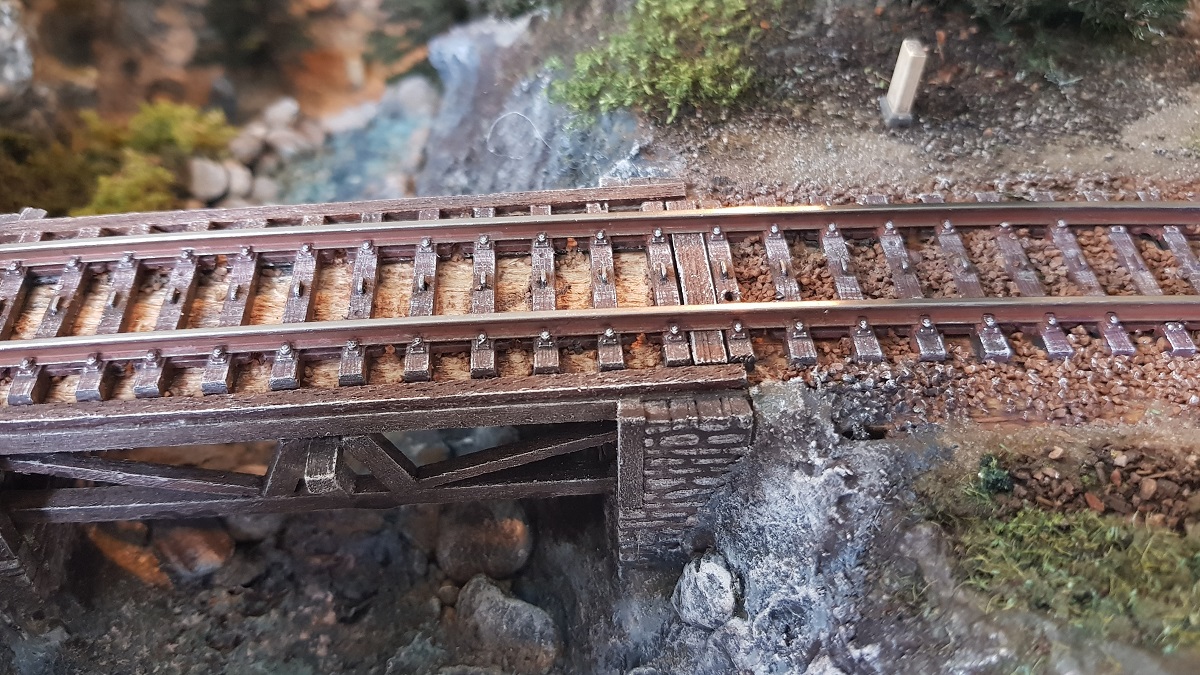
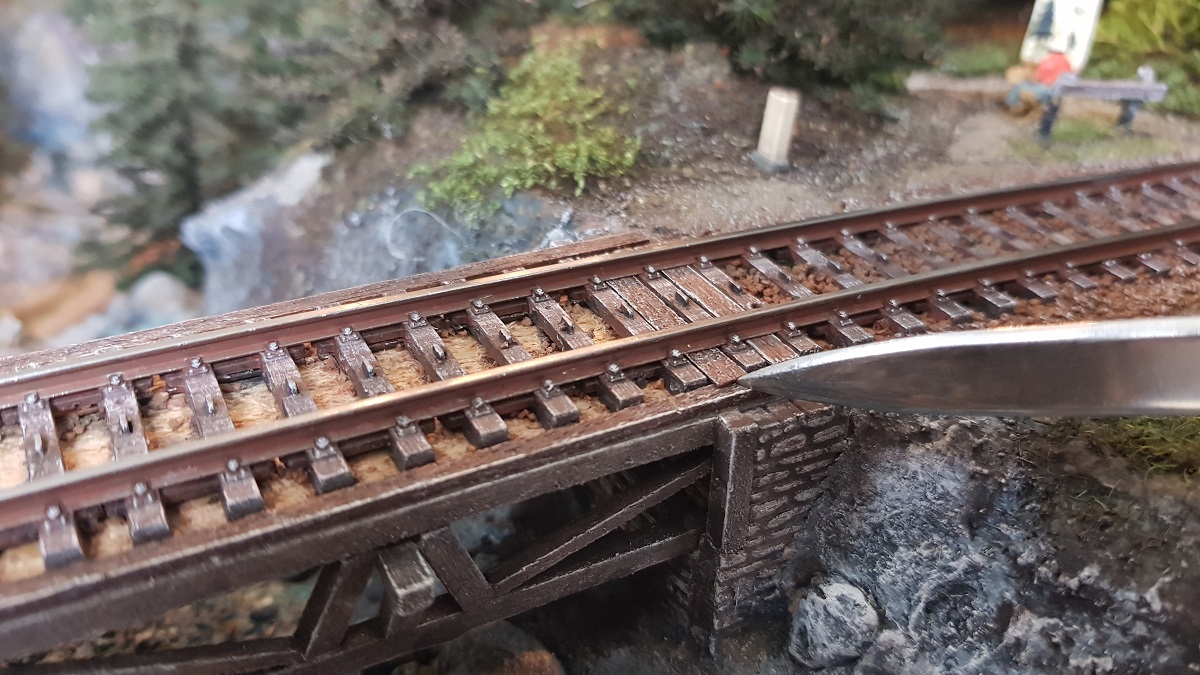
After cutting each new beam, I gave their front ends a dry white line!
After having all 16 positioned, they got another lasur coating 'in situ'.

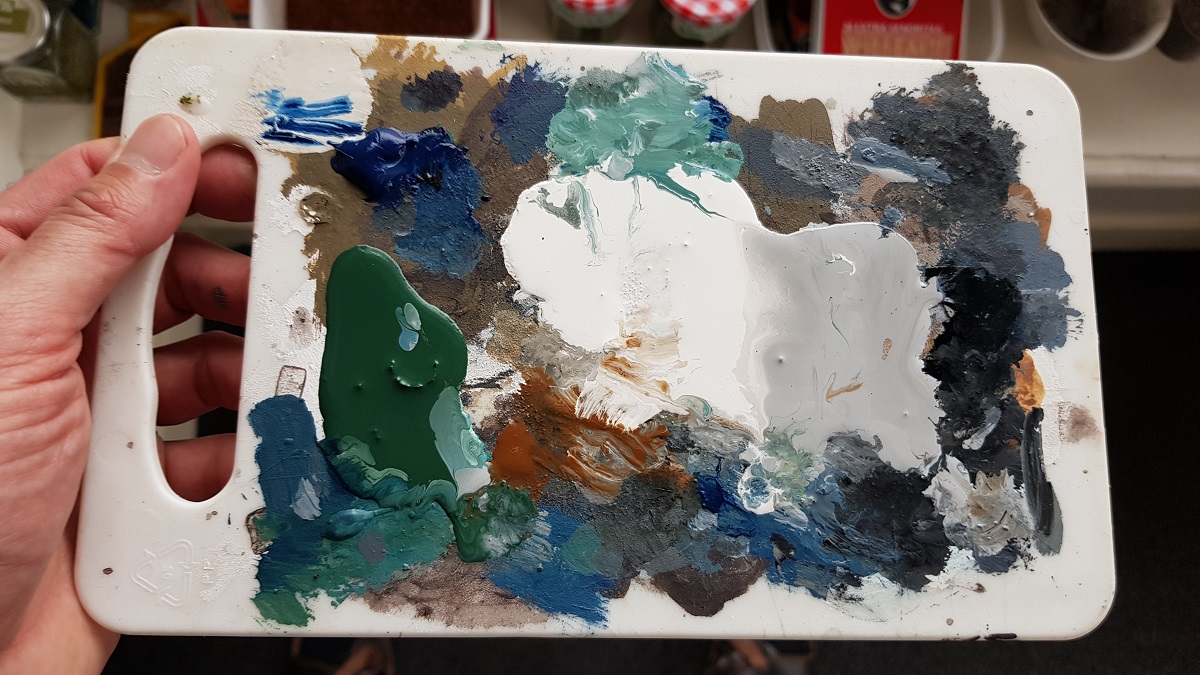
The painter continues undisturbed, focusing on Forest and Forsthaus...
Thoroughly dried the next morning...
~~~
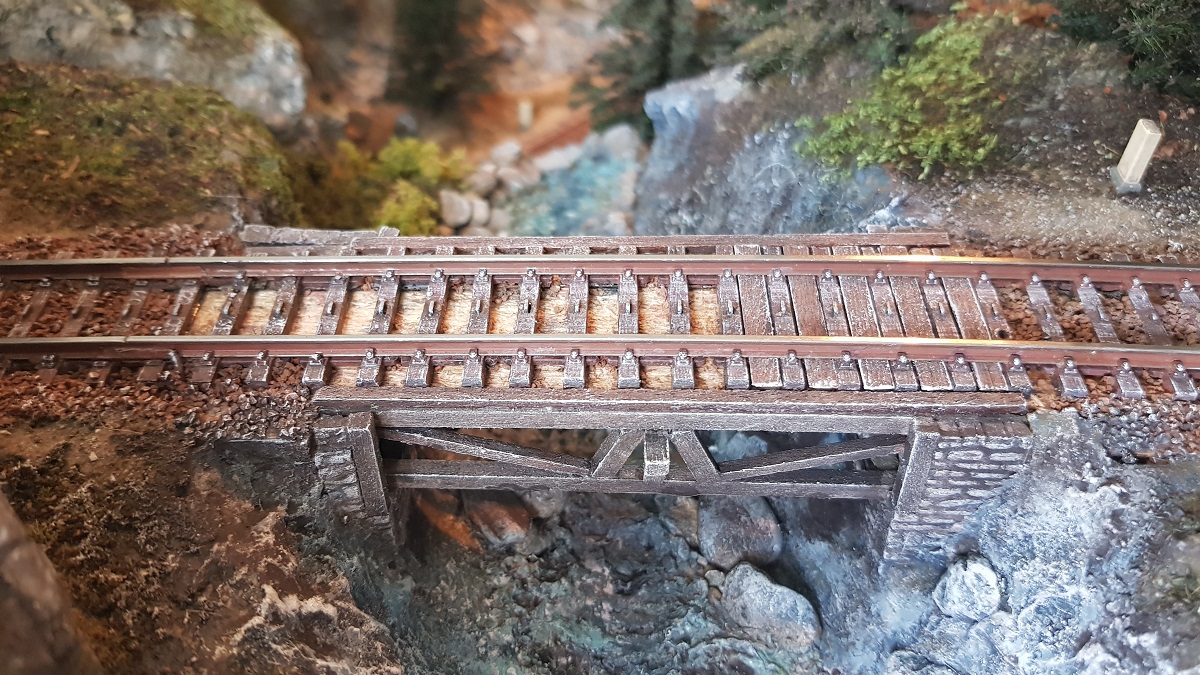
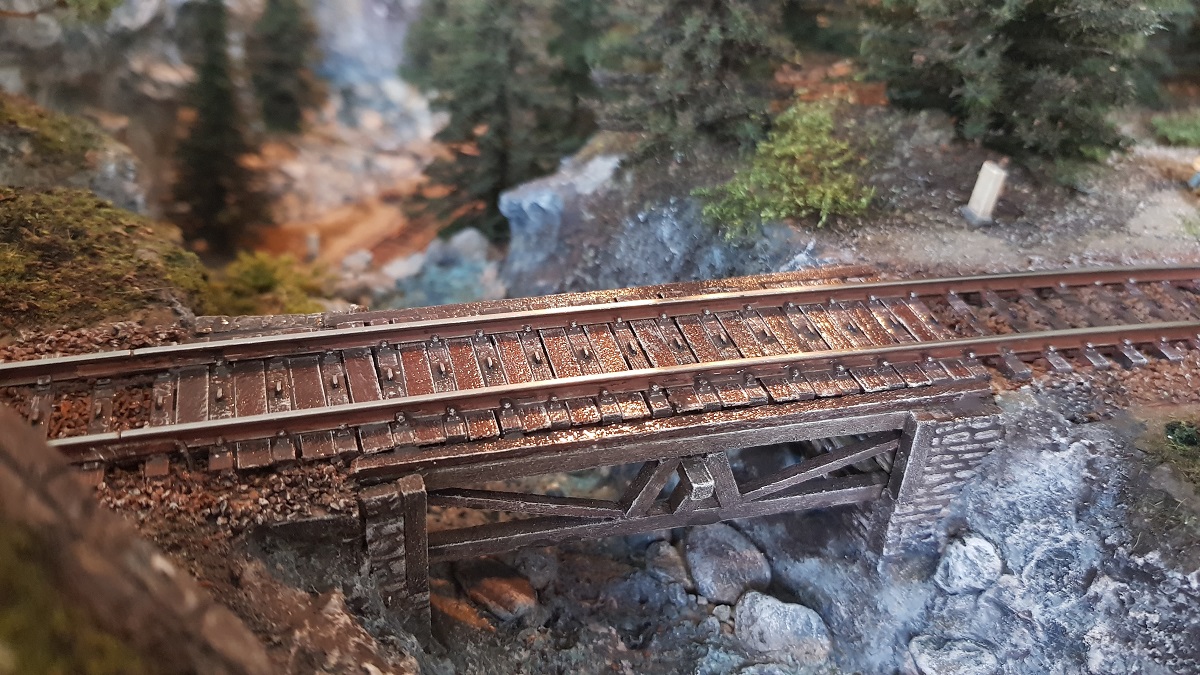
But.... L e s s i s M o r e!
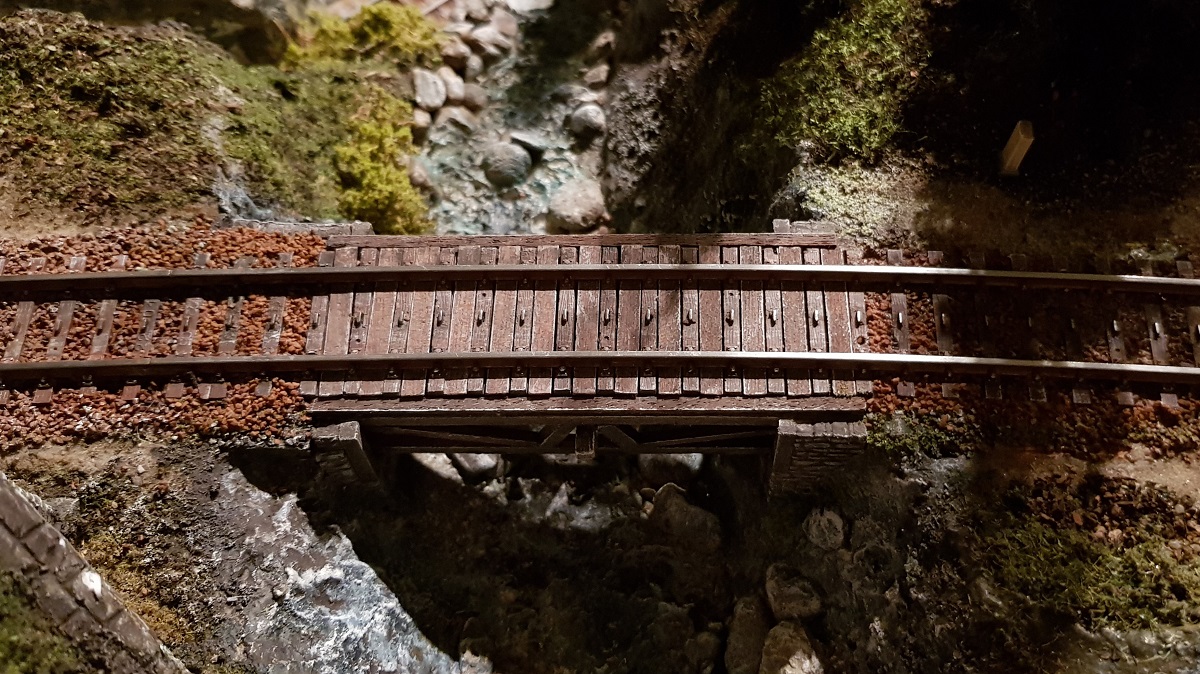
At night, I removed three planks on the left side. Somehow, they didn't fit into the larger picture due to a lack of balance.
New ballast was added to 'fill in the gaps' on each front head of the bridge.
~~~
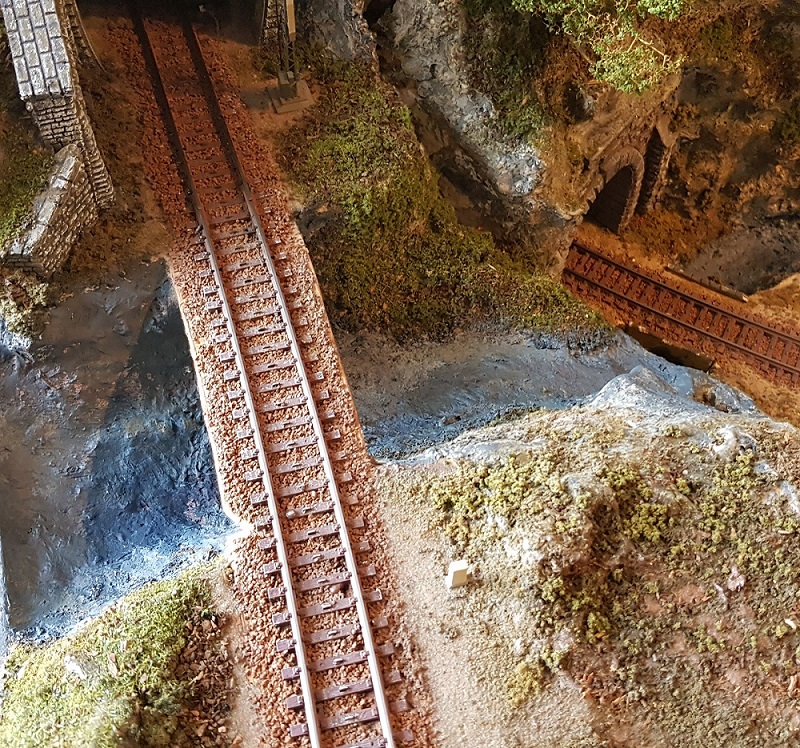
2.15 ~ T h e W a t e r f a l l
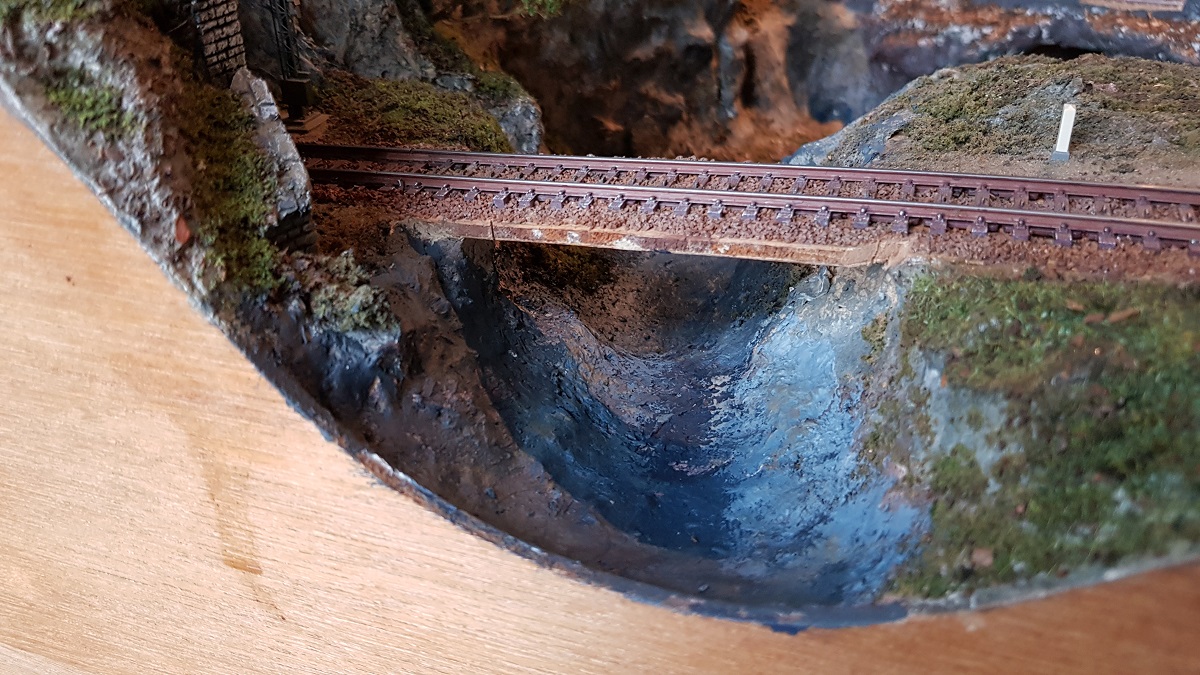
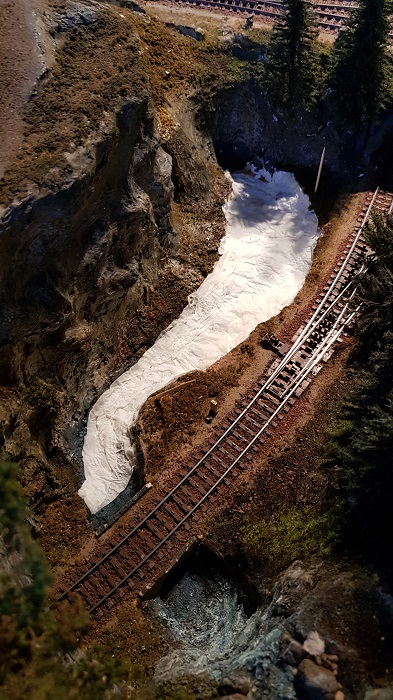
To me, the most difficult thing to make in scale... WATER!
Therefor I left this part of the layout for many many years untouched...
After some 25 years I can't run away for it anymore. So...
October 31, 2019: As it has been for decades, left the recent blue painting...
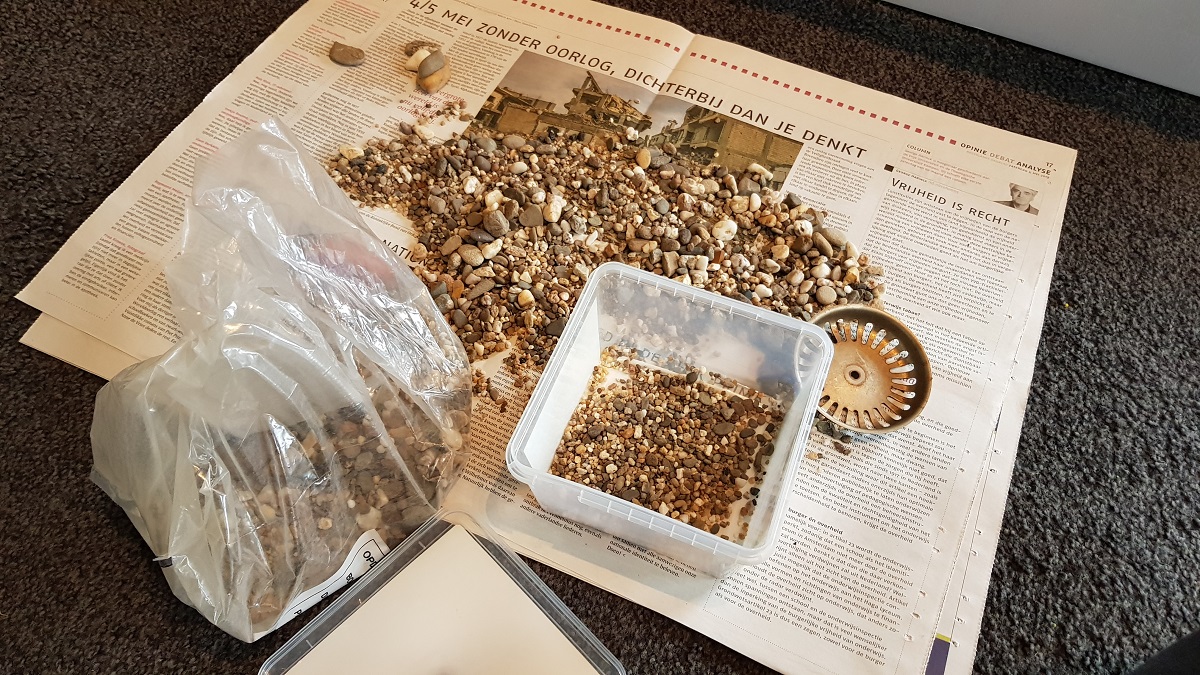
A friend gave me this box of fine hoggin... fair enough for my waterfall
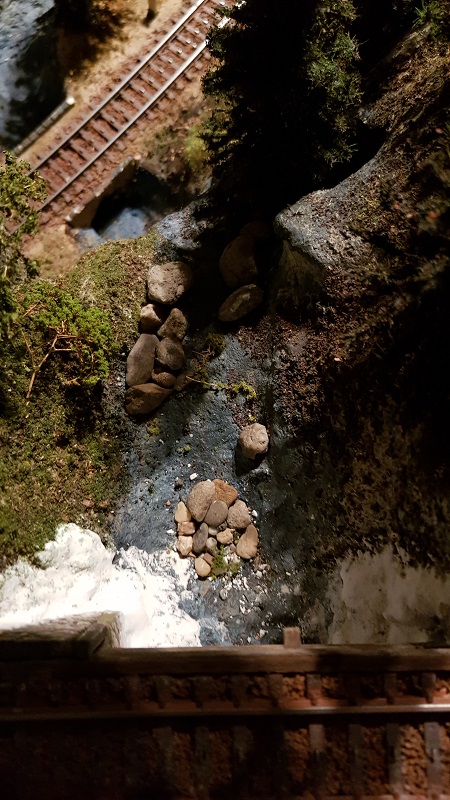
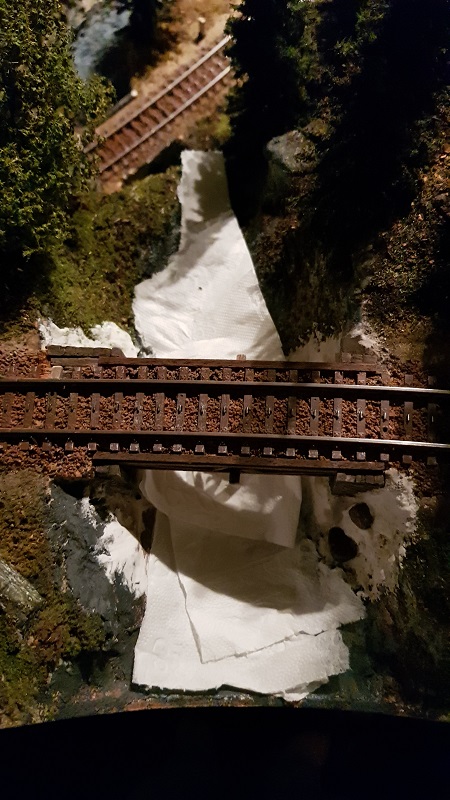
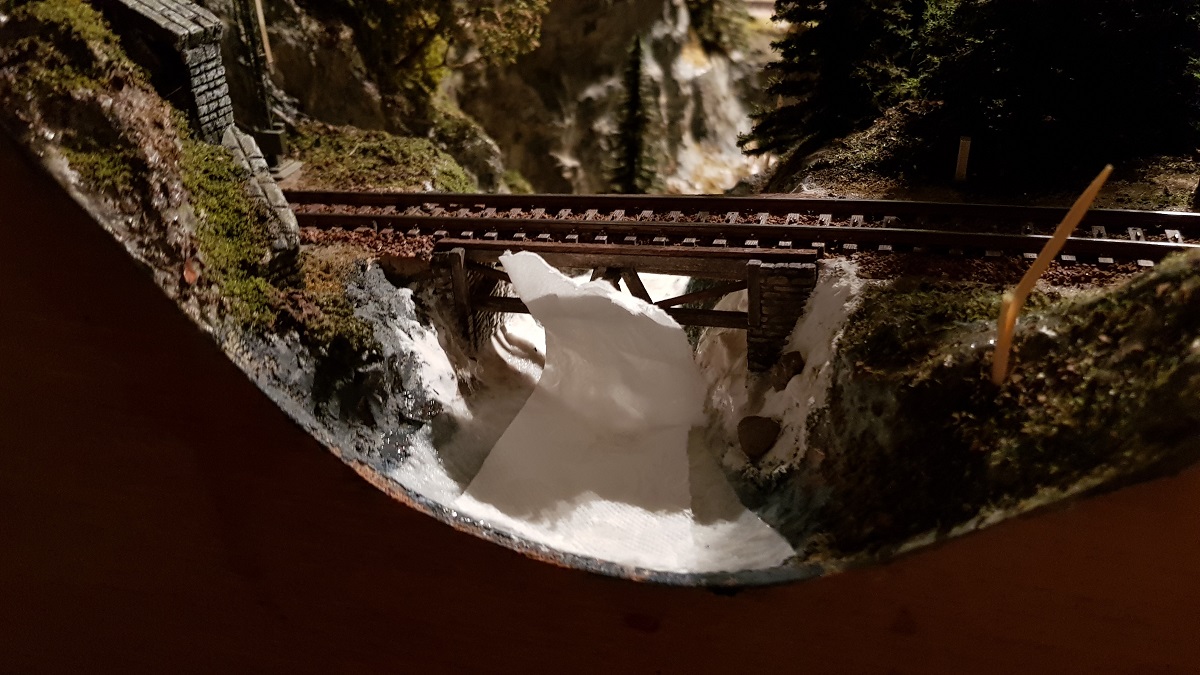
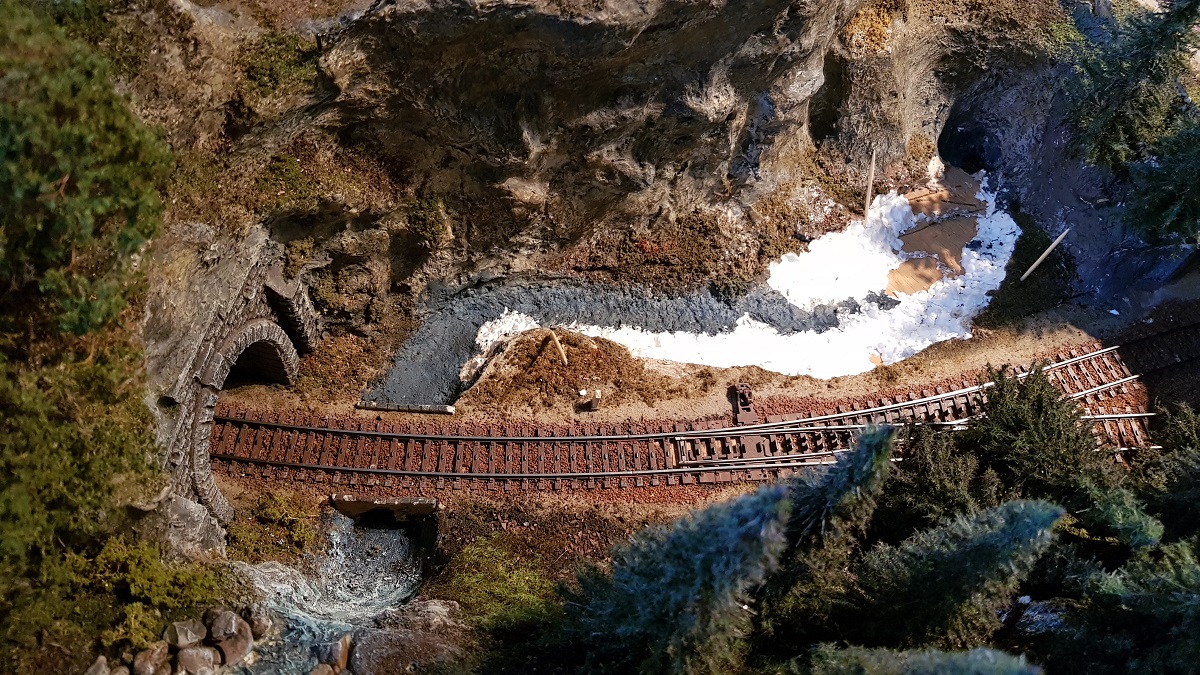
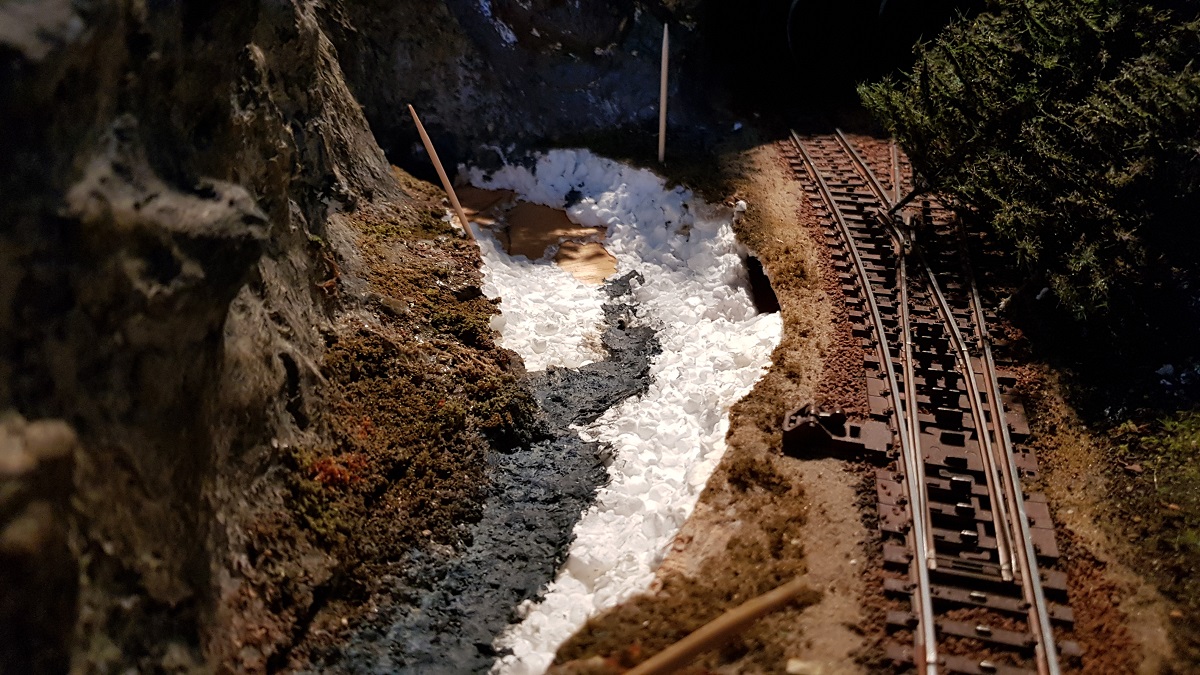
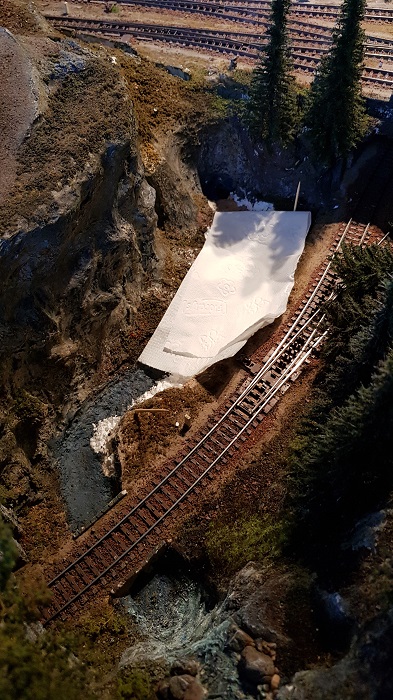
And on Saturday 8 December I began 'unfolding' the waterfall. To begin with toilet paper, glue and grit...
Some trees were removed for not being hindered and hedged during the job
Selecting the right pieces of grit
Can you imagine, that only 8 months ago this site looked like this...??
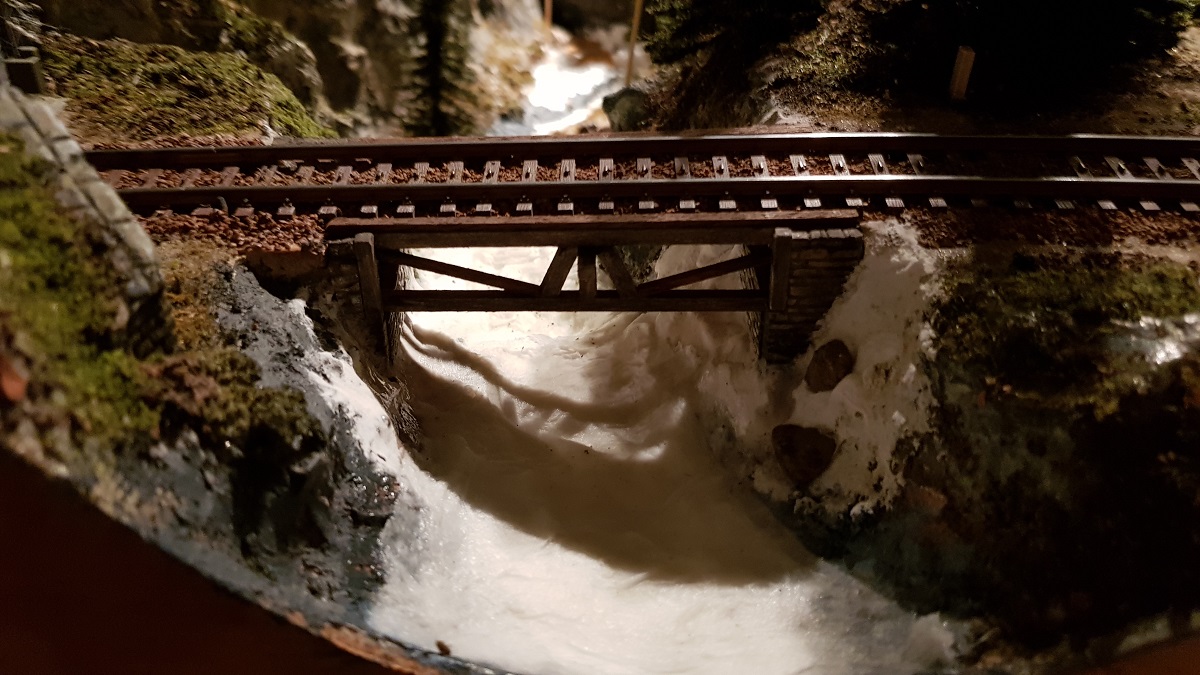
Painting activities of the upper fall on December 11th


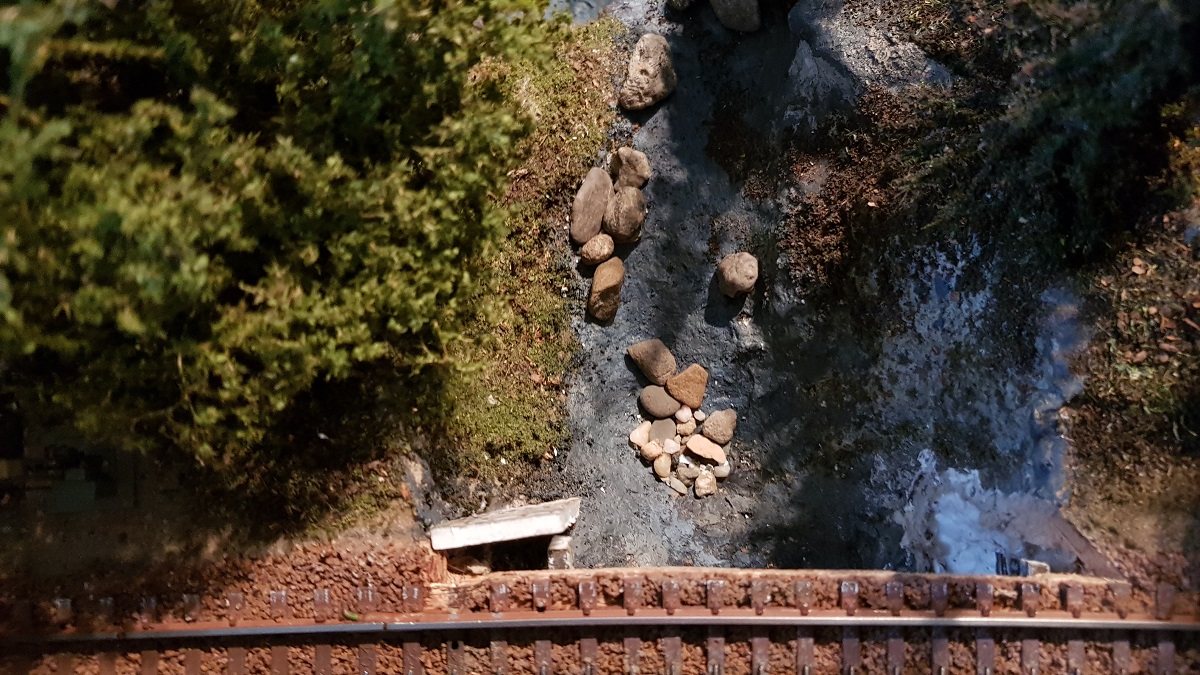
In the afternoon I paid attention to the Lower fall.
I started with cutting away most of the styrofoam downstream in order to gain more width and depth of the brook
Oops... cutting too enthusiastically at the right side...
And a new river bed is created...
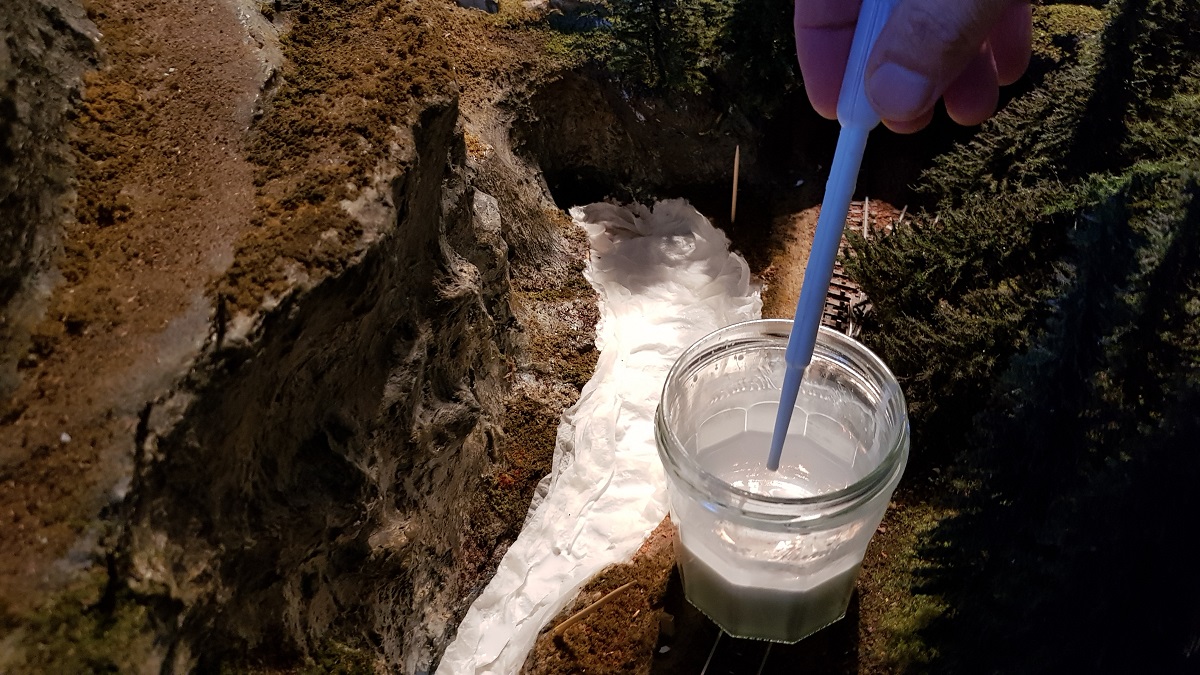


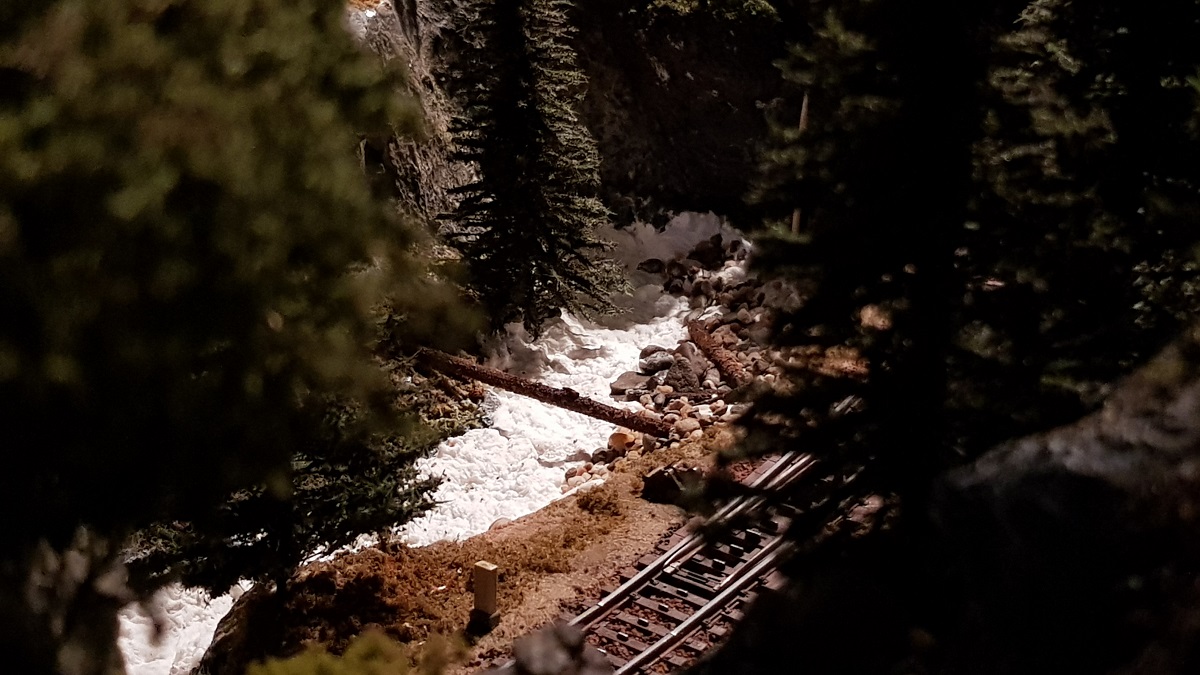
Now it needs some 72 hours for drying, before painting. And another 72 hours for applying the water materials.
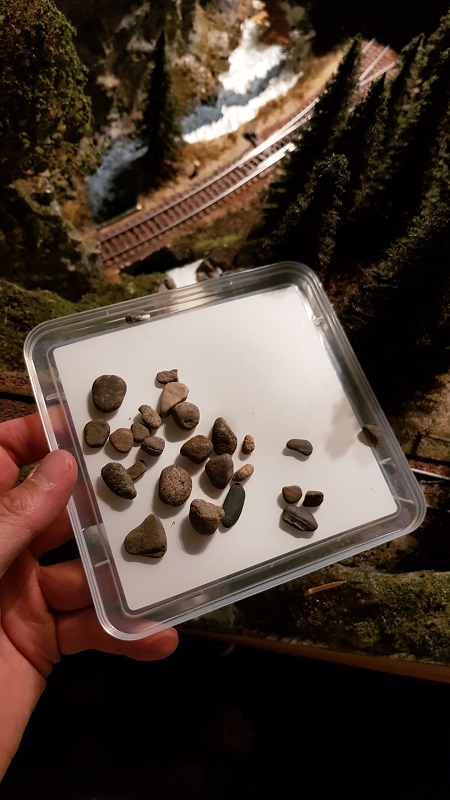
Also waiting for a friend to come, who will bring scaled rocks for this part of the stream!
~~~
Frits Osterthun © 12.12.2019 / 20.2.2020 (additional)
Last update: 24.1.2023