R e n o v a t i o n J o u r n a l
Chapter 5.1 ~ Tr a c k A d j u s t m e n t s
(May 2020)
If there is one thing that I have constantly postponed, it is the approach to the station area and the track below.
All too long I had no clue how to do it right. It should not become too idyllic, that's for sure.
At the same time, it should not lose the time-typical atmosphere either!
Thanks to a friend who convincedly pushed me in the right direction, I started last week...
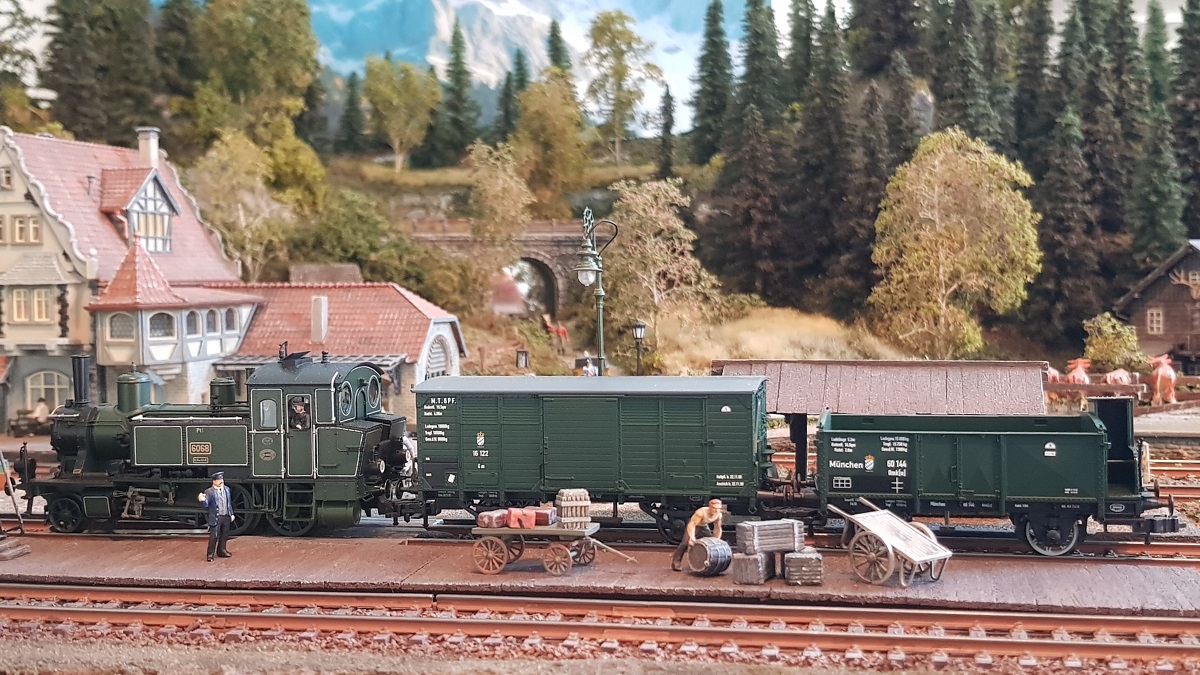
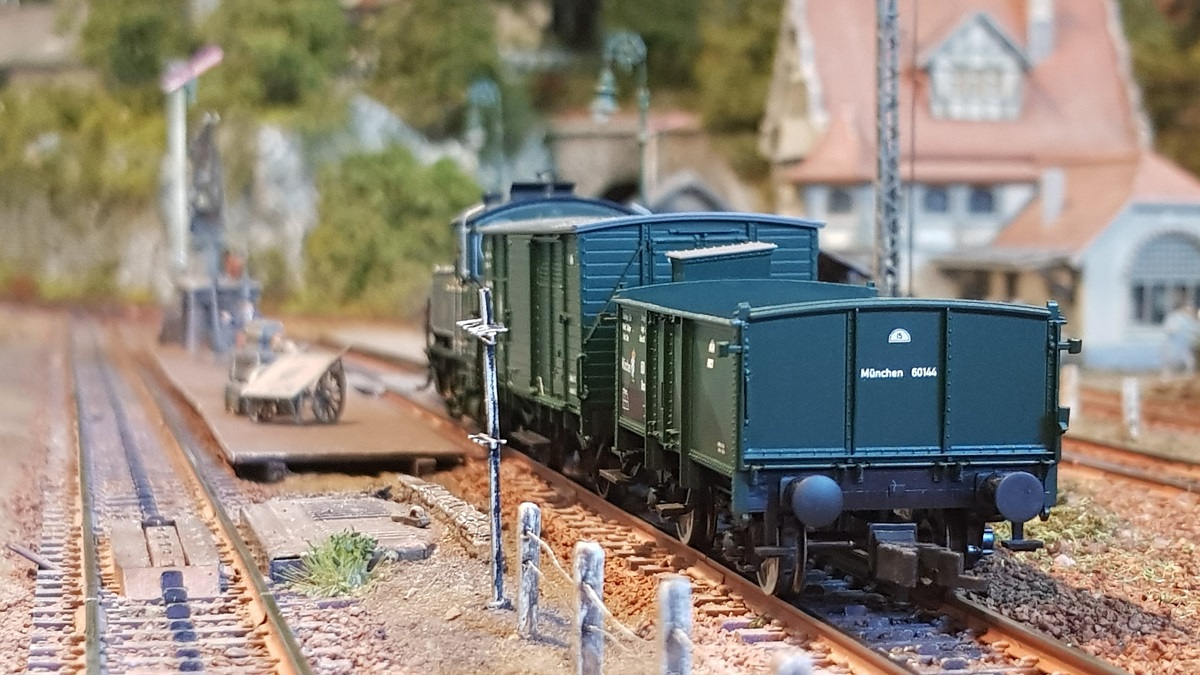
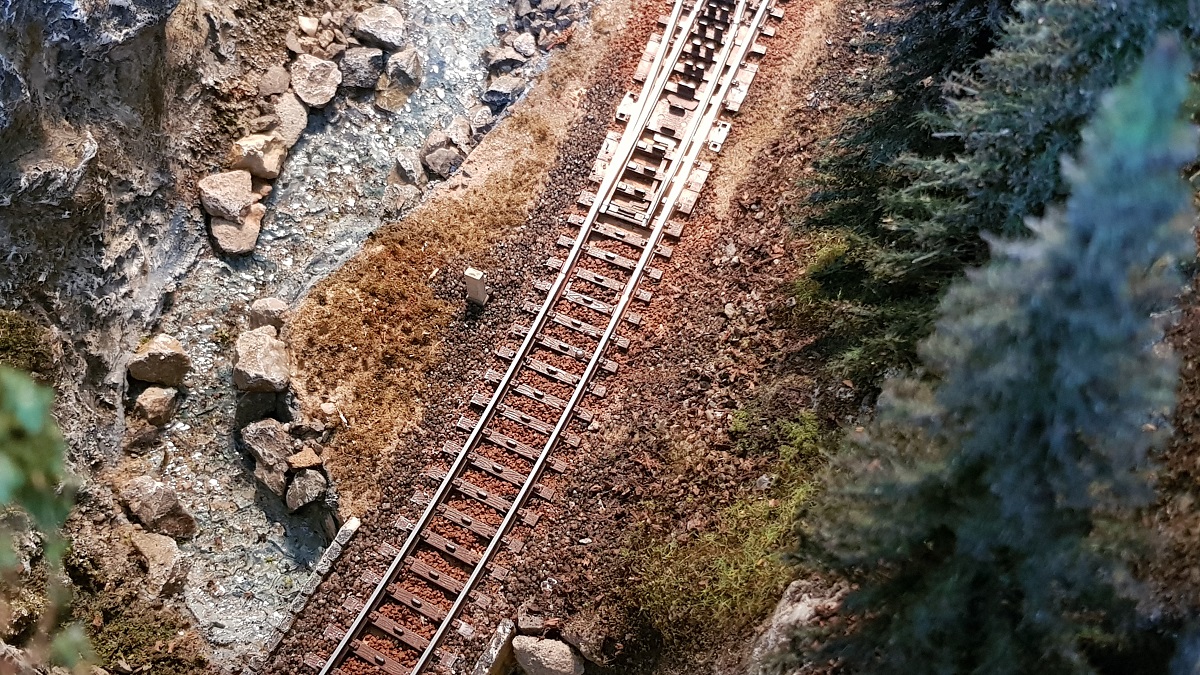
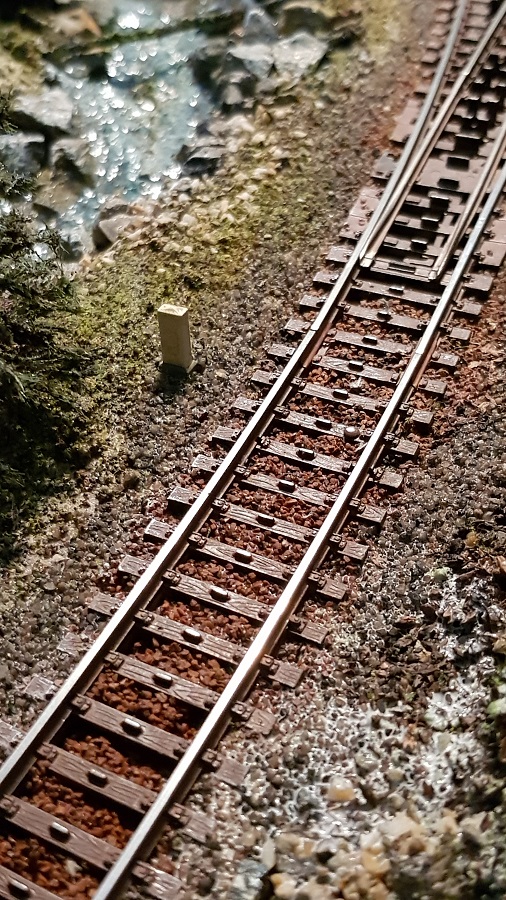
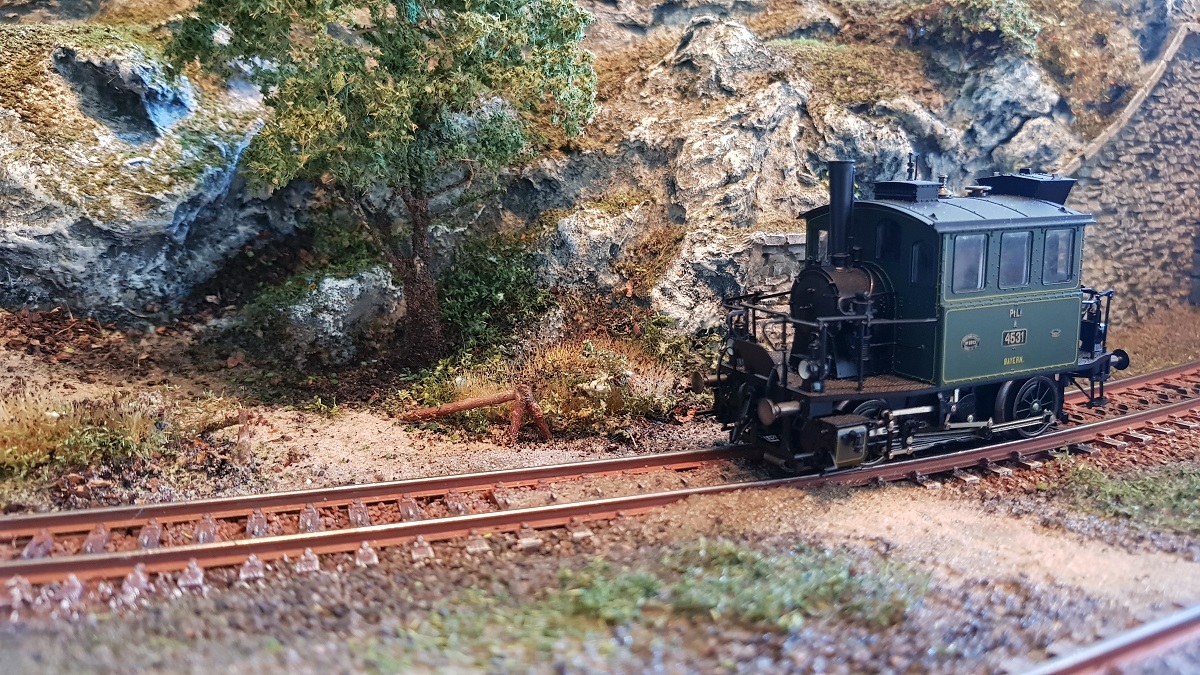
The small track near the ramp at the right was the first to tackle. It was already pretty desolate and deprecated. However, dunno if this is what I want...
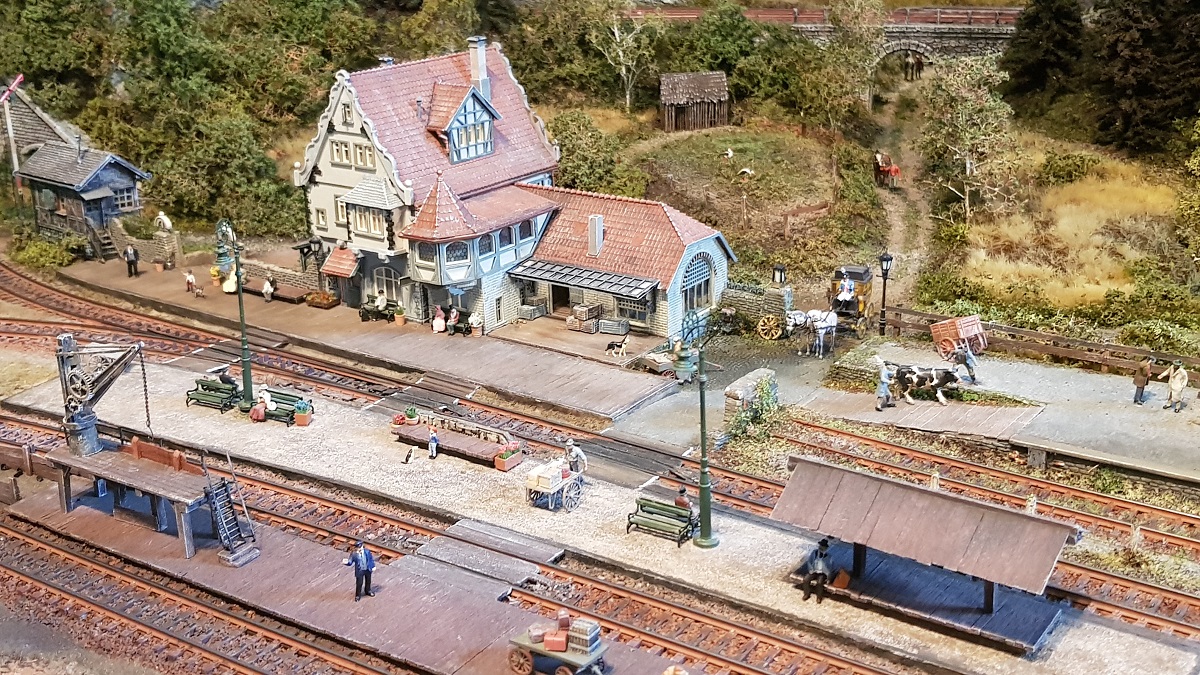
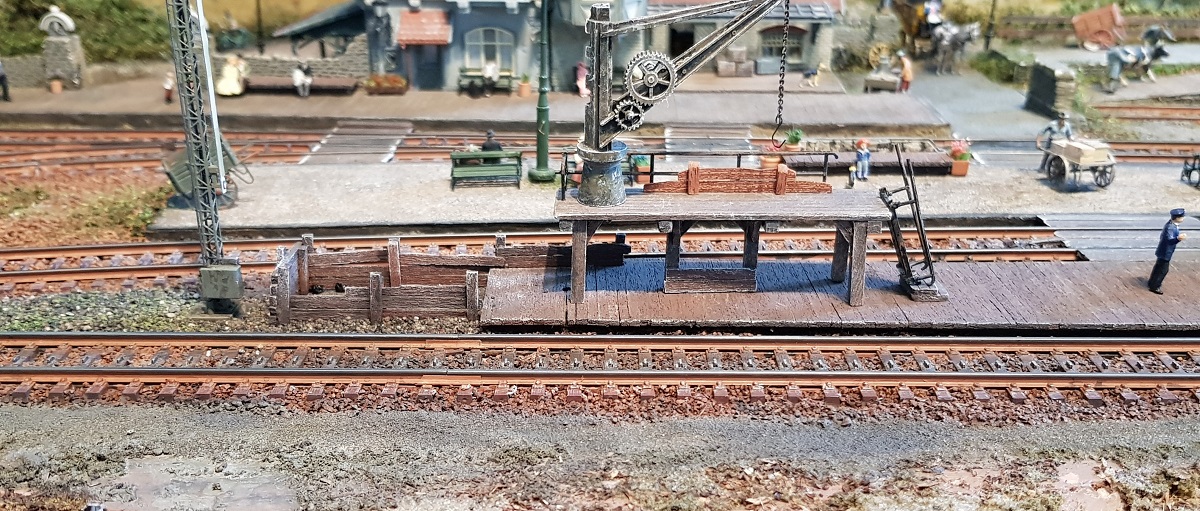
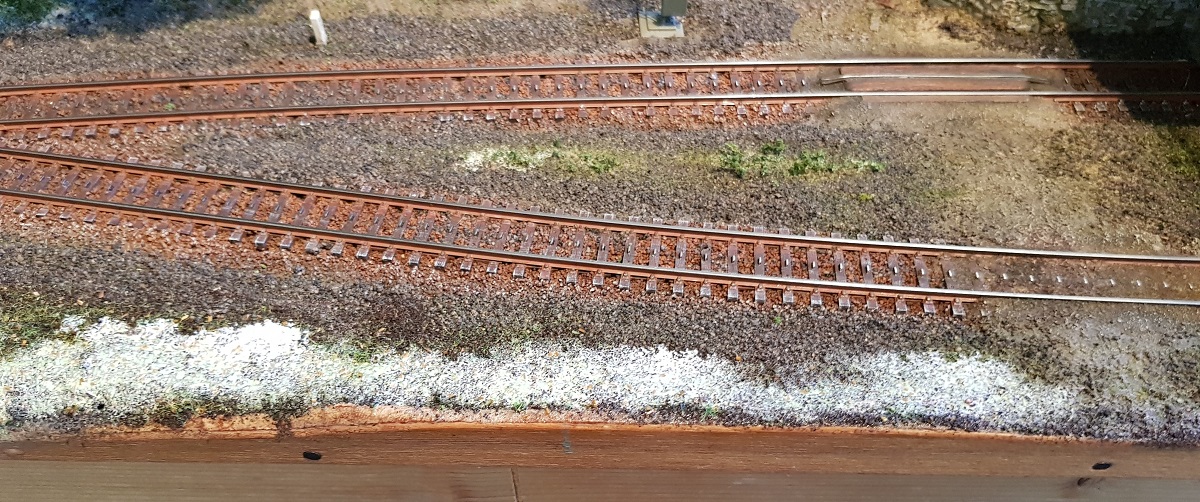
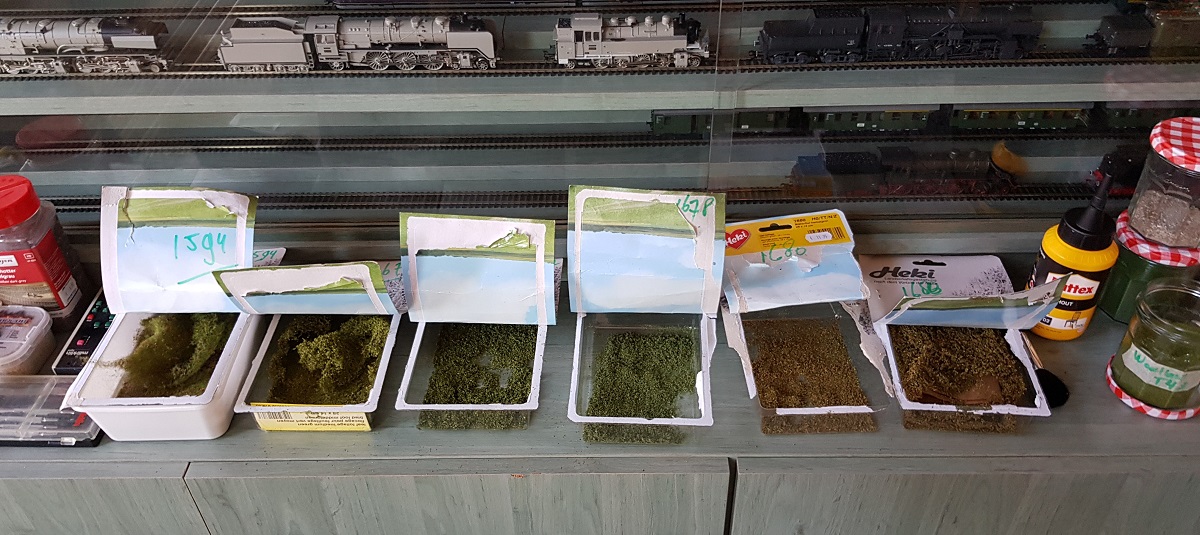
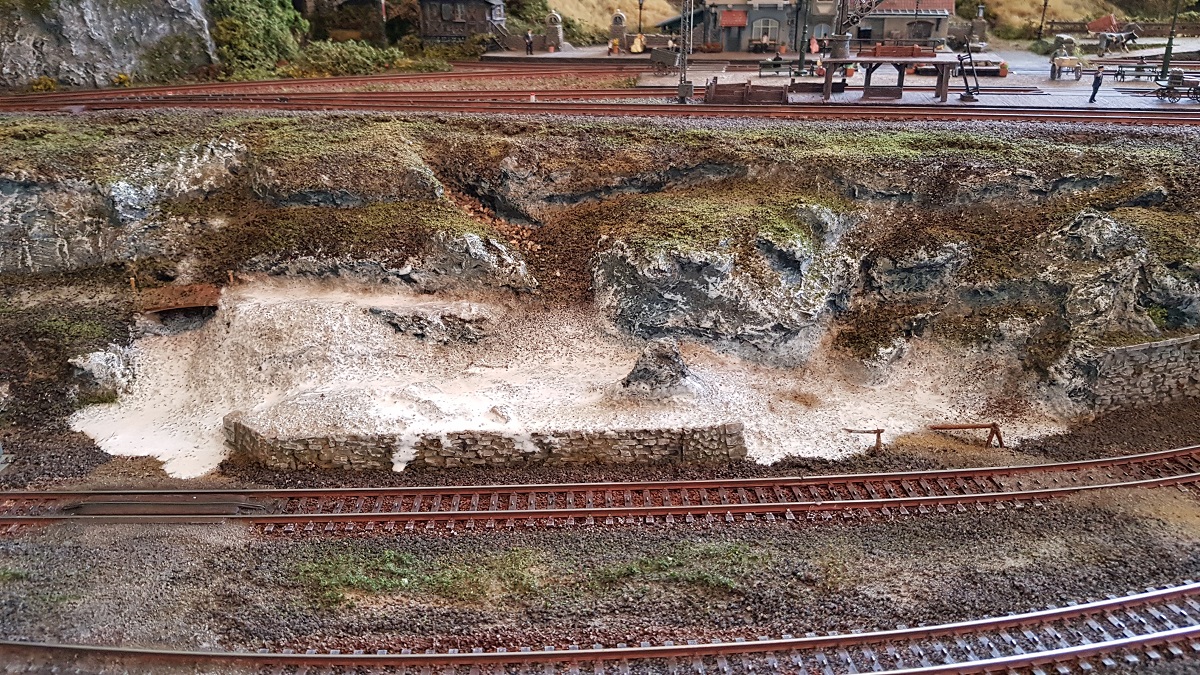
Then there are the two fields on both ends of the platform.
Some 30 years ago I used white sand and greenish Woodland blend turf. Now it looks run down and dull.
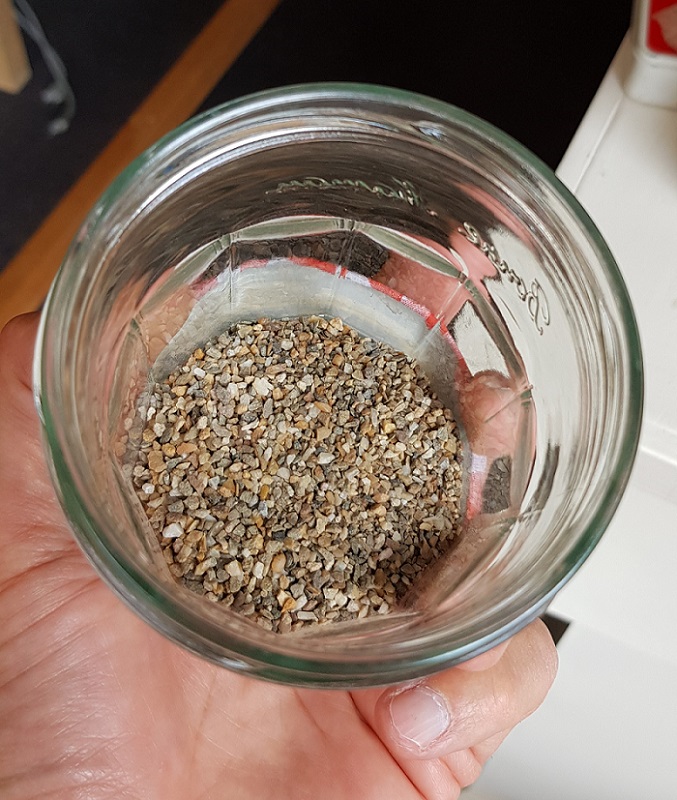
So, I found my can with brown Woodland gravel, just enough to fill both ends.

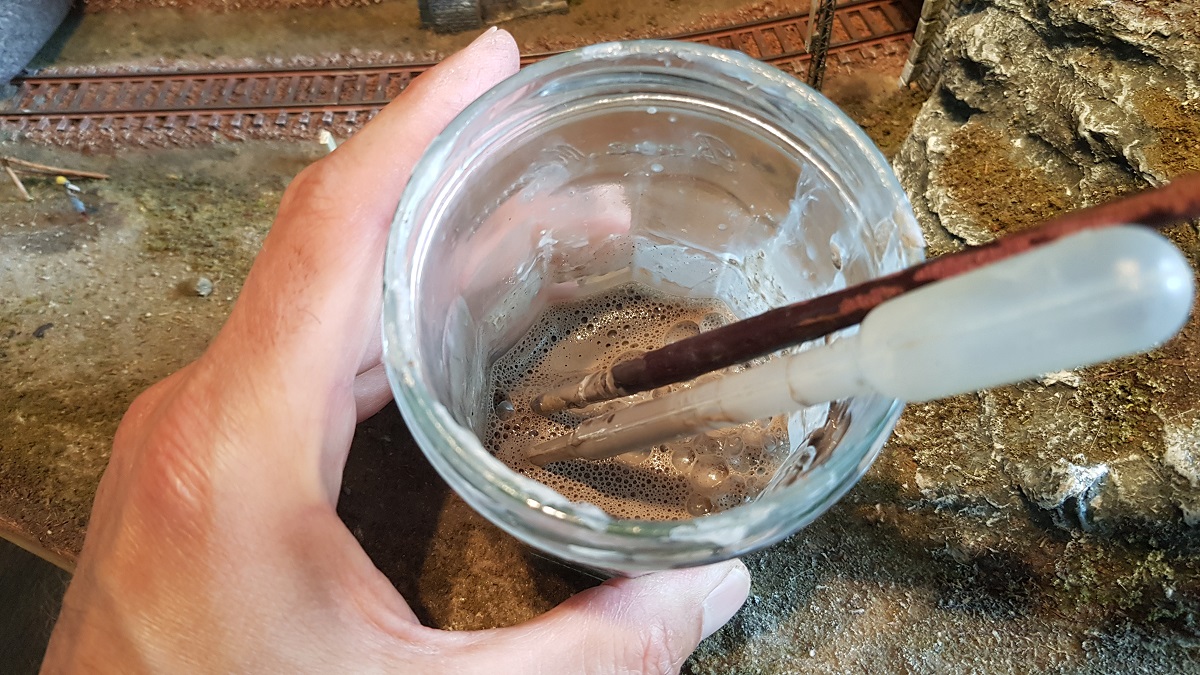
I put some Heki Lasurfarbe in the white glue to obtain a weathered layer on this rusty gravel. Didn't work out as planned...
Then the topping. Green bushes, a few touches of white sand...
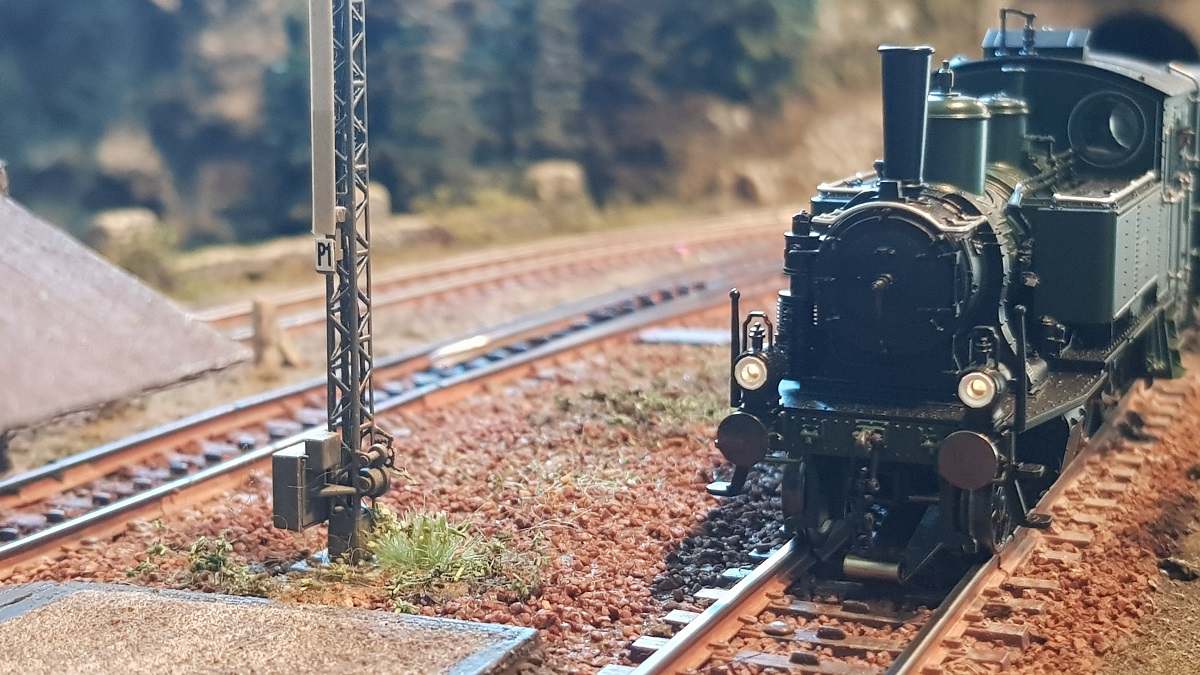
... and testing the effect.
Looks not too bad, but still I have my doubts on the whole...
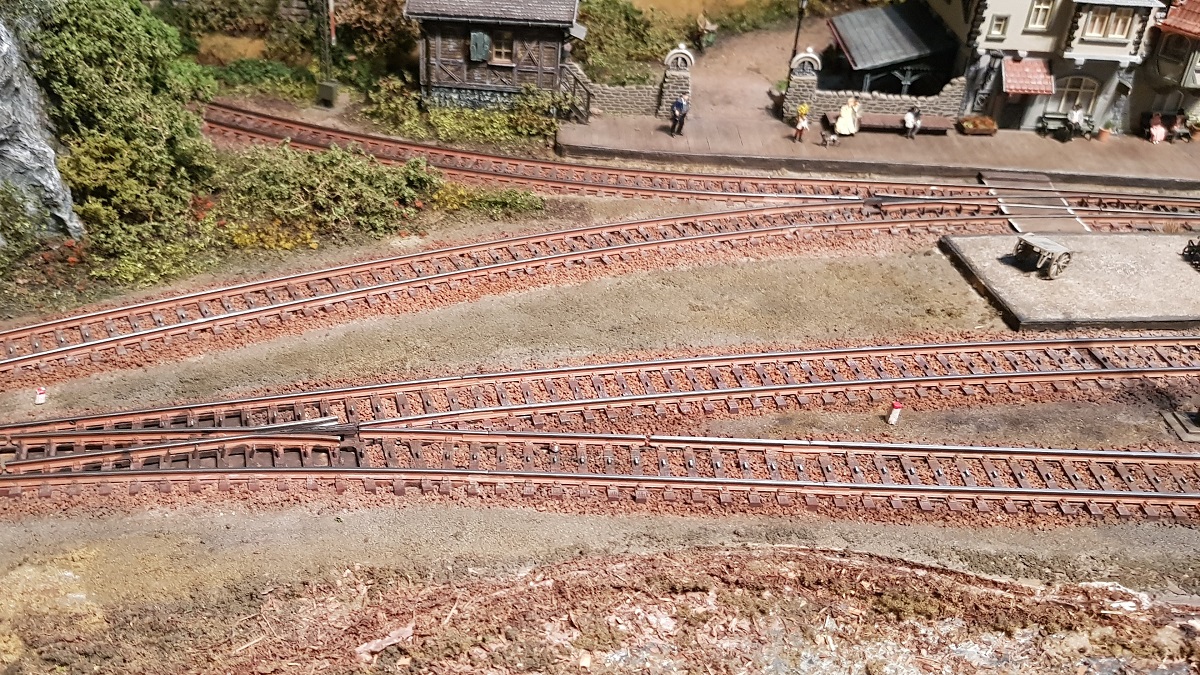
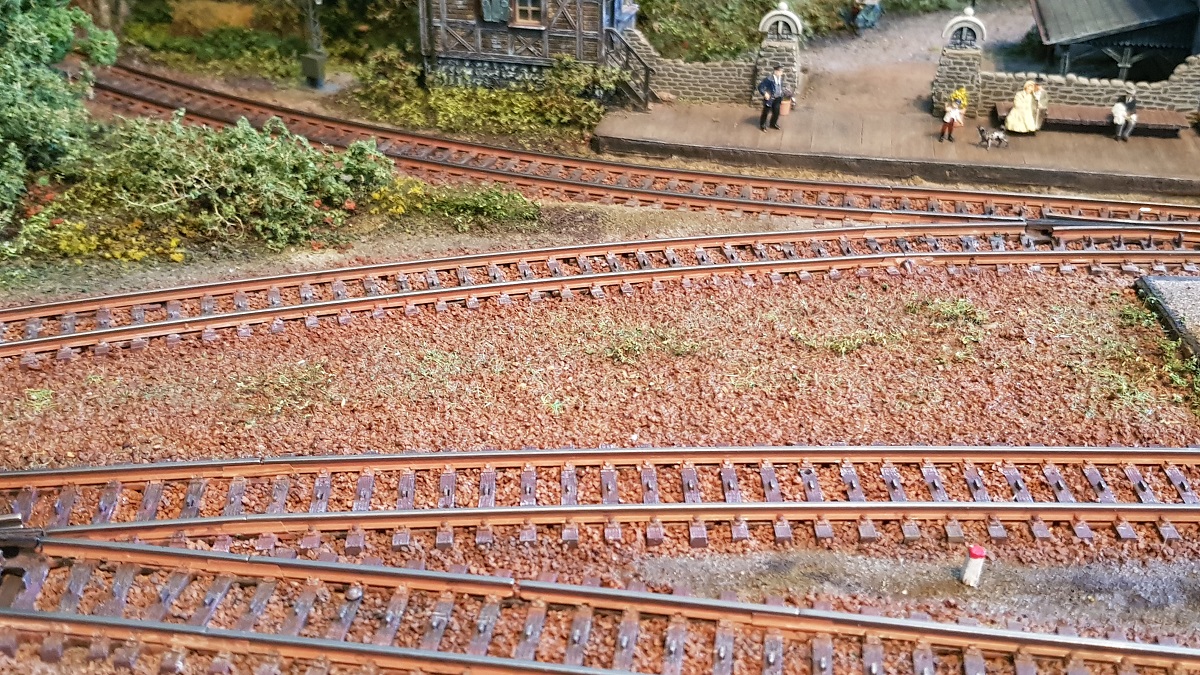
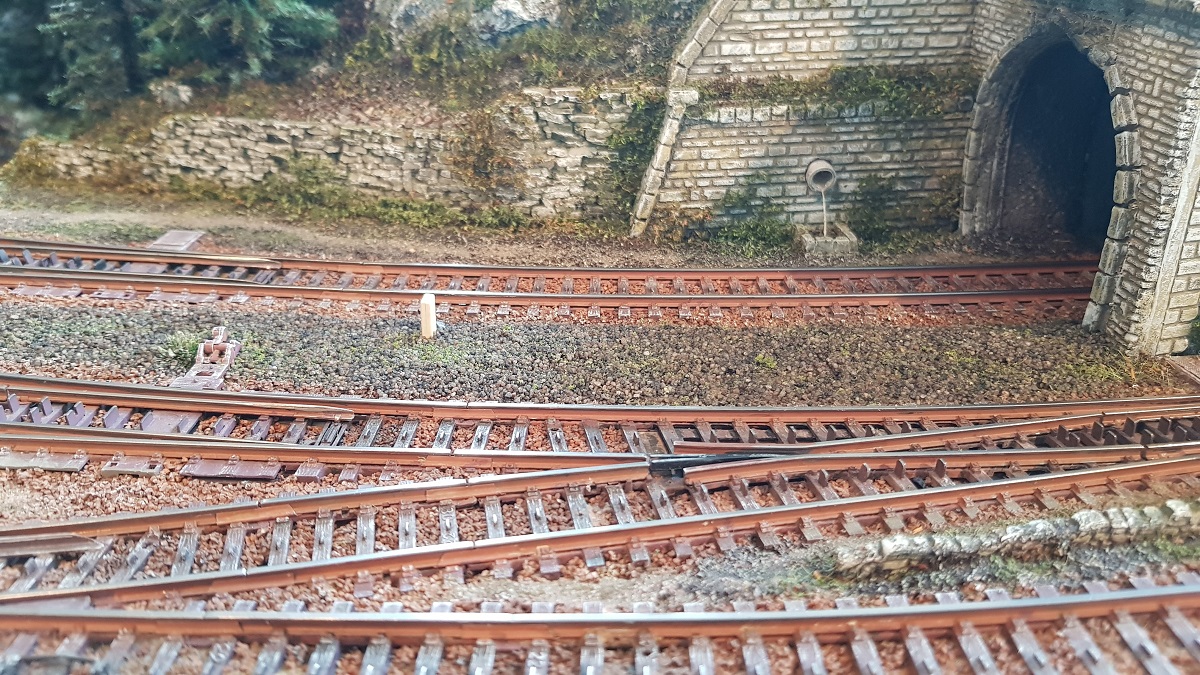
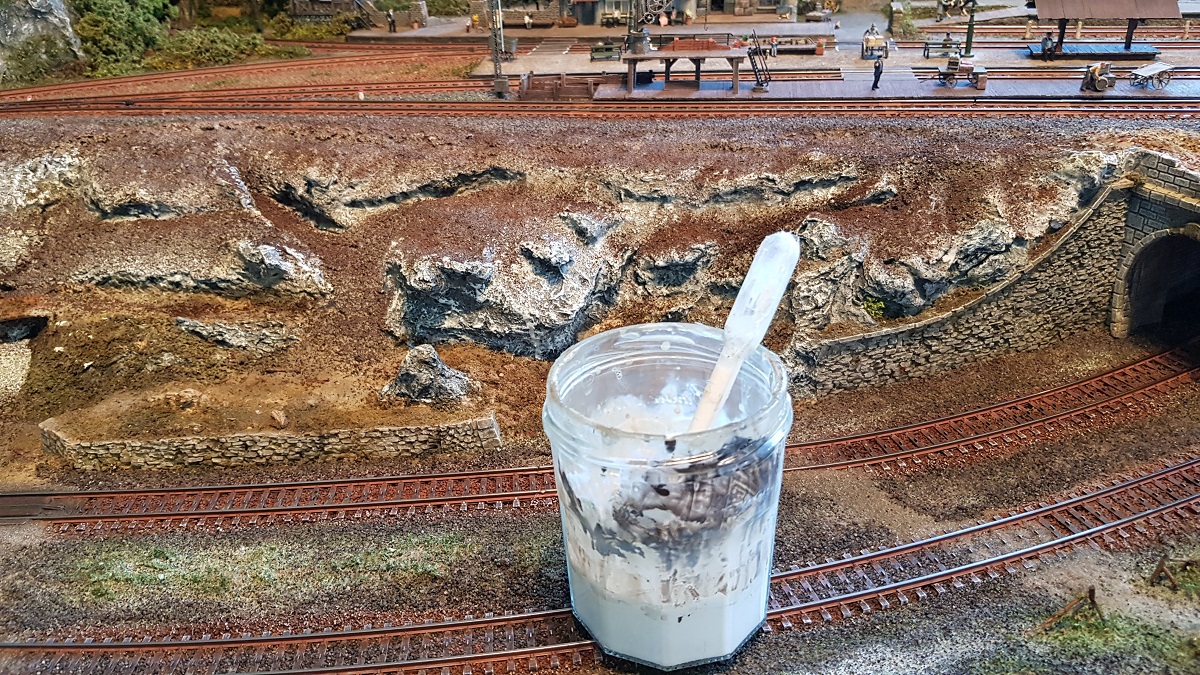
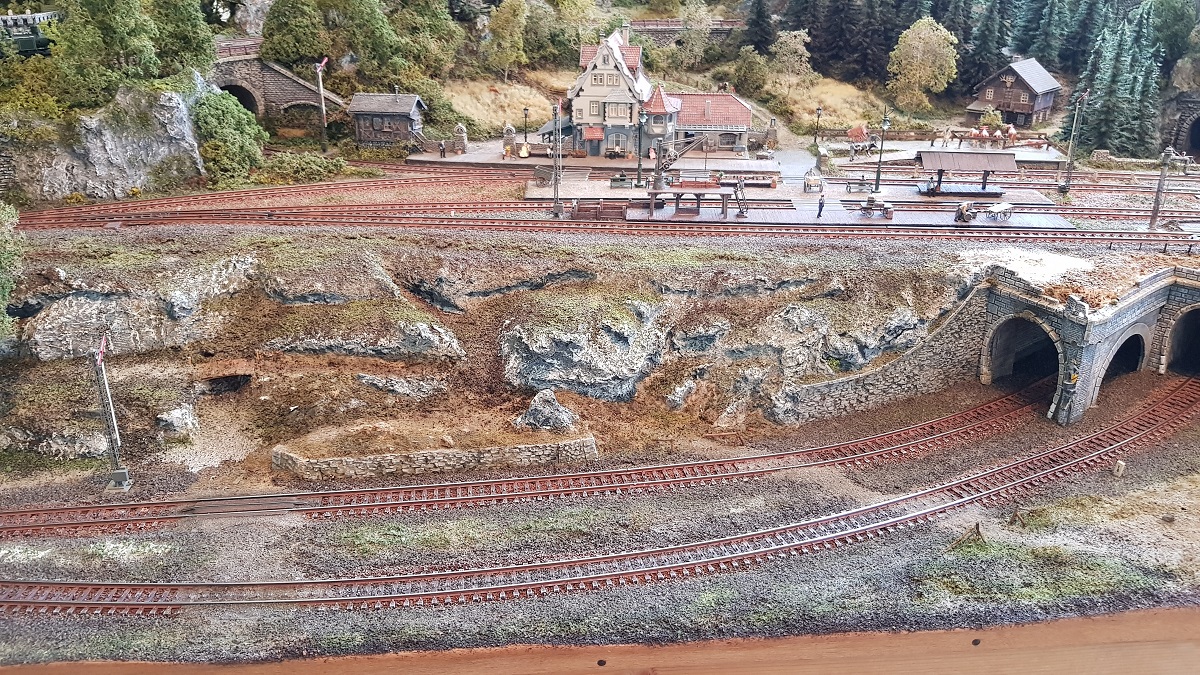
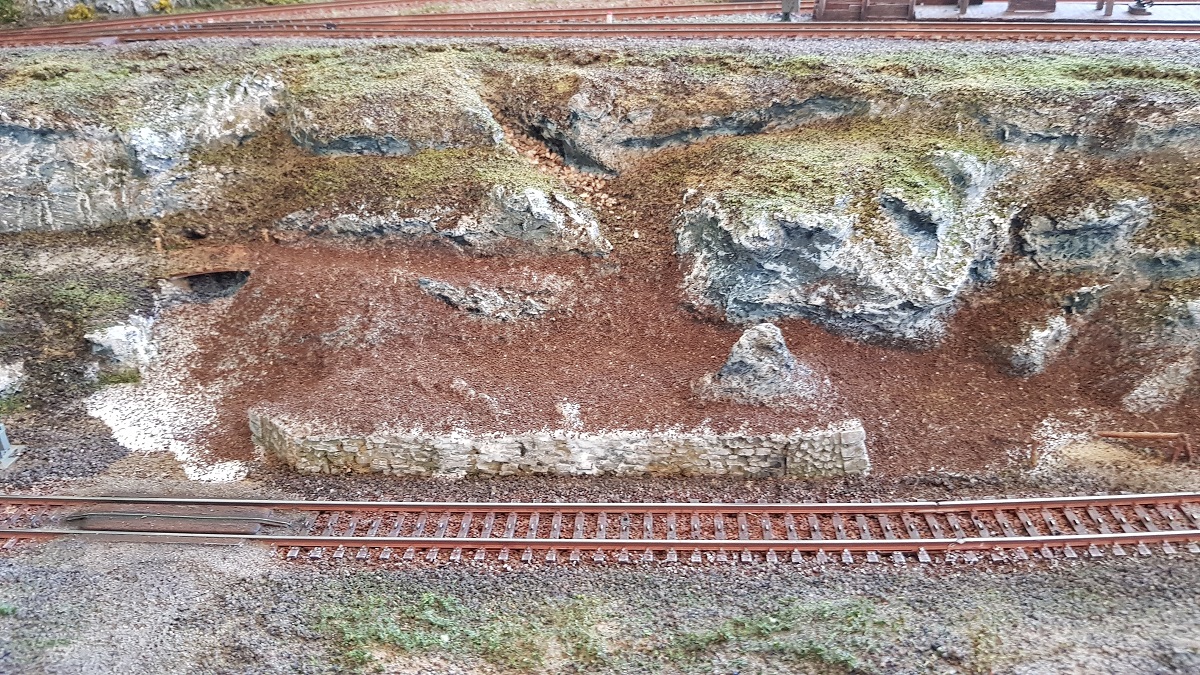
While I was in conclave with a friend about the colour scheme, he advised me to still use a darker shade of gravel for the rest of the track.
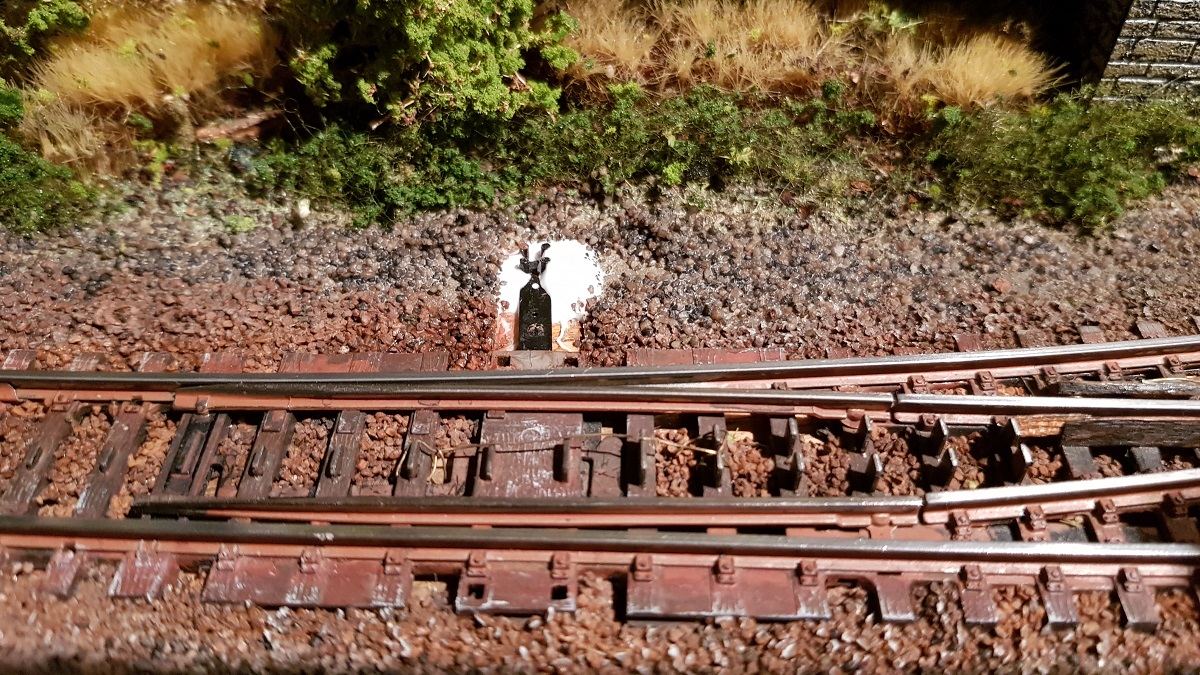
There was some 400 grams of Heki Porphyr (Nr. 1372) at hand, but I must say that I began to apply it with great restraint.
At first all looked suddenly like a modern railway. It shouldn't look too newish...
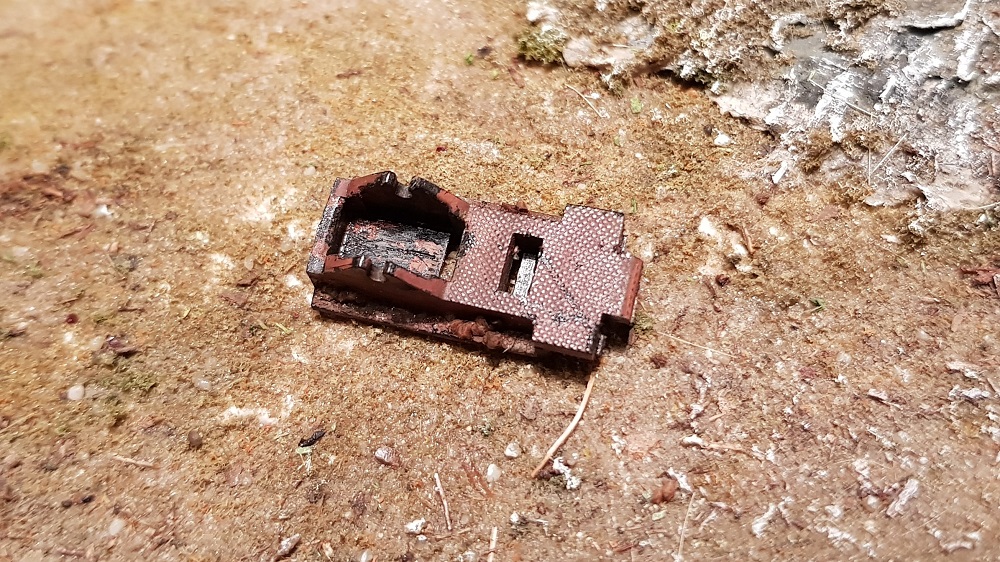
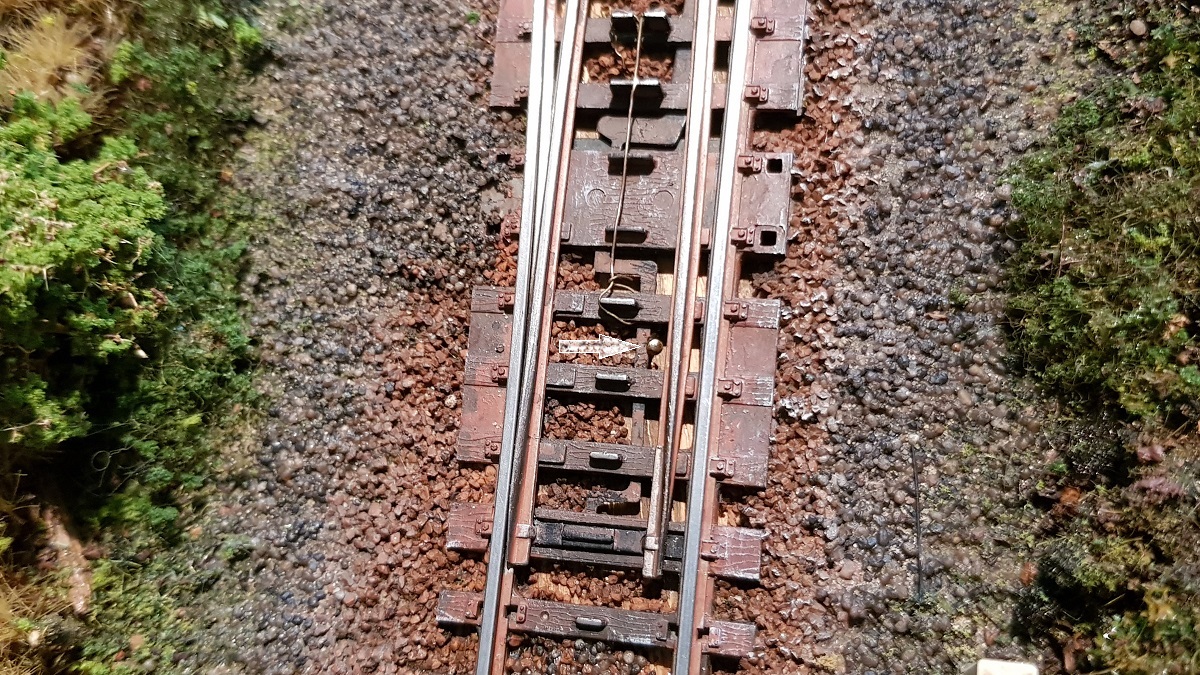
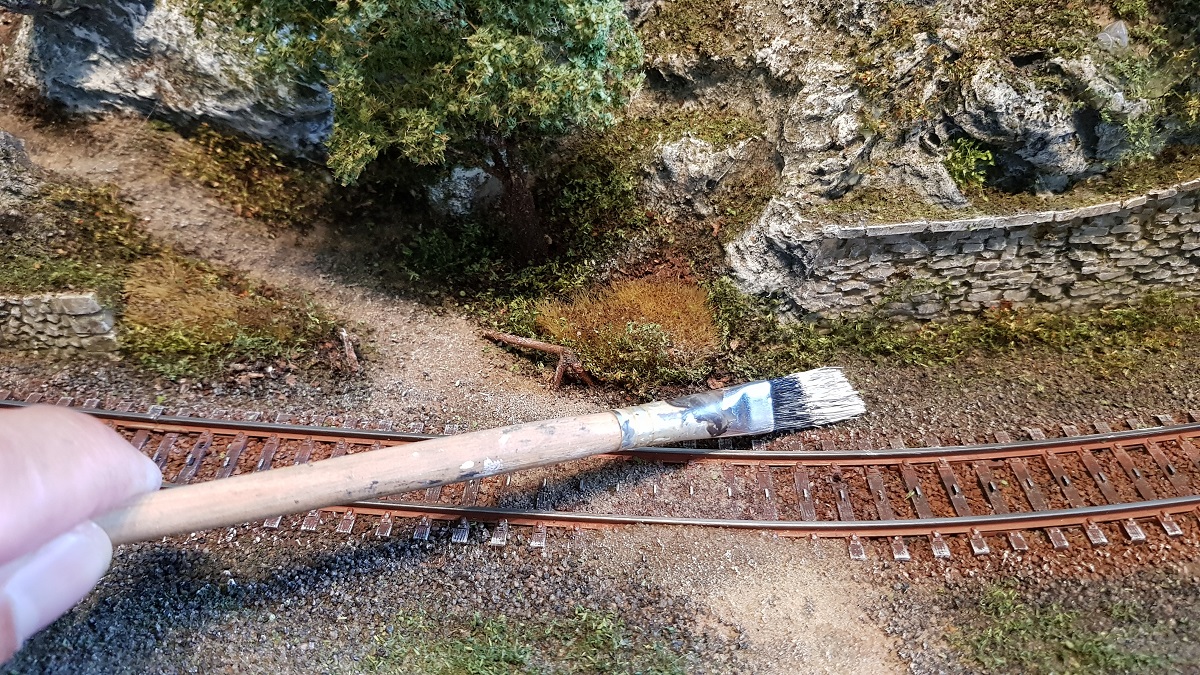
When gravel got into the change handle, the stuff broke off. Then all out... looks so much better.
The lid to secure the turnout is hid under the gravel.
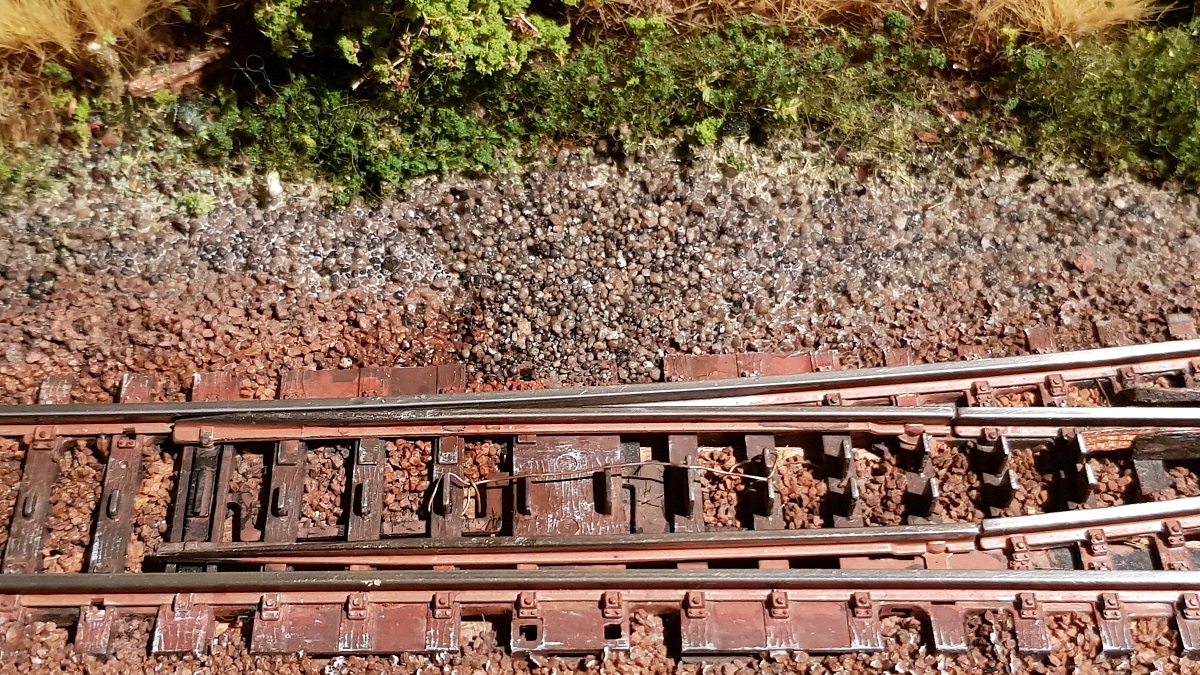
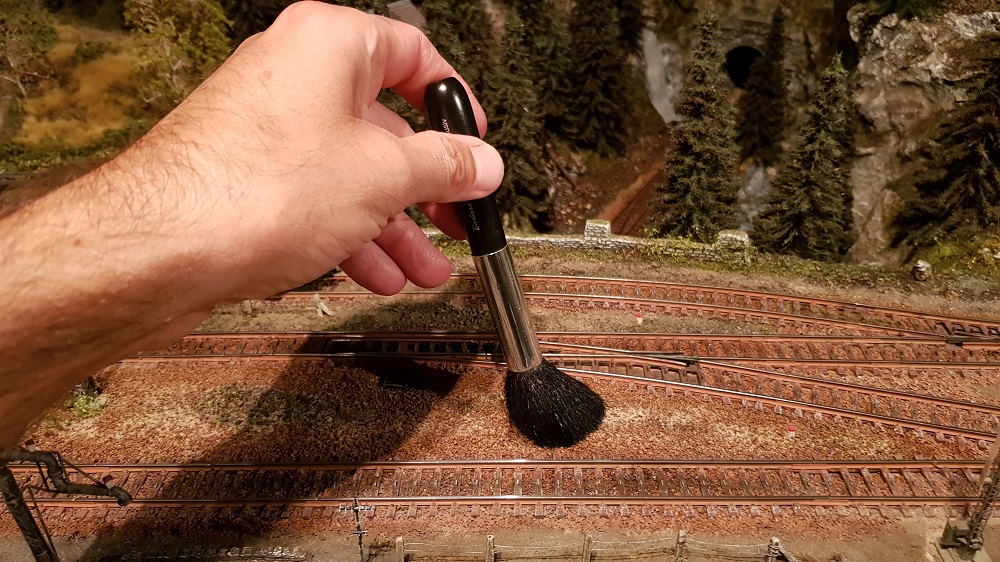
I used Märklin 4627 (Glmmehs 57, 1983-1986) with large wheel flanges to 'clear' the track of loose gravel.
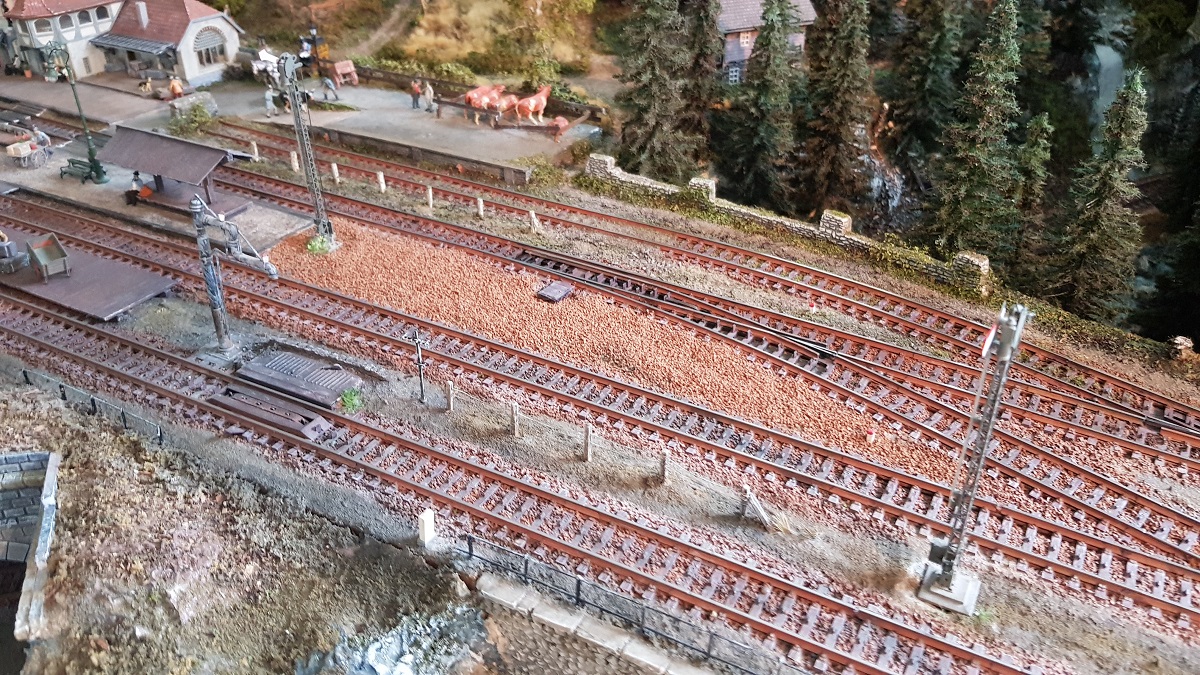
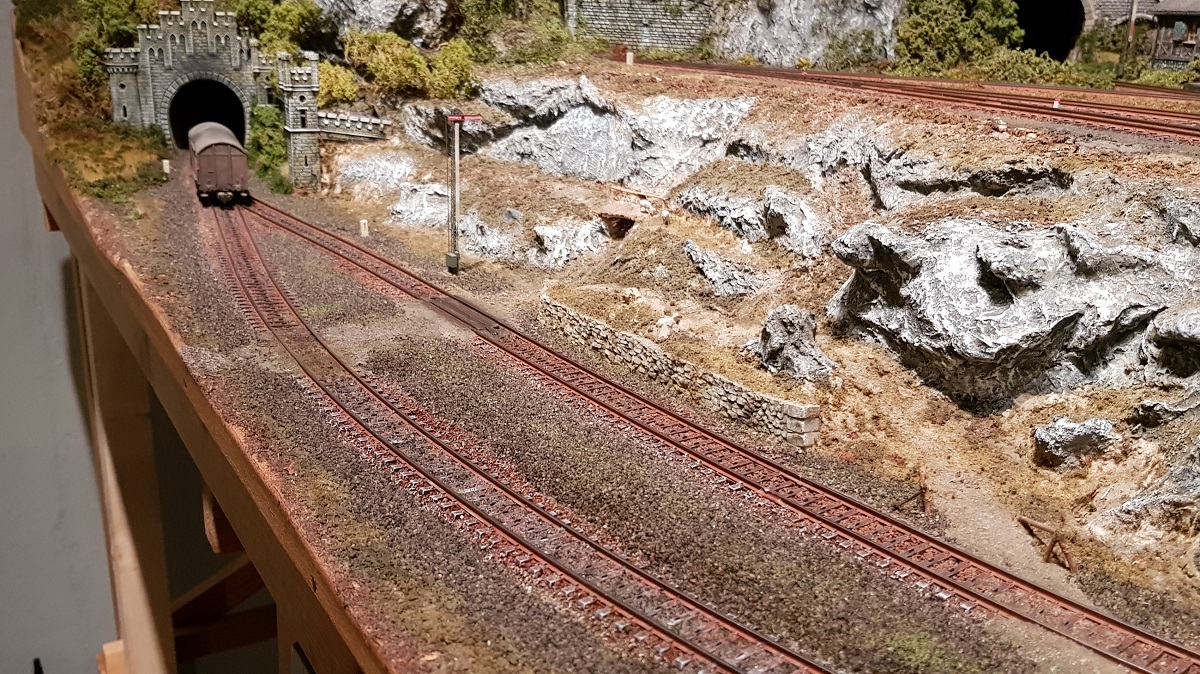
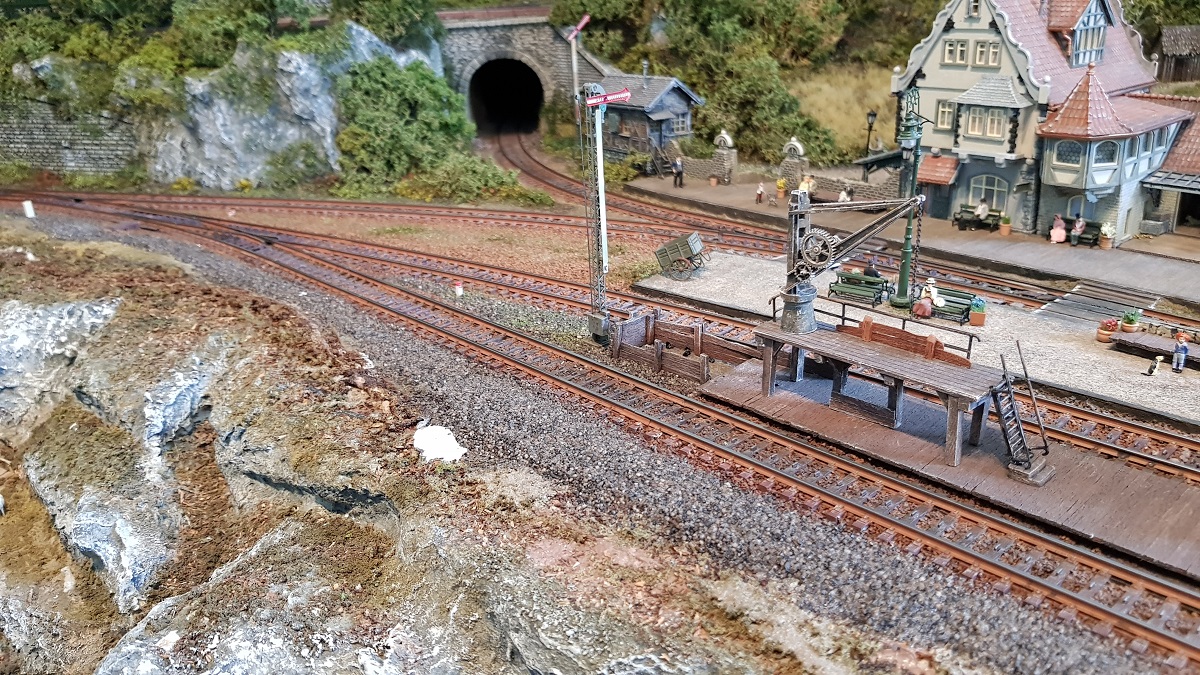
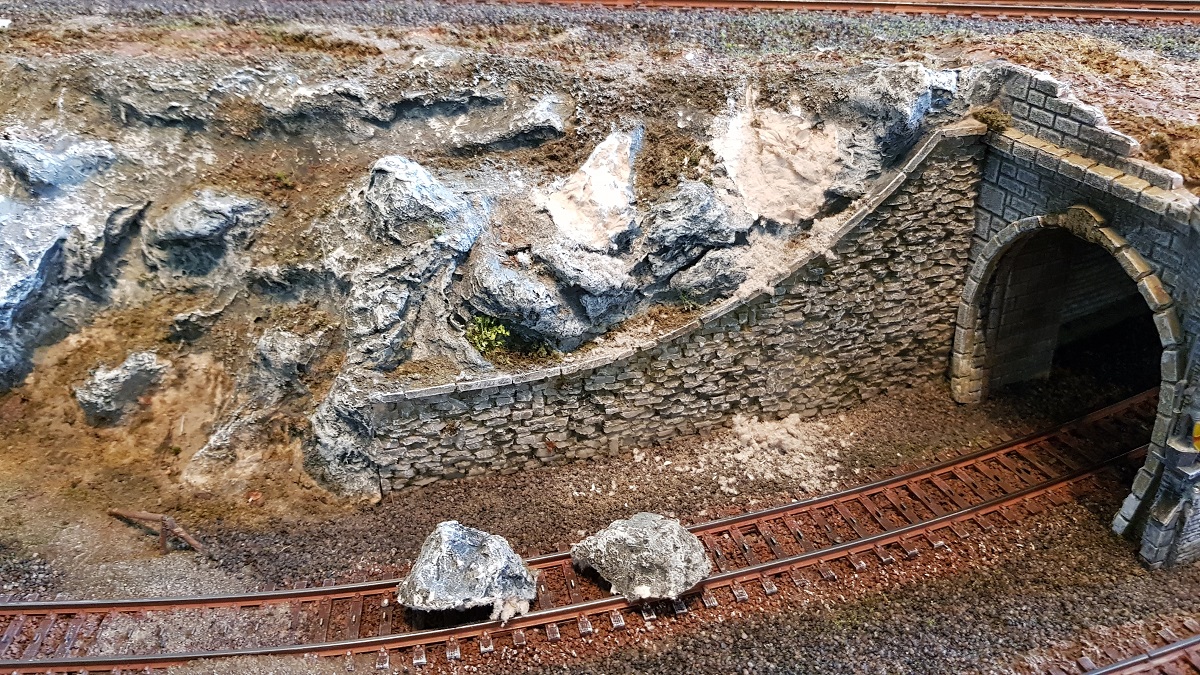
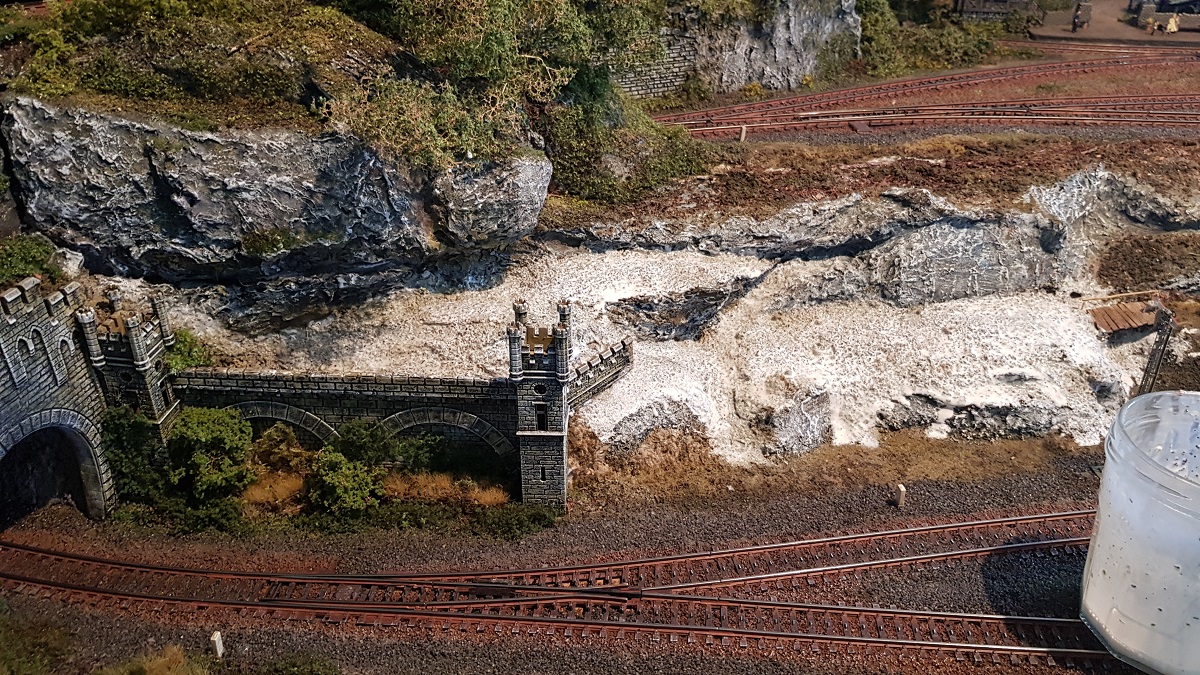
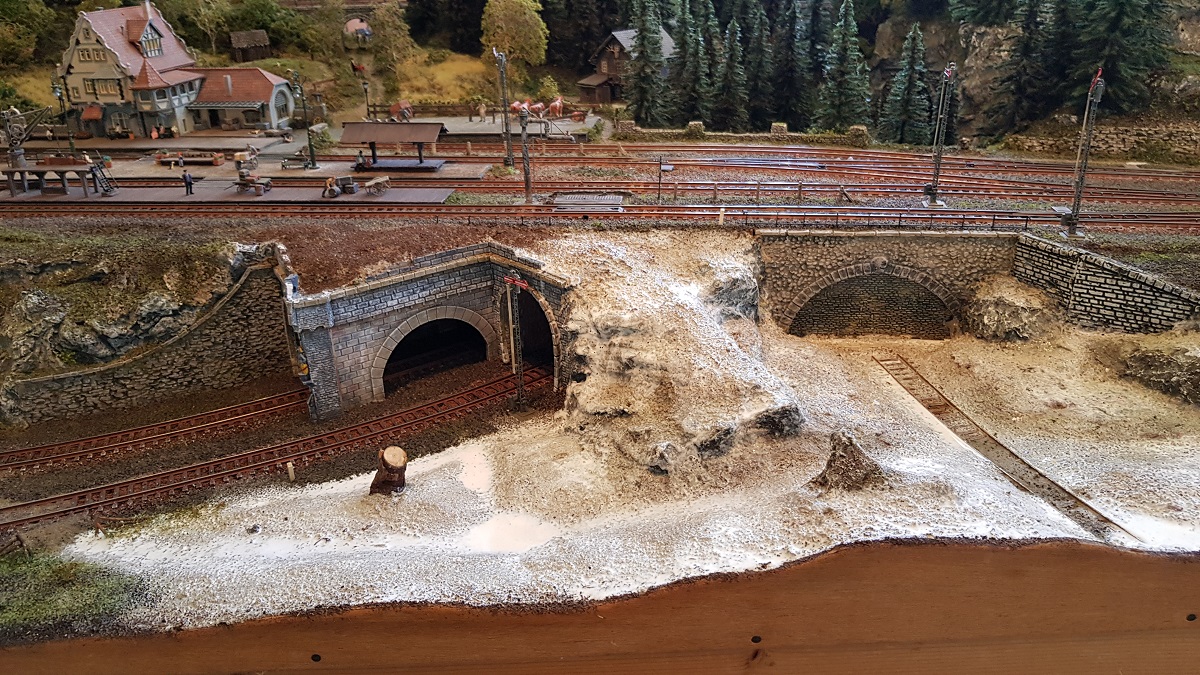
Then, the valley was at stake!
Although most of the fieldwork was done, I still had to take care of the edge next to the track,
as well as the small 'islet' with pine tree near the river bed.
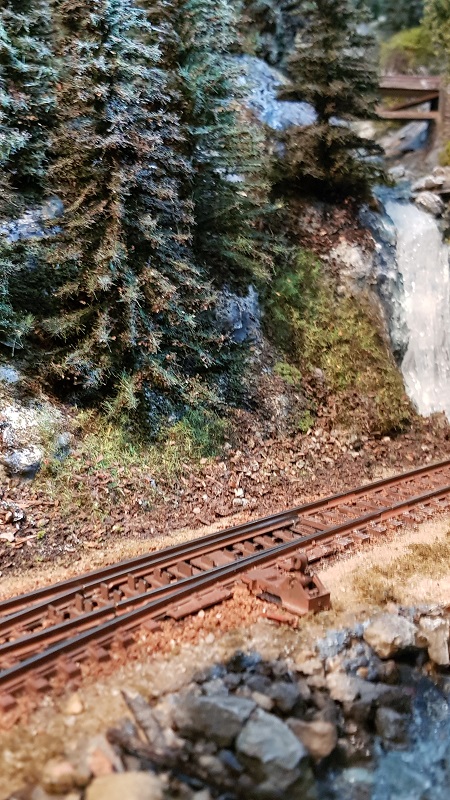
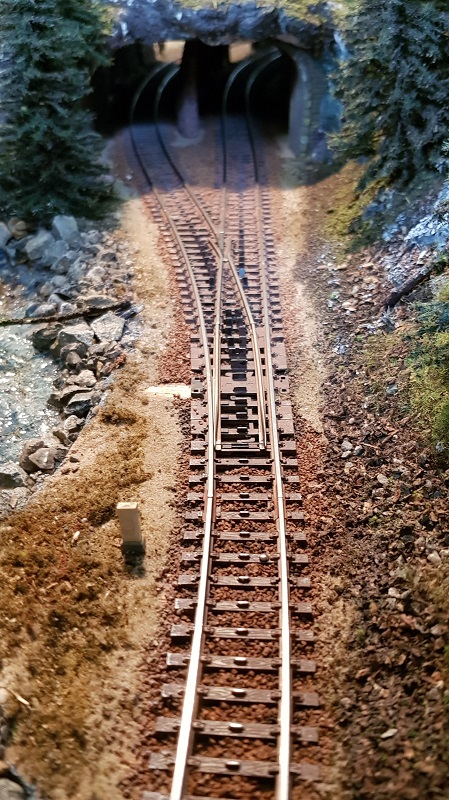
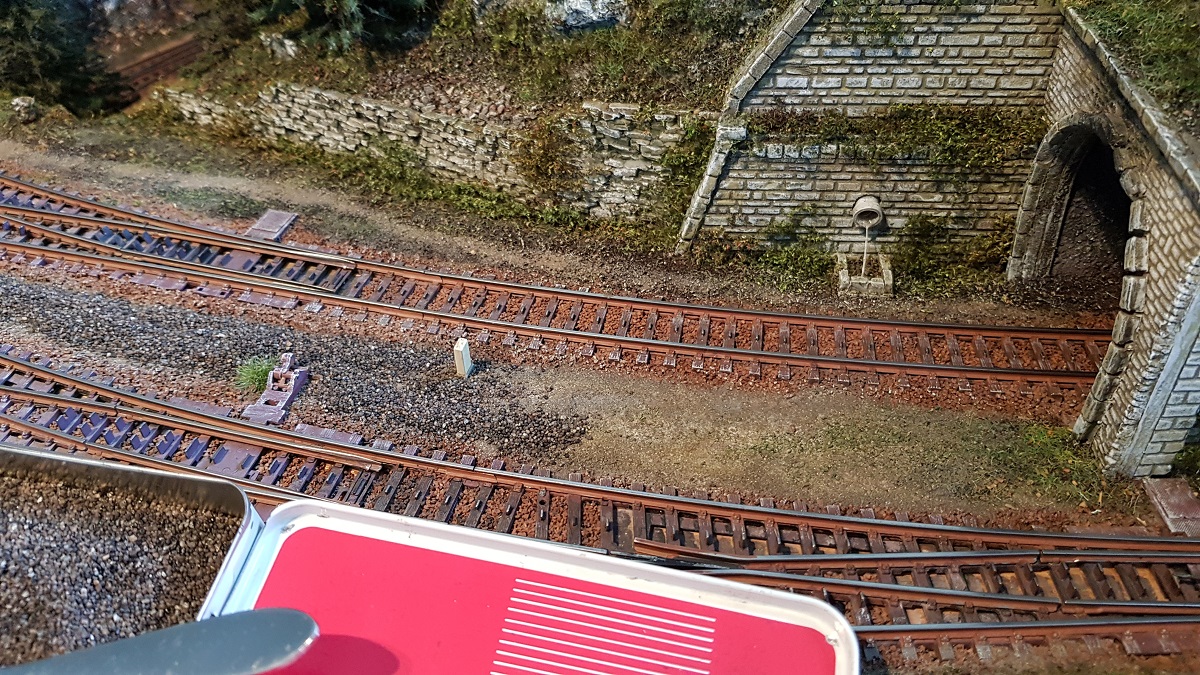
Here, I removed the turnout lever as well.
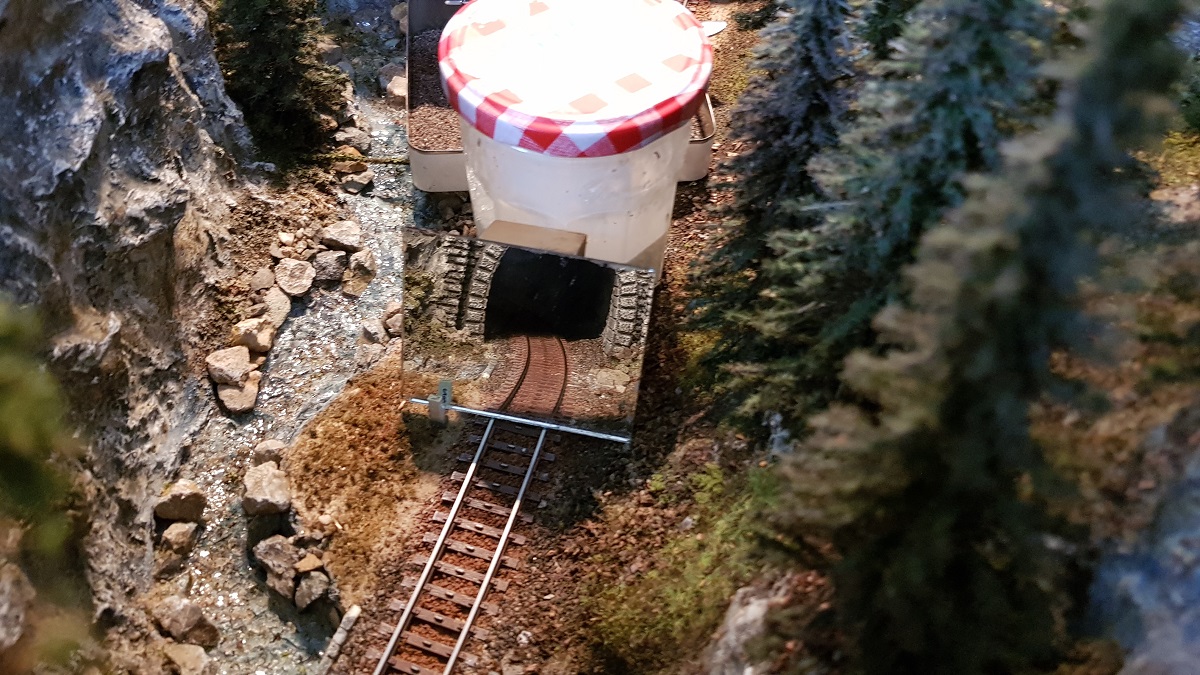
And yes, because I could not reach into the tunnel from the front, I had to work with a mirror. Felt like a dentist...
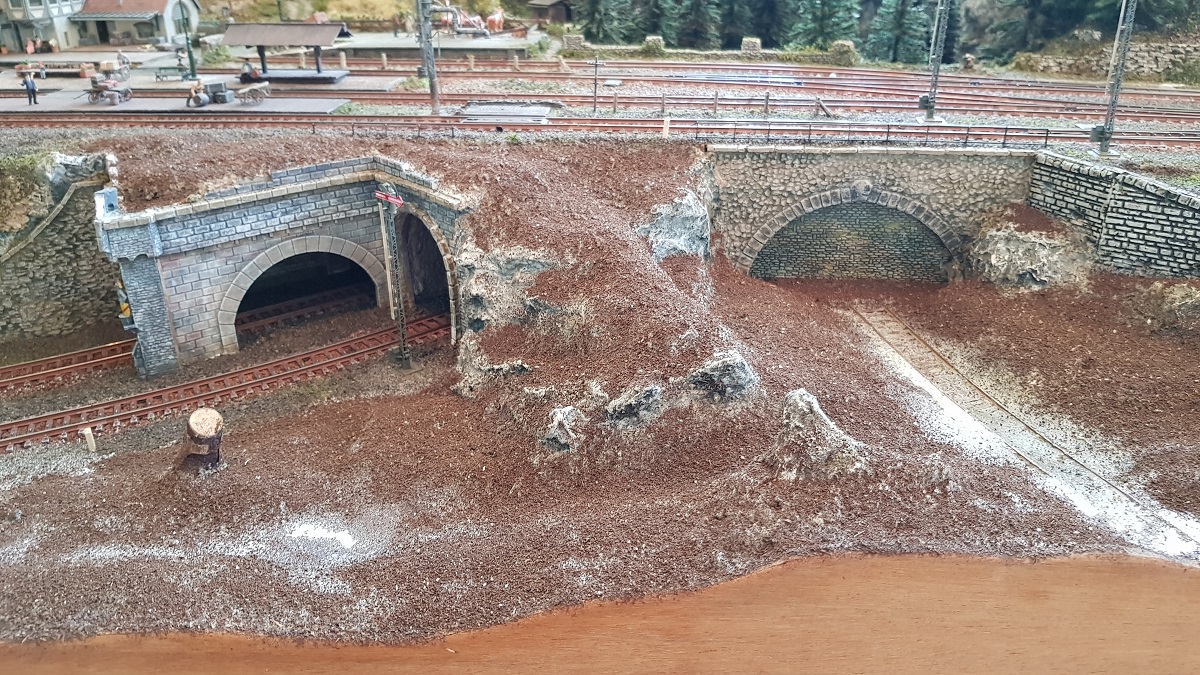
Some finer gravel was added near the river bank...
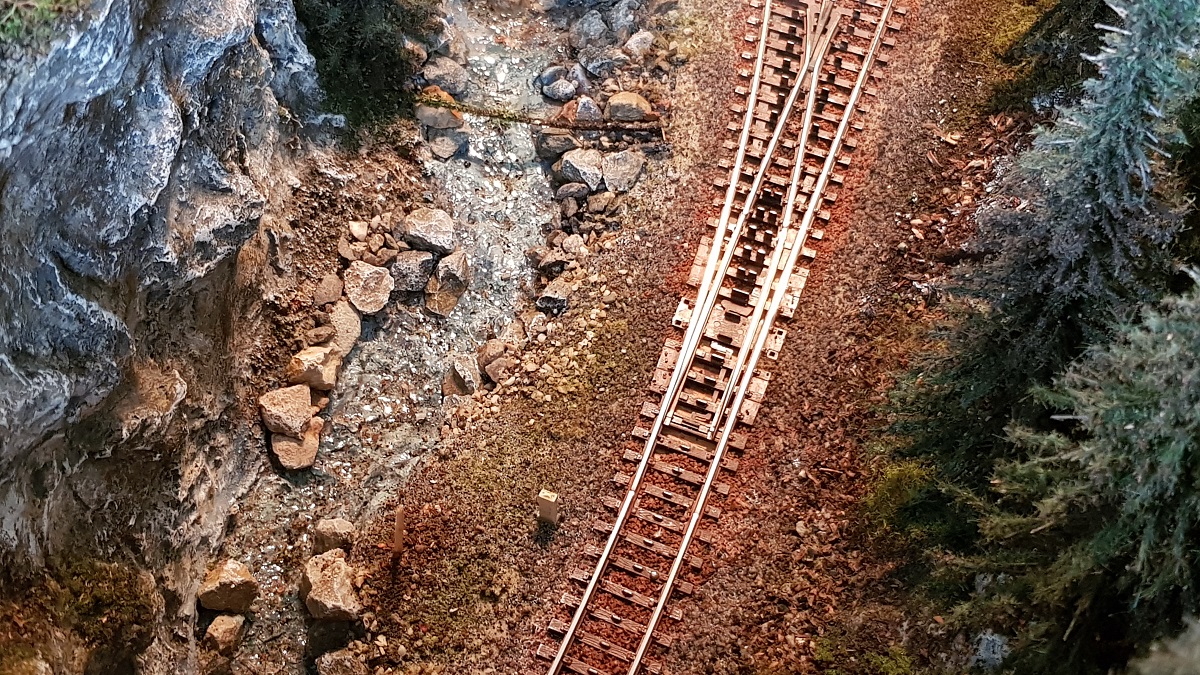
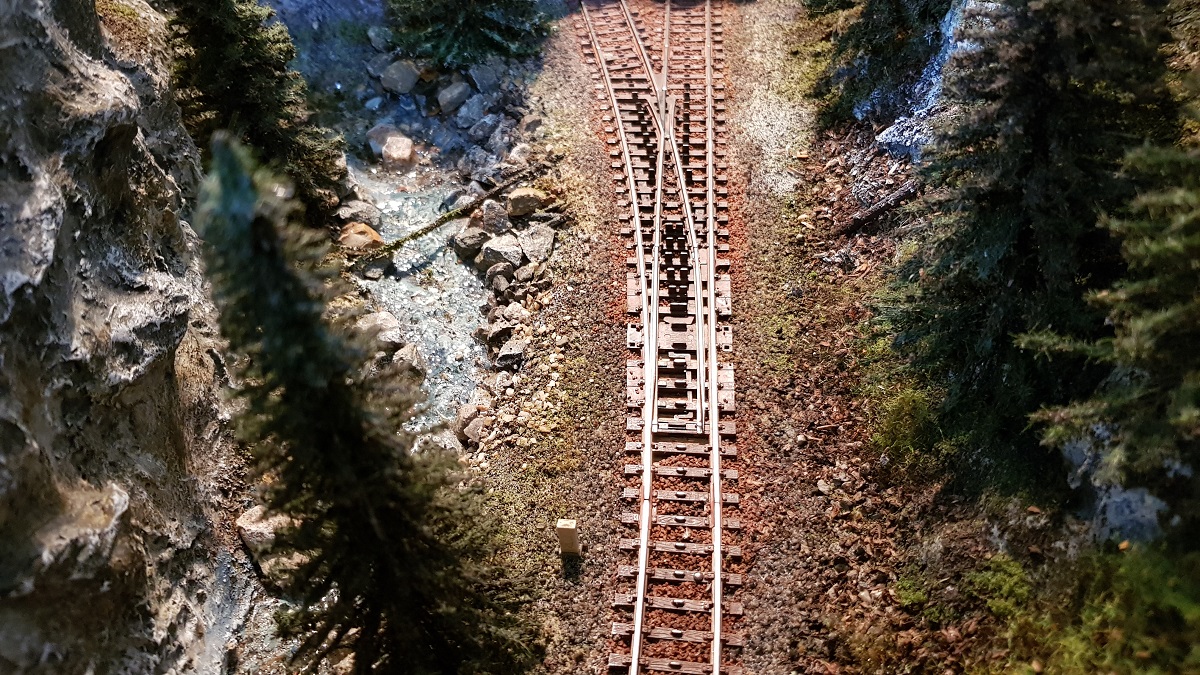
And the pine tree is back in place.
Cosy...
Then back to the front...

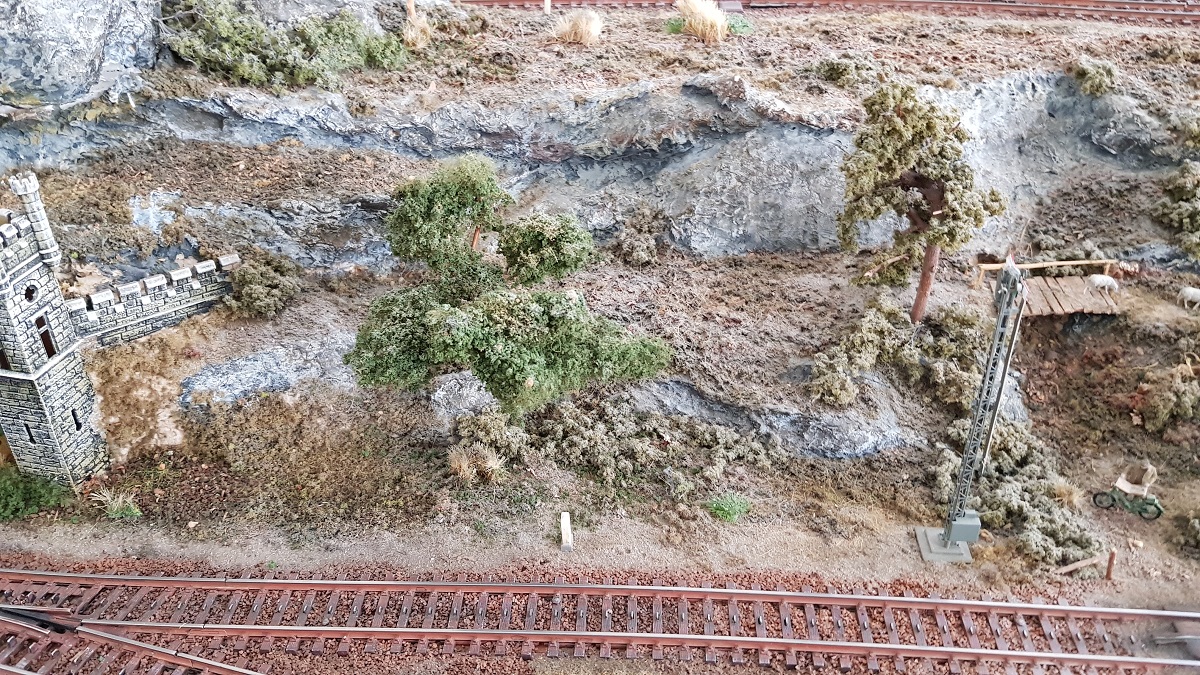
Here's the spot where once stood a lovely tree...
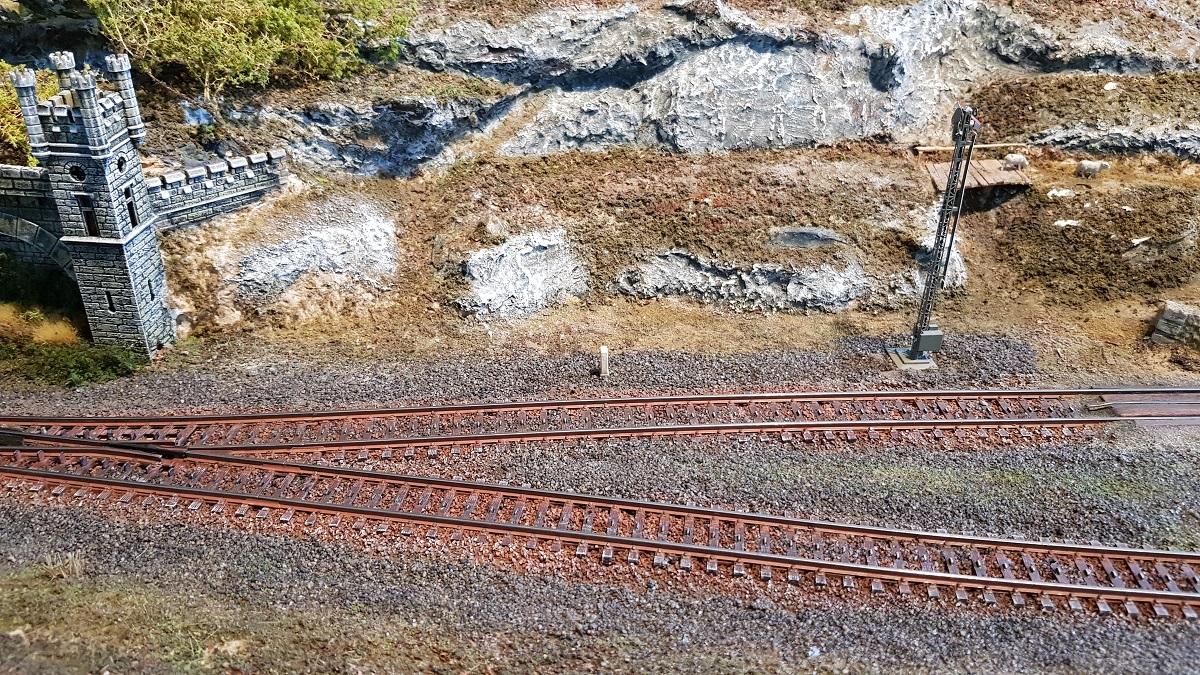
But it will come back, be it transformed!
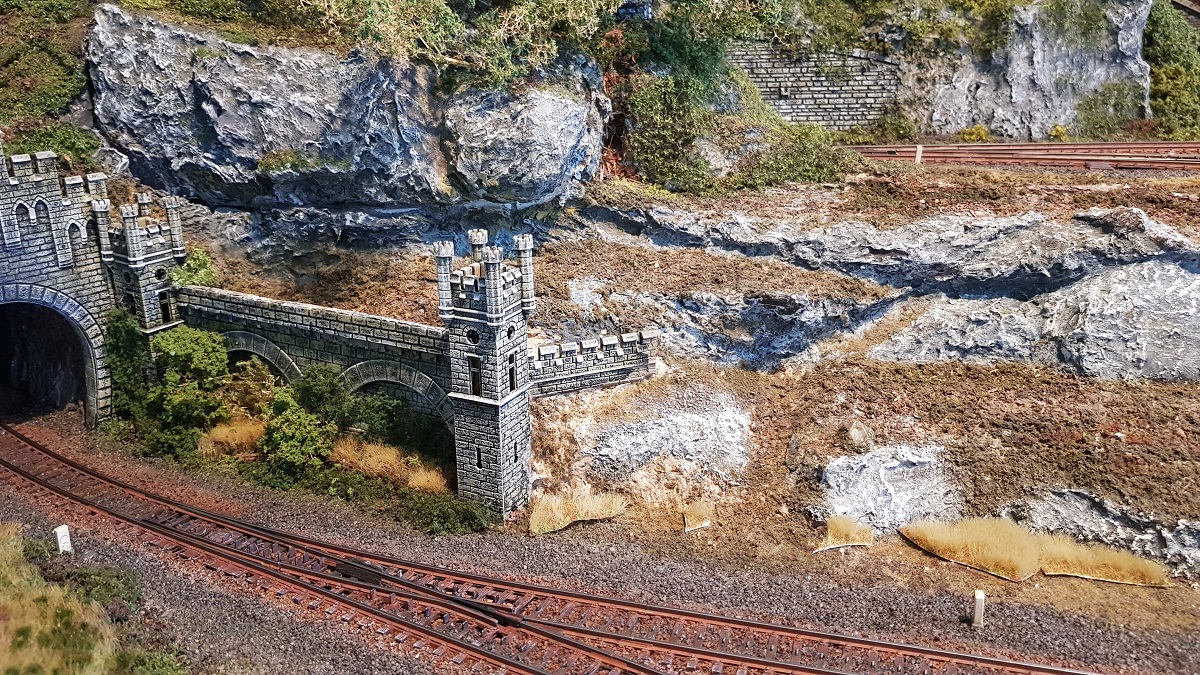
Finally, two 'rocks' were cut away. This will become a slope with trees...
Well, that's it for now!

Thanks for watching.
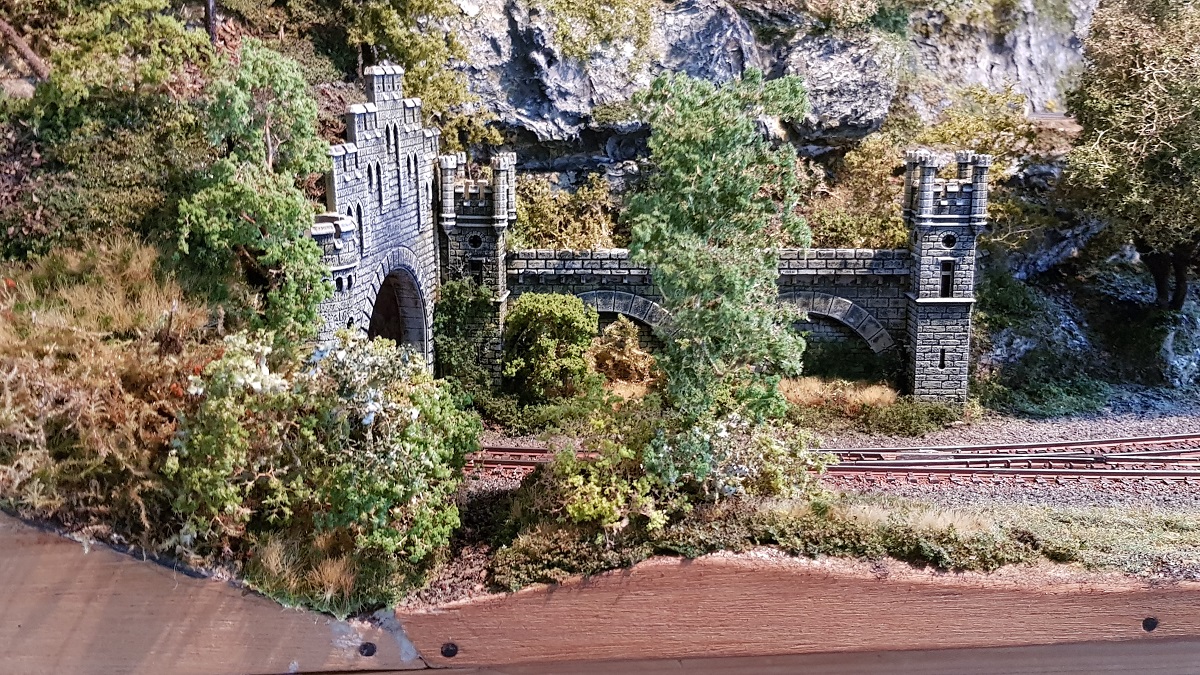
Chapter 28 ~ A t t h e L o r e l e i T u n n e l
(May 2020)
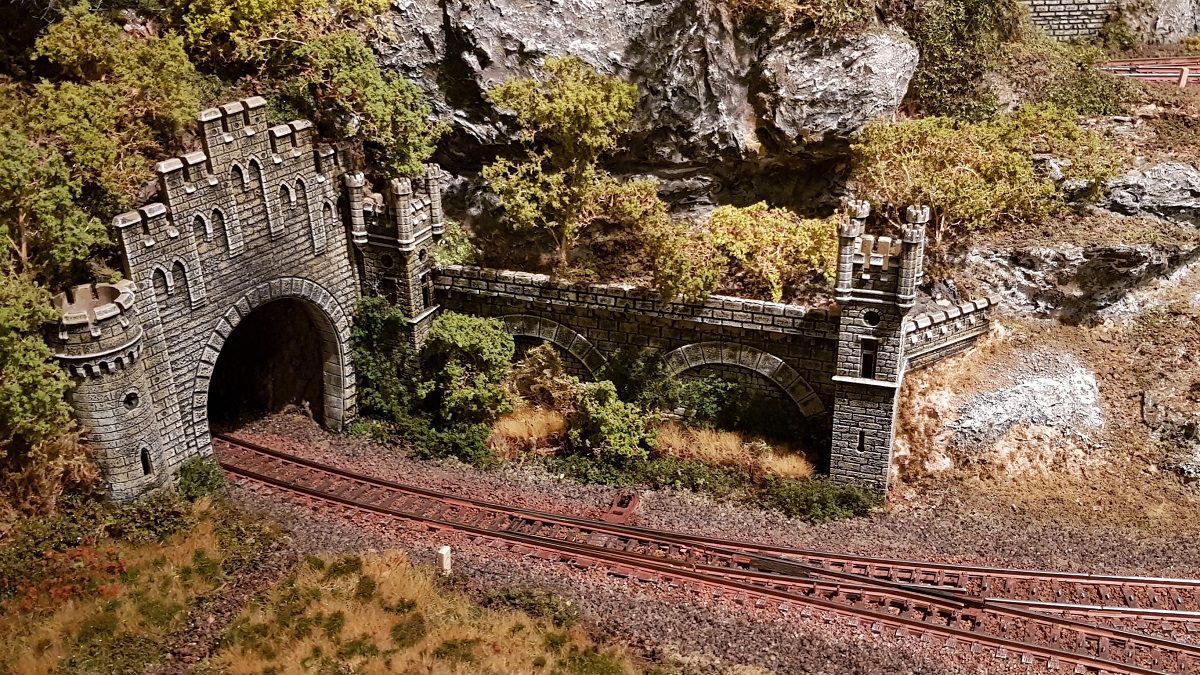
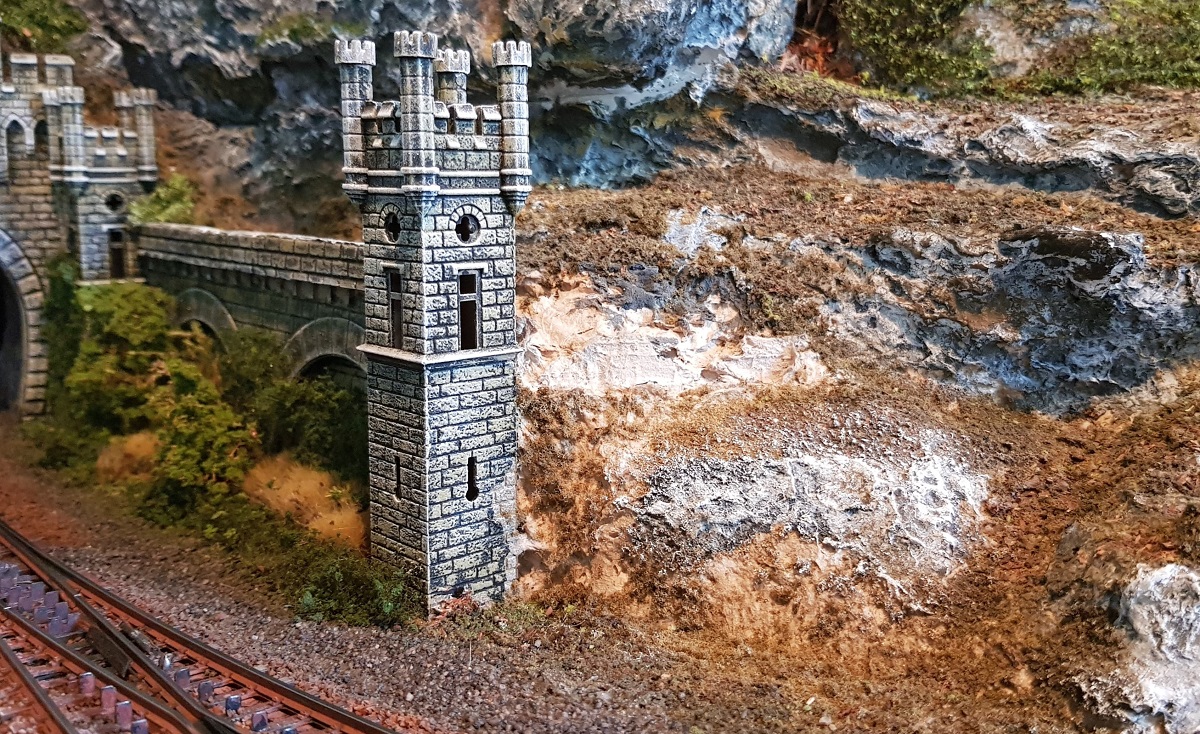
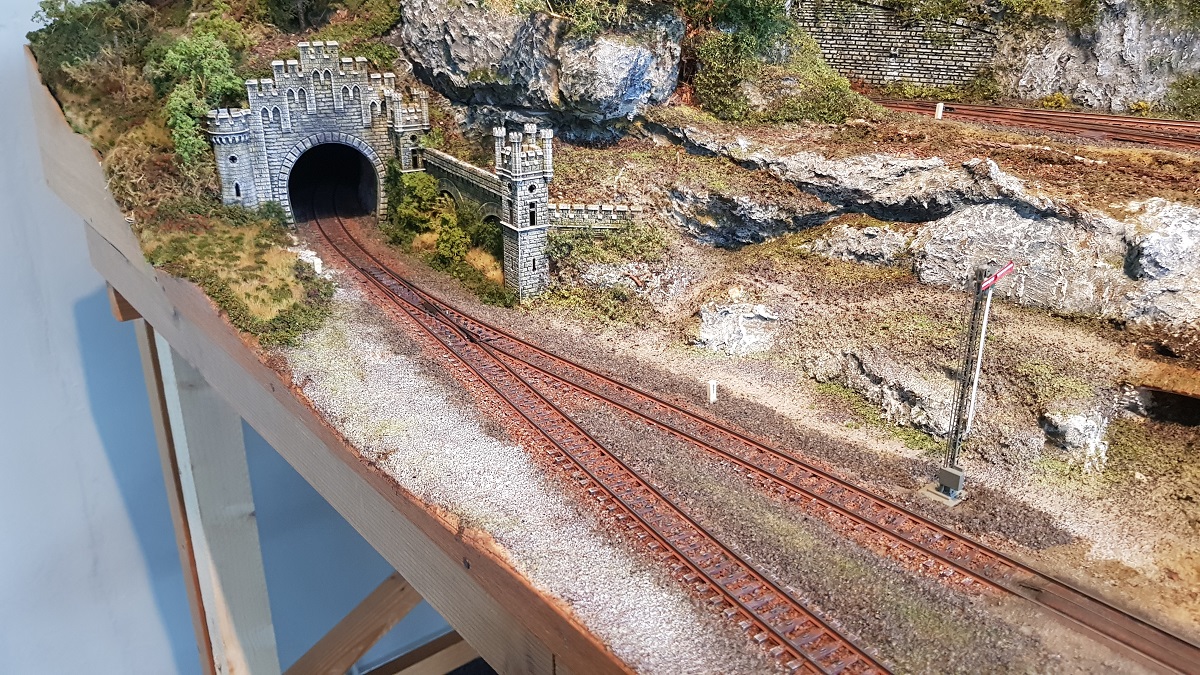
Now that the track is being thoroughly renovated, I think it is time to also tackle the nature reserve around the Lorelei tunnel entrance.
As you may have noticed, I made a circumferential movement from left to right during the renovation.
Starting from the city, it went to the hunting lodge and from there to the castle.
On the left was the deciduous forest, around the castle a beautiful pine forest.
In between, a new extension brought a new dimension to the layout at the rear side.
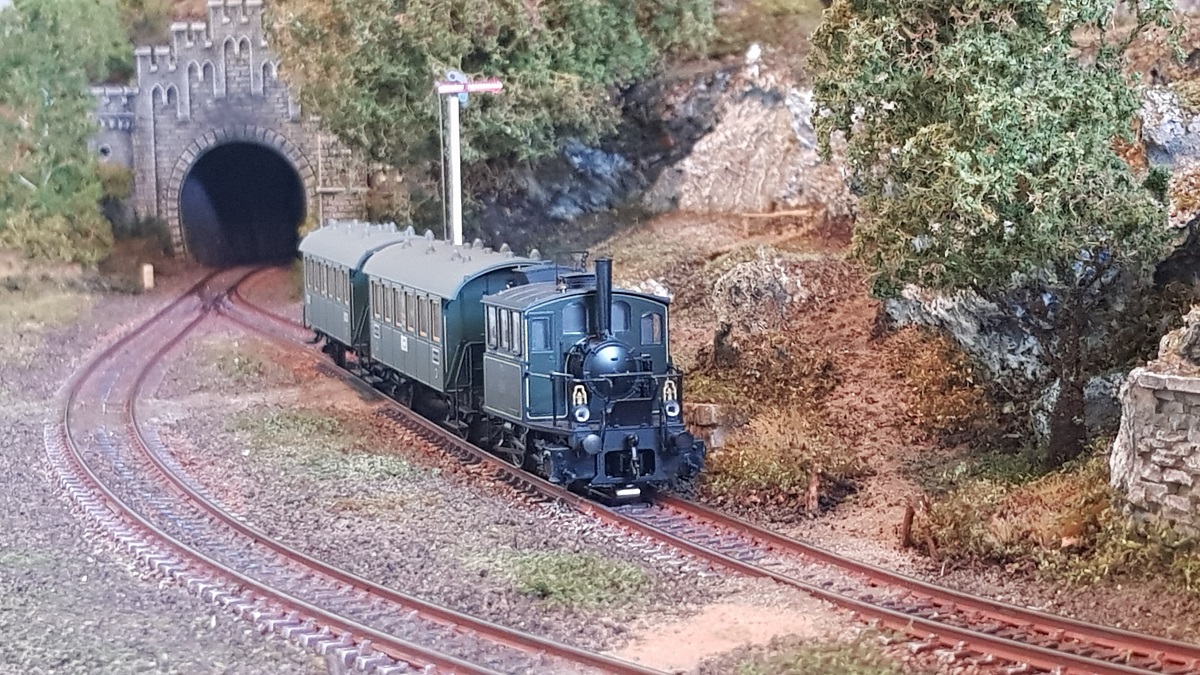
And finally, we're reaching the front. Let's visit...
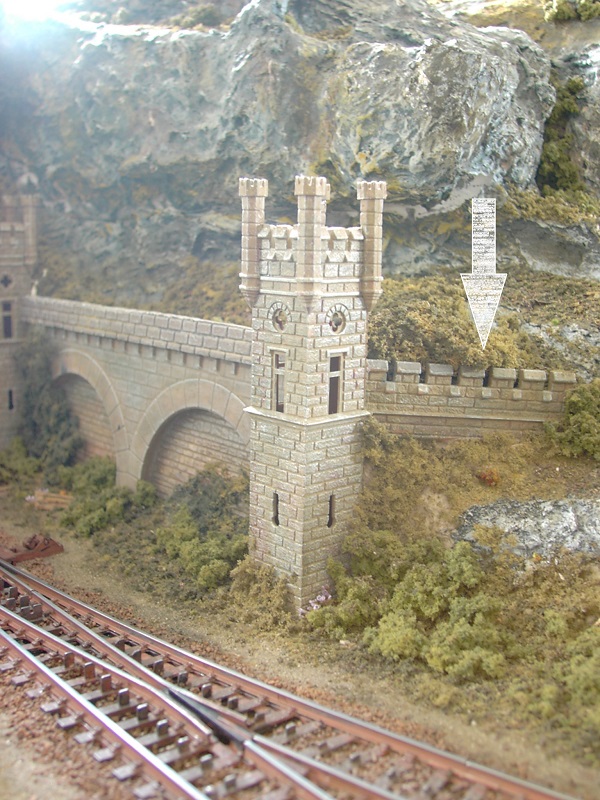
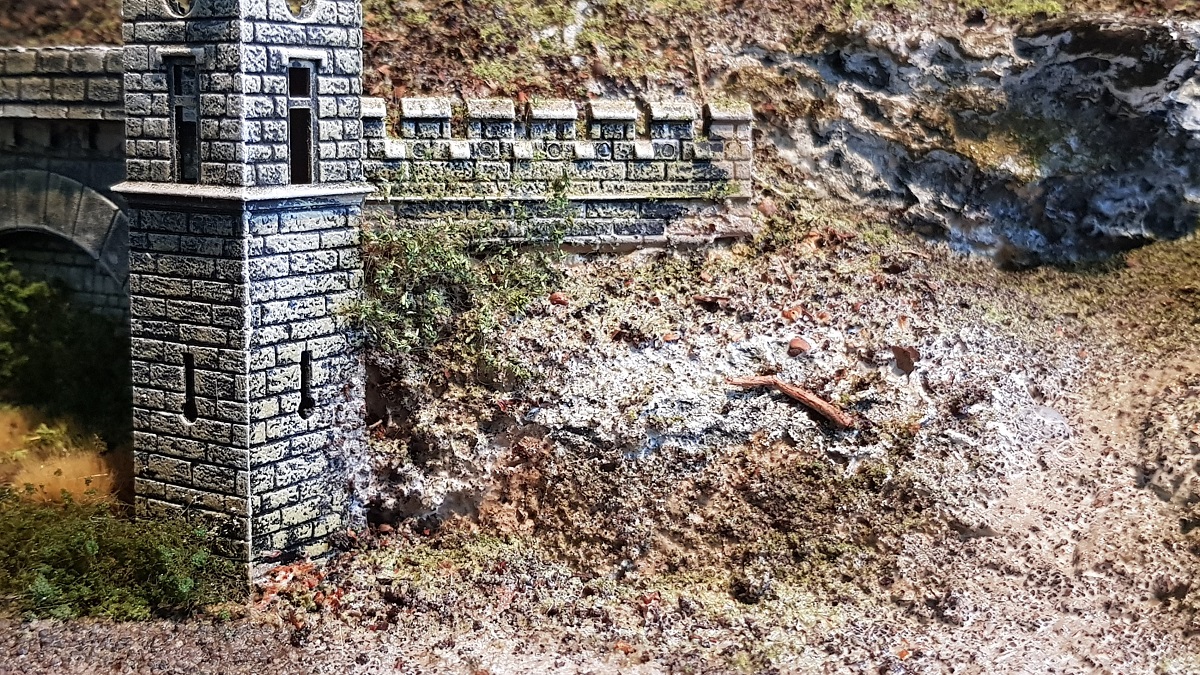
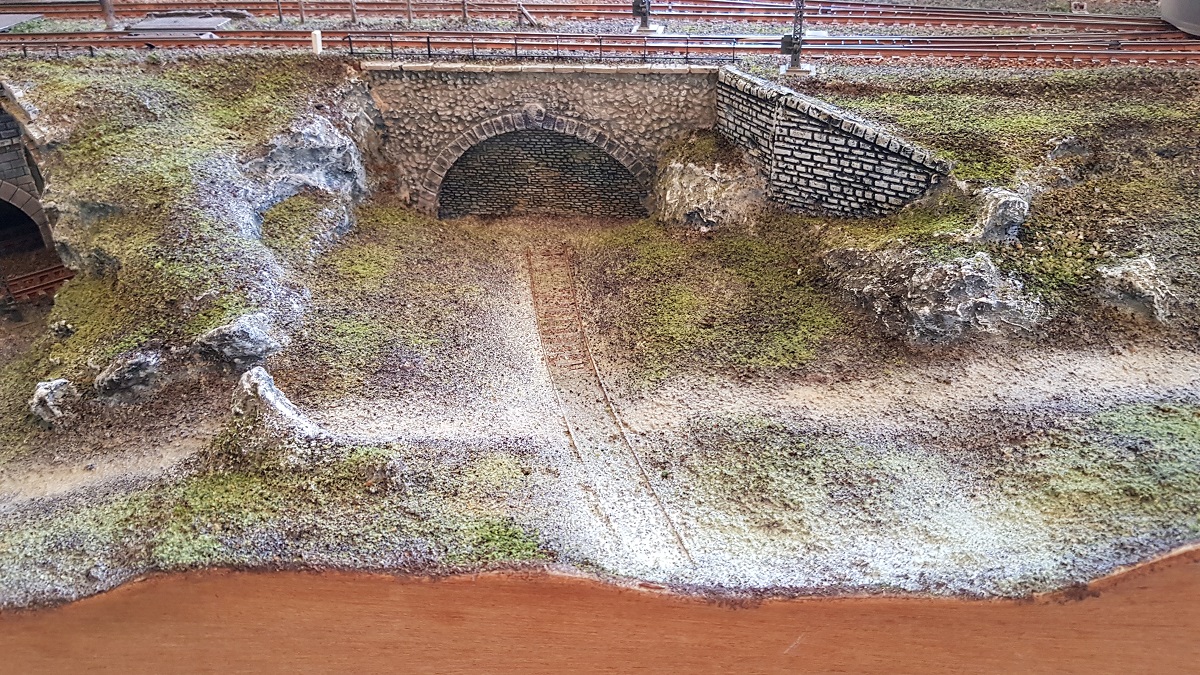
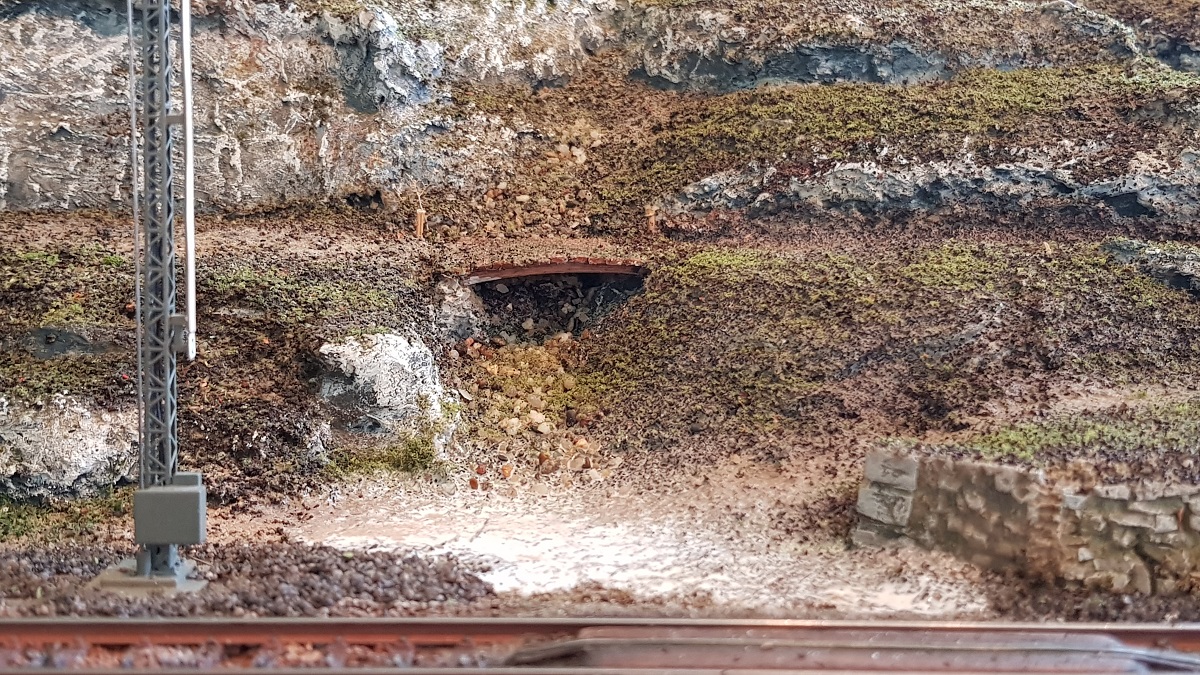
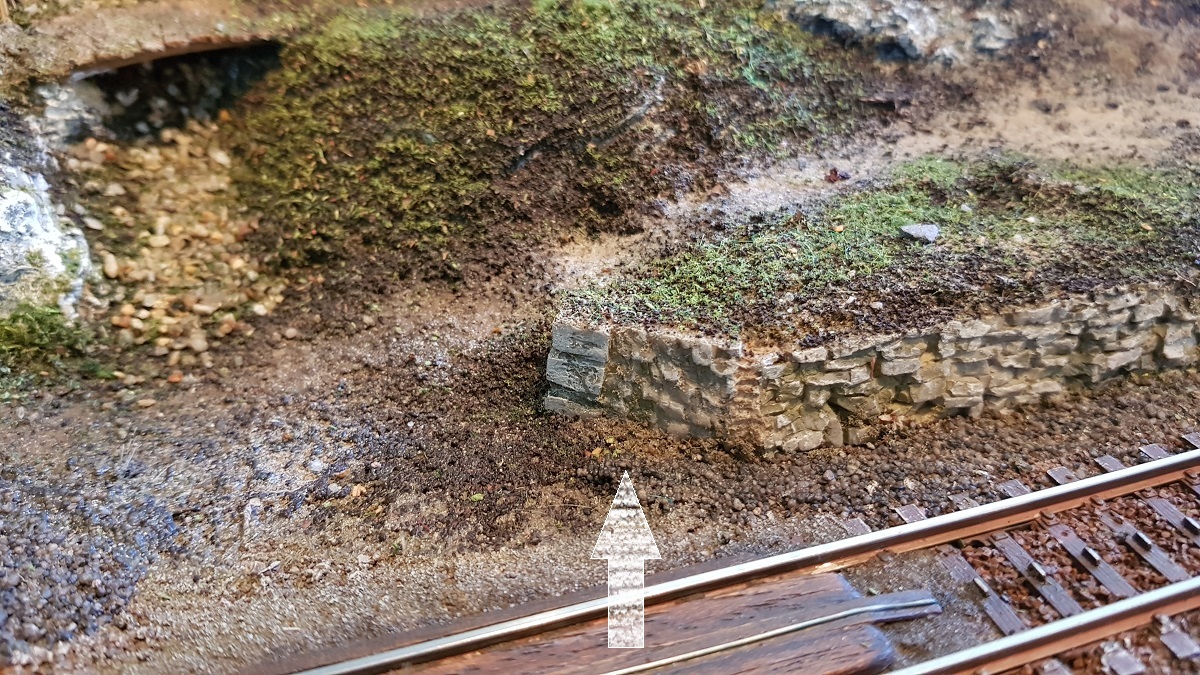
What bothered me for years was this small piece of wall at the right.
For some reason, it has slipped during mounting.
The nice thing about renovating is that every 'annoyance' is a signal for improvement.
Indeed, a bit - or better: a good bit! - philosophy is certainly involved.
So, I started the Lorelei Adventure some days ago with removing it.
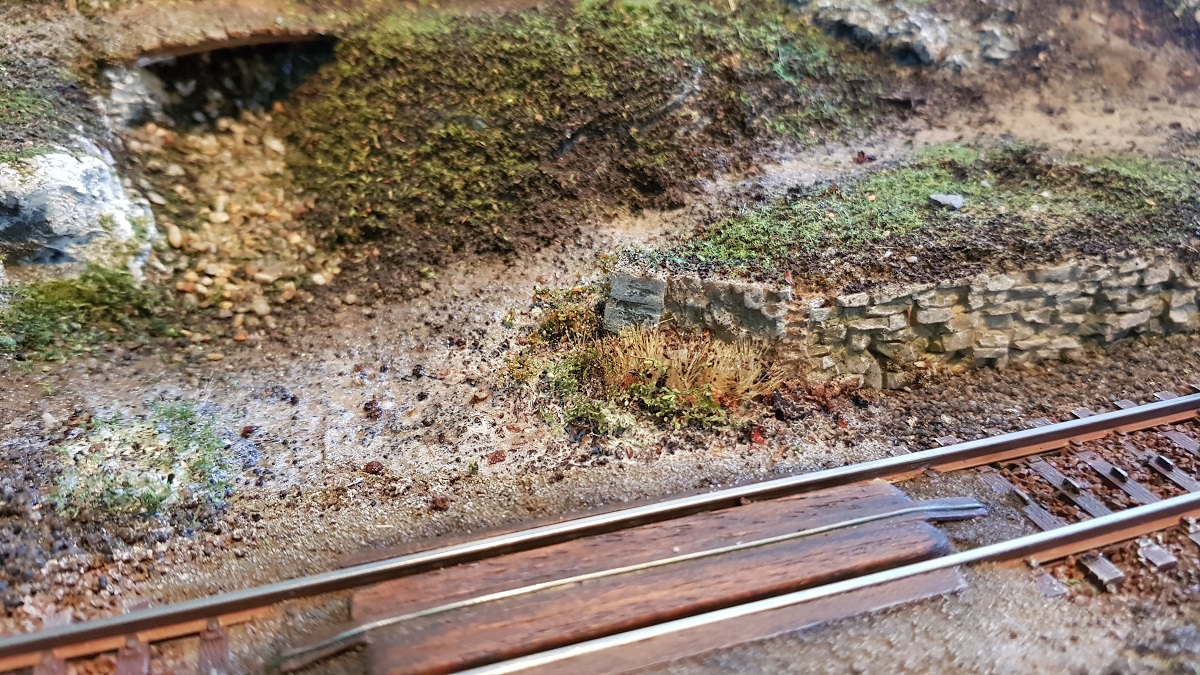
I intended to use some leftover grass (Busch 1305) at the bottom. But I left that out for a while...
After a spray of water, soap and alcohol, followed by a layer of white glue... and creativity can start again!

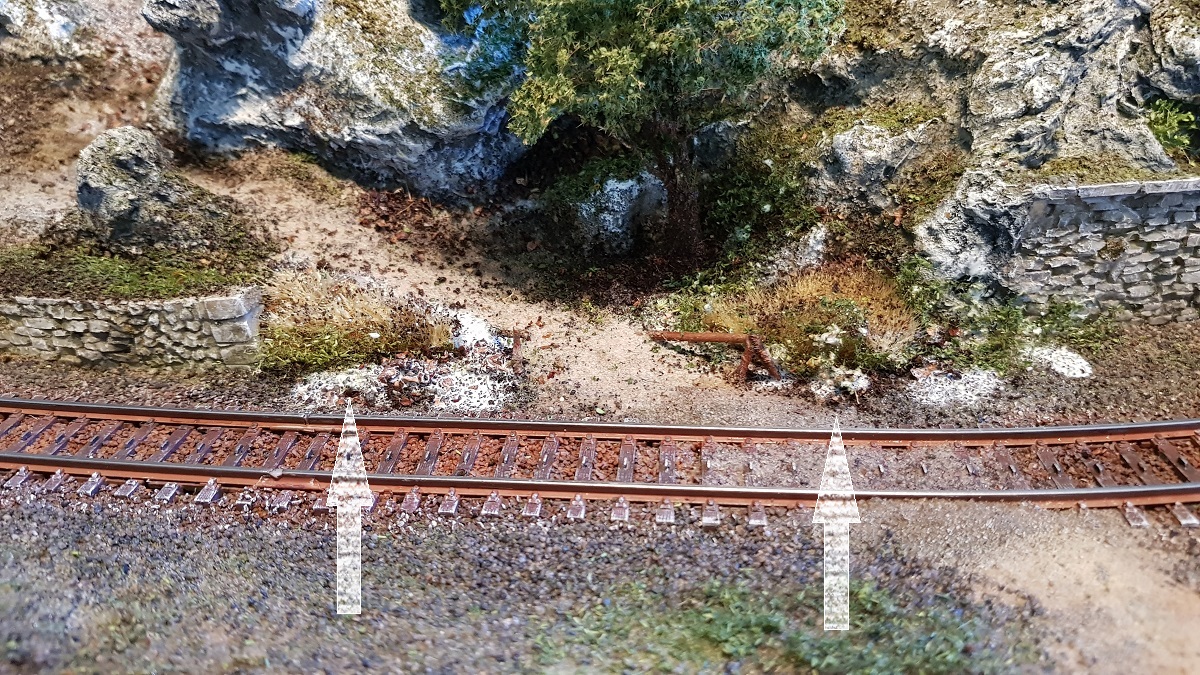
Some detailing work...
...like a small nail, needed to fixing the switch,

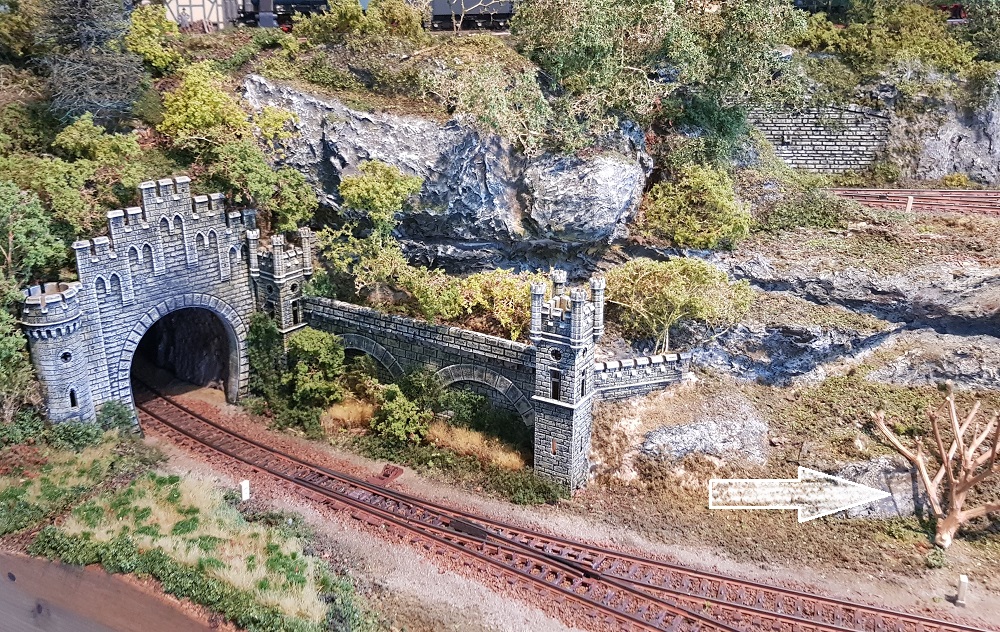
... or some hanging foliage adorning the rocks (see arrows).
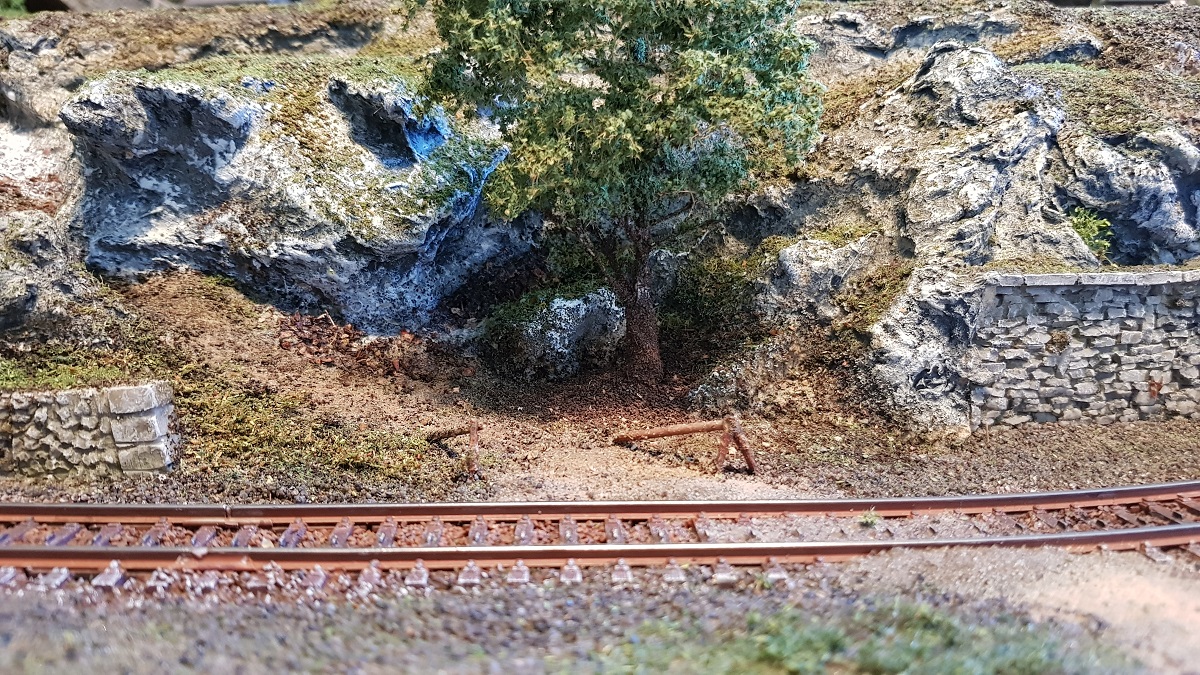
Now, what really makes this frontal site is the B i g T r e e.
As you will remember, in March 2019 it looked like this:
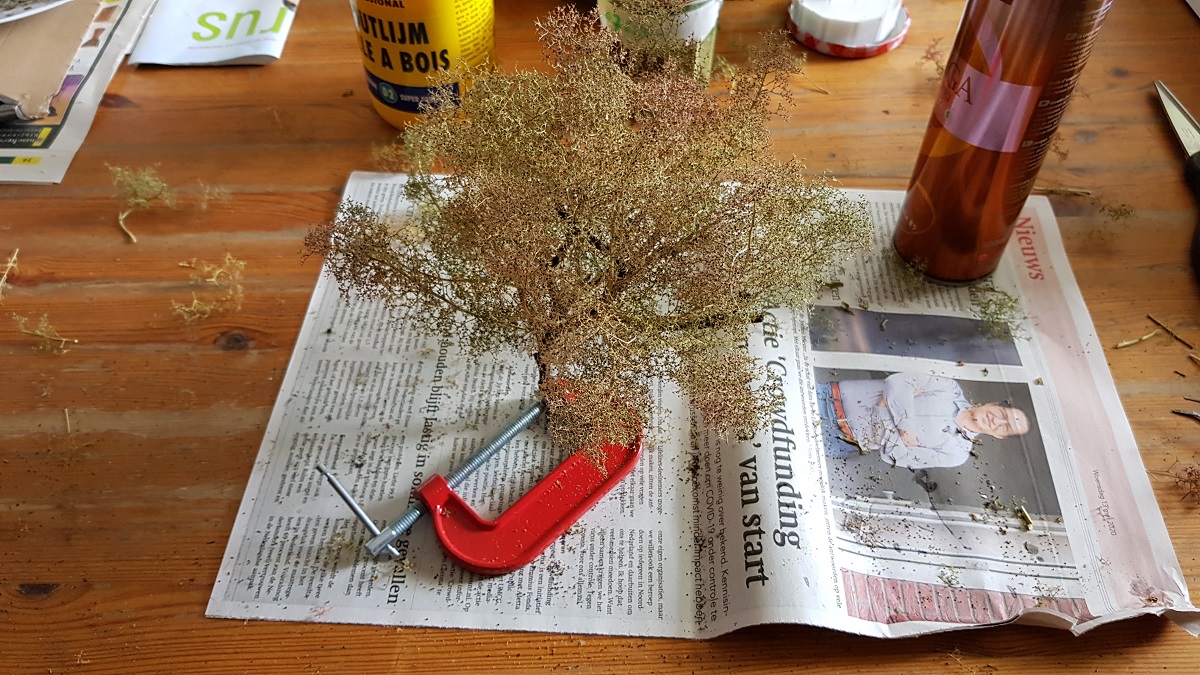
I stripped this tree trunk of its foliage...
... and made new branches with Seemos.
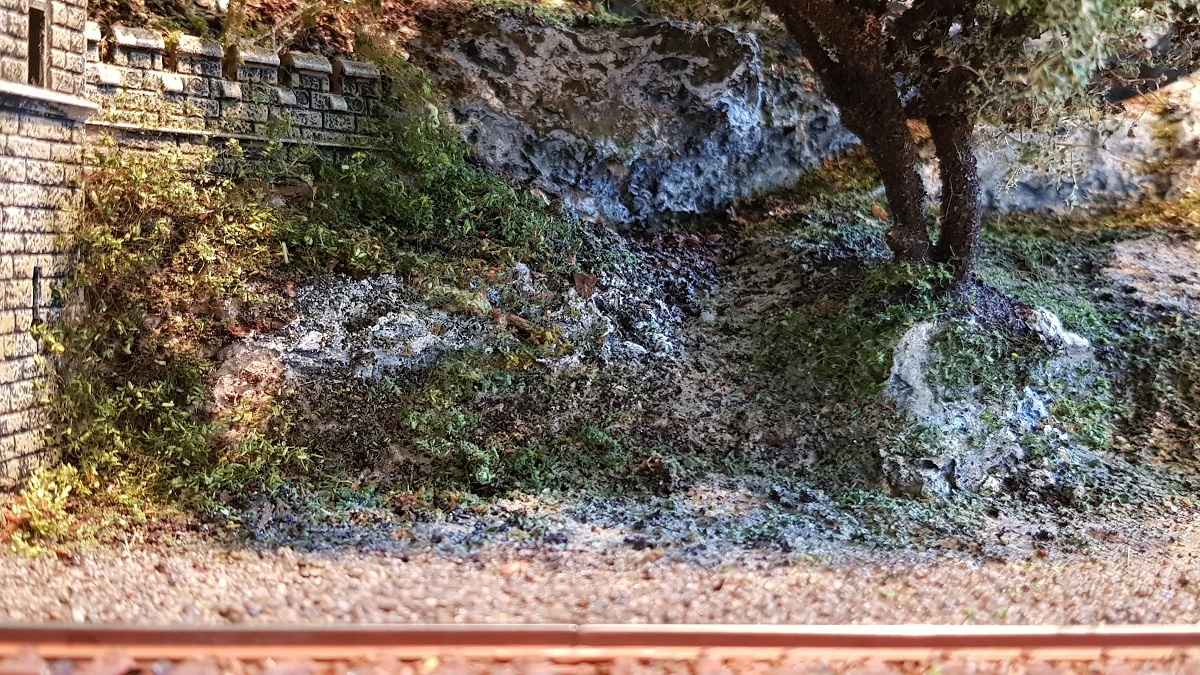
Under and around the tree there will be a ground covering of soil, leaf debris, weeds, vegetation and not to forget:
'wear spots' (white sand) where sheep and other animals pass by...
Good tools, sufficient material, your own skills and a lot of imagination - that's what it's all about.
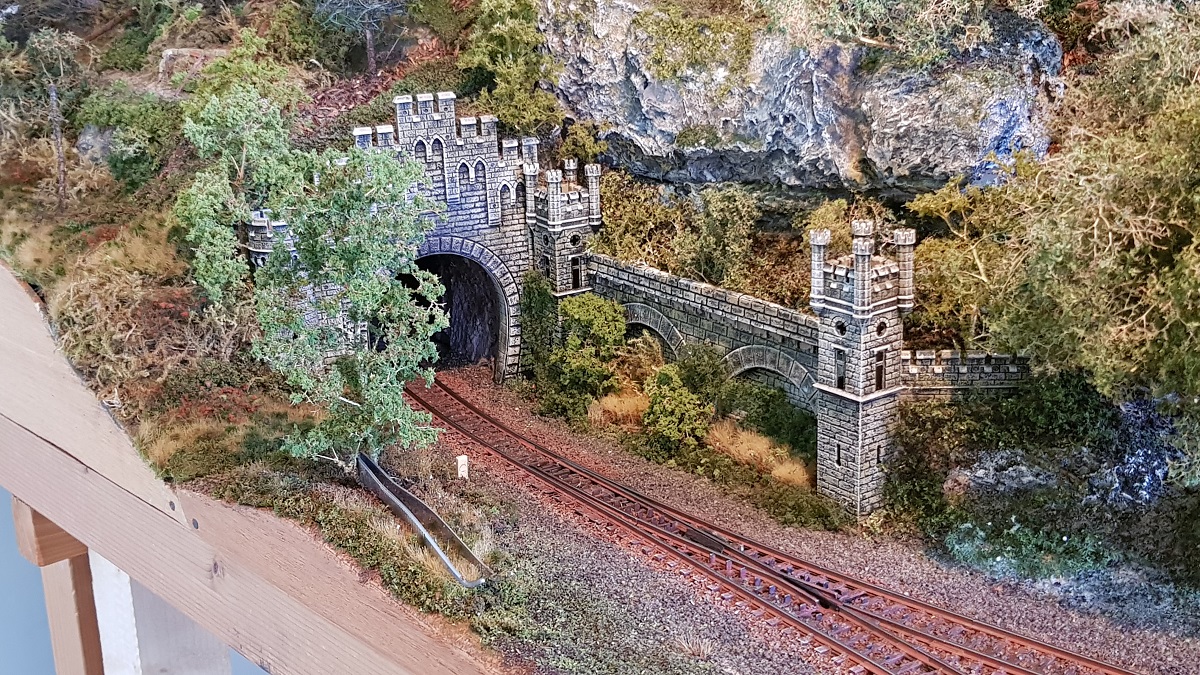
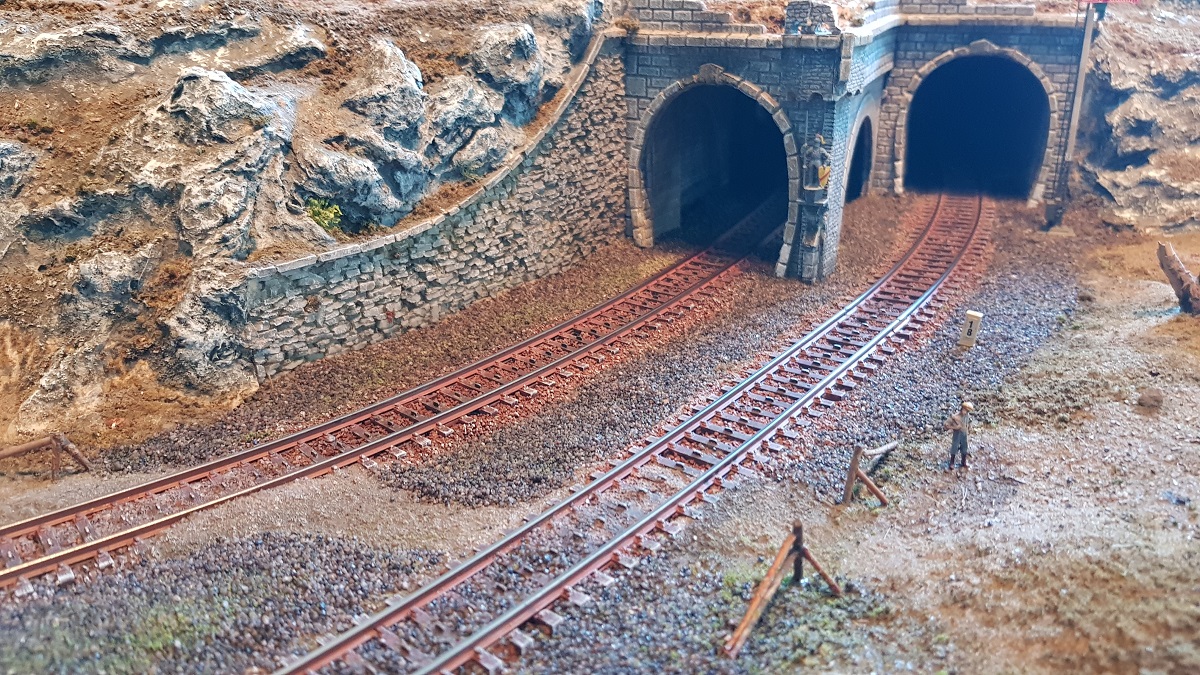
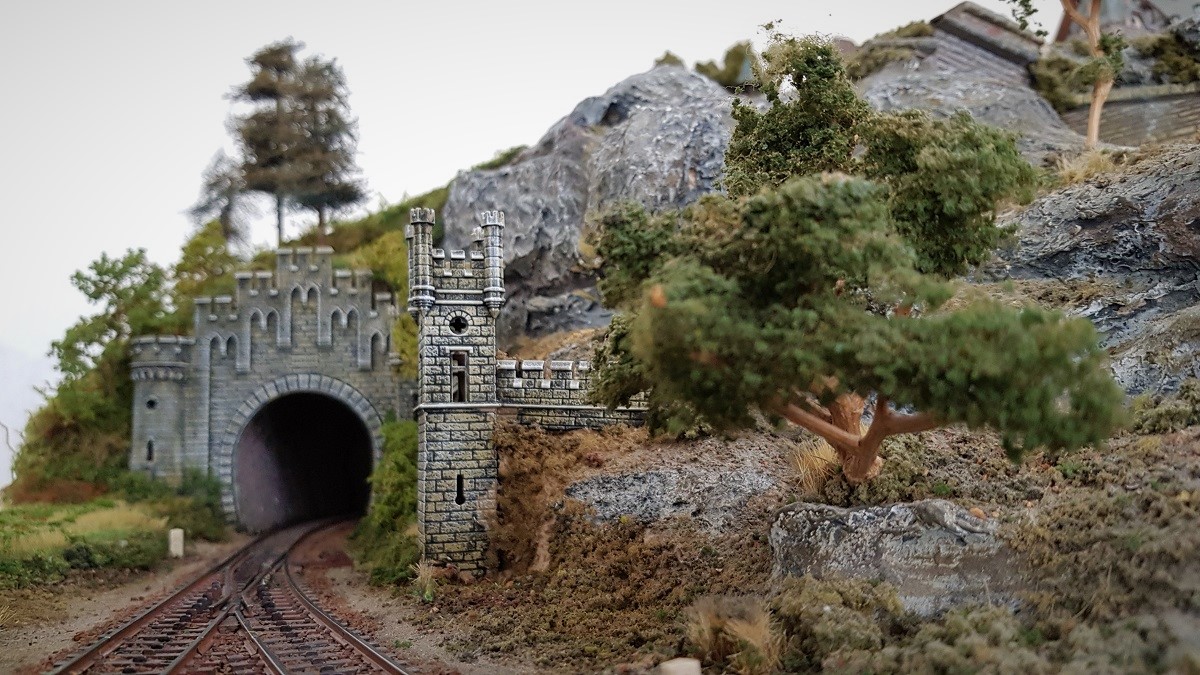
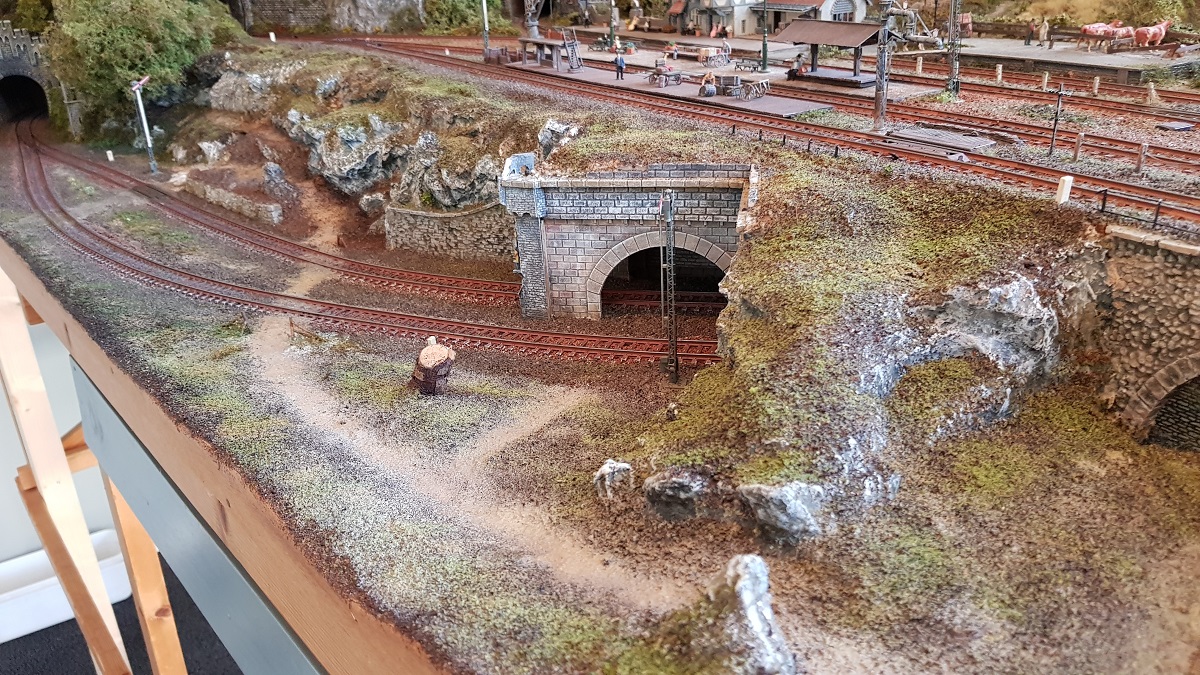
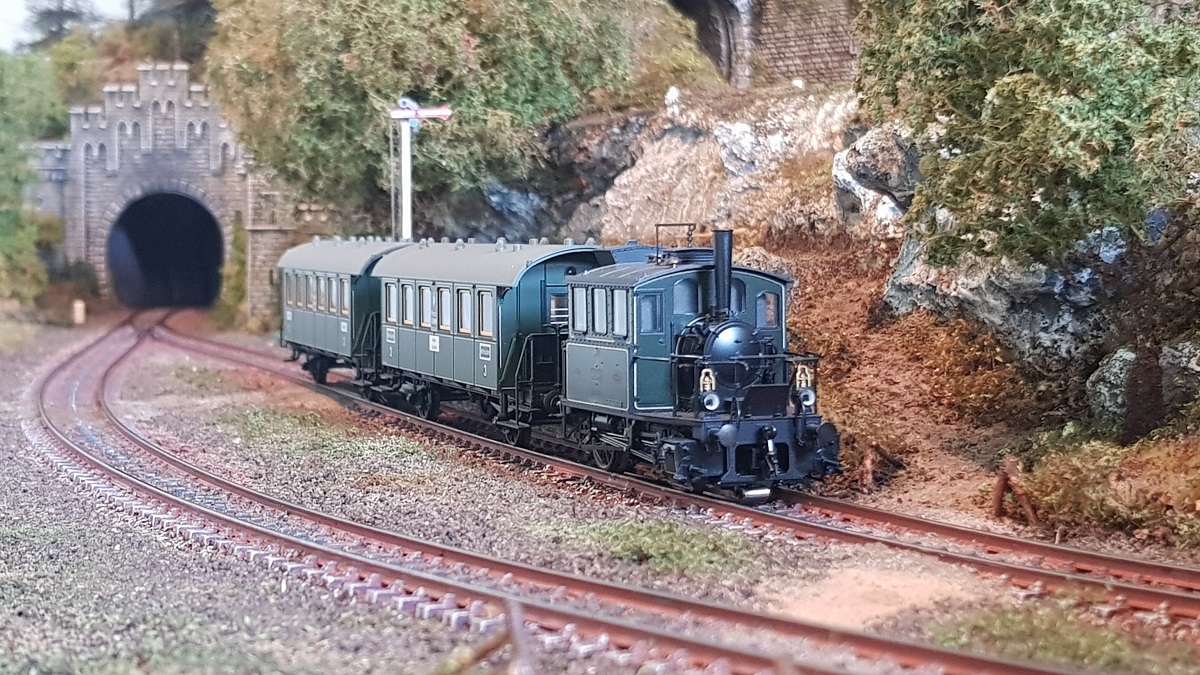
On the other side of the track I also wanted to add something of a brush, so that the tunnel blends more into nature.
I started with a solitary birch tree. But only after adding some small bushes around the trunk, I knew: this is it!
Again, it's not something that you plan in advance, but it's trial and error, yet, try again and you'll succeed.
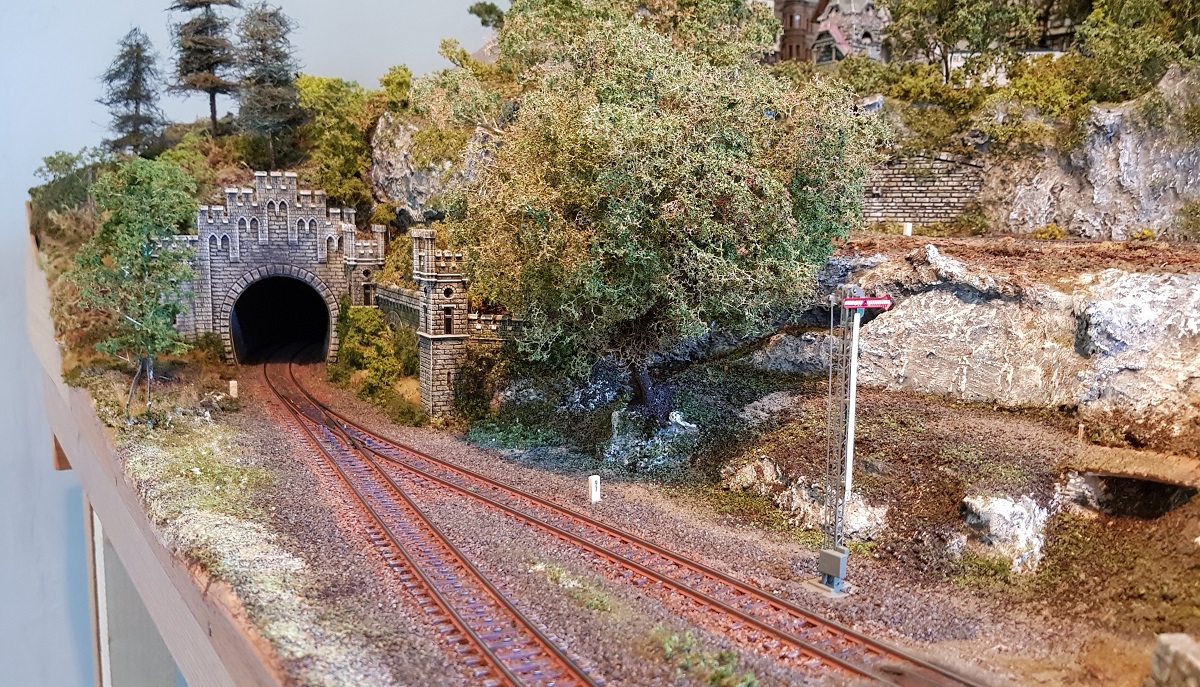
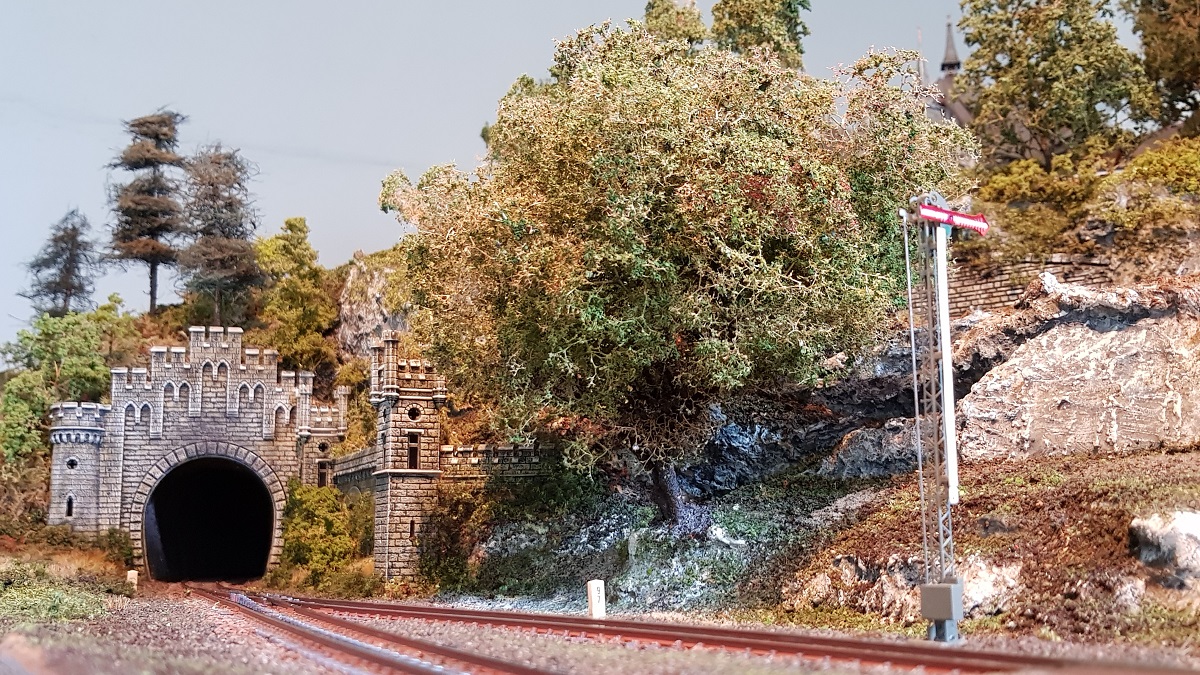
So far, the Lorelei Tunnel.
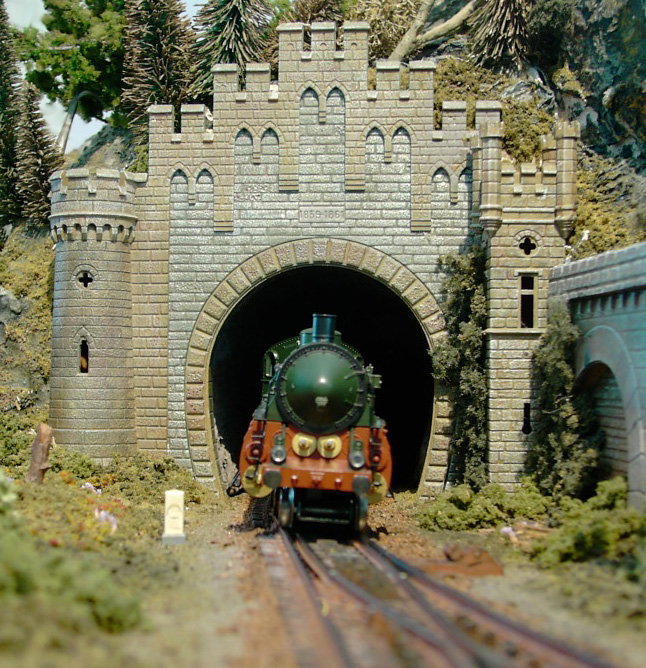
Considering how it all started... (14.6.2002)
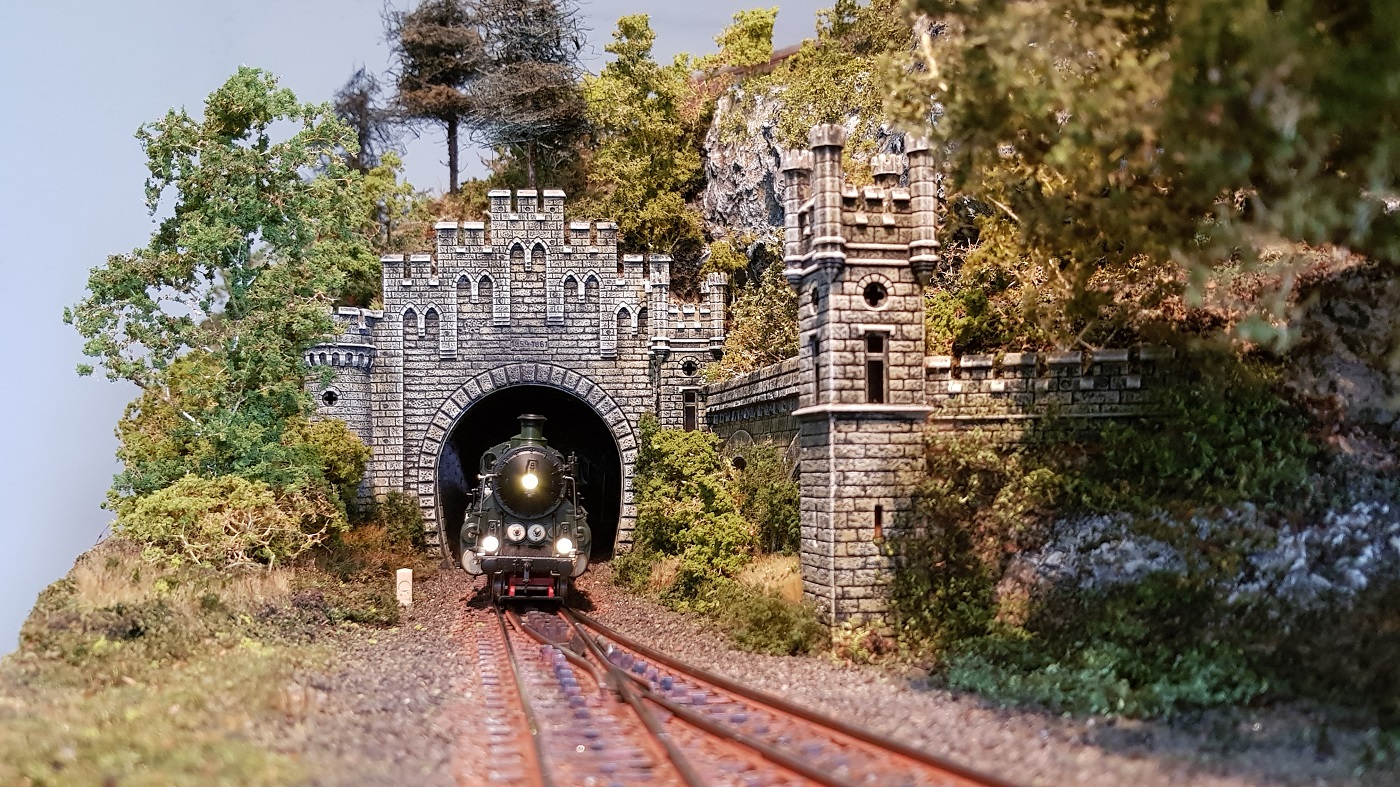
... and now is! (22.5.2020)
Chapter 29 ~ A p p r o a c h i n g t h e F i n a l e
(May/June 2020)
The last section in need of thorough renovation is located in the front, moreover the section between the ground and first floors.
Starting May 29th...
A first layer of dirt and green...

This section, still in its stripped state, needs special attention, since it's in the front.
I can't do too much here, since I'm still waiting for supplies from my dealer (trees, Seemos, shrubs etc.), that are subject to a delay due to Covid-19
In this little corner I want to have pure cosiness...
The next day, May 30th, I got the idea to place a nice tree in this cavity, where the track bends
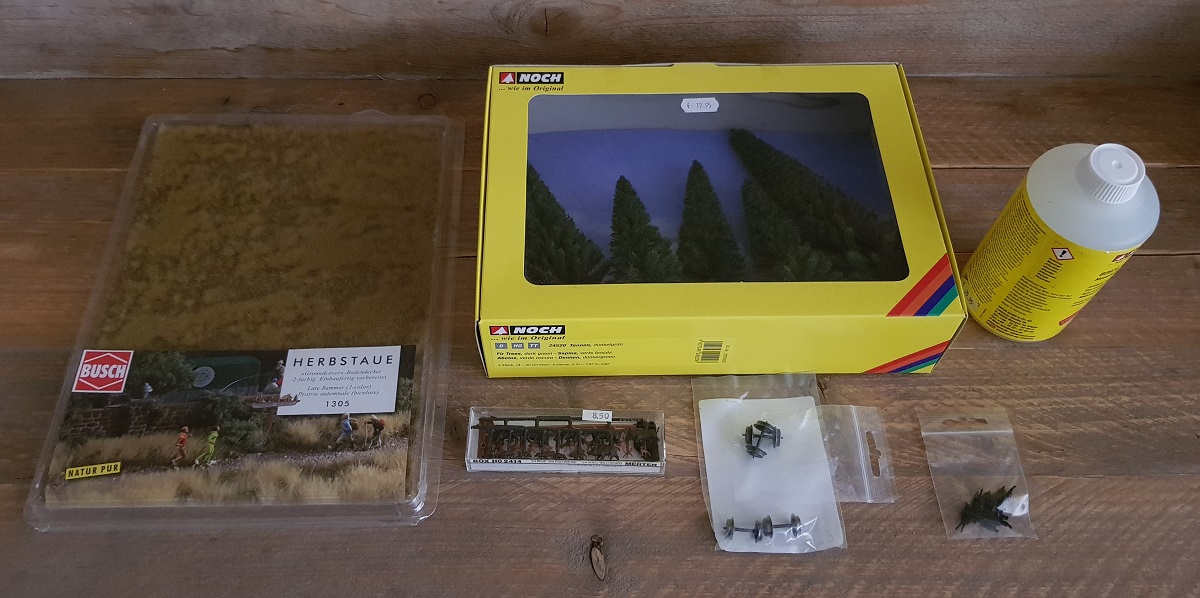
The small left-over-pieces of Herbstaue (Busch 1305) were pretty convenient to fix on these three spots.
Finally, some rewarding results, at the beginning of June...
1.6.2020
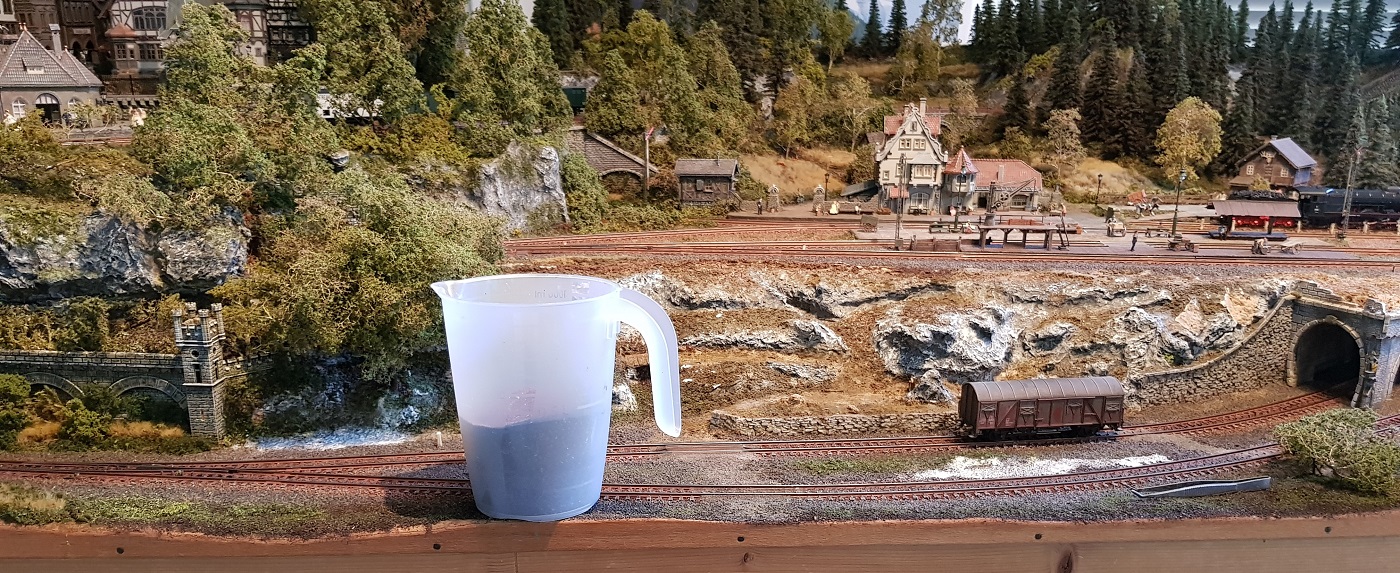
Three days later, I painted most of the frontal landscape with dry white (sand colour), which gave a better result than only using grains of sand.
I was rather surprised by the effect!
4.6.2020
Chapter 30 ~ I n t o t h e W i l d
(May/June 2020)
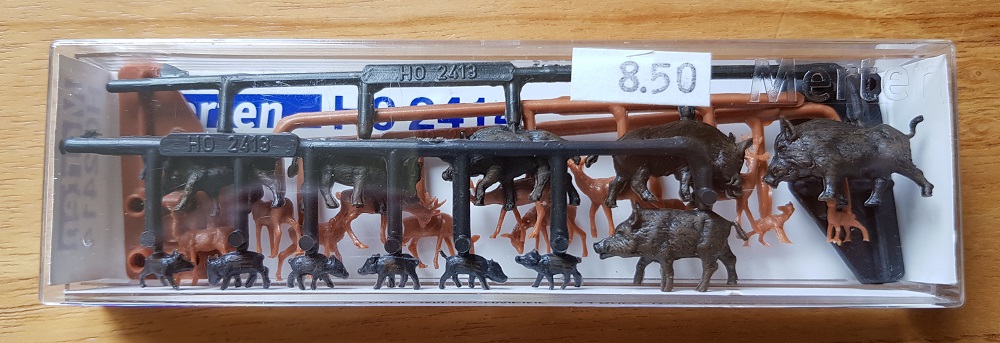
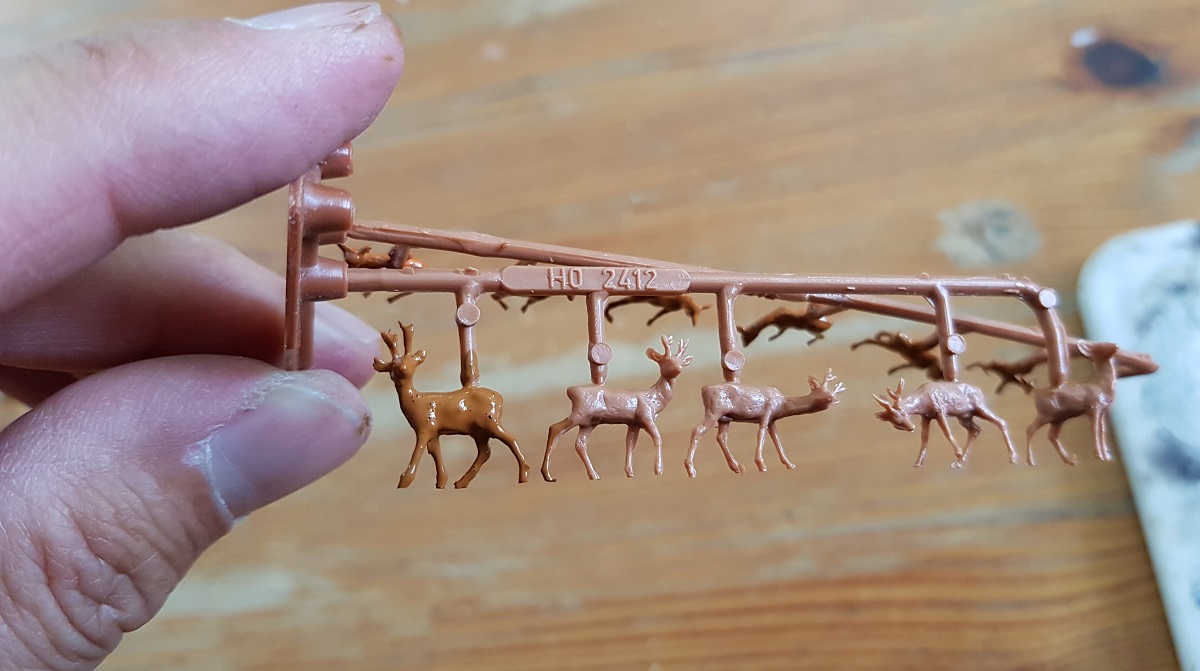
On Saturday June 6th, my friend brought me some stuff I ordered, among which was a set with boars and roebock (Merten 2414)
Today, I took some time in the afternoon and evening to paint the boar and roebucks, but not after I had thoroughly studied some pictures of both animals.
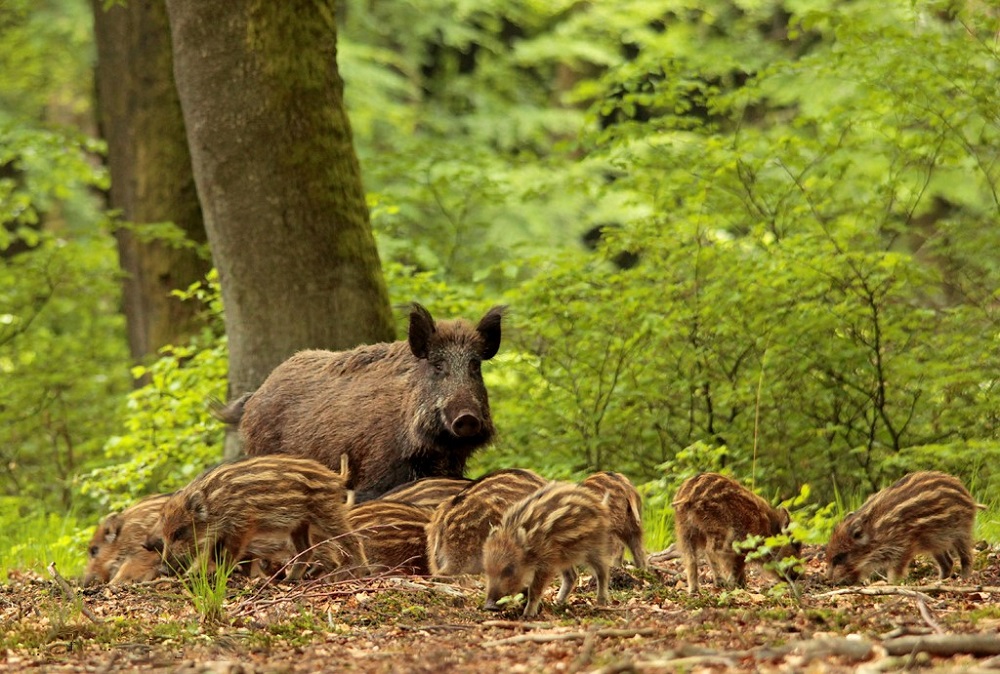
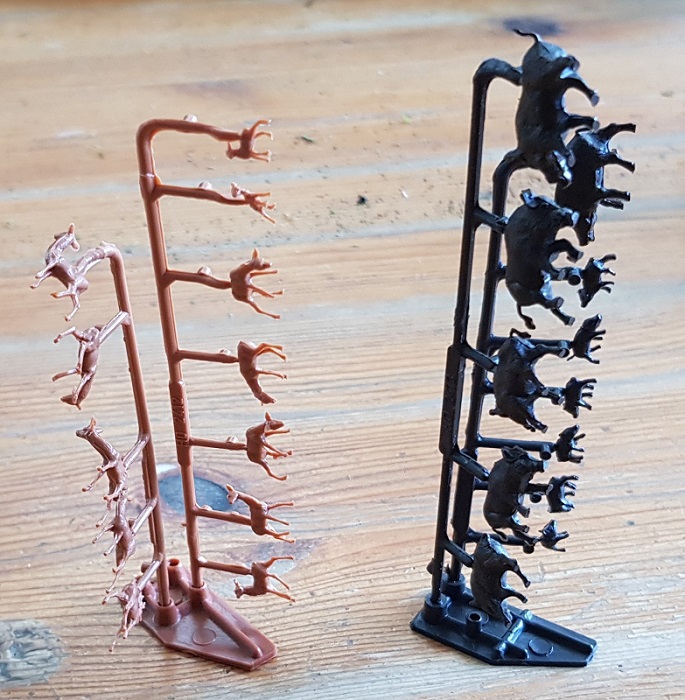
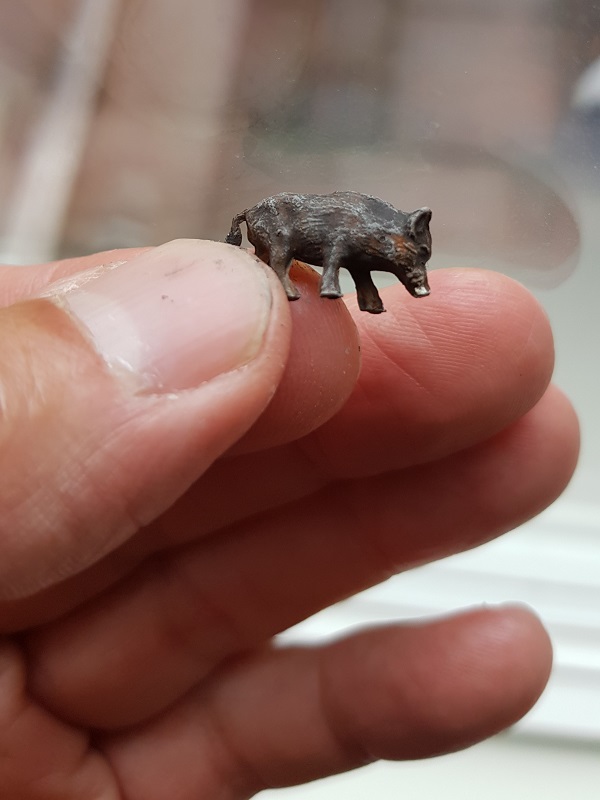
Wild boars are characterized by their tusks. A layer of lasur and dry white will follow...
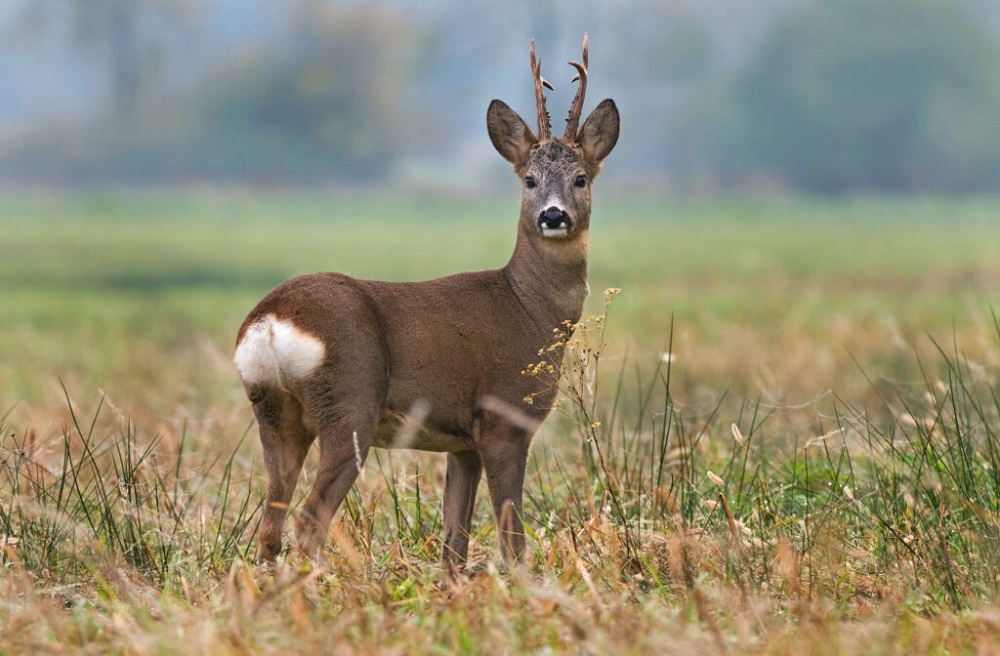
Then there is the roe deer or roe buck.
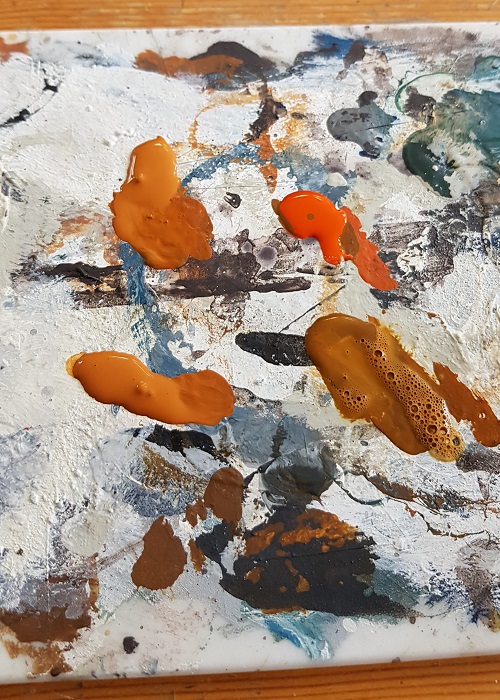
The roebuck turned an orange-brown colour in which I mixed amaranth red.

The left one clearly shows the rump patch. It's a female, since antlers are missing.
Rump patches differ between the sexes, with the white rump patches heart-shaped on females and kidney-shaped on males.
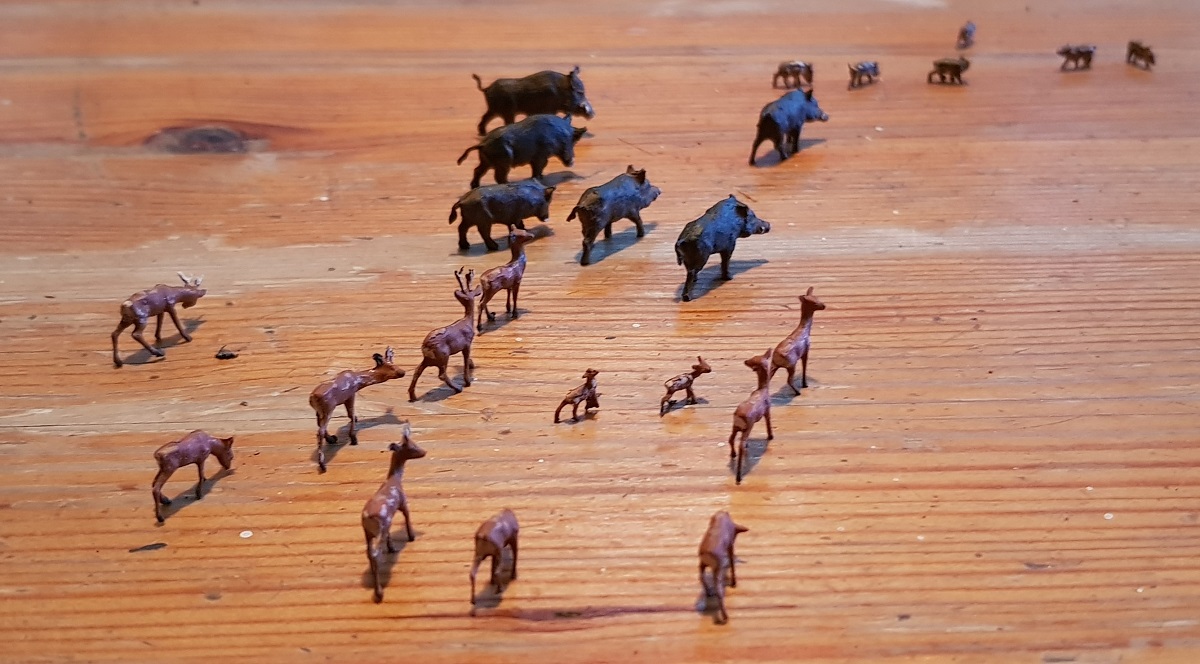
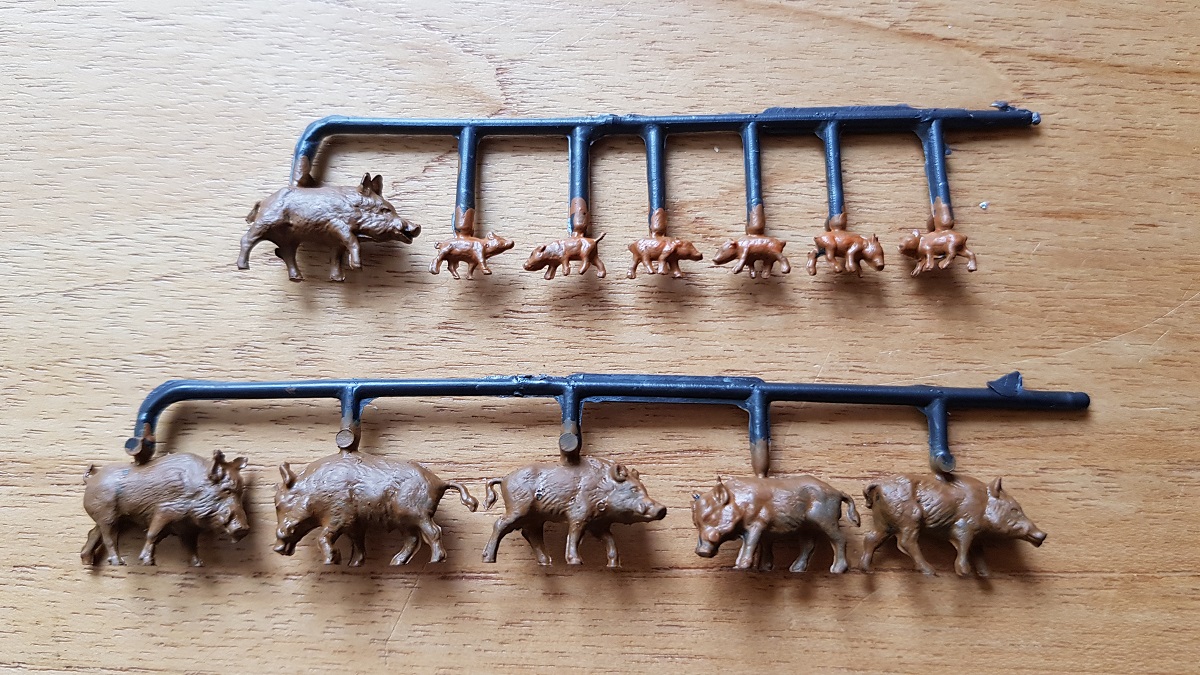
Here they go, great and small...
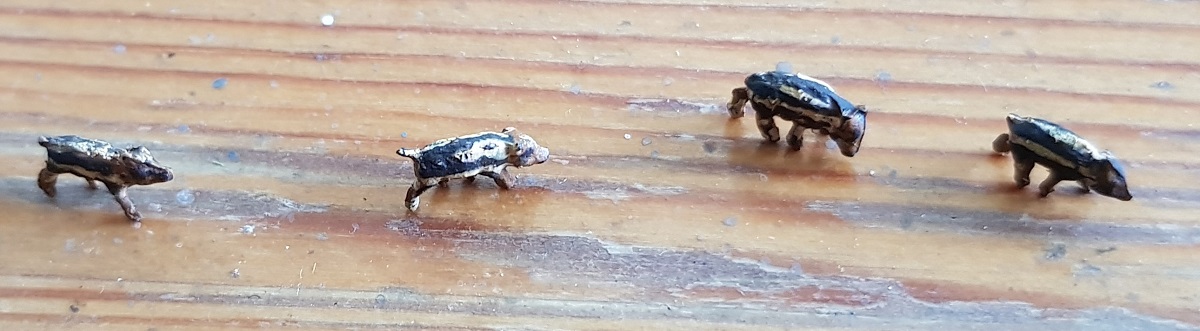
The next morning (June 11th), I repainted the piglets with real yellow and brown stripes.
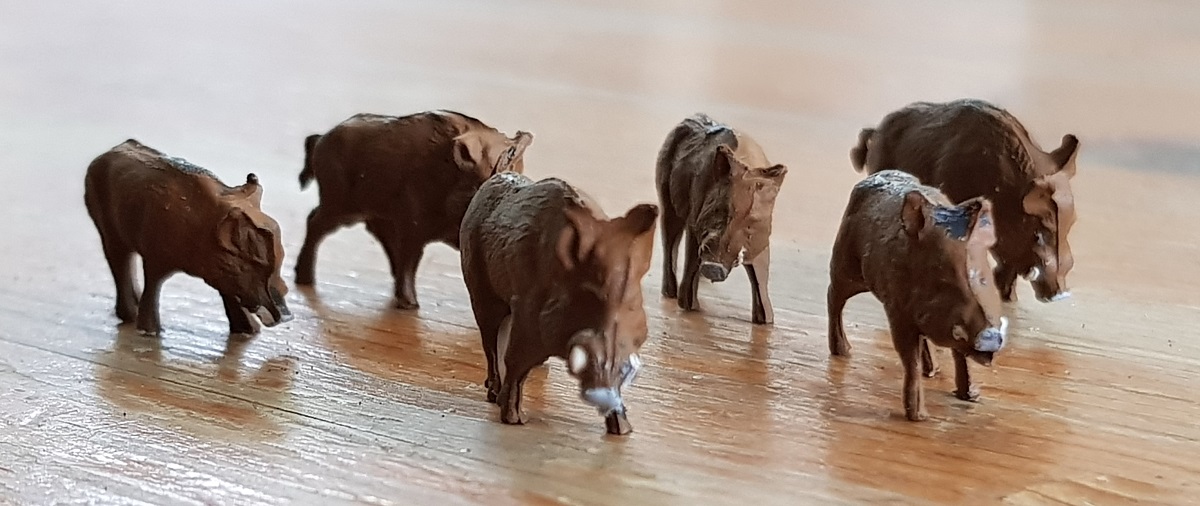
The six boars got there "grey snout" (a spot reaching from above their eyes to their snout) and a light topping of dry white on their fur
So many colours on such a 'small' animal.
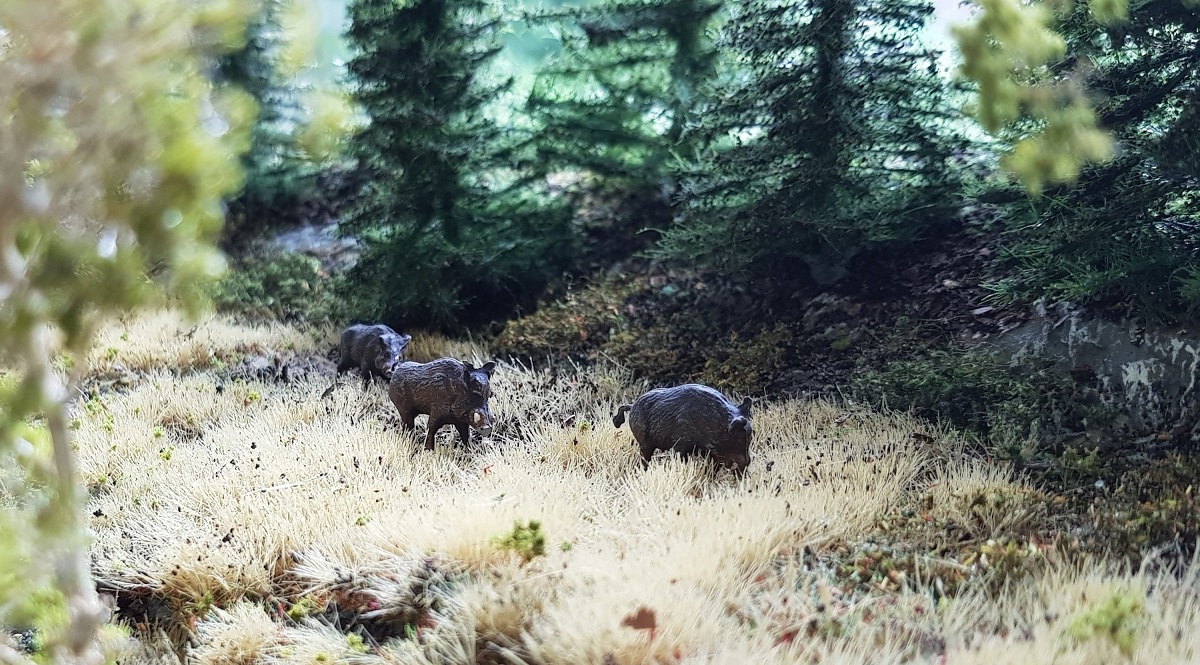
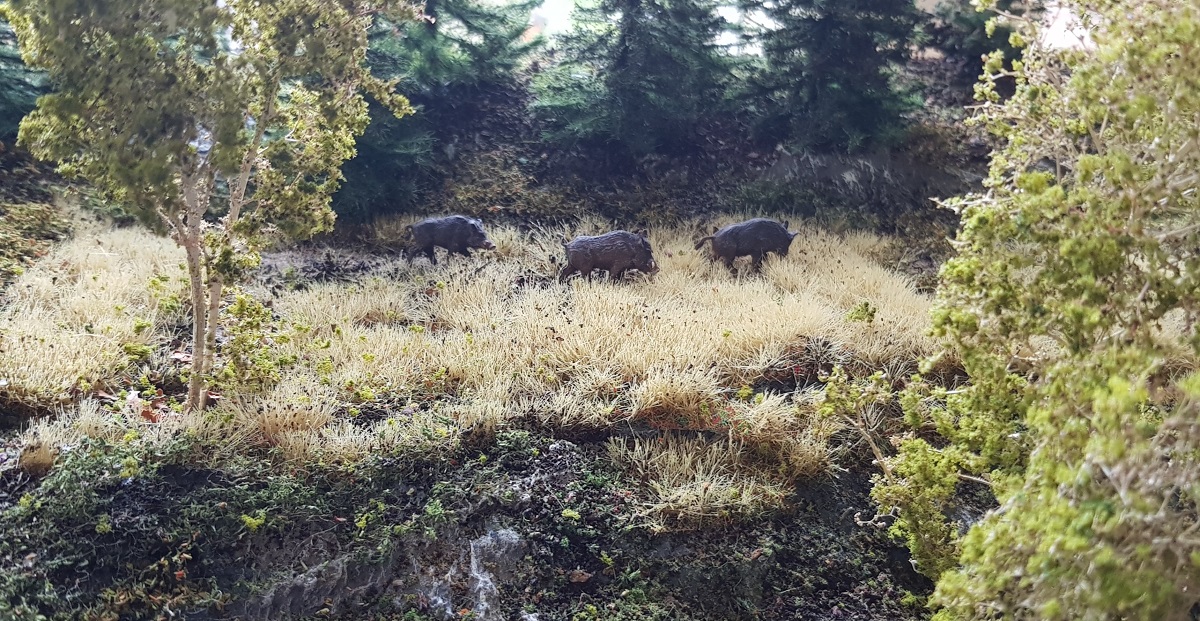
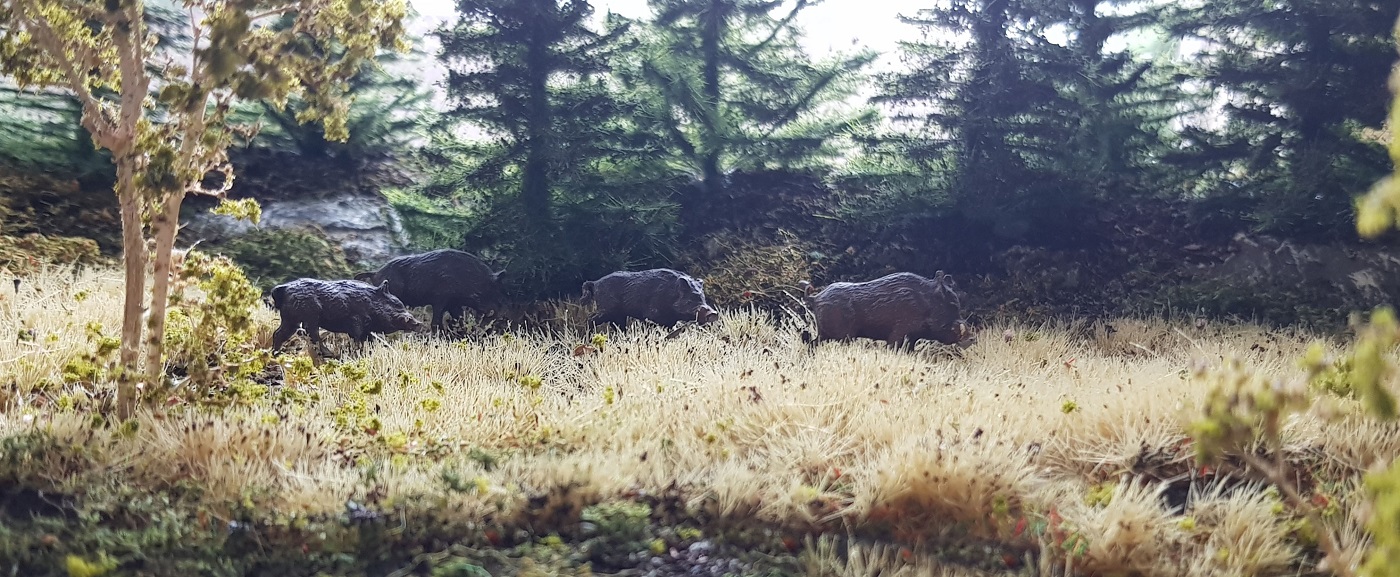
If you didn't know better, you might imagine yourself on De Hoge Veluwe National Park.
The Journal continues in Part 6
~~~
Frits Osterthun © 26.7.2020