
R e n o v a t i o n J o u r n a l
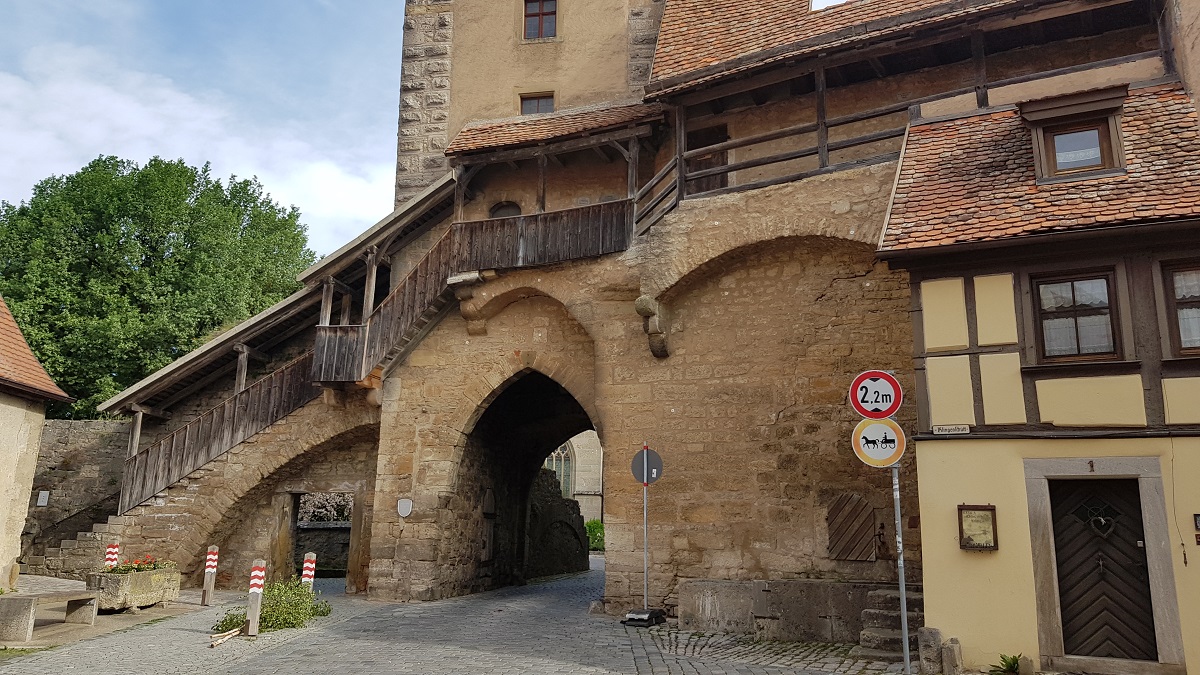
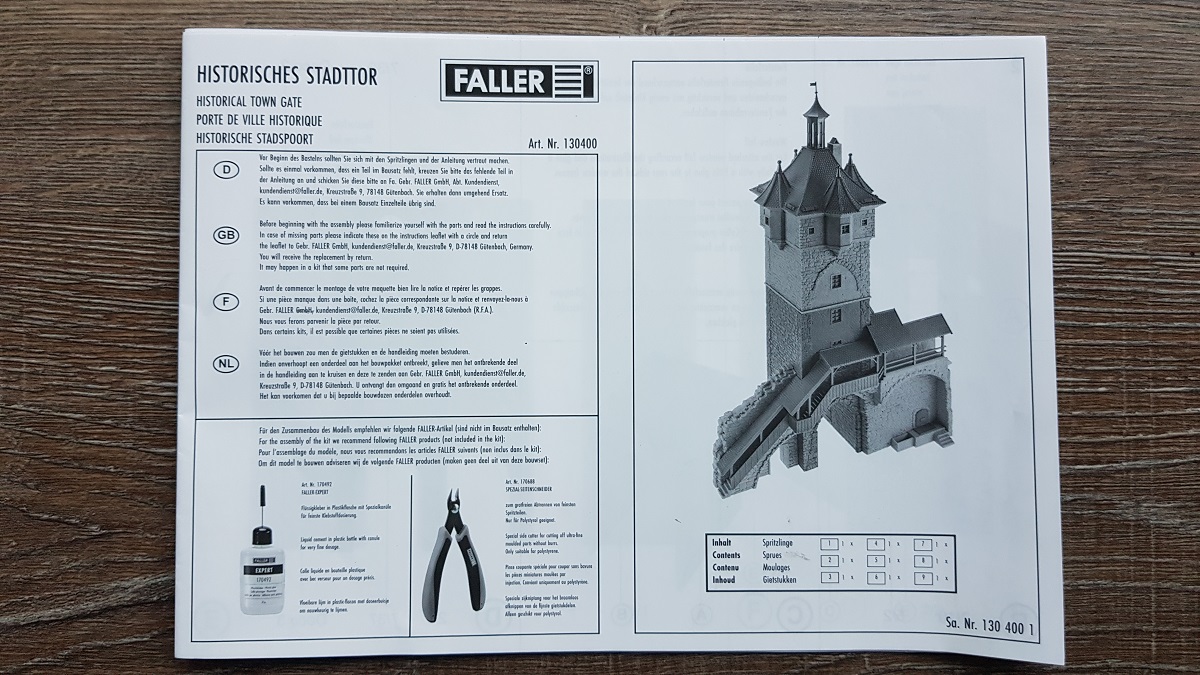
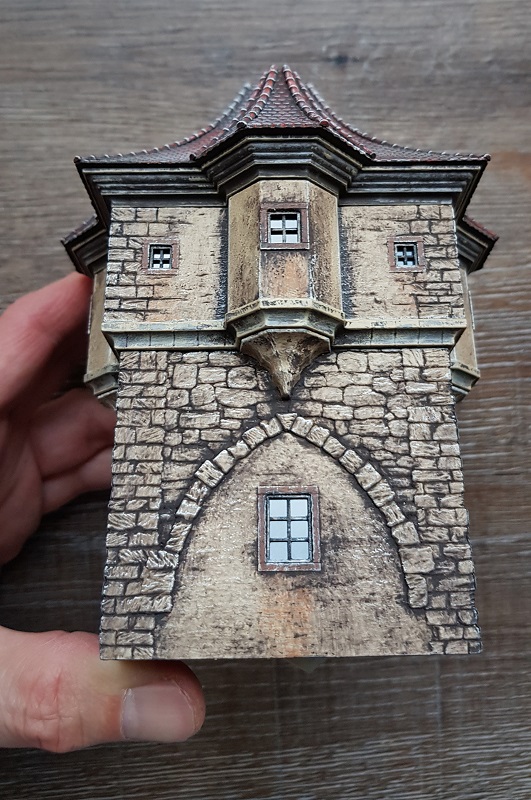
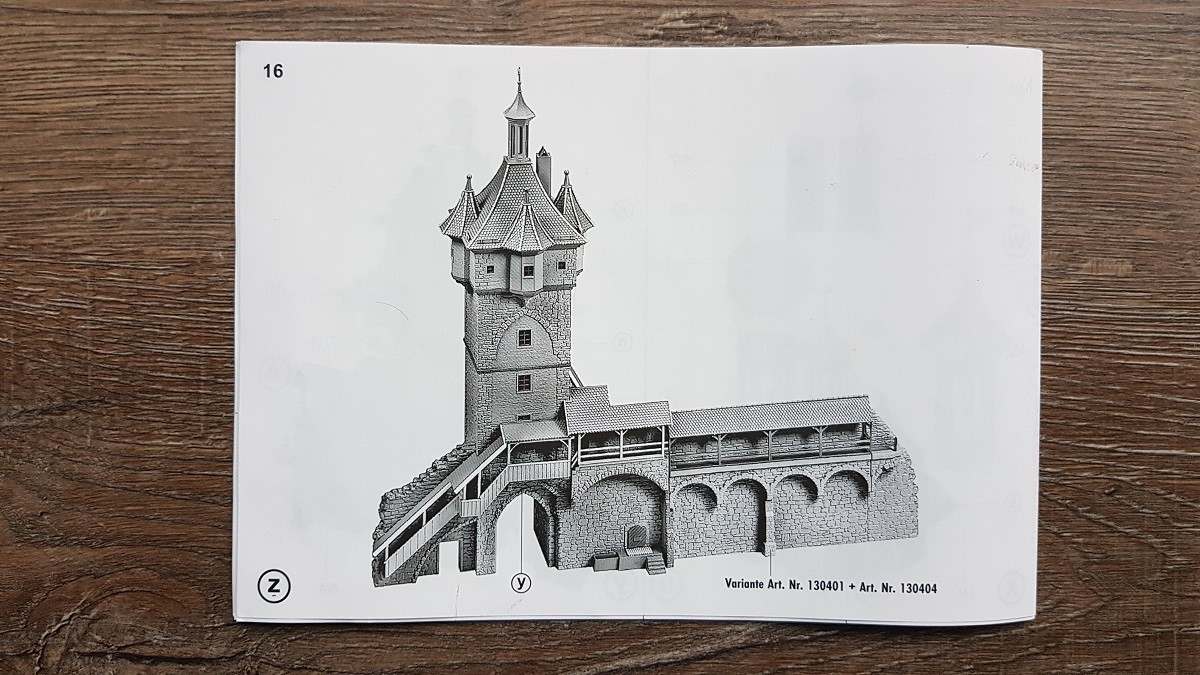
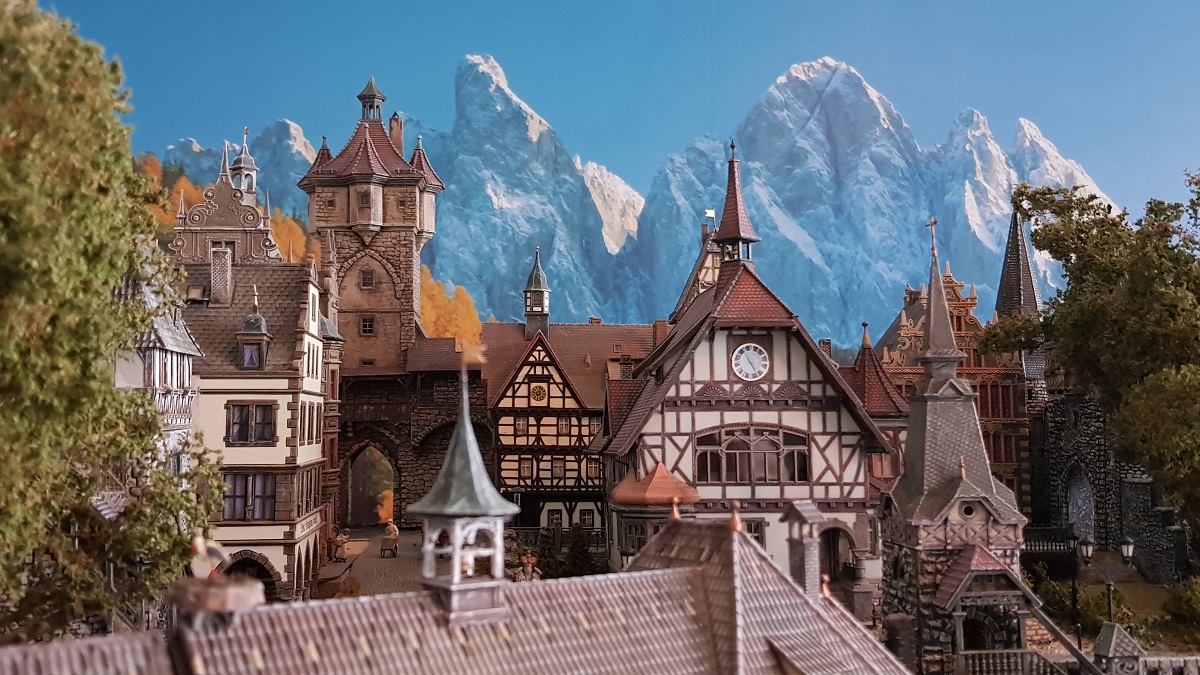
8.2 ~ Historisches Stadttor Klingenturm / Klingentorturm
7.6.2022
On December 23rd 2020, my friend Sander came to visit the Cochemer Bahn and brought several items from the shop with him.
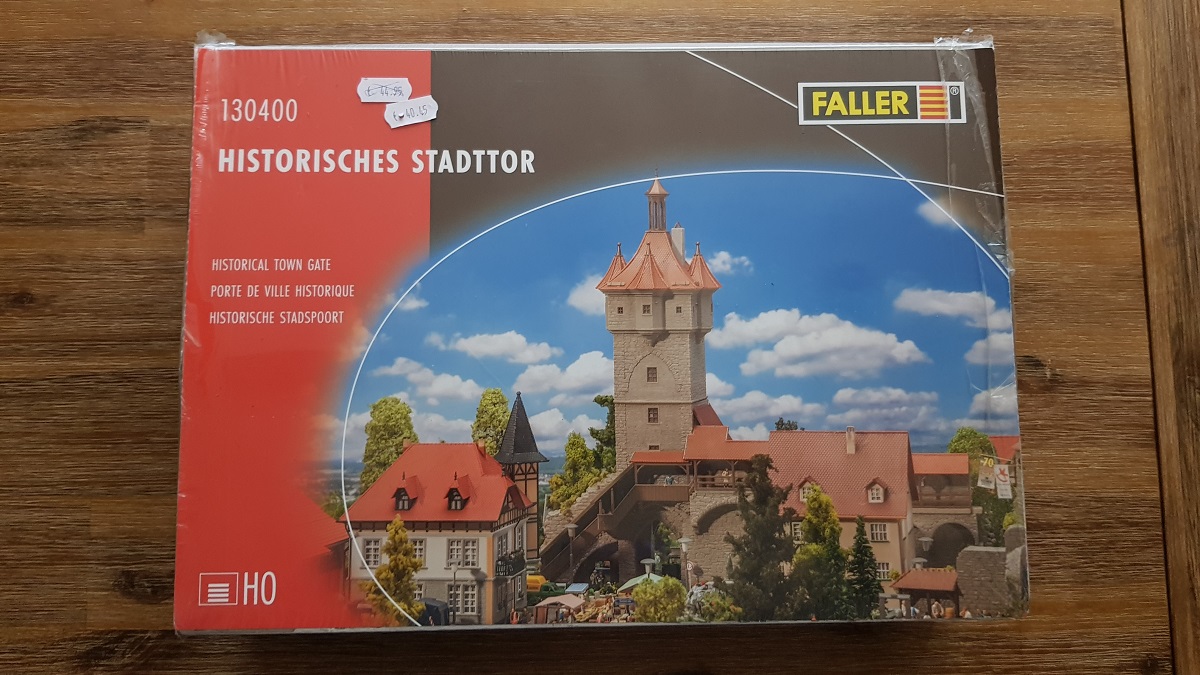
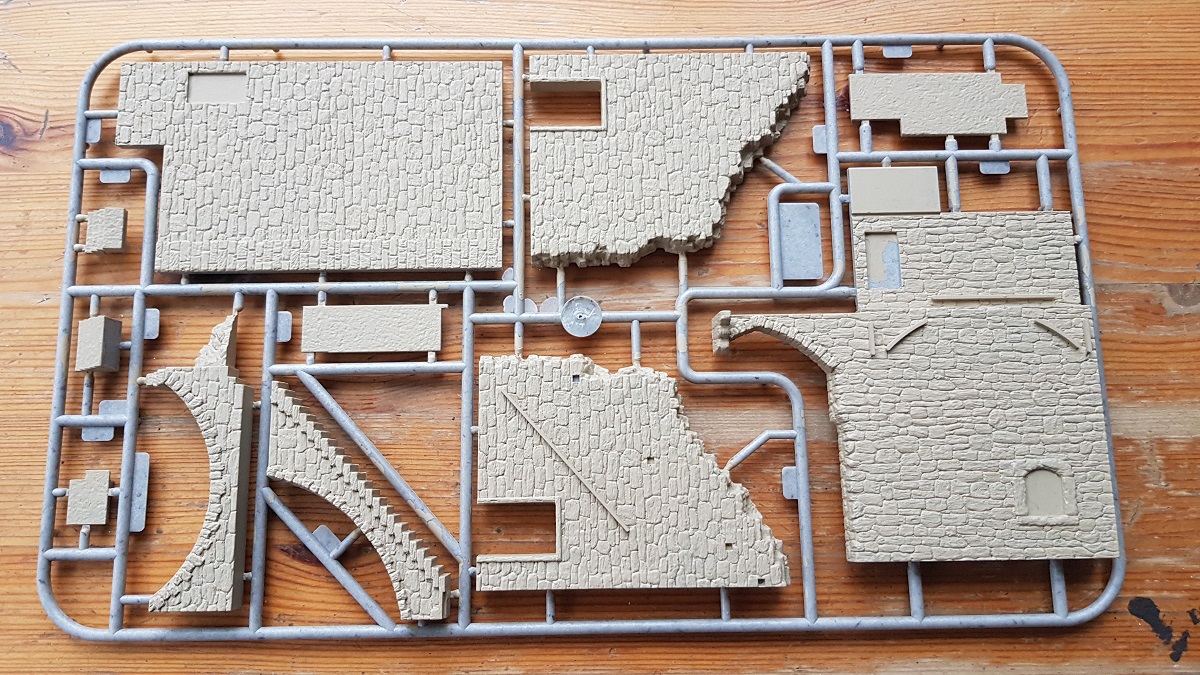
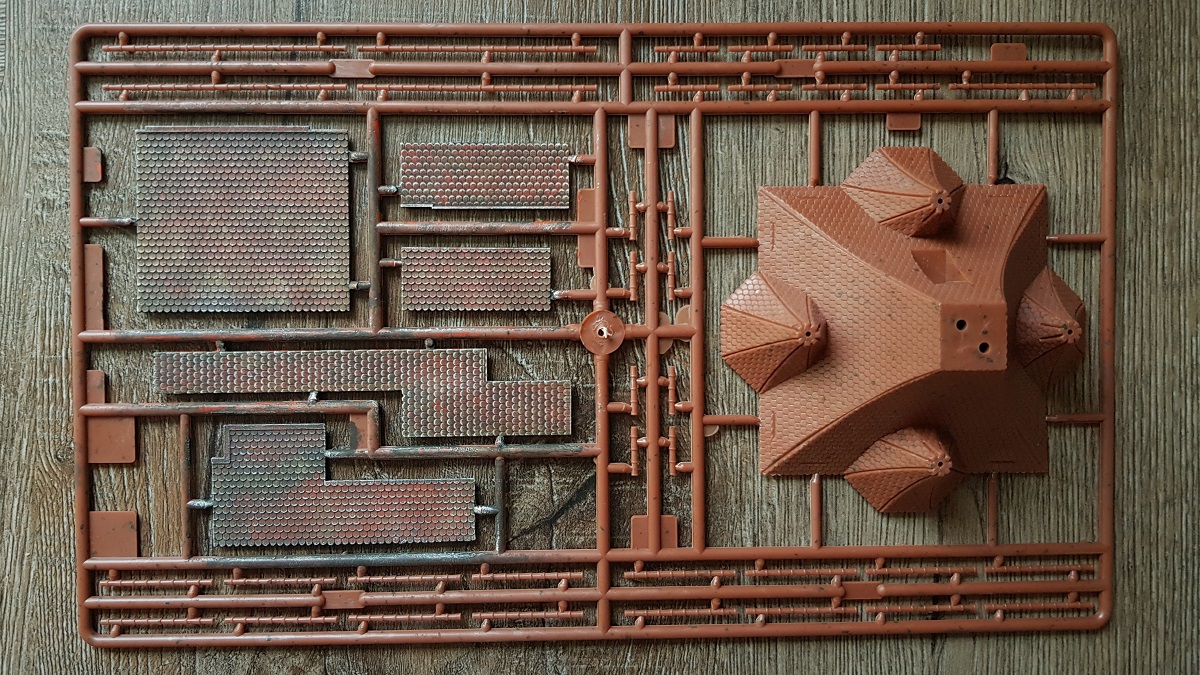
One of them was this Faller model kit "Stadttor".
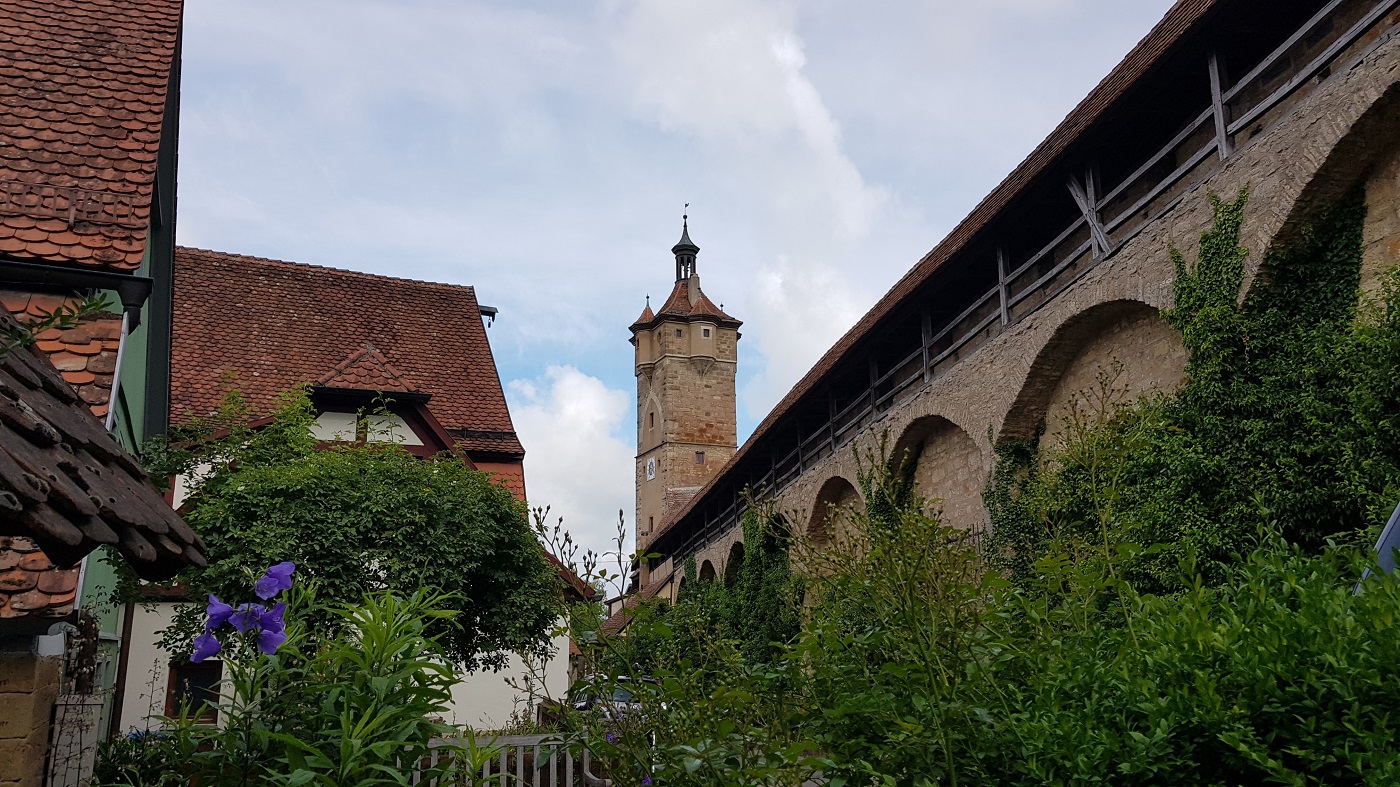
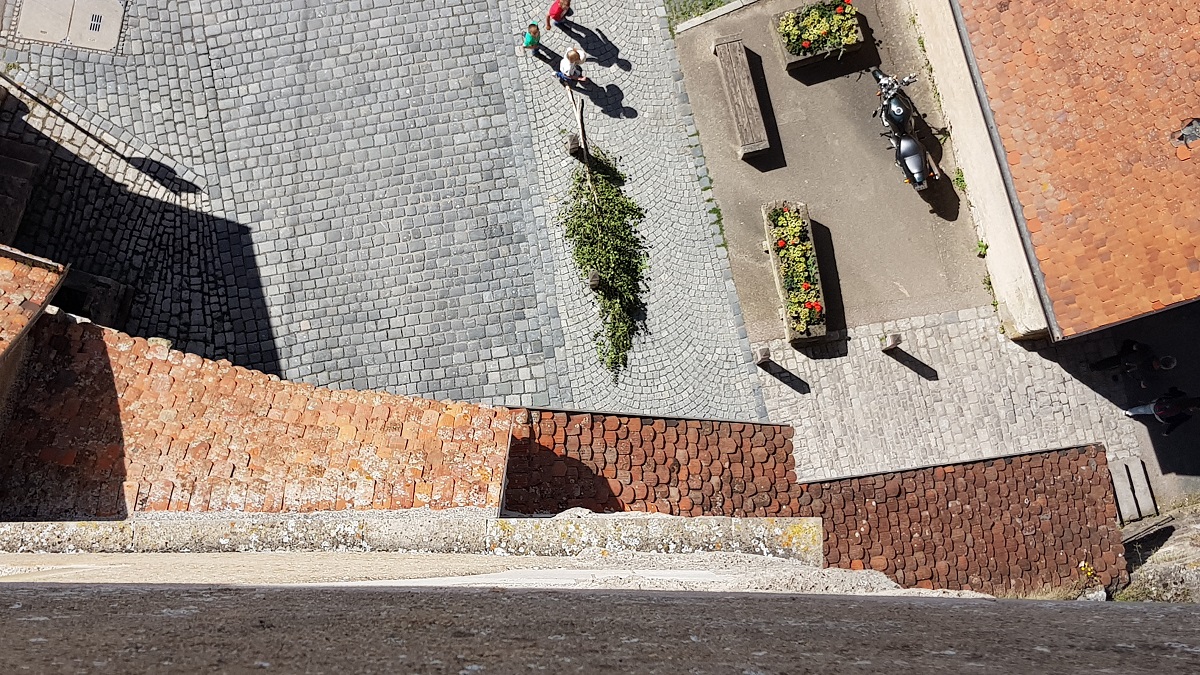
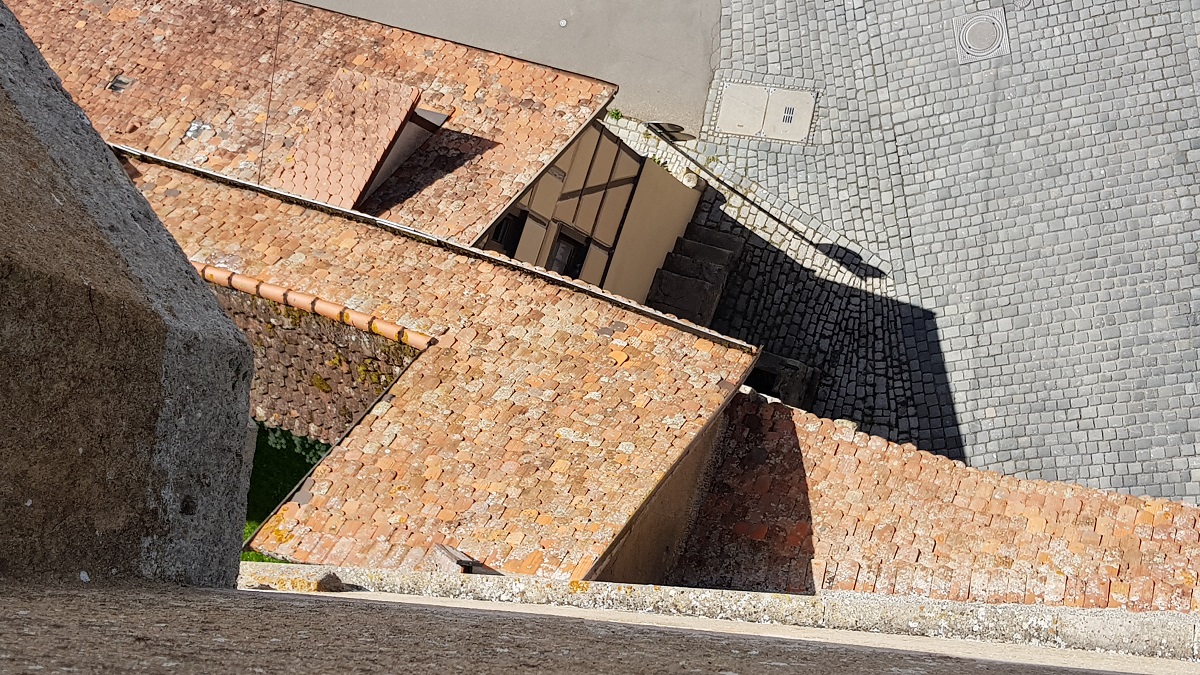
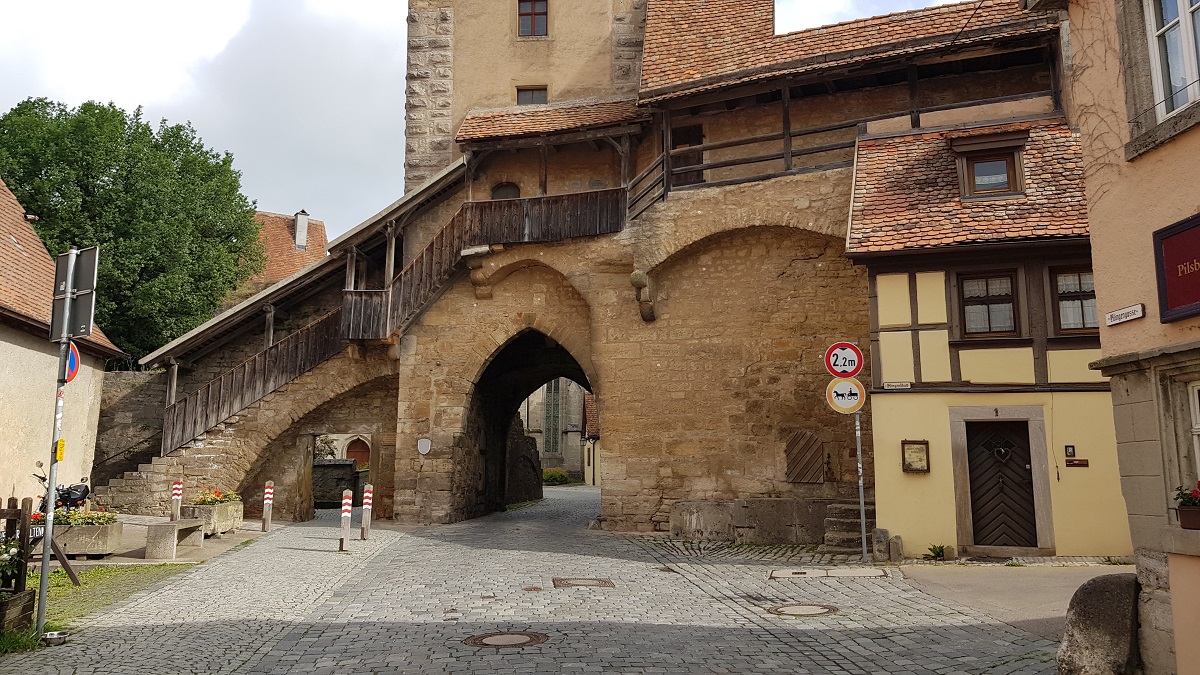
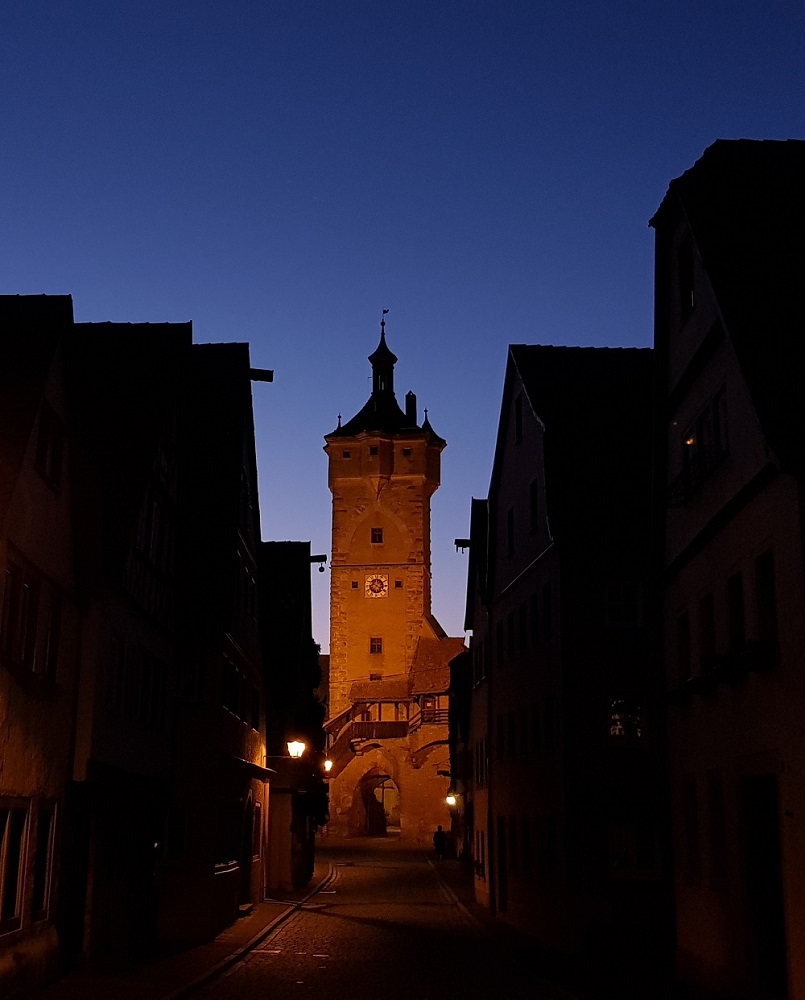
The original can be found in Rothenburg ob der Tauber (Germany)
This is the next model kit after I constructed the Forsthaus (Busch)
and my very first Faller kit, in the latest design, since I finished Rathaus Allmannsdorf many years ago.
I have made a commitment to make this kit with the greatest of patience
and to stretch the construction time as long as possible for the greatest satisfaction.
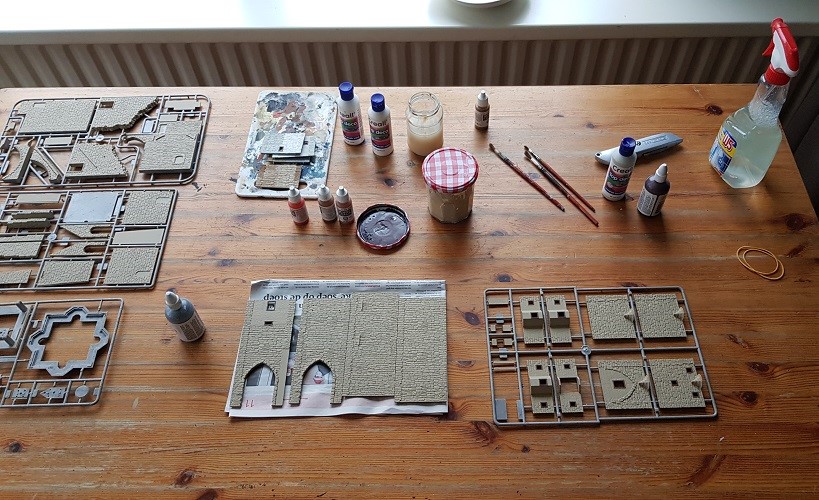
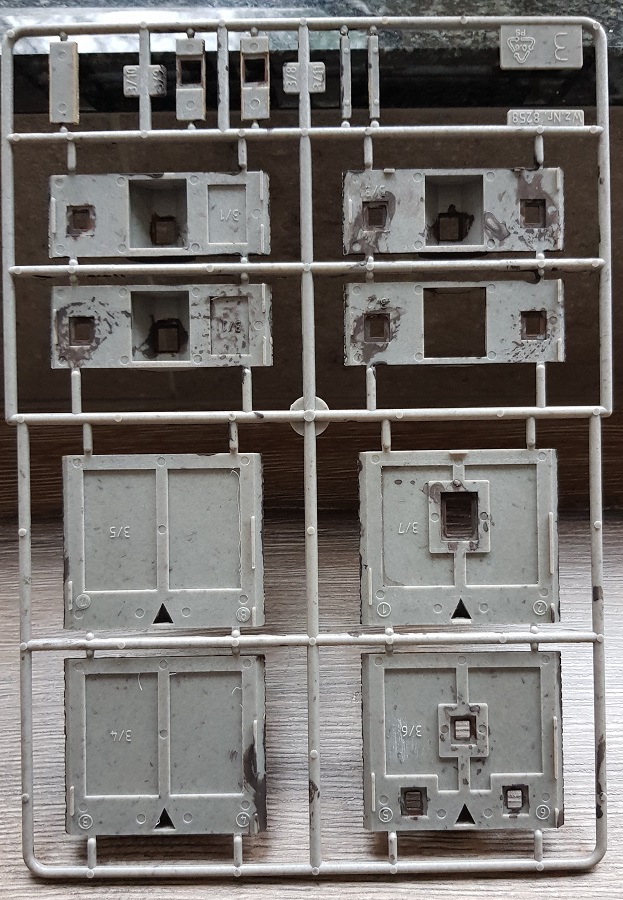
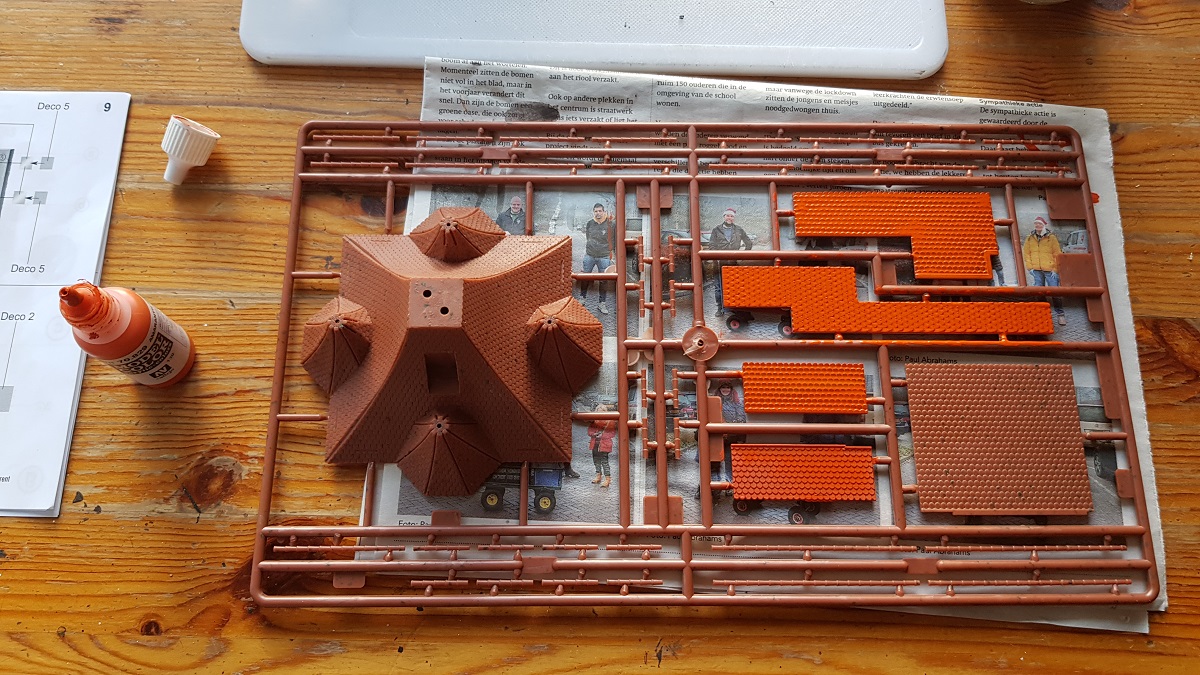
New to me - after some 20 years since my last Faller kit - was the layout of this box.
Sheer delight... screaming to be painted, weathered and... put together.
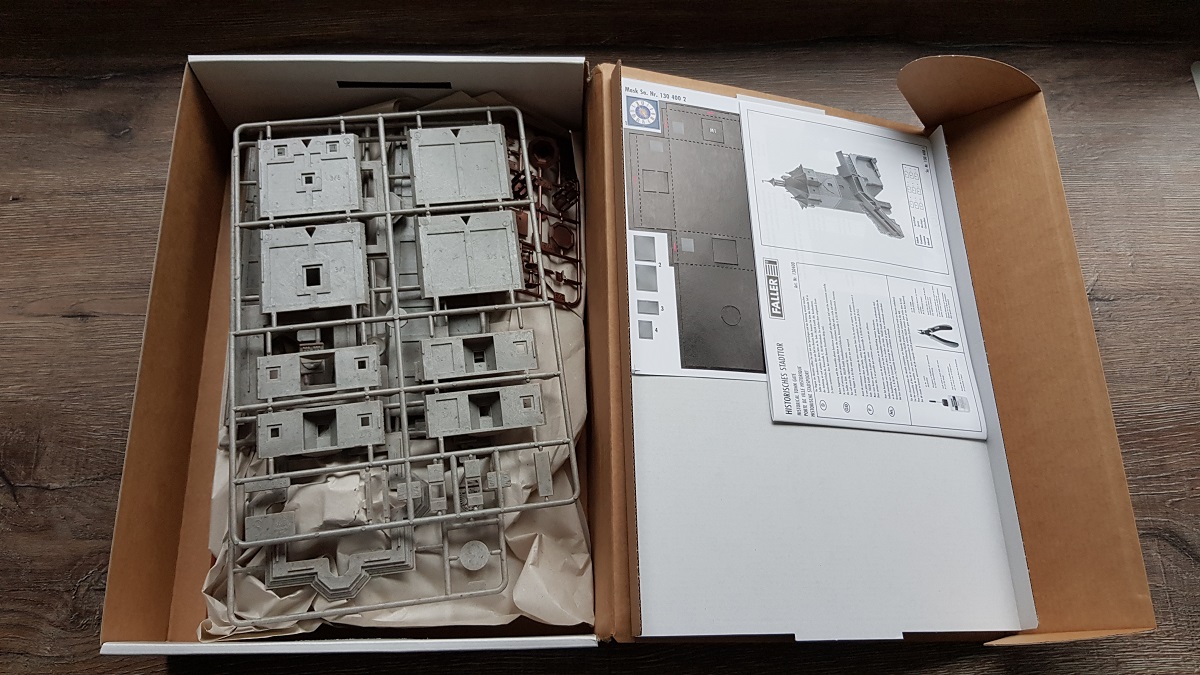
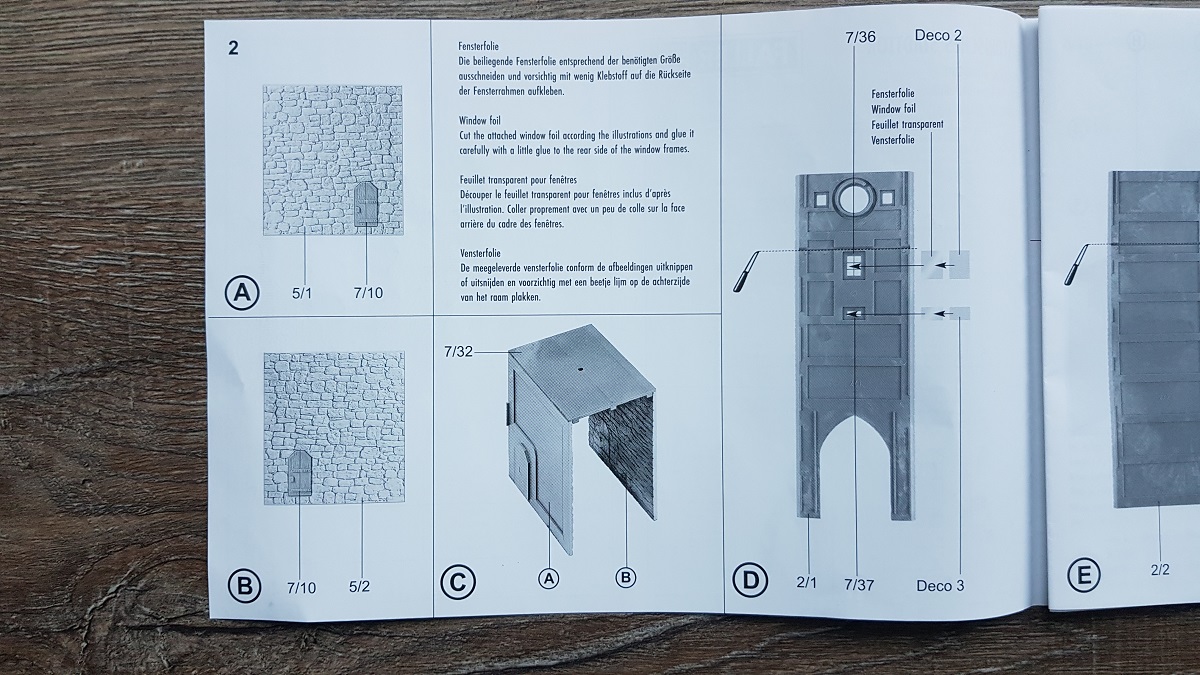
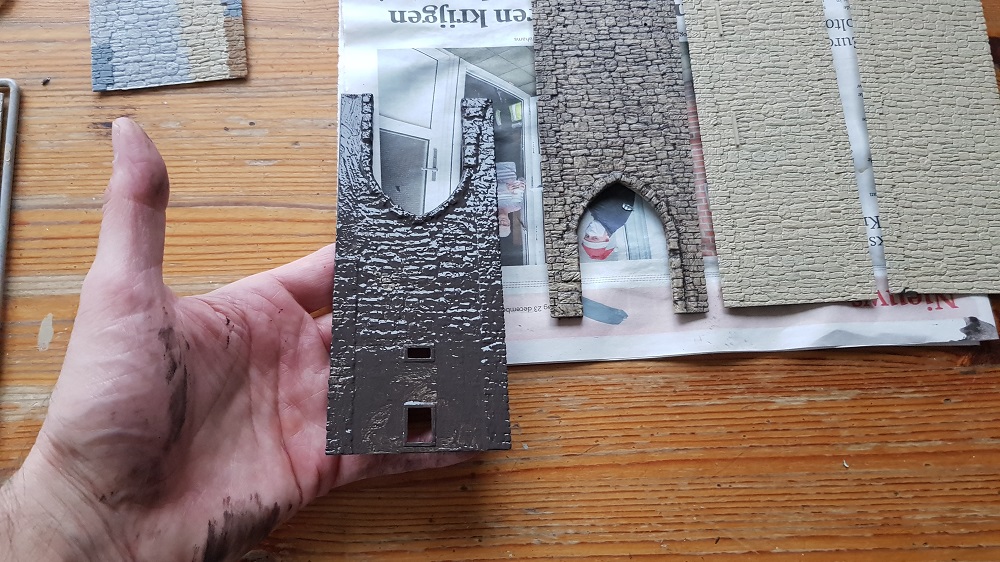
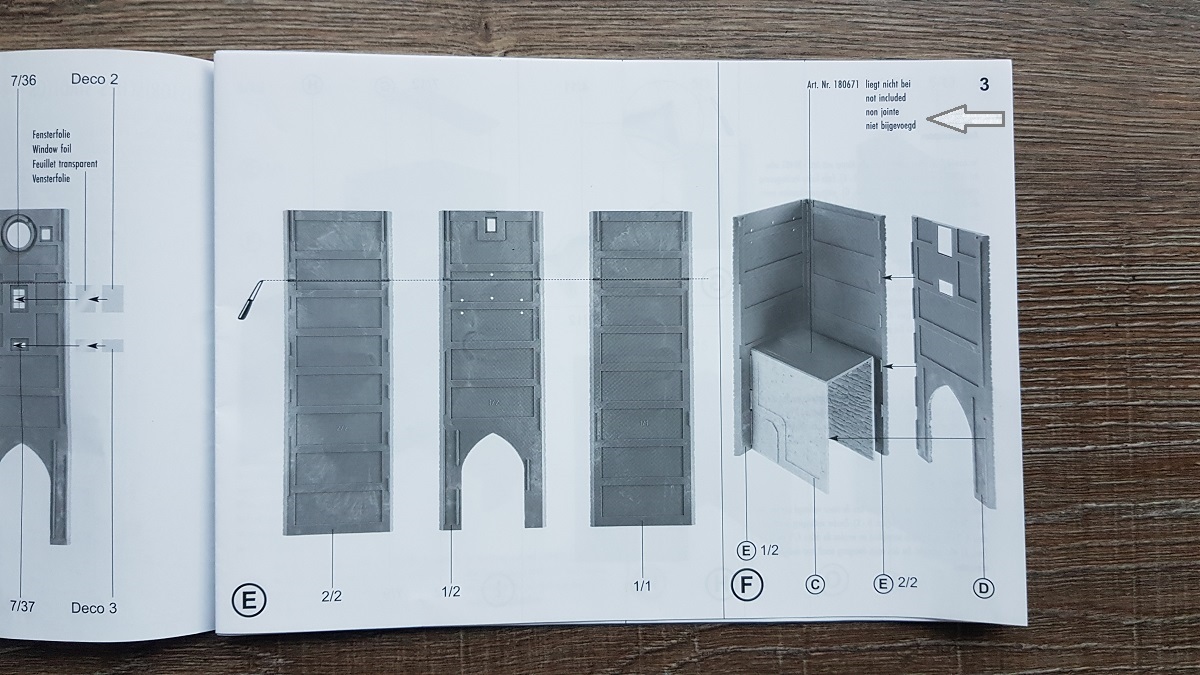
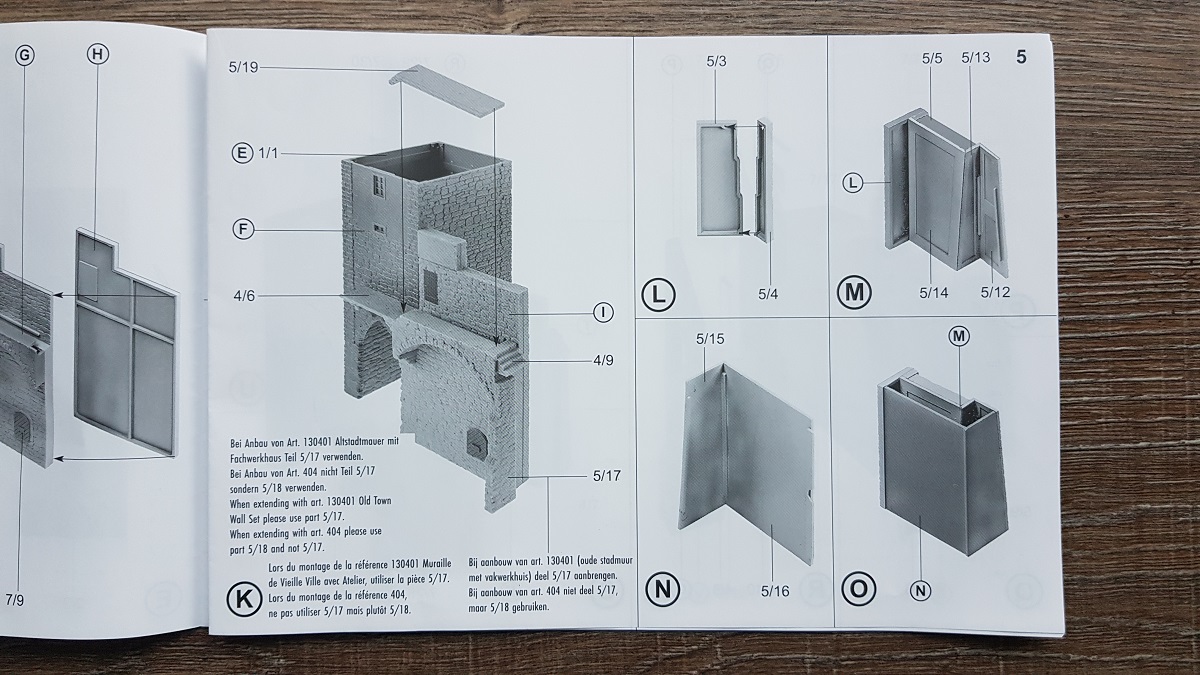
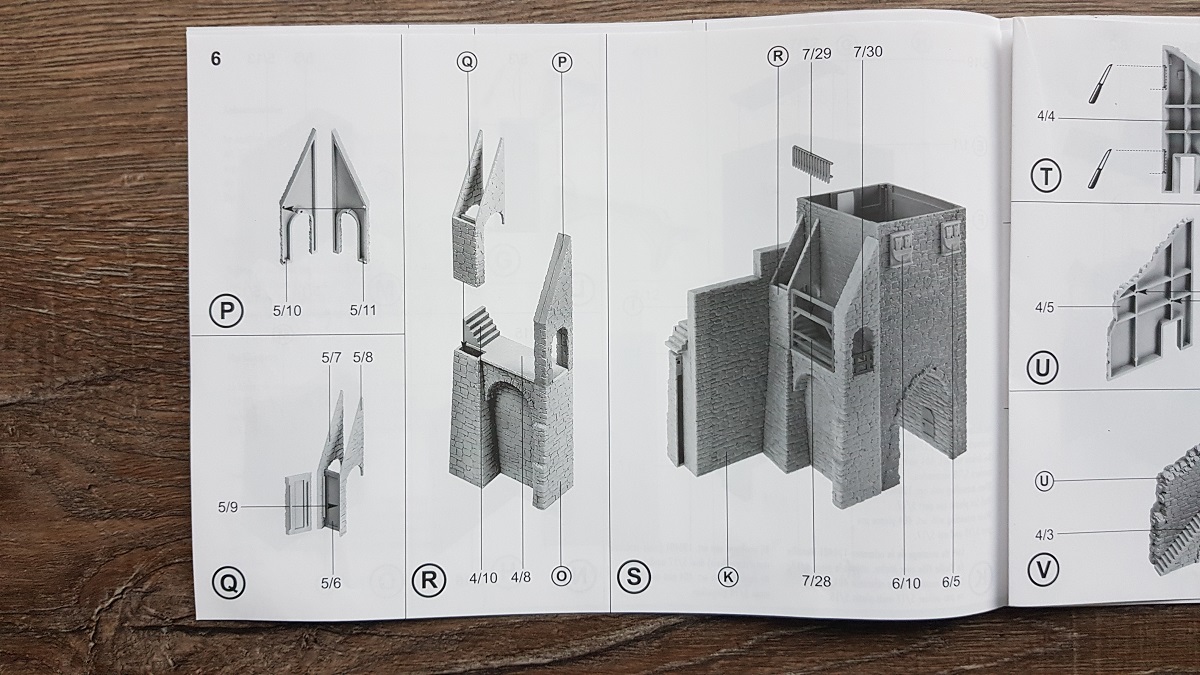
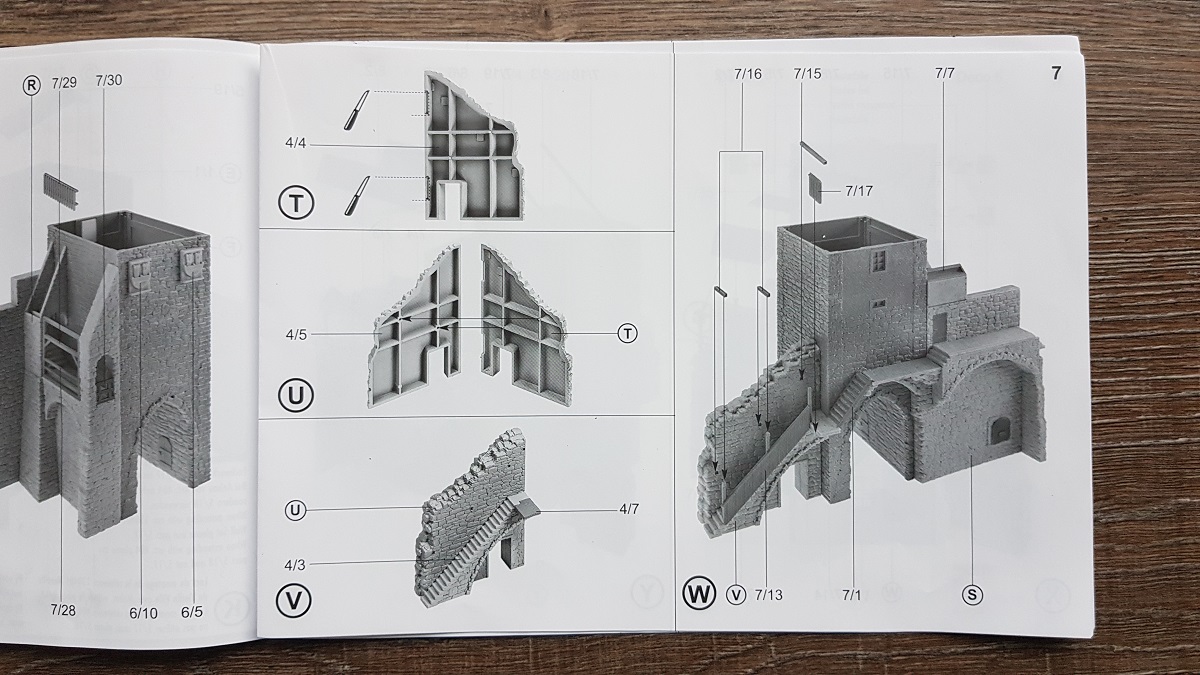
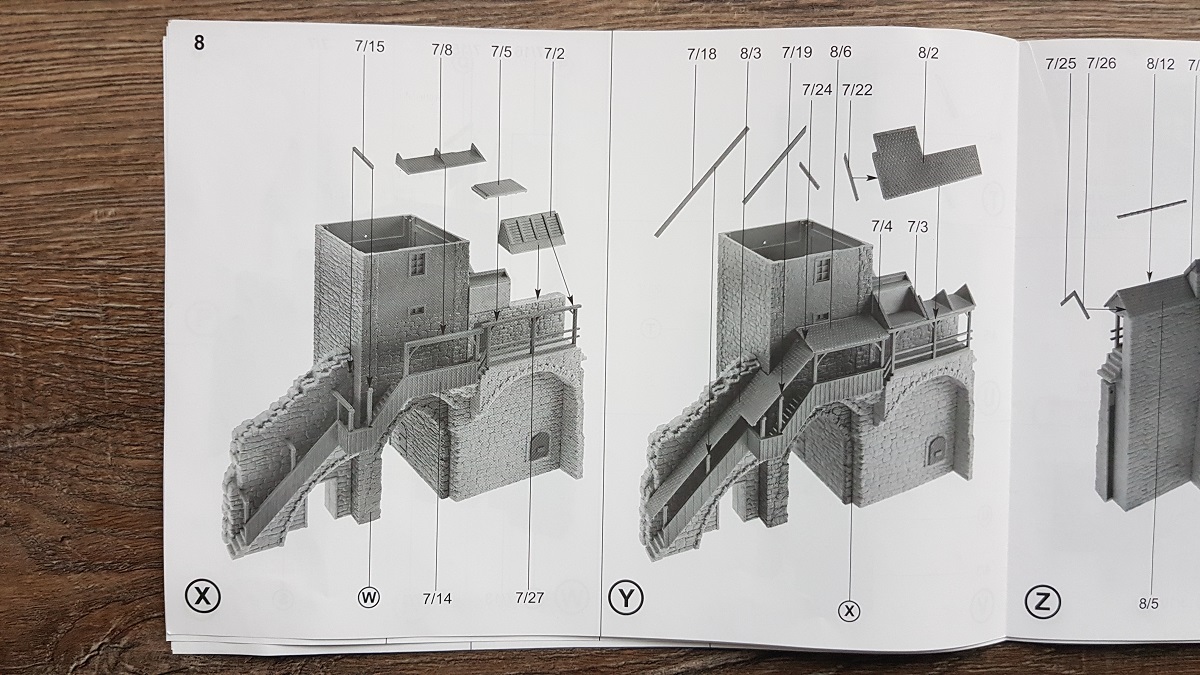
A little confused at the very first step: cutting away some 1/4 of the tower length.
However, after comparing it with the original and the proportions it would have on my layout, I get it!
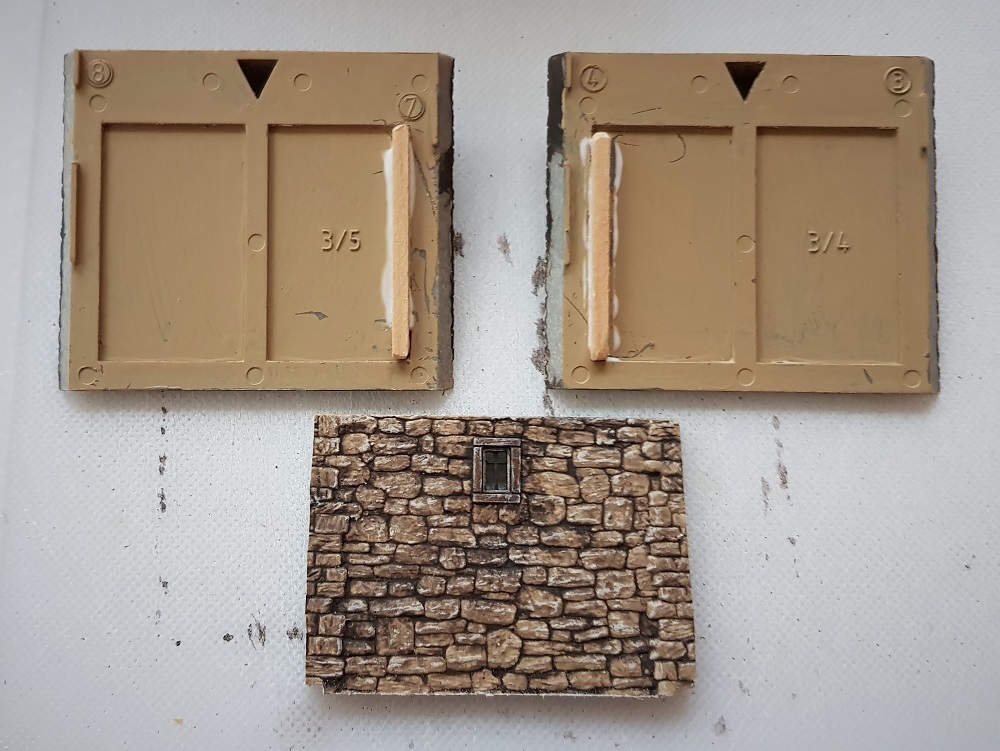
The good thing is, that these parts were great for trying out an attractive colour scheme.
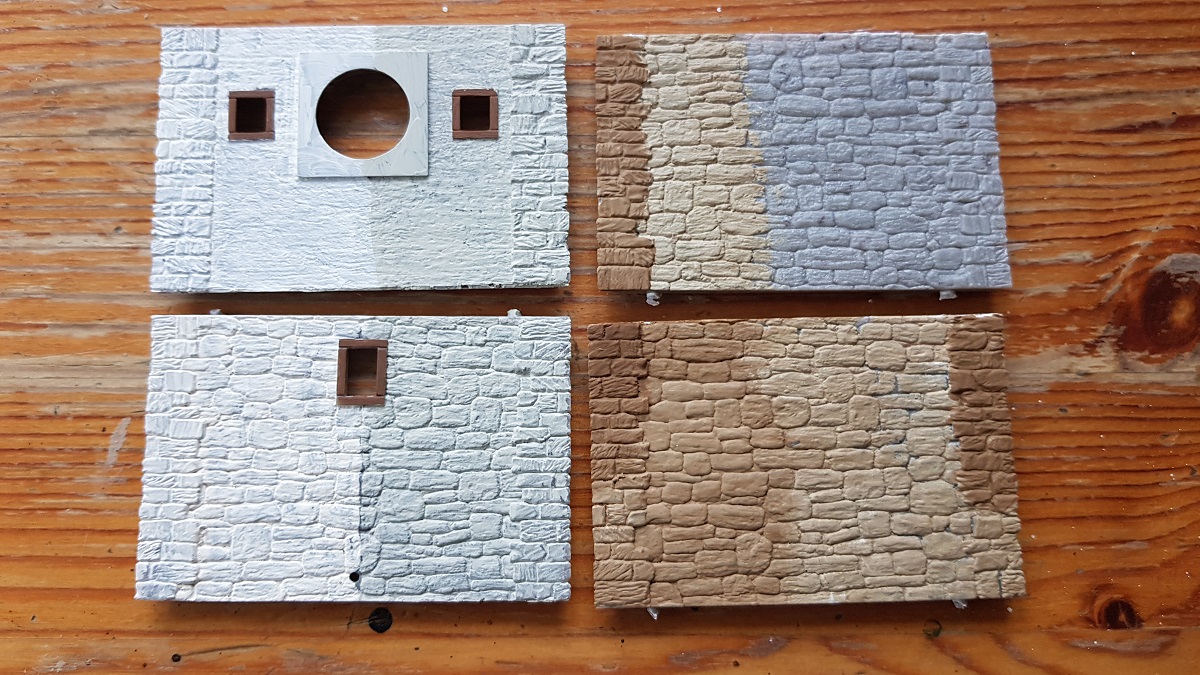
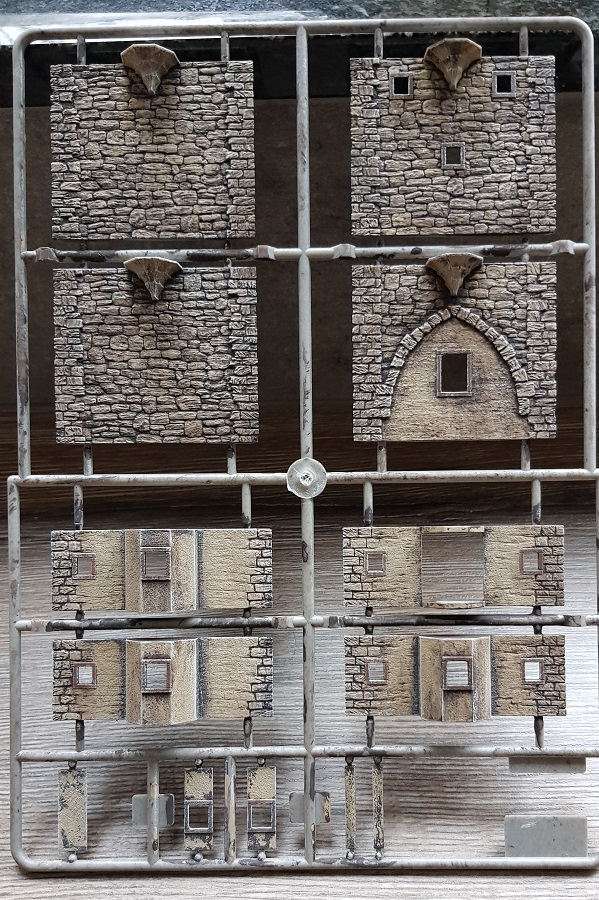
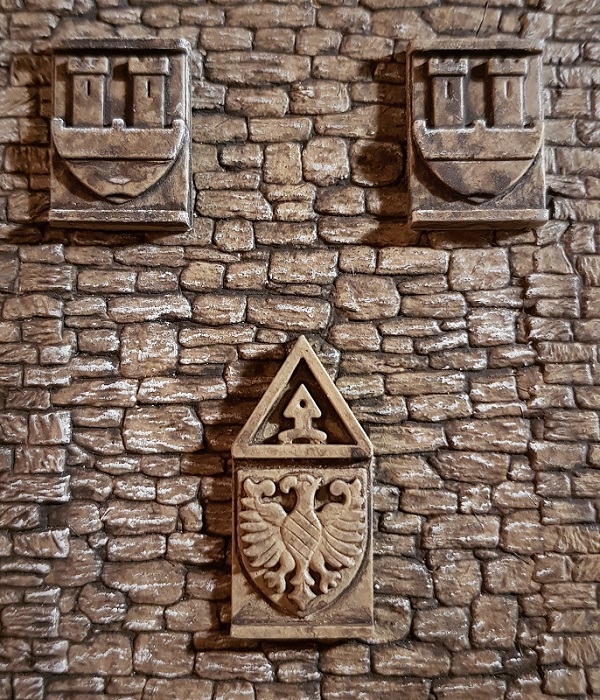
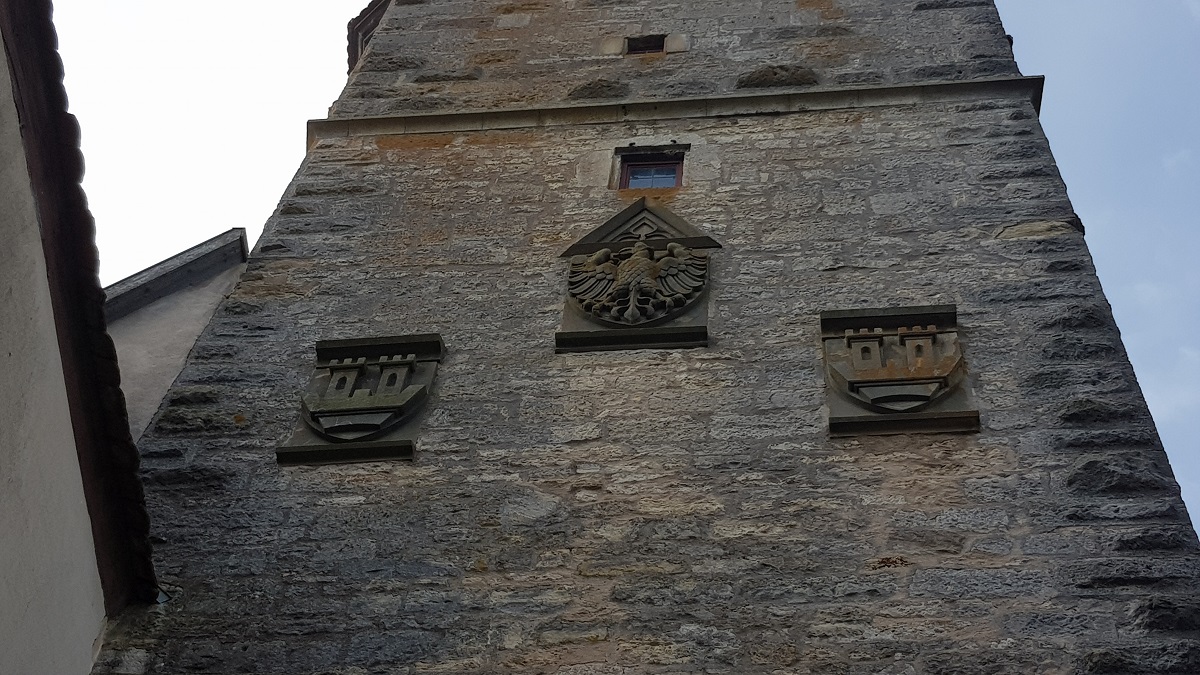
Now, the original Klingentorturm at Rothenburg ob der Tauber has so many different stone colours...!
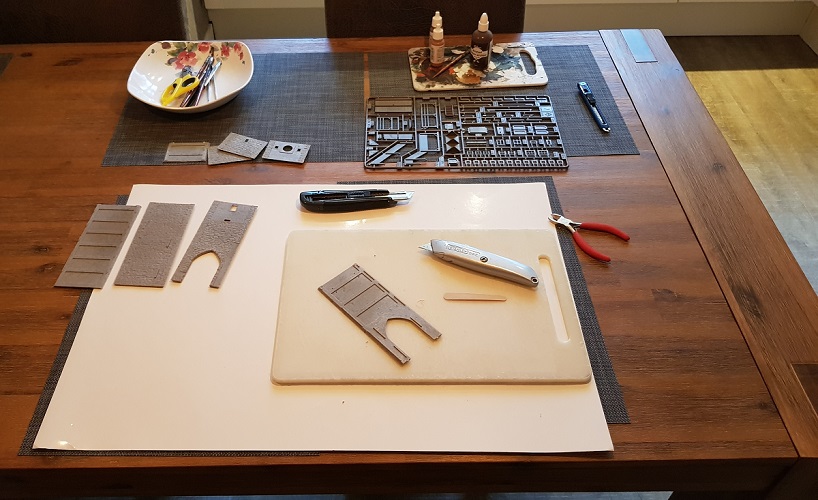
My first challenge is finding the right colour scheme. I have to compromise!
So, as a basic colour I choose a mix of ash grey, flat earth and a drop of orange brown.
In the second phase I wanted to implement primary aging.
Contrary to previous procedures - applying it diluted with water - this time I followed Heki's actual advice:
apply a thick layer of Lasurfarbe and then immediately wipe it off with a wet cloth.
The result has even taken me by surprise.
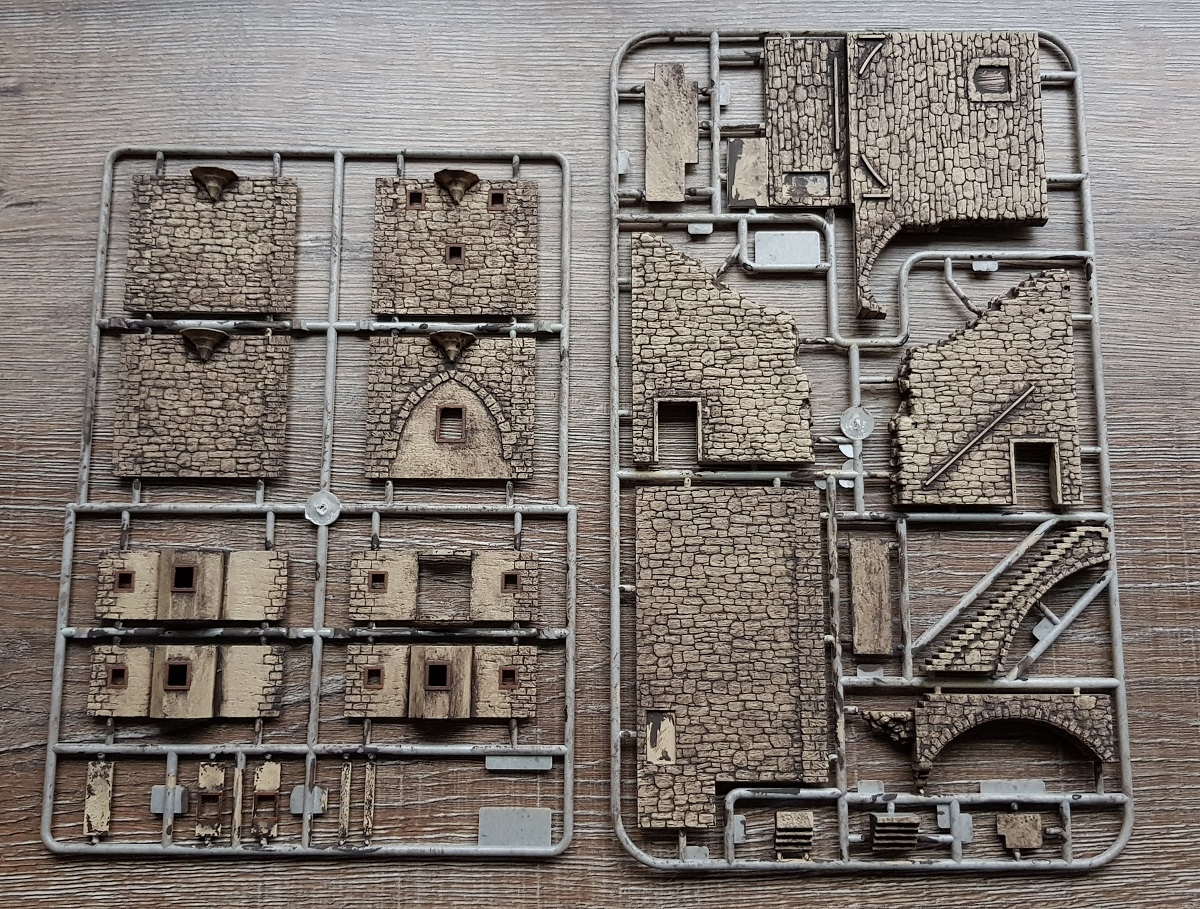
Now there's 1. basic sand-yellow colour, 2. wooden beams, and 3. Lasurfarbe.
~~~
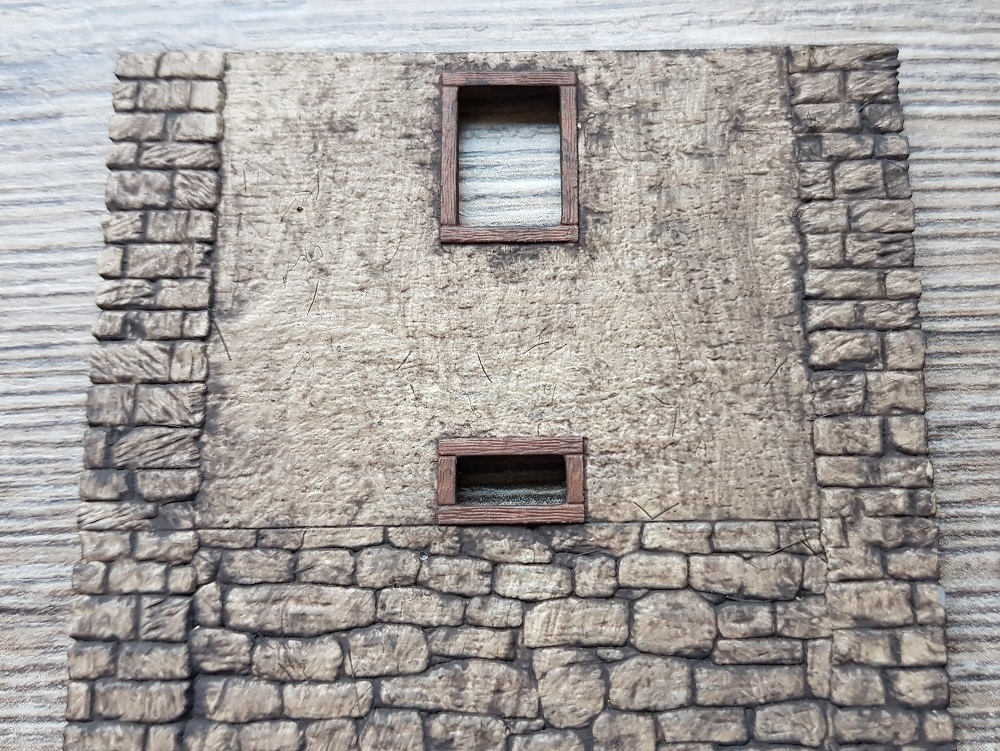
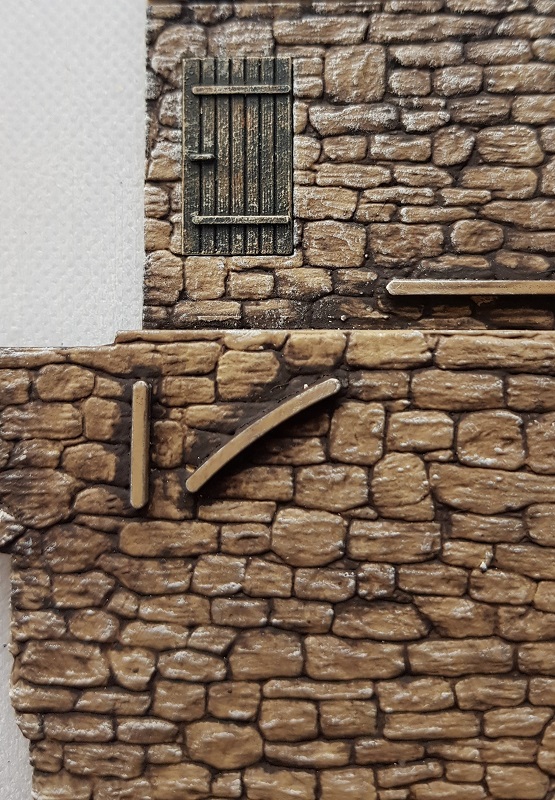
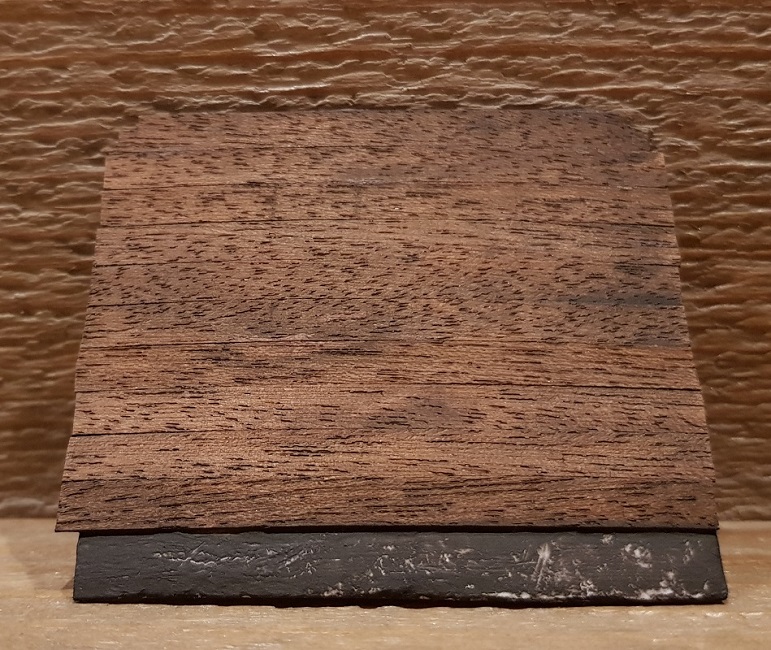
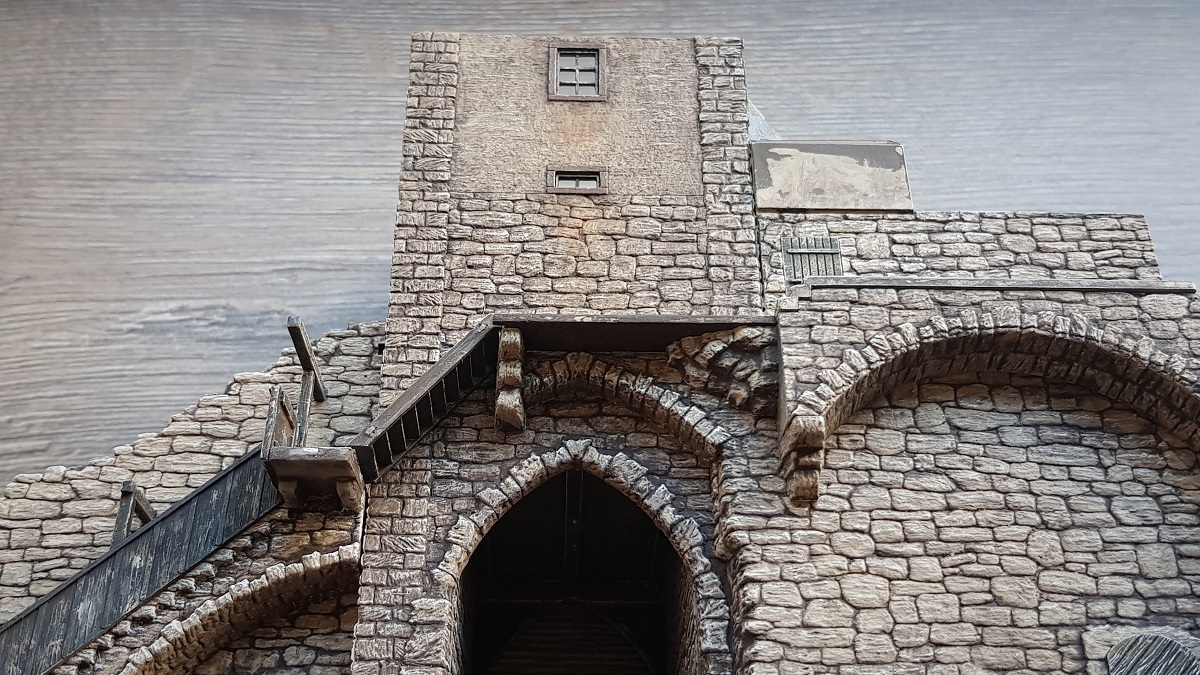
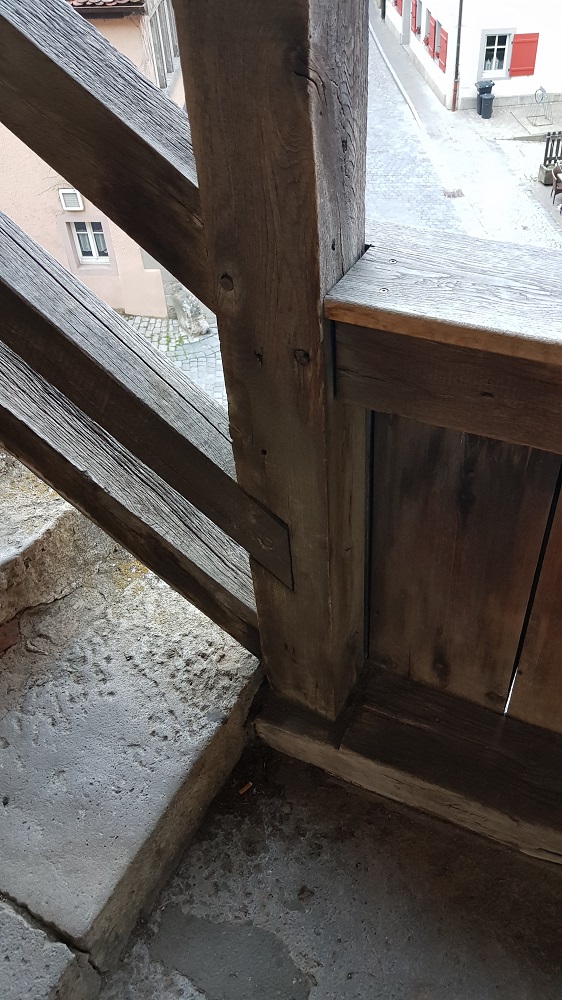
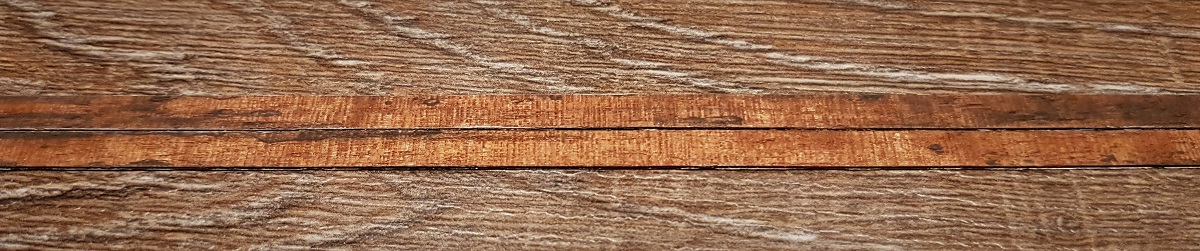
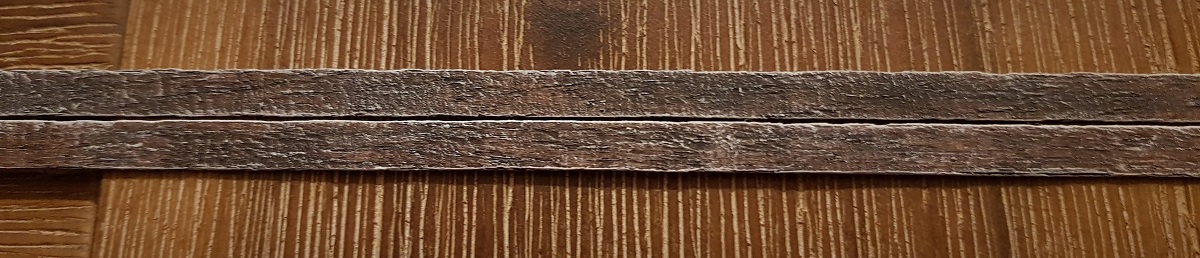
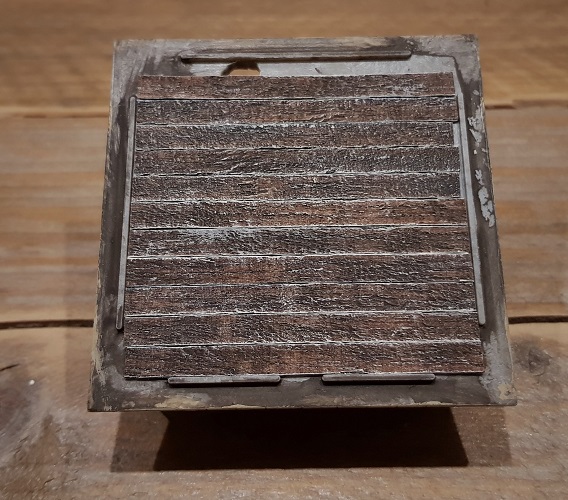
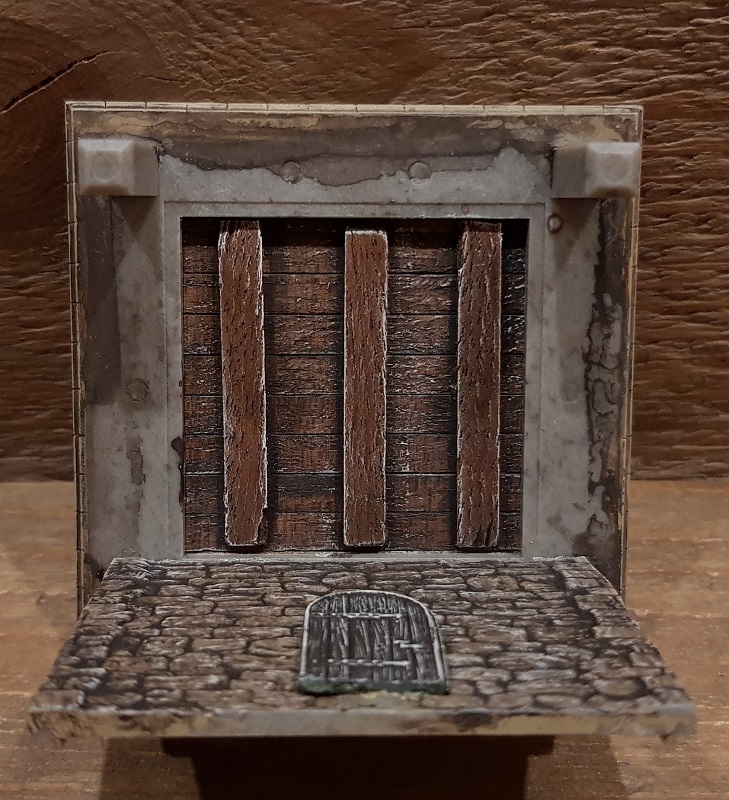
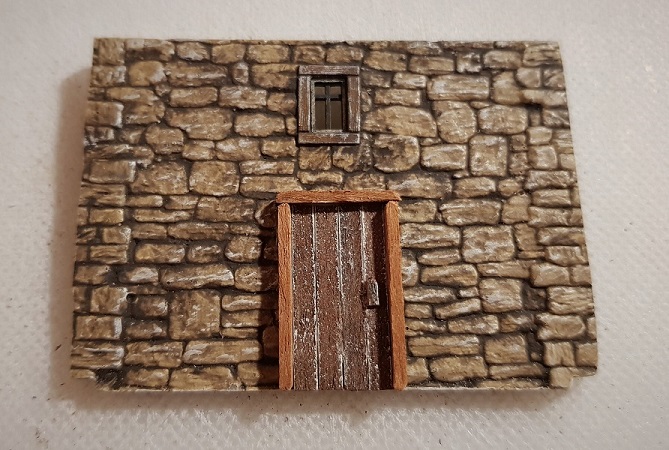
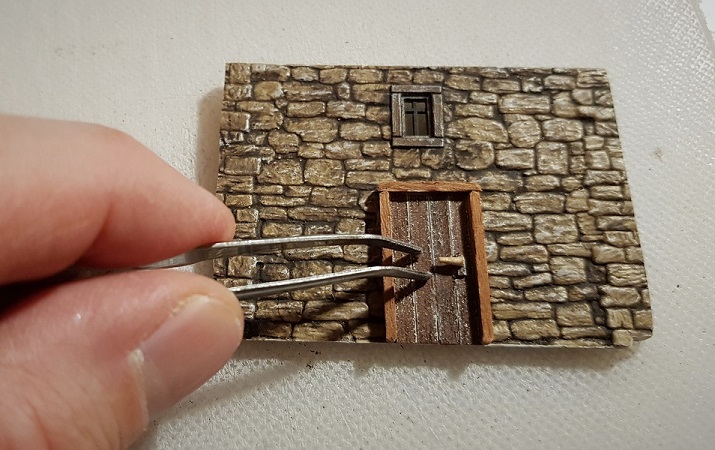
The second challenge: the wood work.
This picture says it all!
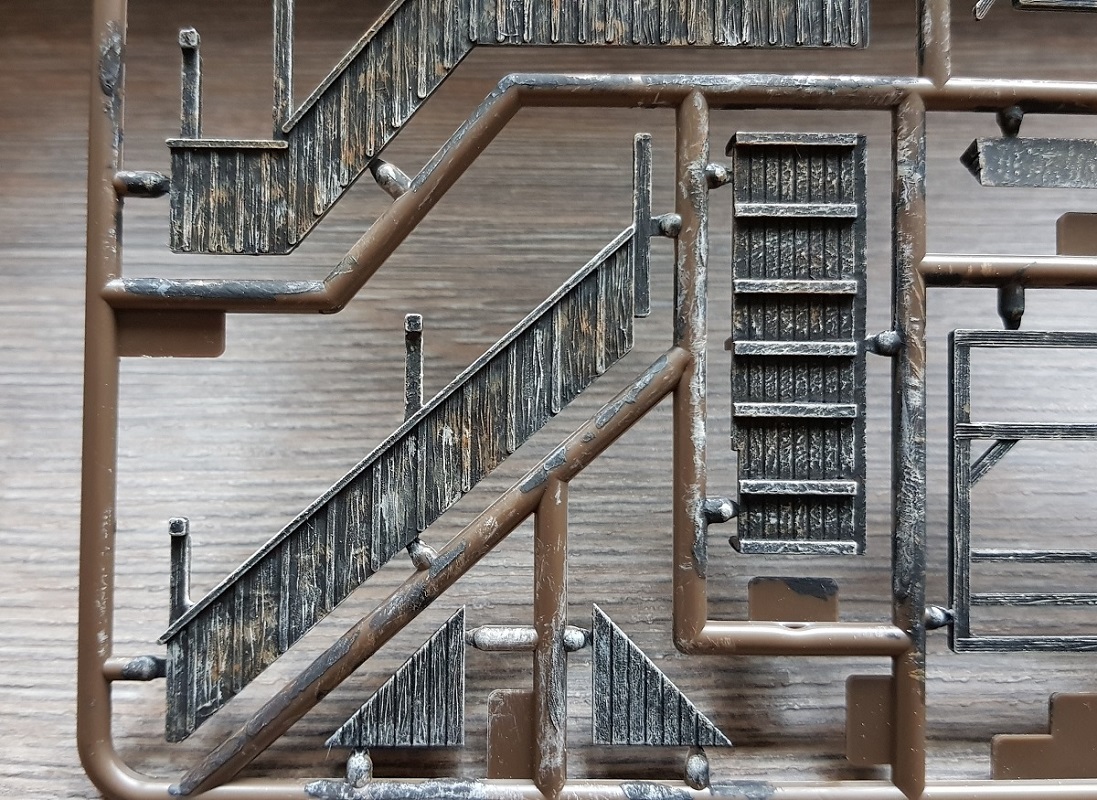

I think that this interpretation comes close enough. Imagine the thrill, putting it all together!
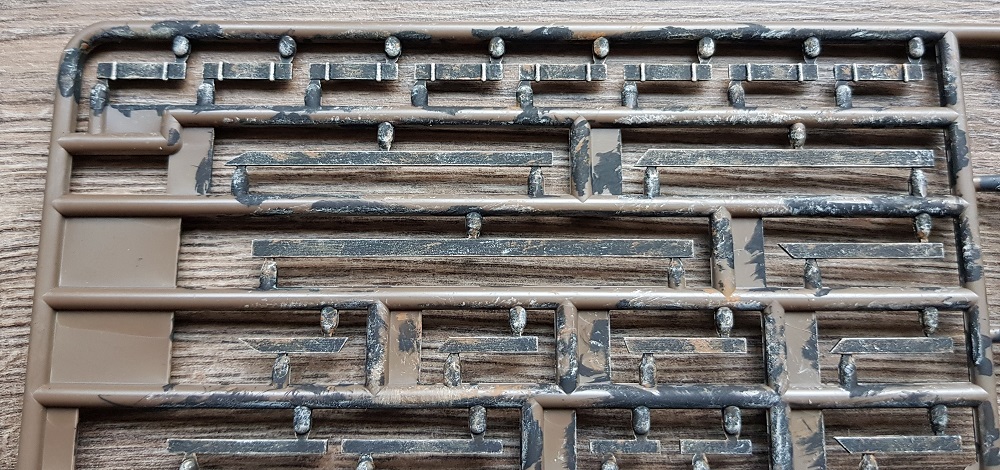
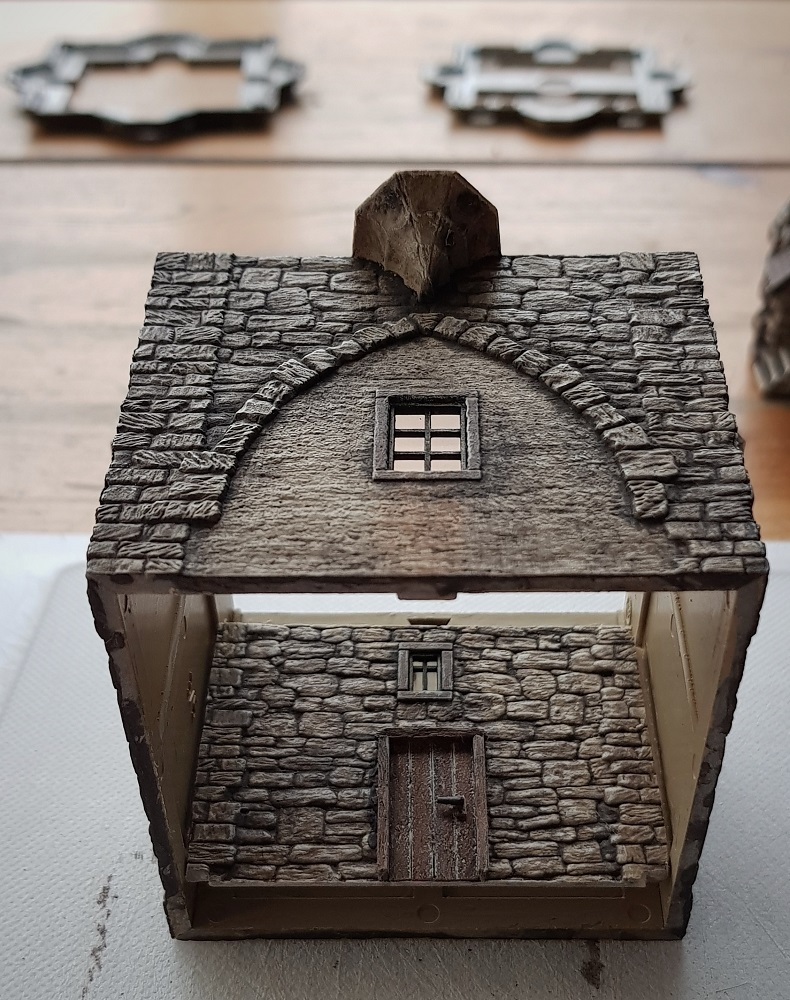
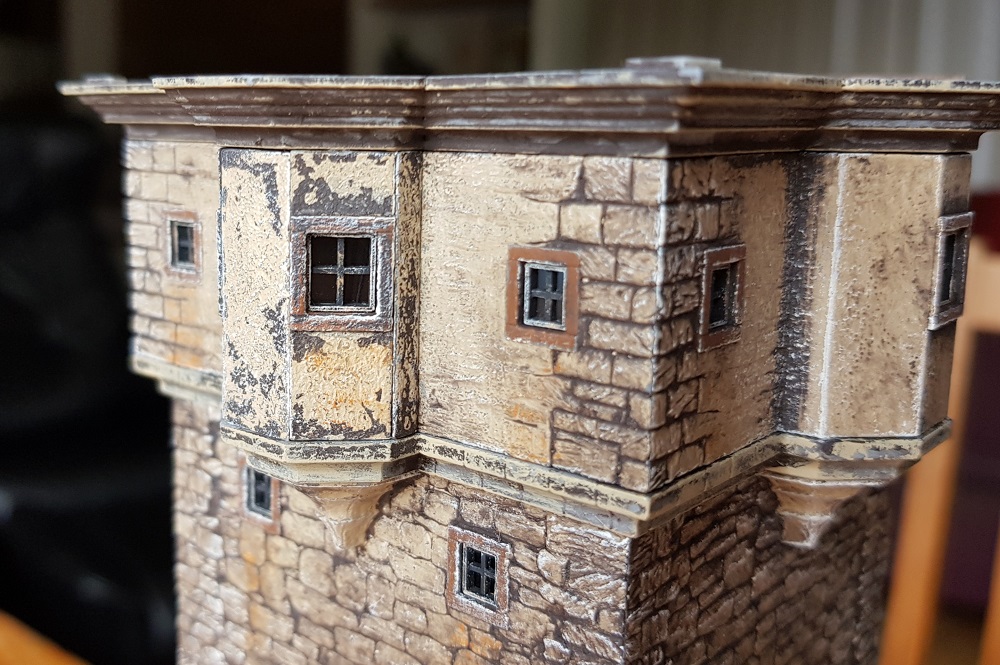
The third but not that big challenge was the weathering with dry white brushing.
This time I wanted to be extremely cautious in applying too much white, unlike my Kibri walls and towers:
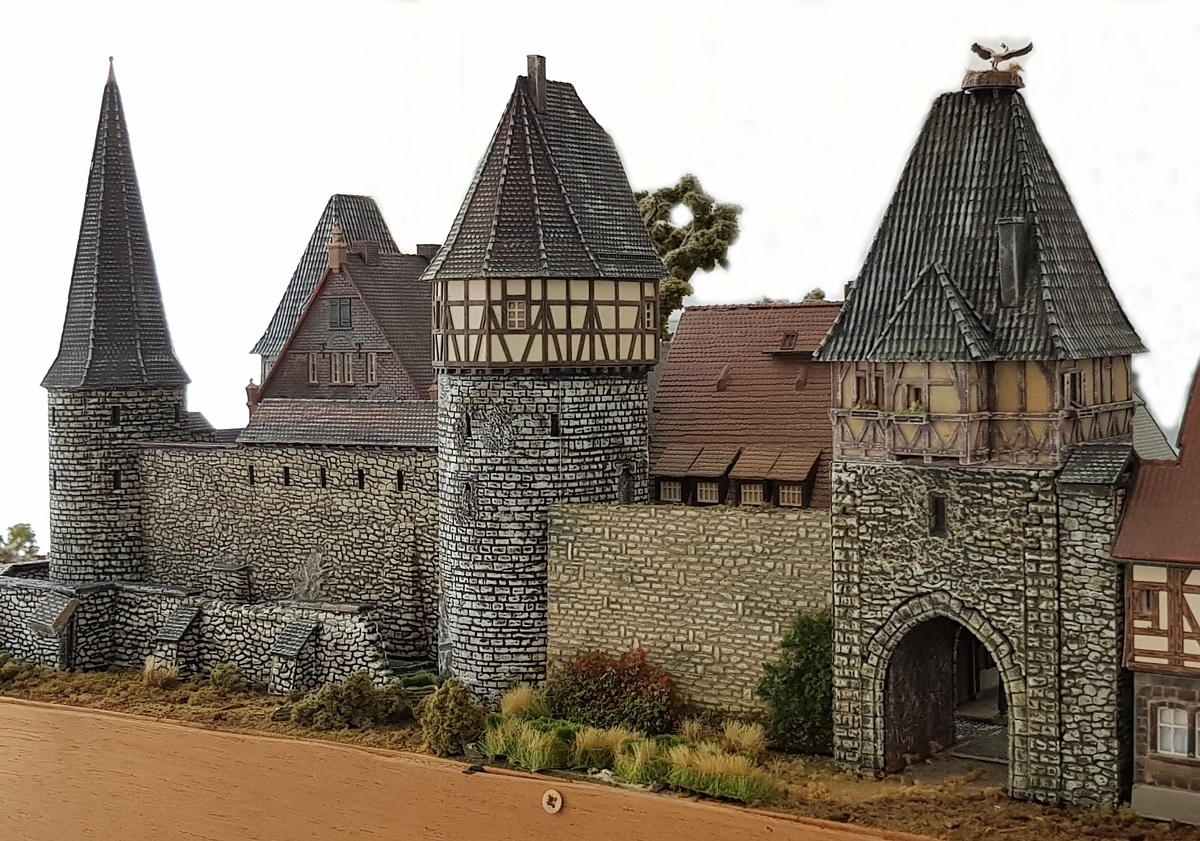
Although it is very likely that the right (Kibri) tower will have to make way for this new one from Faller,
in the whole picture, even whiter would look better due to uniformity.
But still, some variety is certainly allowed.
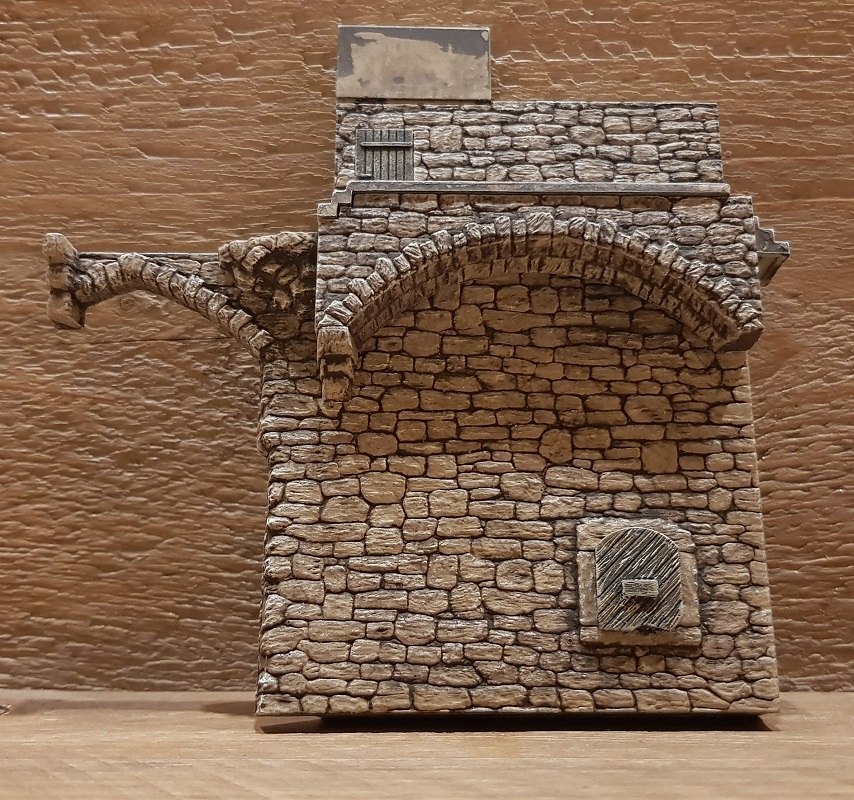
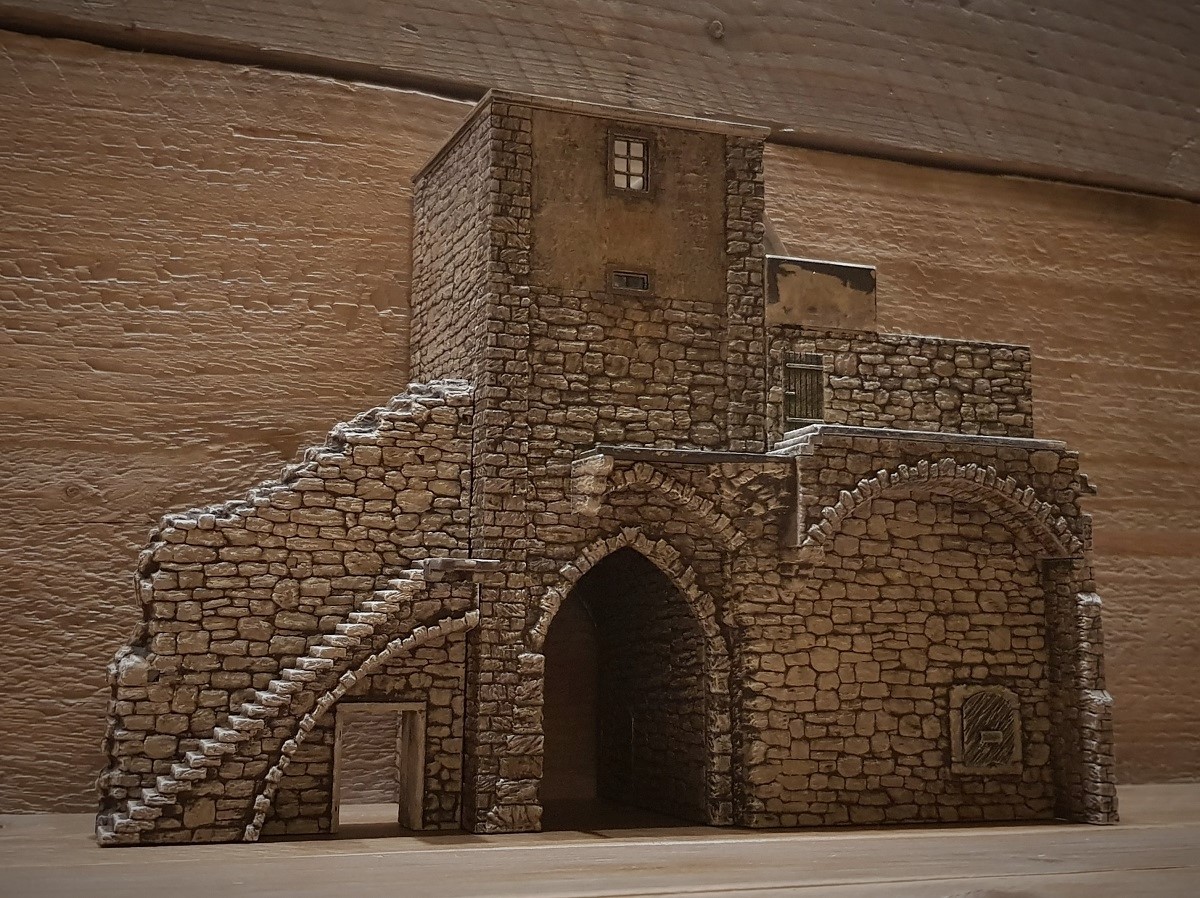
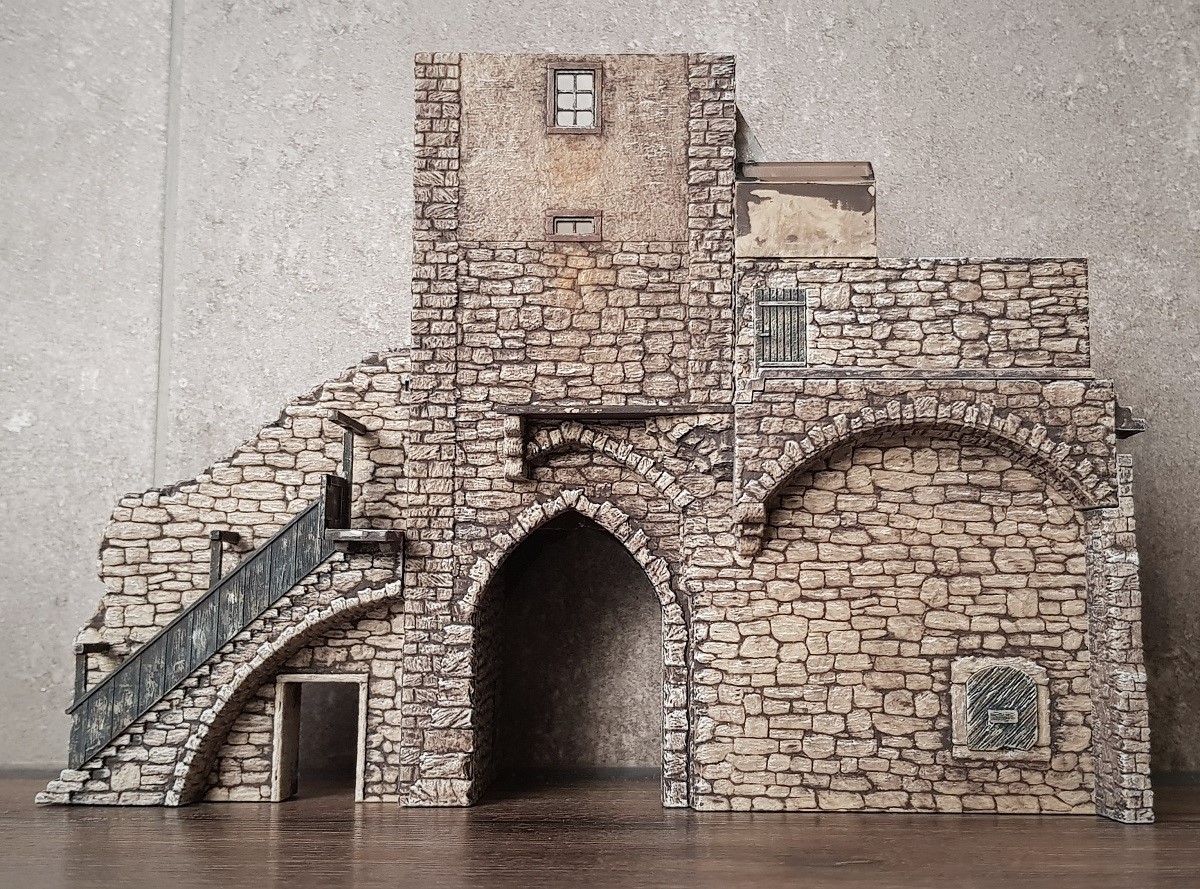
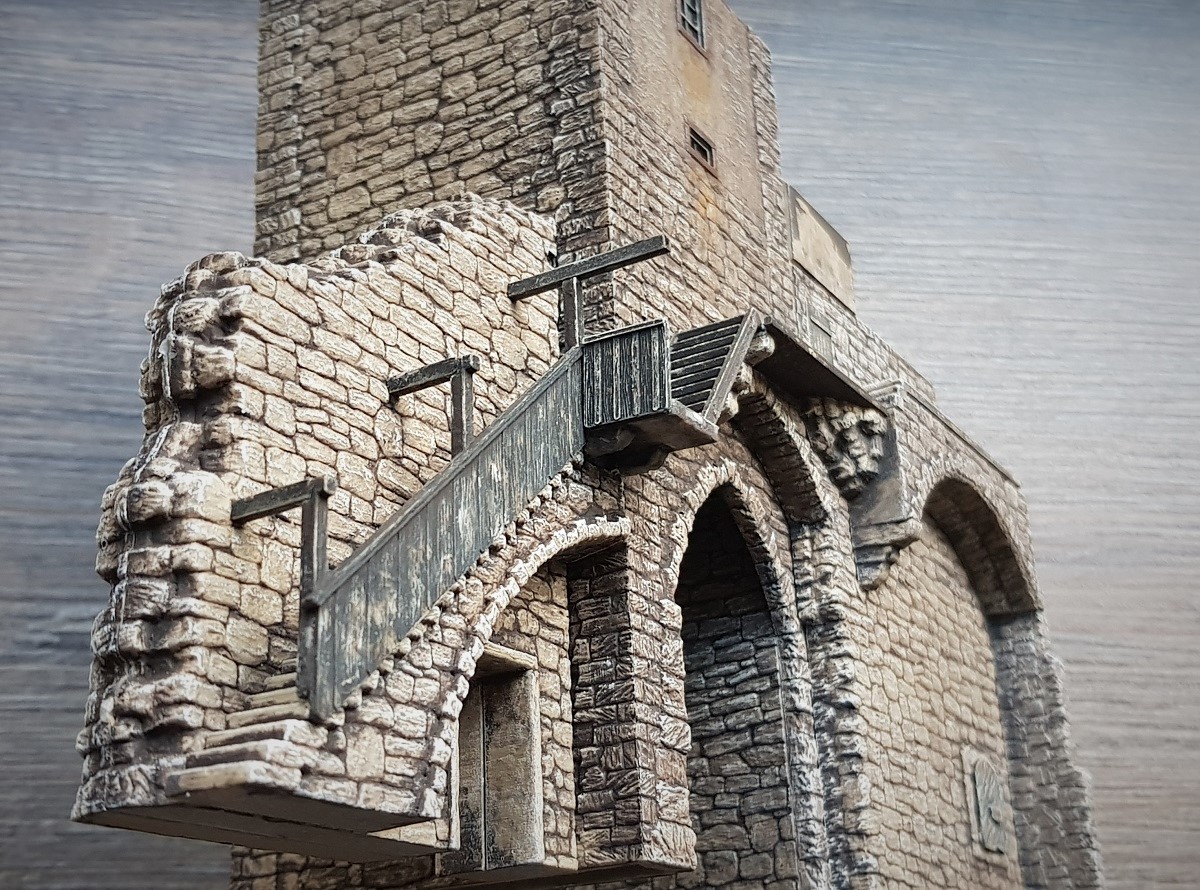
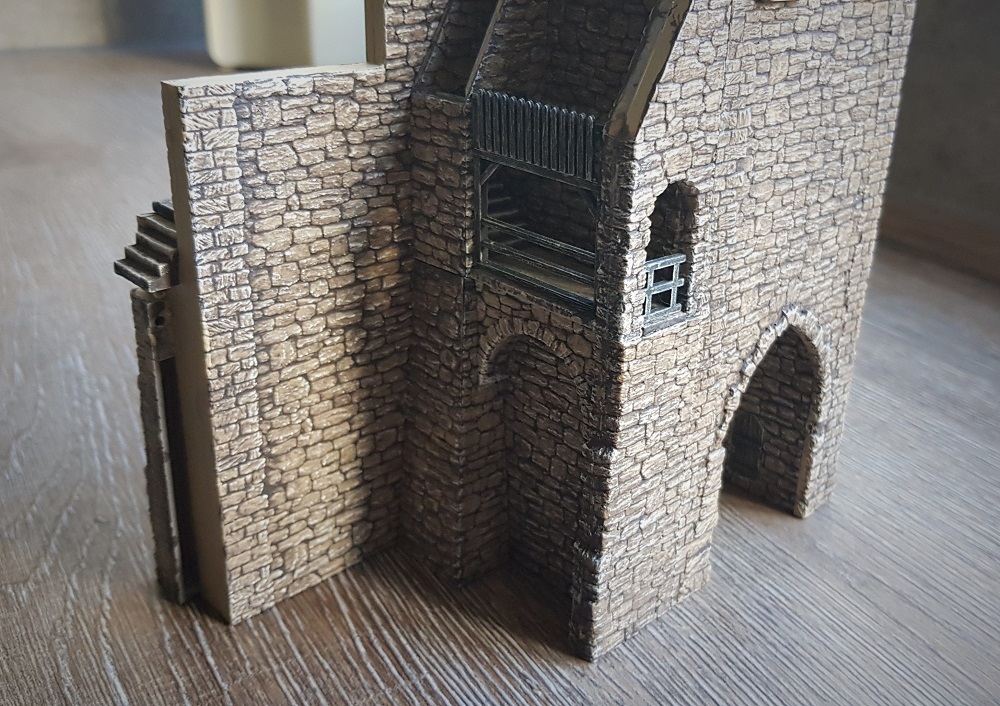
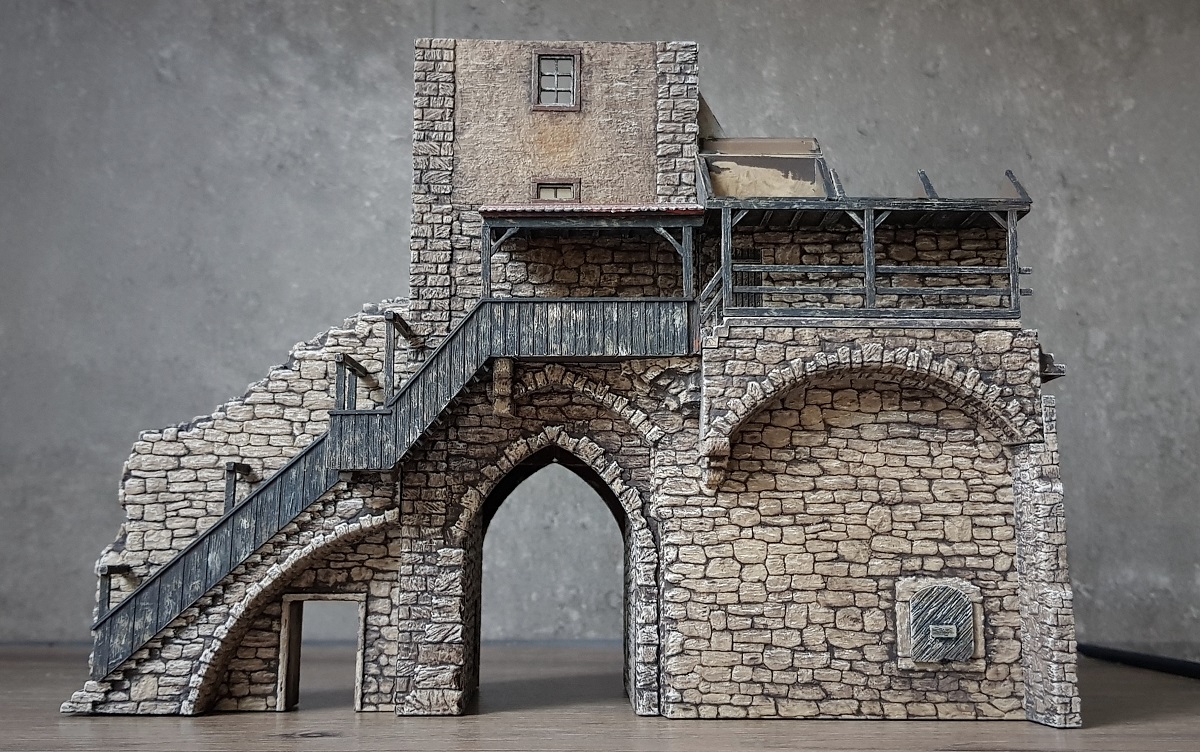
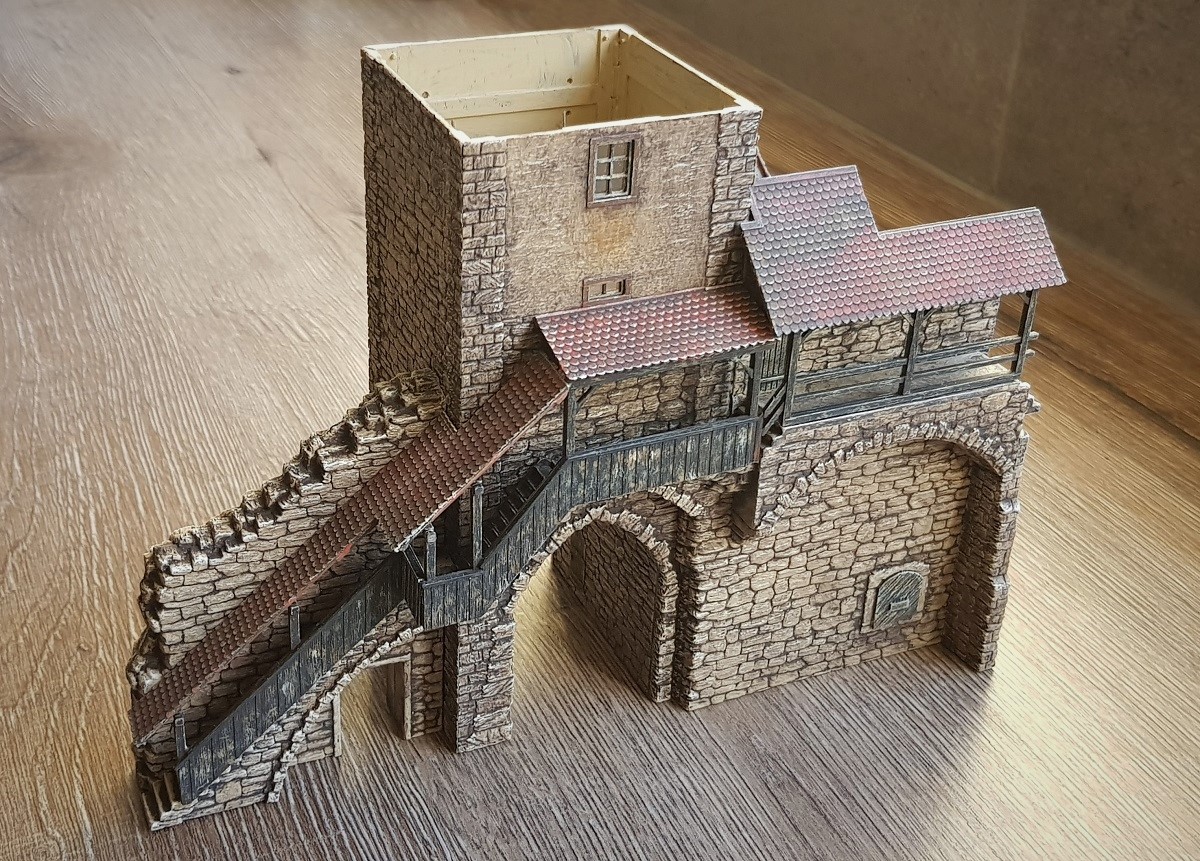
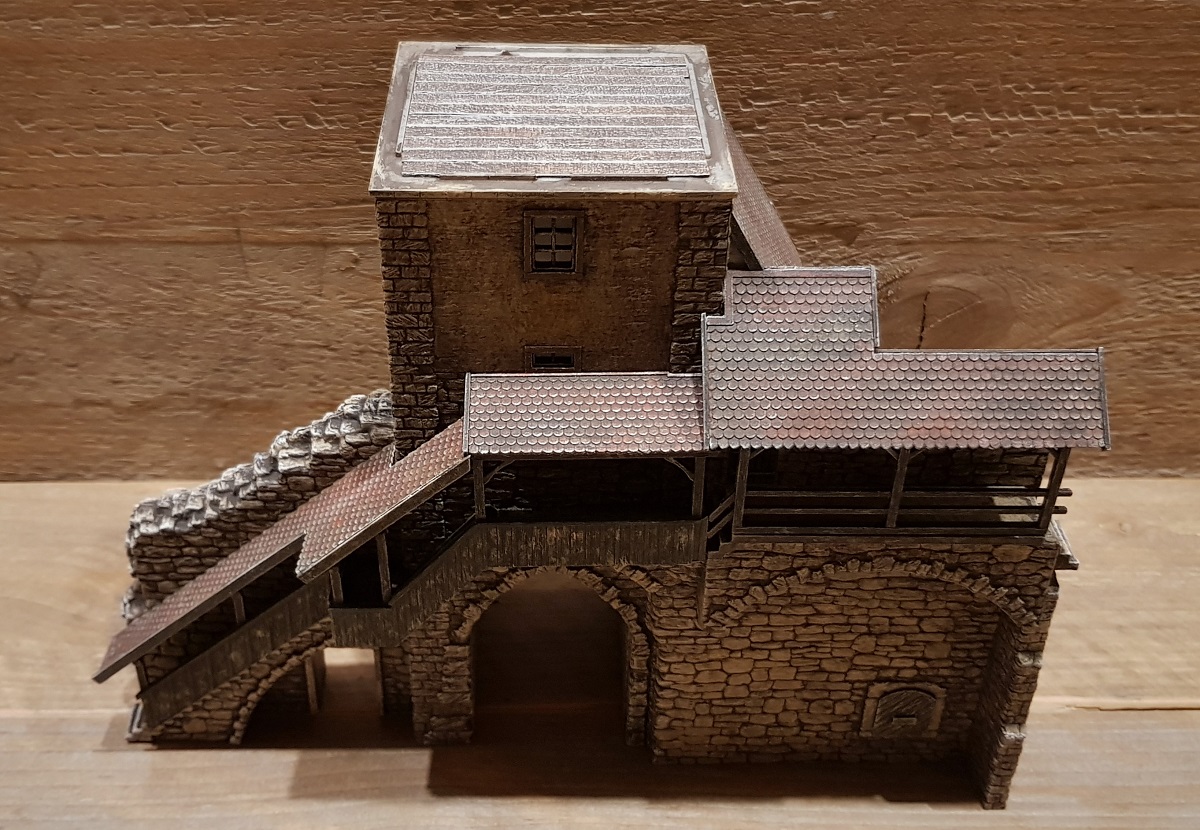
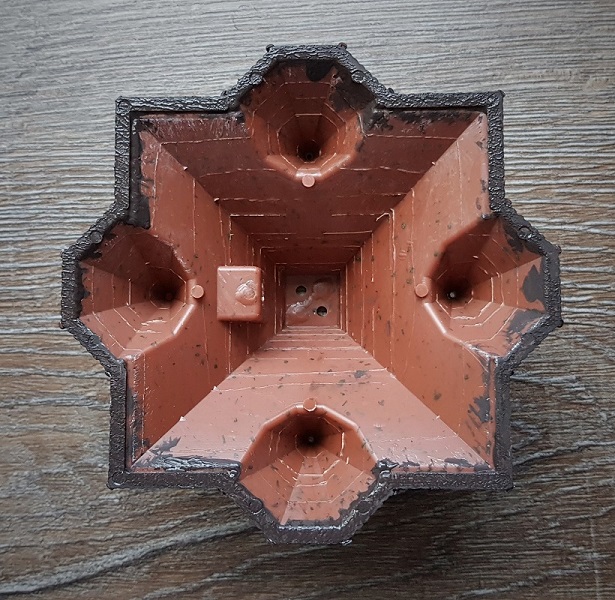
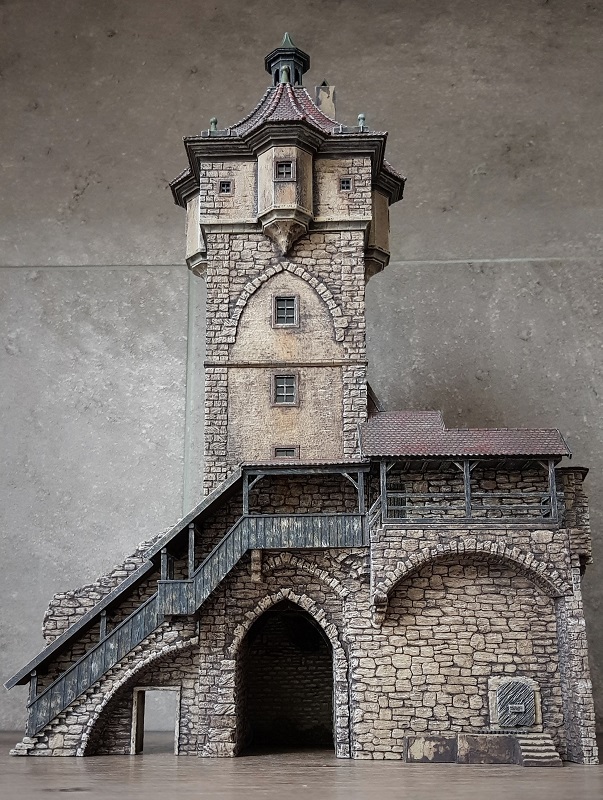
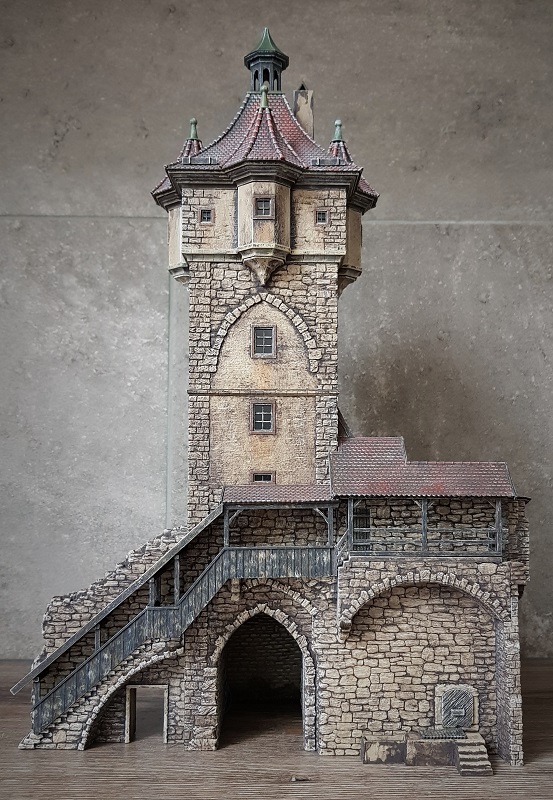
Rear and front side from the same mould. The change is most rewarding.
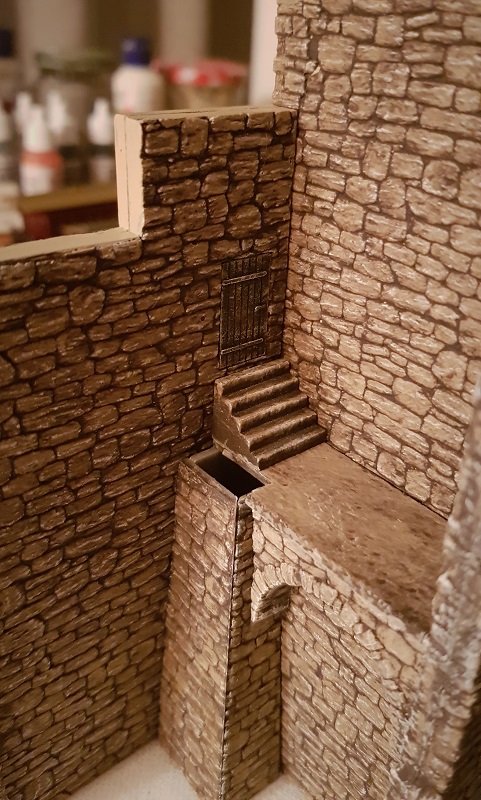
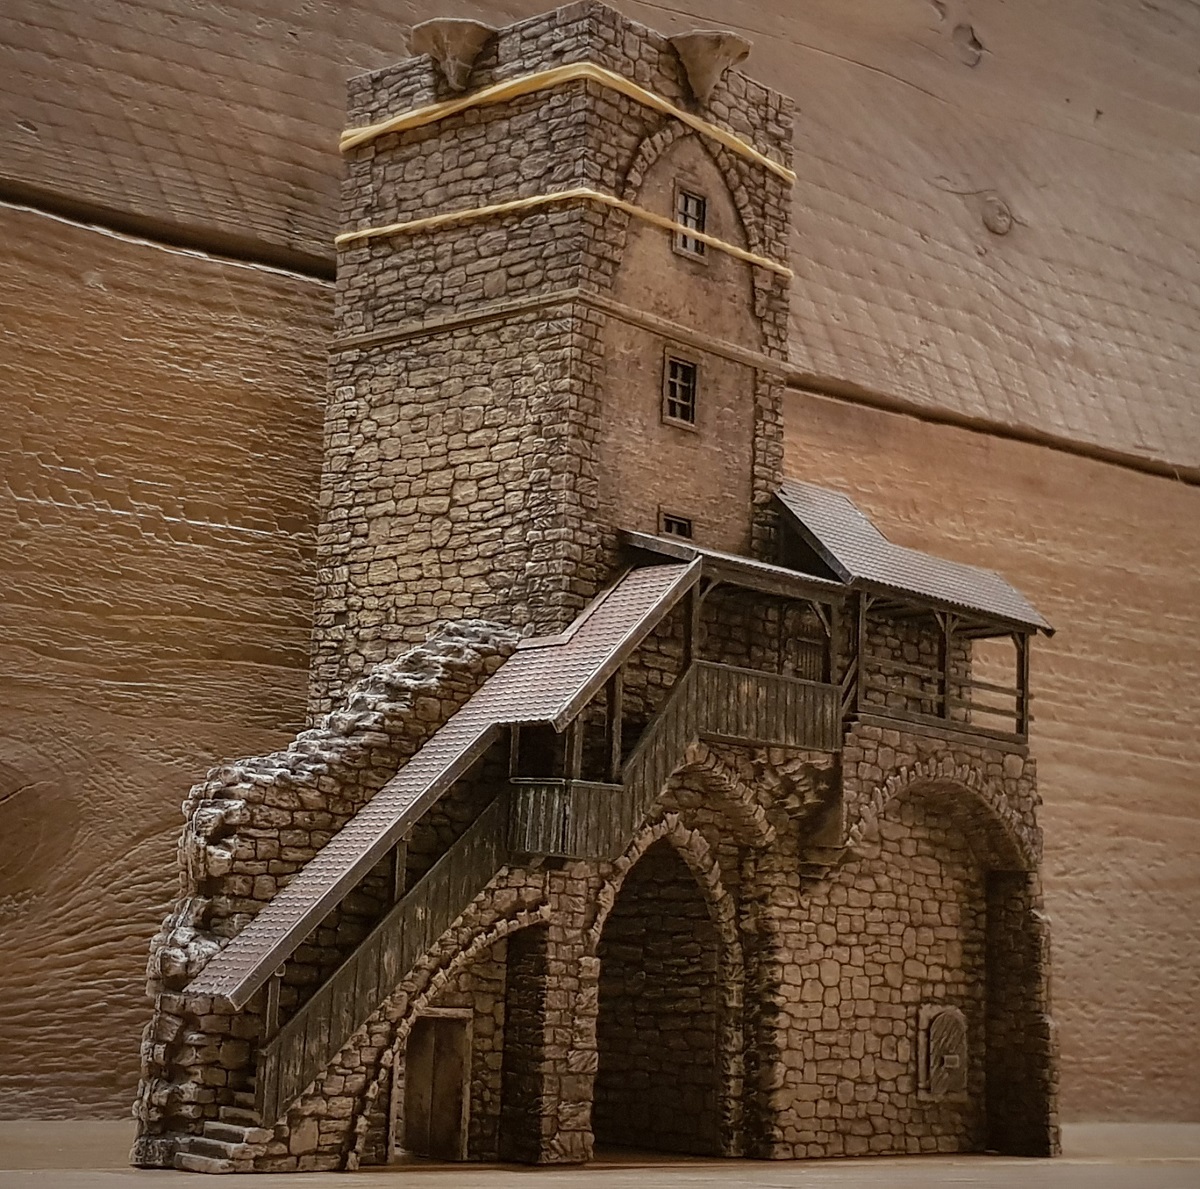
But for this moment the piece de la résistance... the stairs.
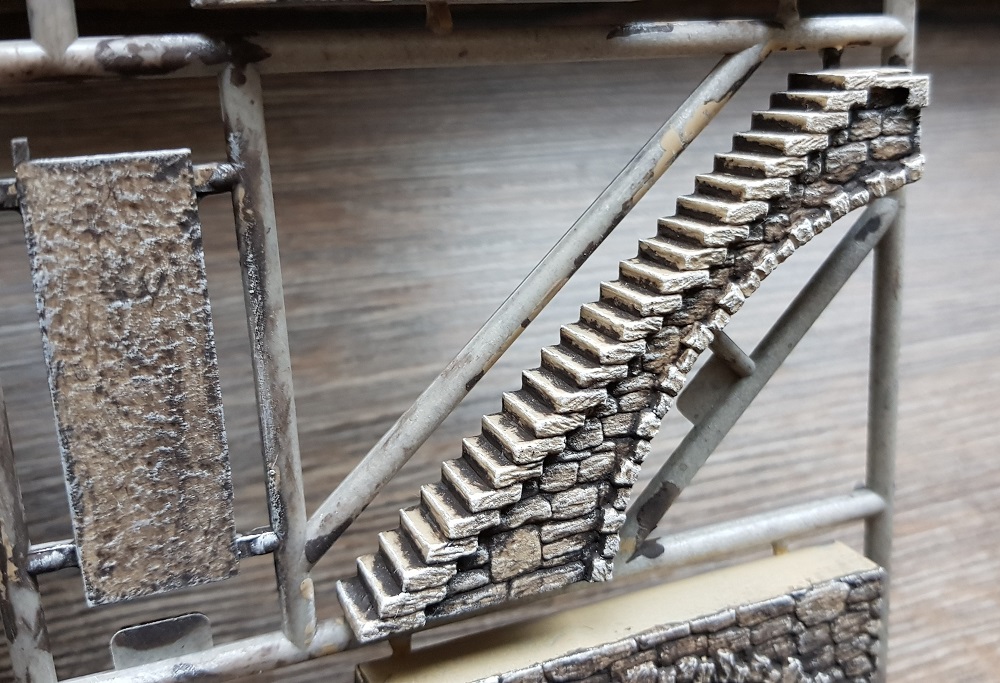
Even beyond my own expectation.
~~~
On 6 and 7 January I continued, step by little step...

Rear and front side
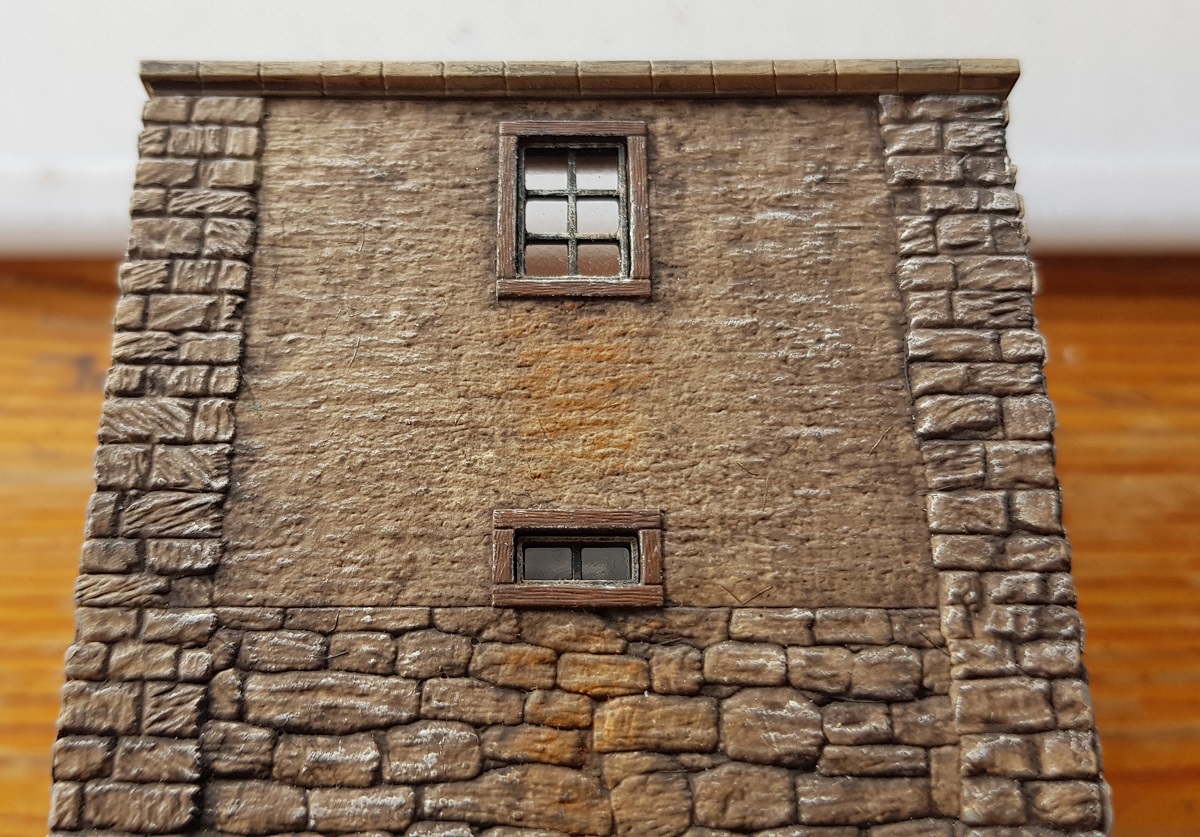
Adjusting the colour of the gutter...
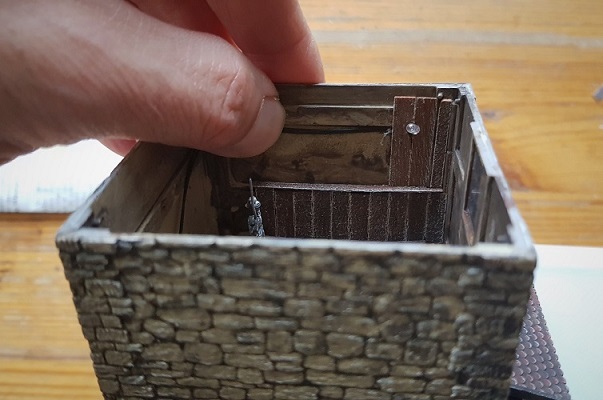
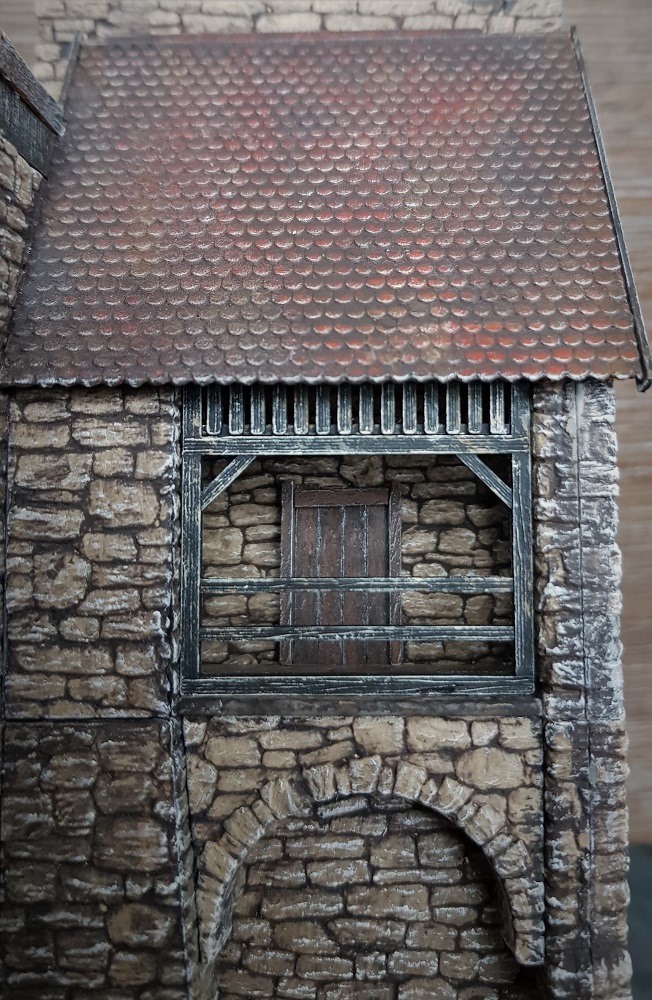
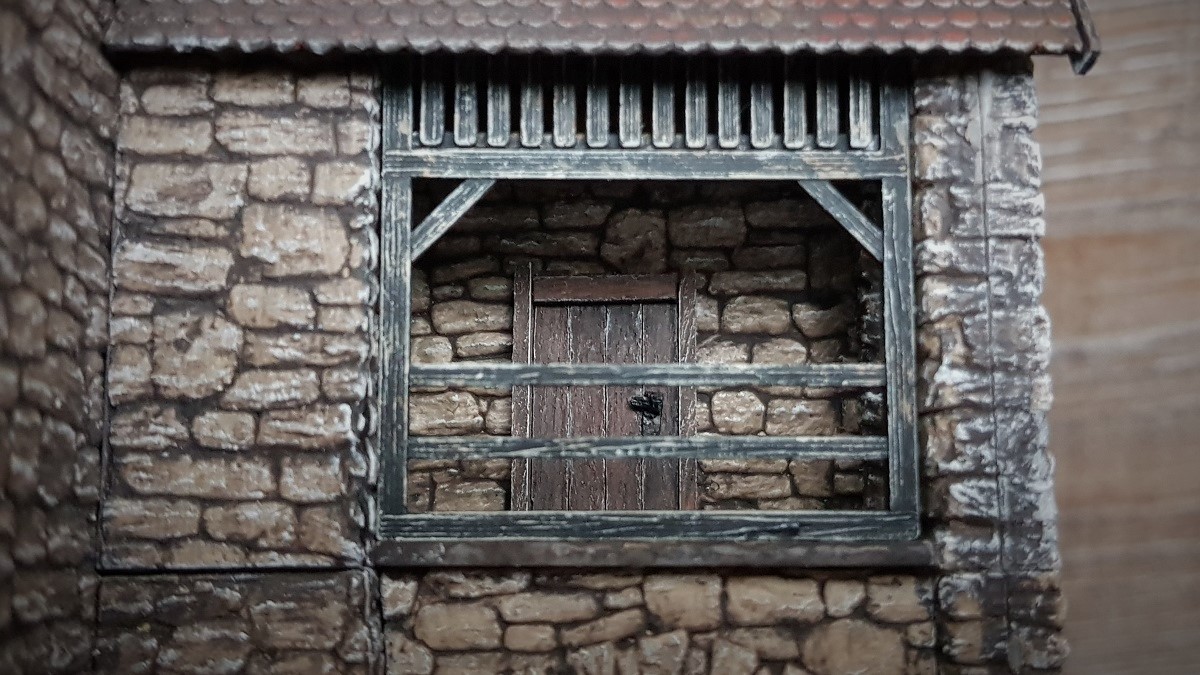
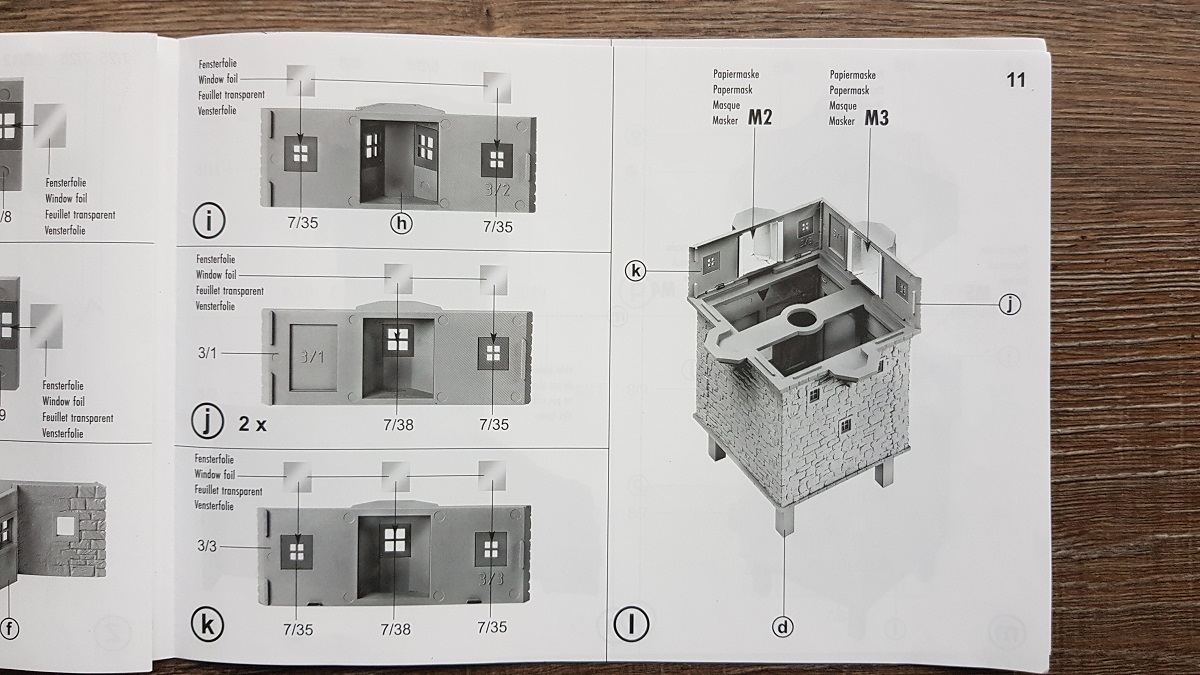
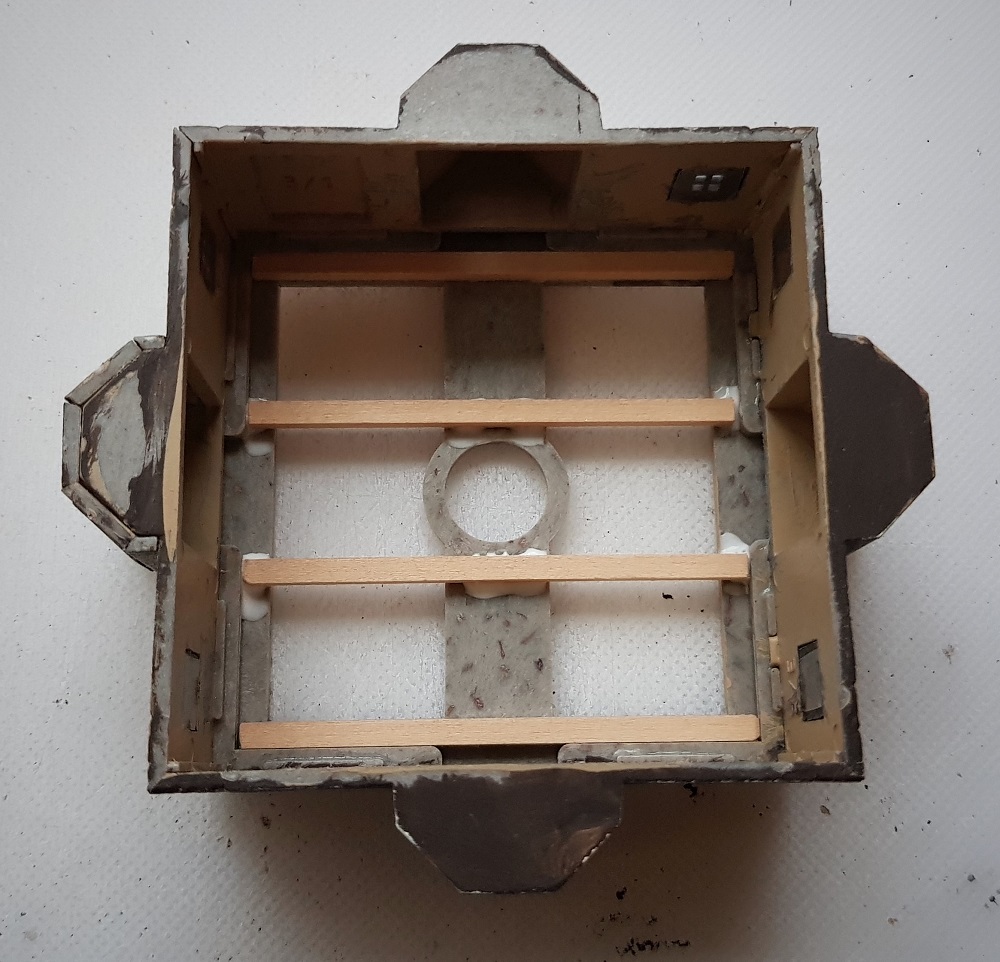
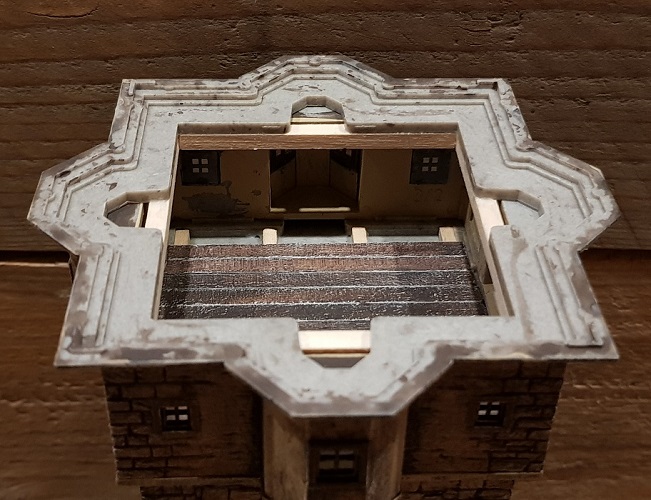
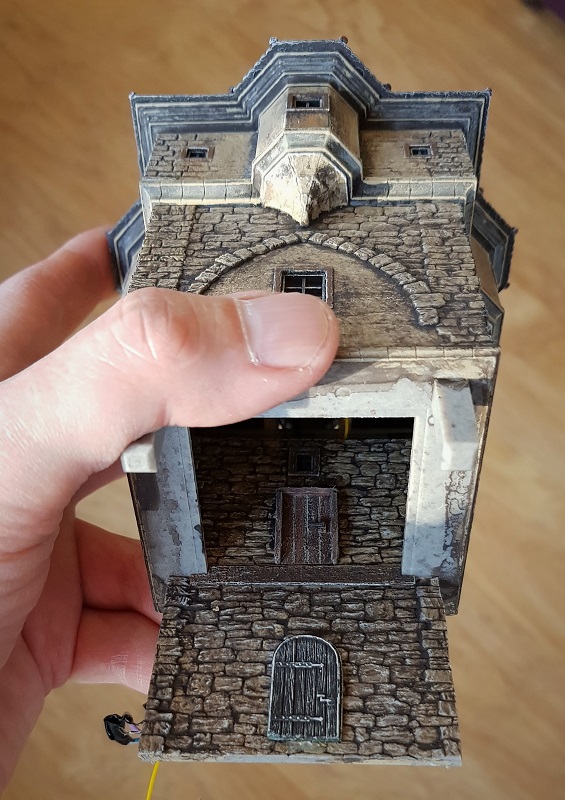
While I mused about the interior lighting - the grey curtains ruin the overall picture - I decided for open windows,
therefor an interior as well. These beams will support the floor.
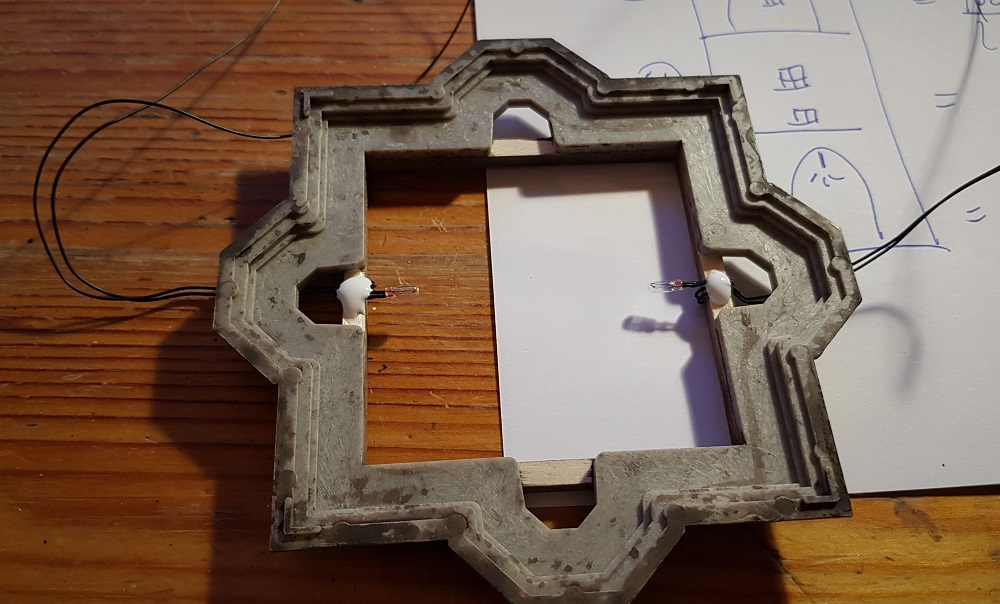
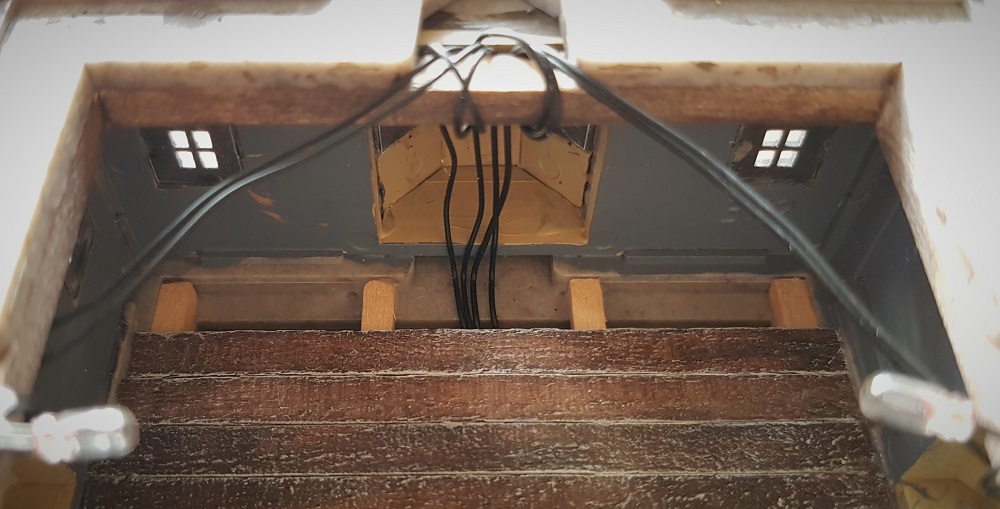
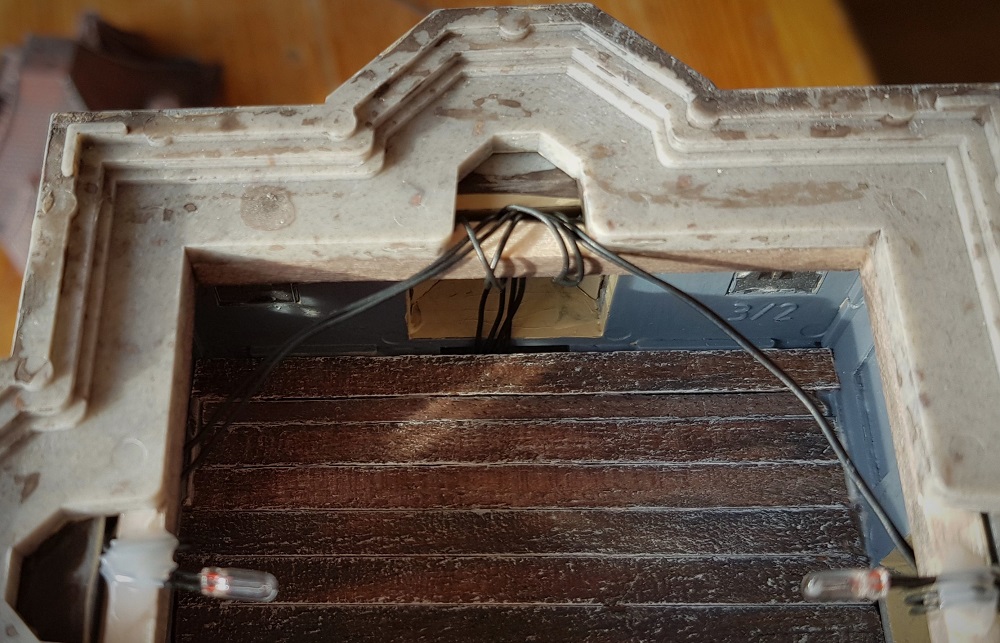
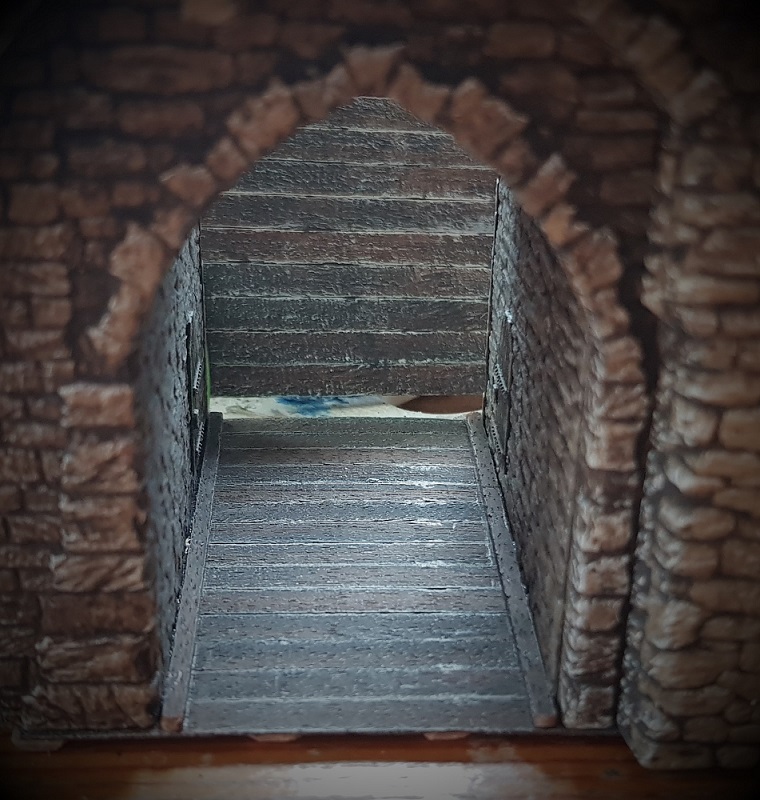
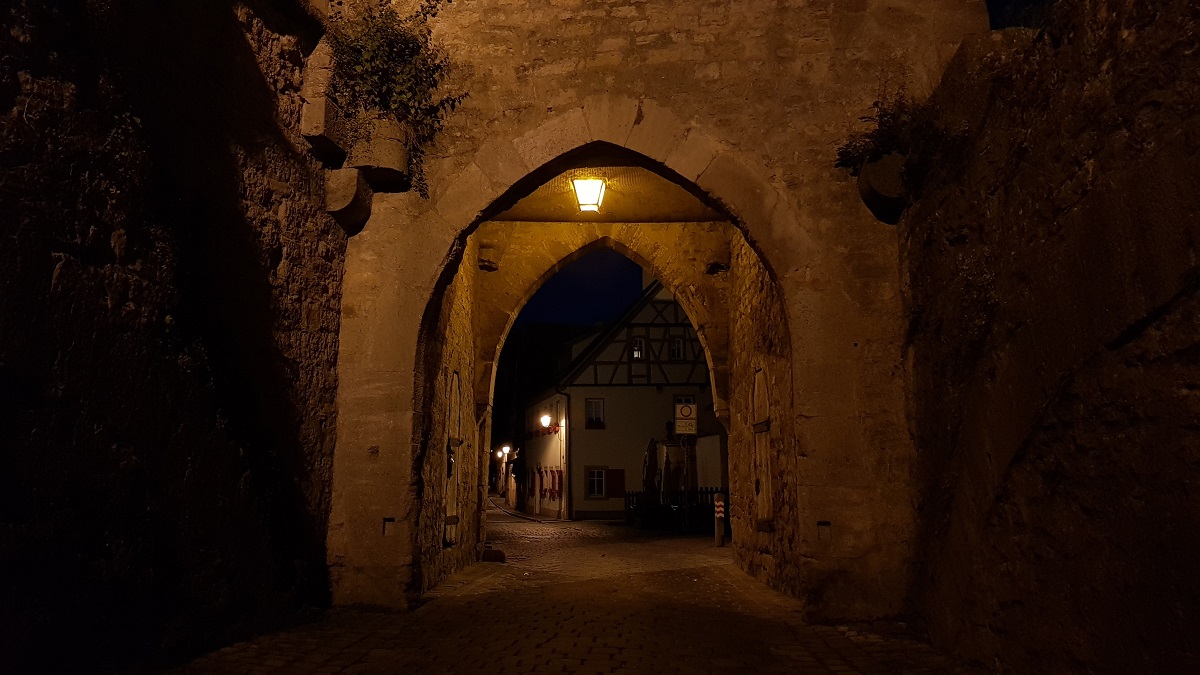
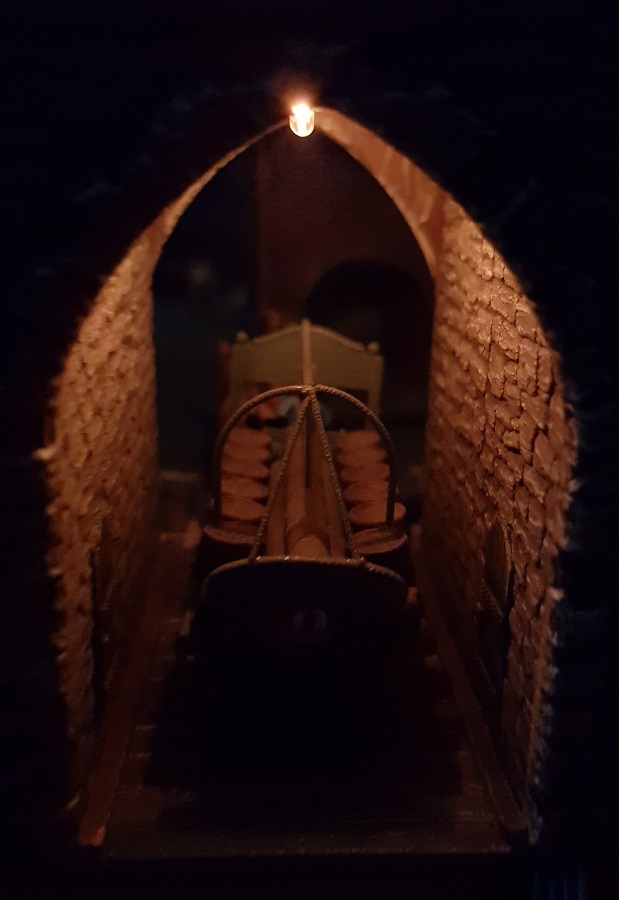
I'm not quite sure where Faller got the idea of putting a micro-cable bulb in the roof of the tower's passage.
In any case, I applied this very idea more than thirty years ago in the passage of my Kibri city gates (left picture).
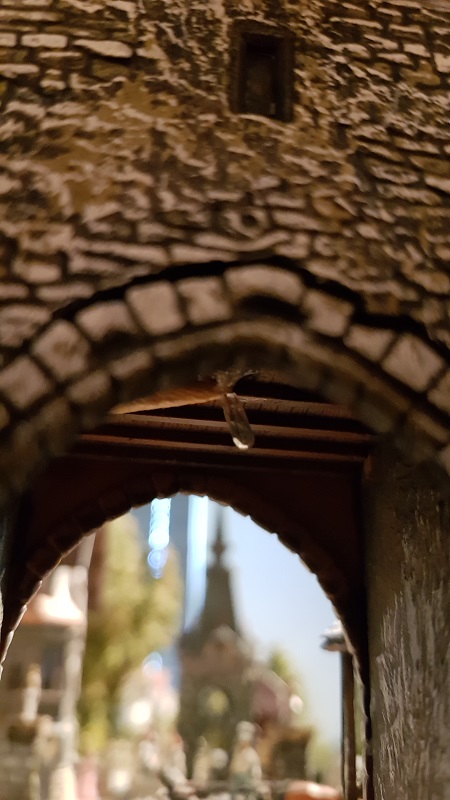

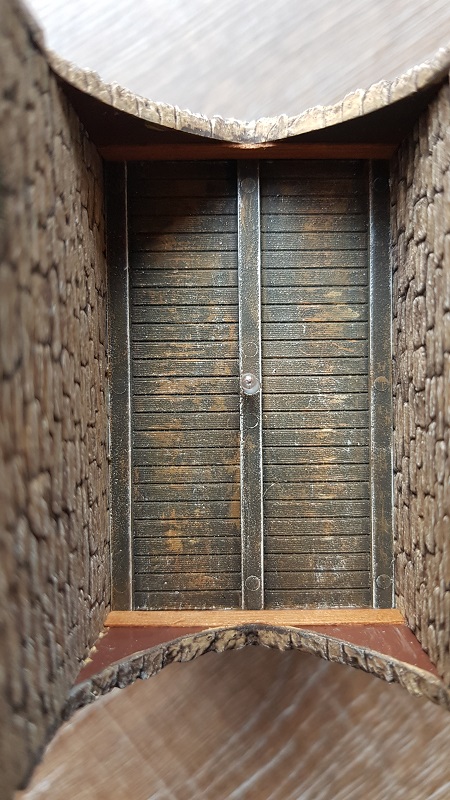
Kibri passage (left) compared with the Faller passage
~~~
Saturday, January 9th 2021 ~ a whole day for the K l i n g e n t o r t u r m
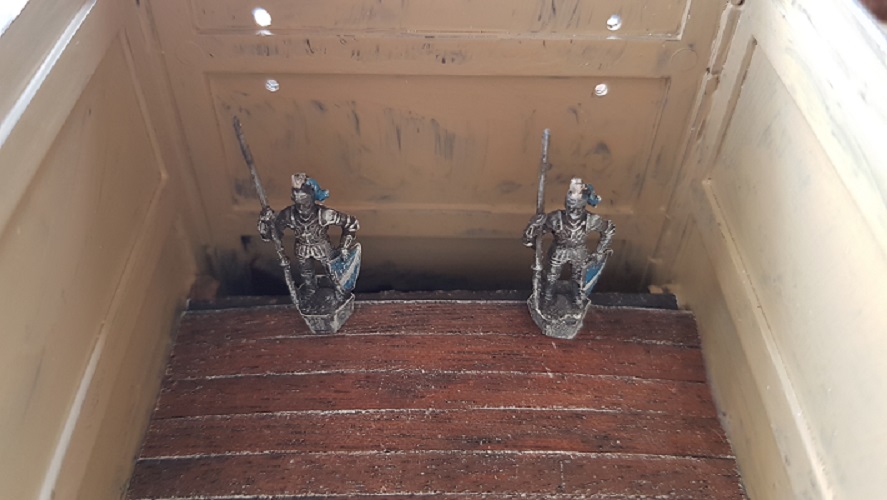
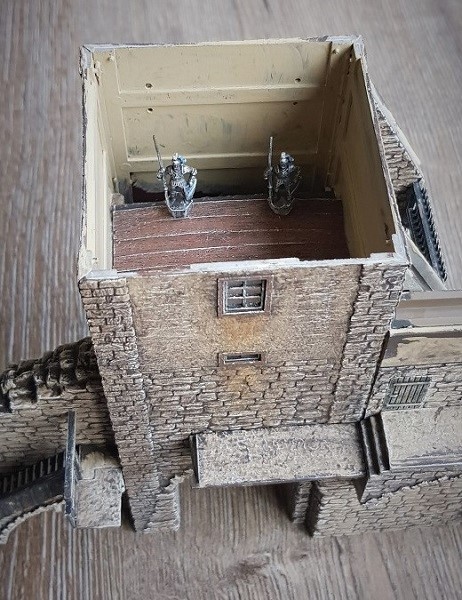
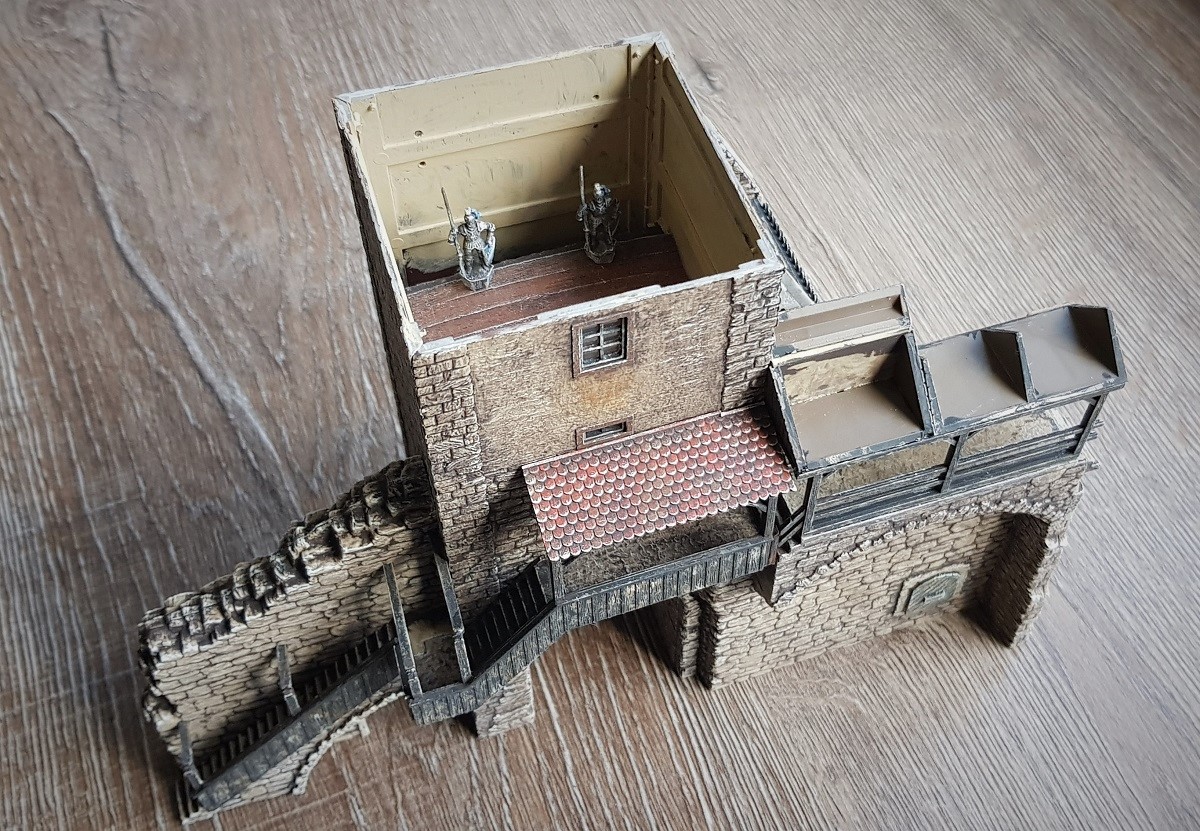
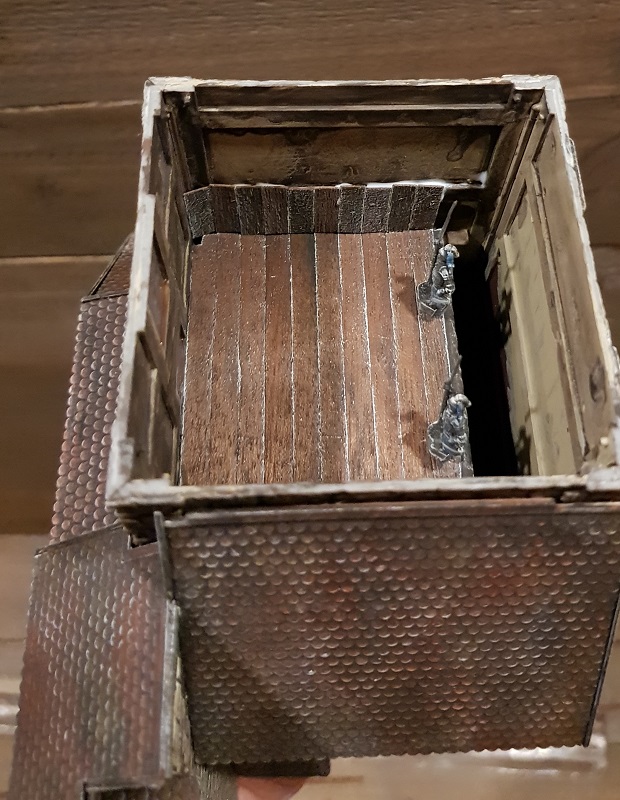
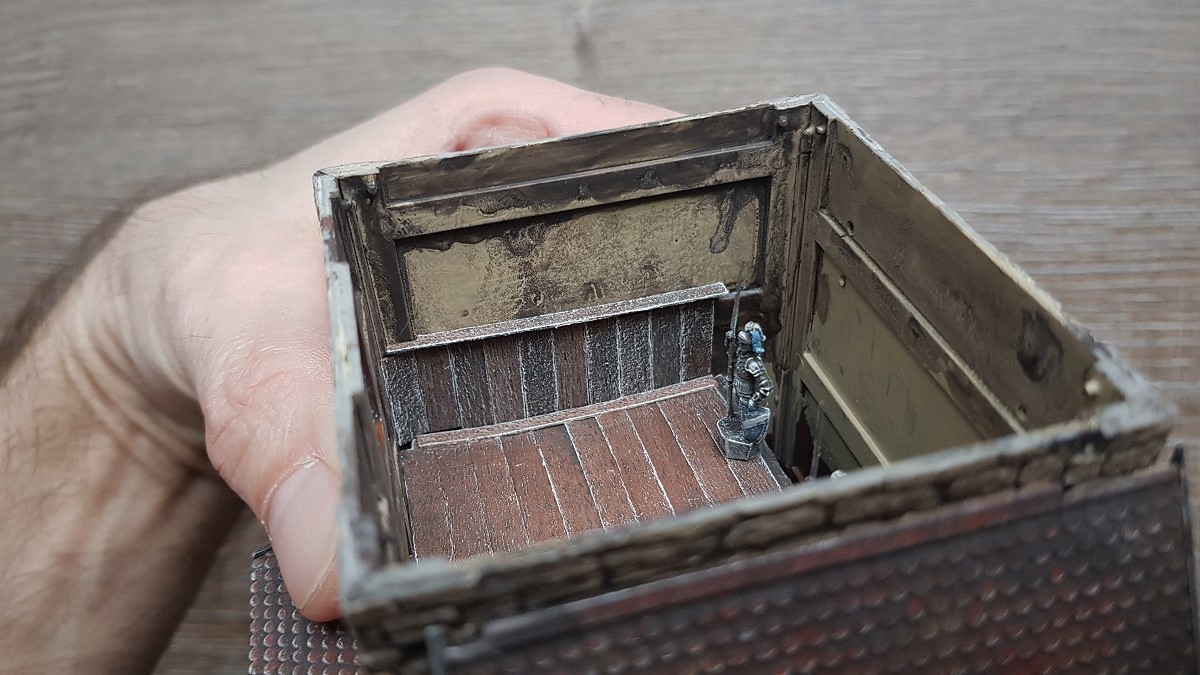
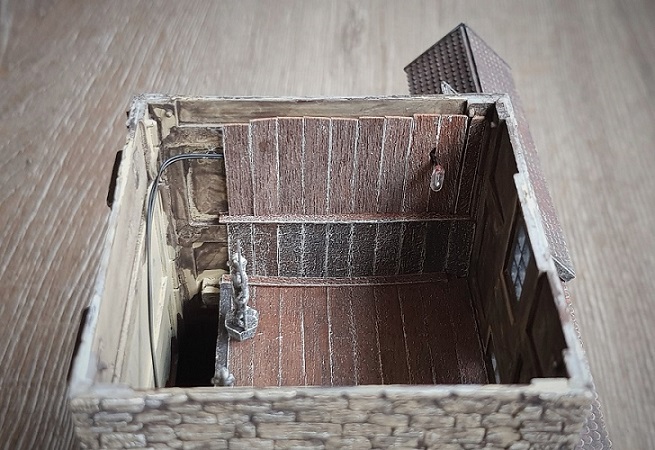
Creating the interior took all afternoon.
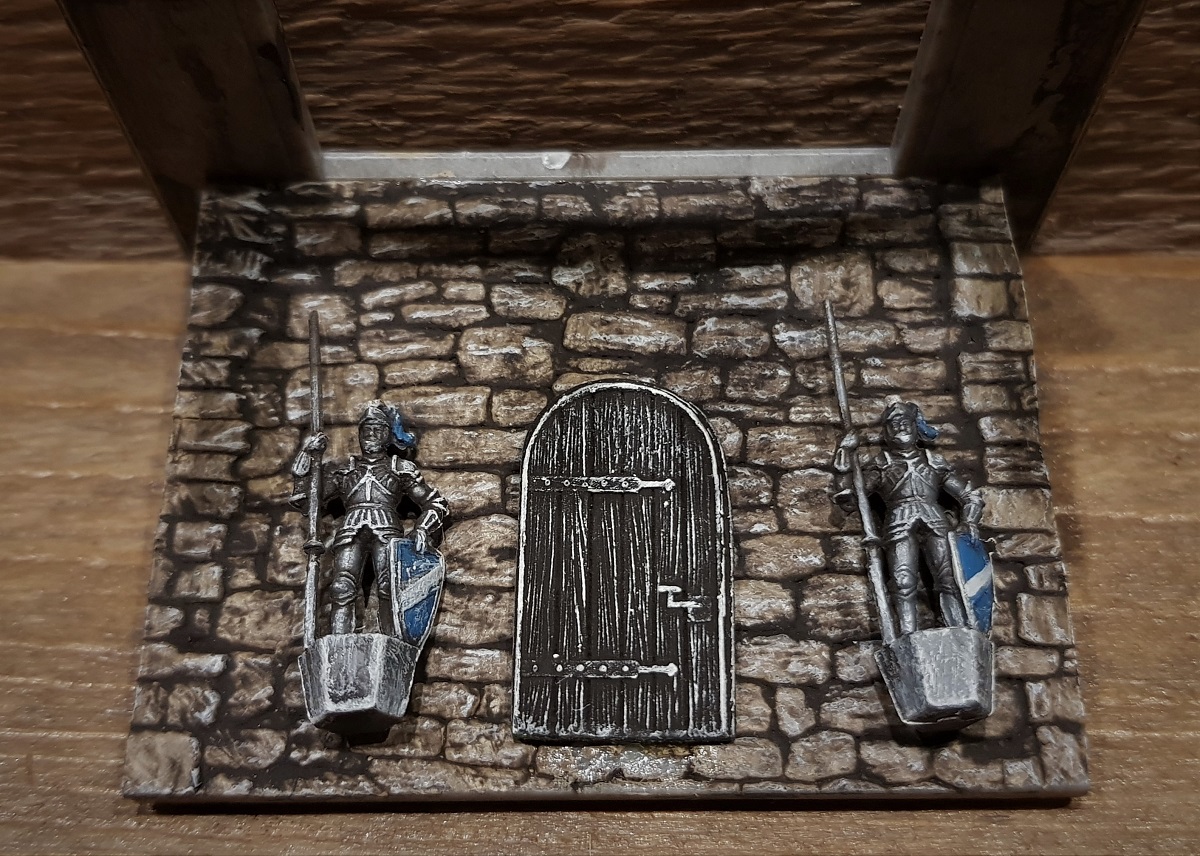
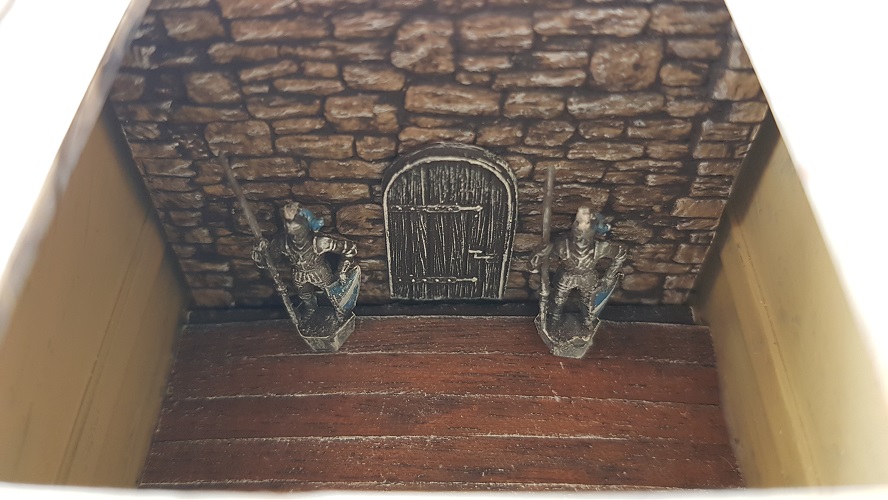
Looking for various materials of interior decoration, like a door on the inside, two knights, creating the first-floor room, etc.
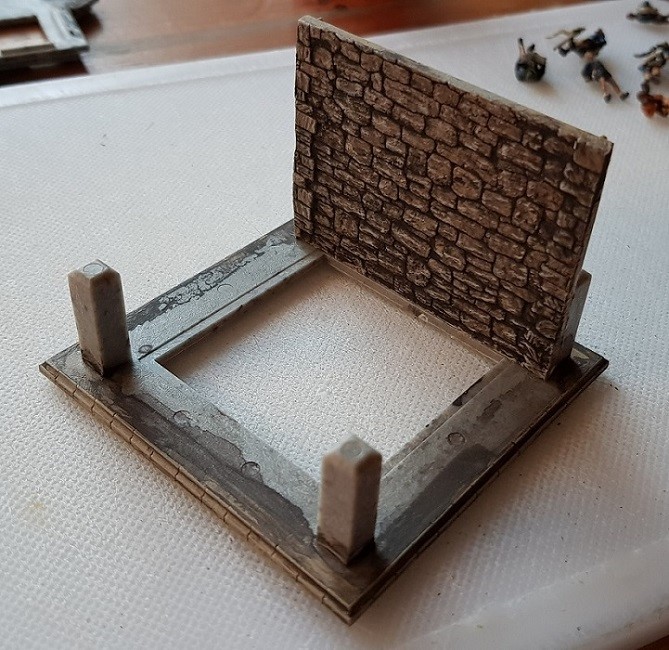
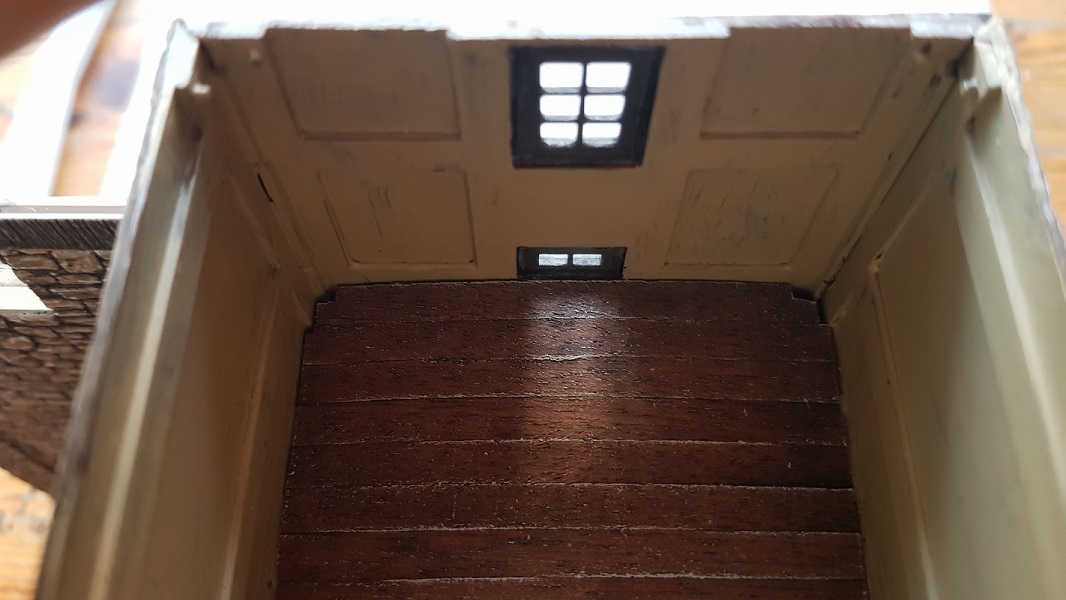
I also decided to give the room a lighter colour.
The coffee brown primer was in effect meant to prevent light from shining through.
The yellow paint is the same as used for the exterior. I kept some in a jar...
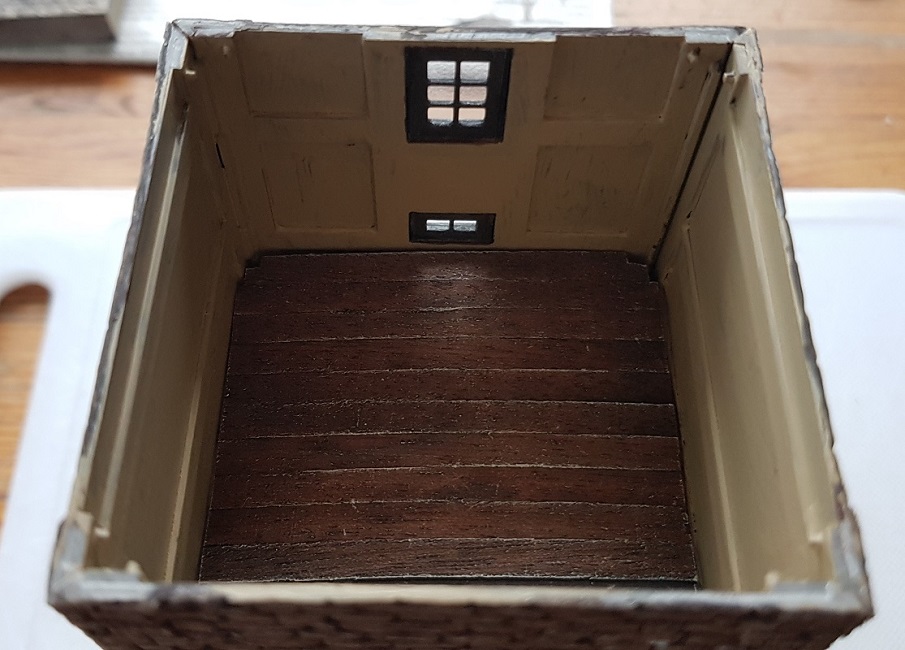
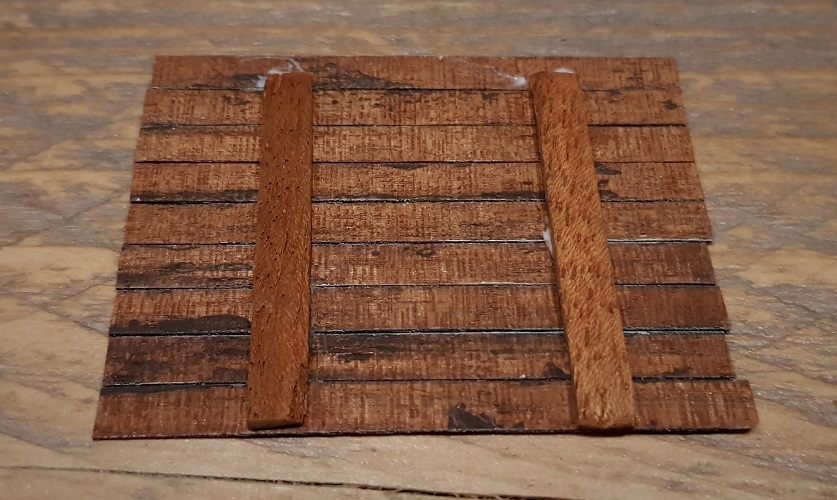
I couldn't keep the floor from curving, since I glued the planks on cardboard.
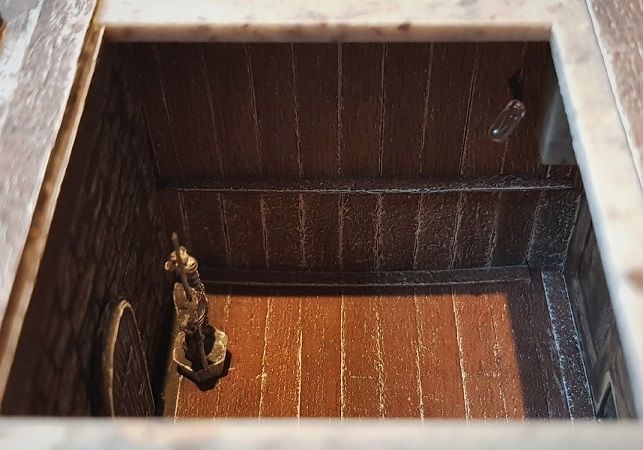
While looking for an appropriate door in my 'stock chest',
I found the sachet with Preiser knights (again).
I don't think there is a more appropriate place than in this medieval place.
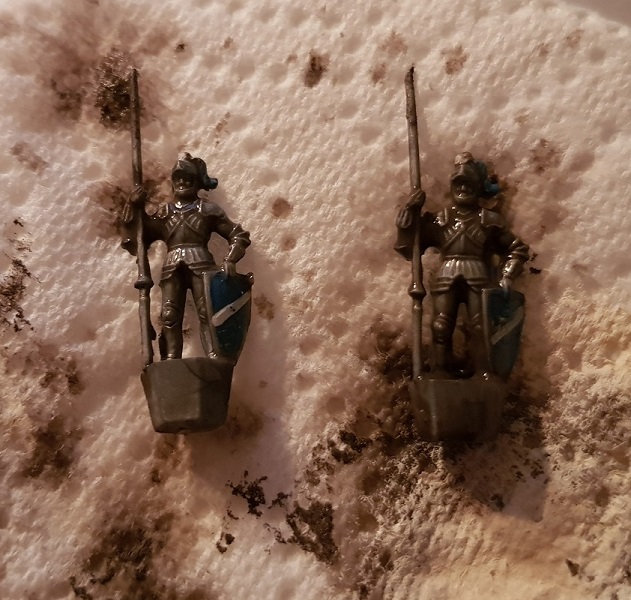
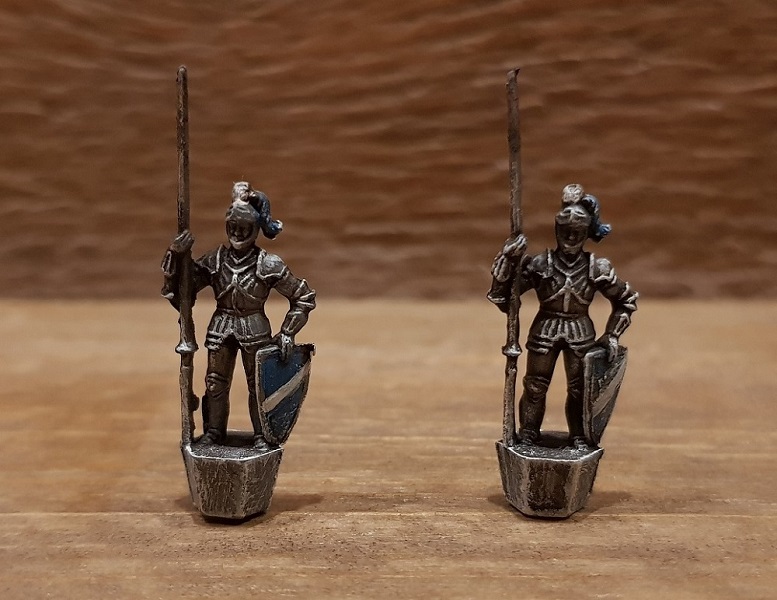
Some Heki Lasurfarbe with some white brushing, and...
Voila!
~~~
Sunday January 10, 2021
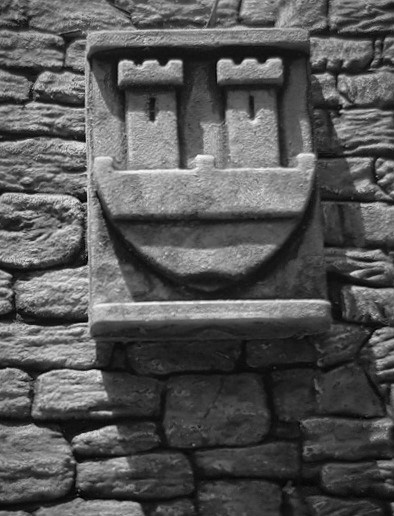
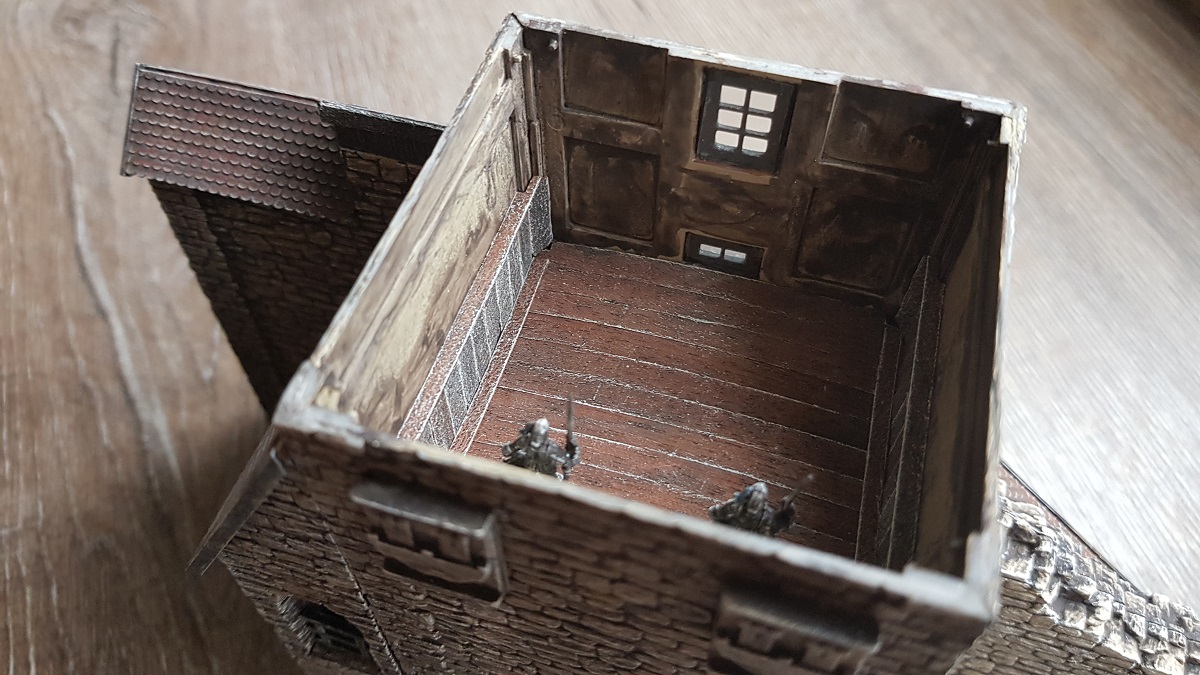
Two extra wall parts at the side would be preferable in this room, but I think I need them as backdrop in the next upper floor...
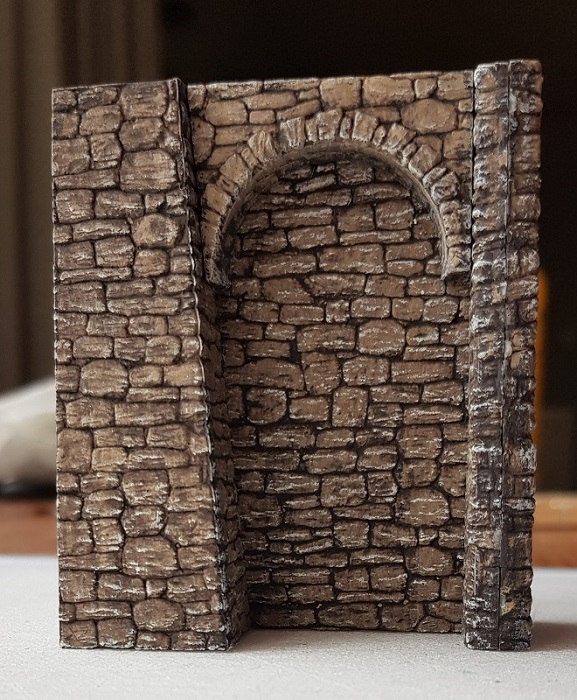
Today mostly working on the wall parts next to the tower and the interior of the first chamber, in the evening some wall parts.
In some way I can look at this piece of wall for hours.
~~~
January 11, 2021
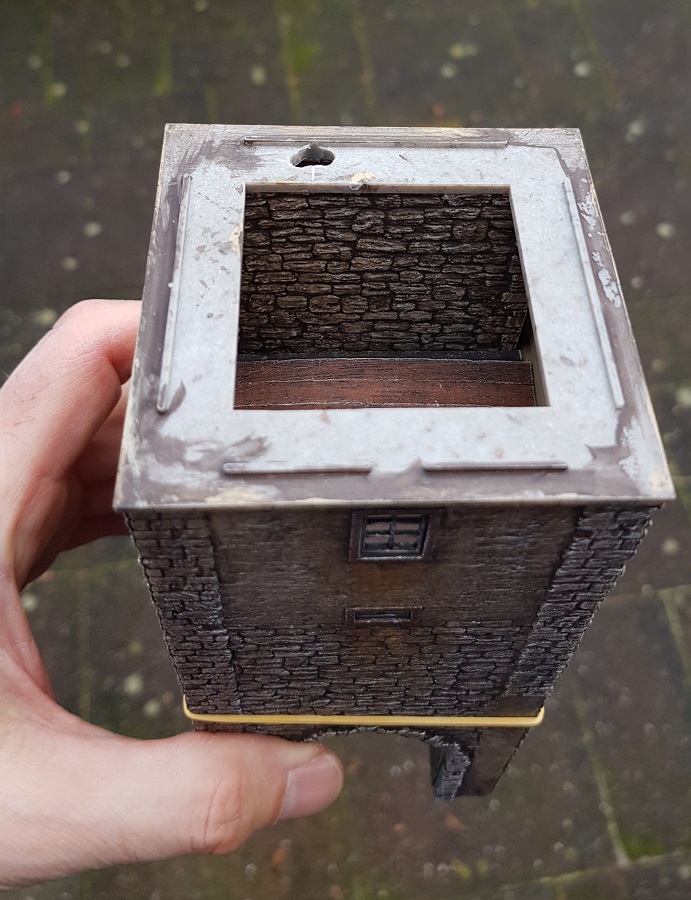
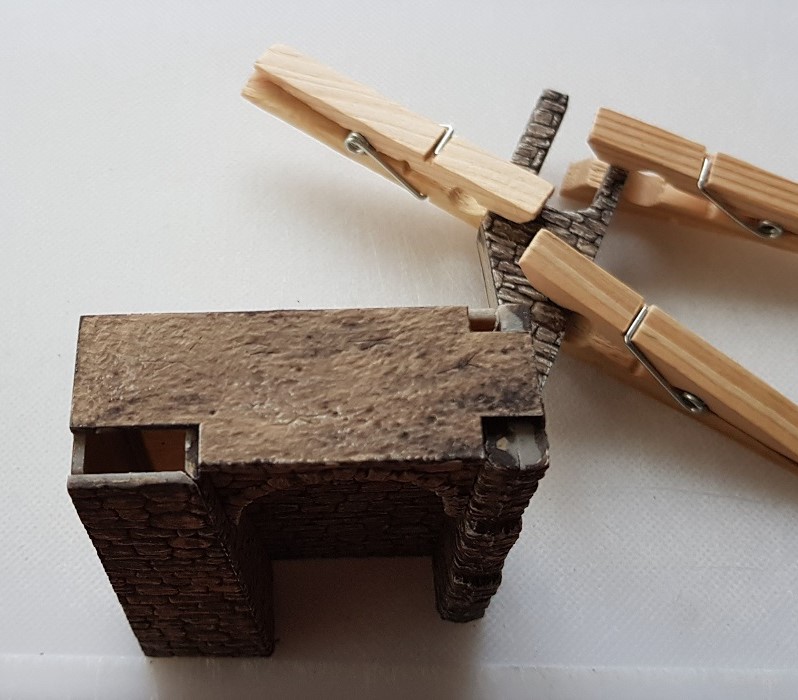
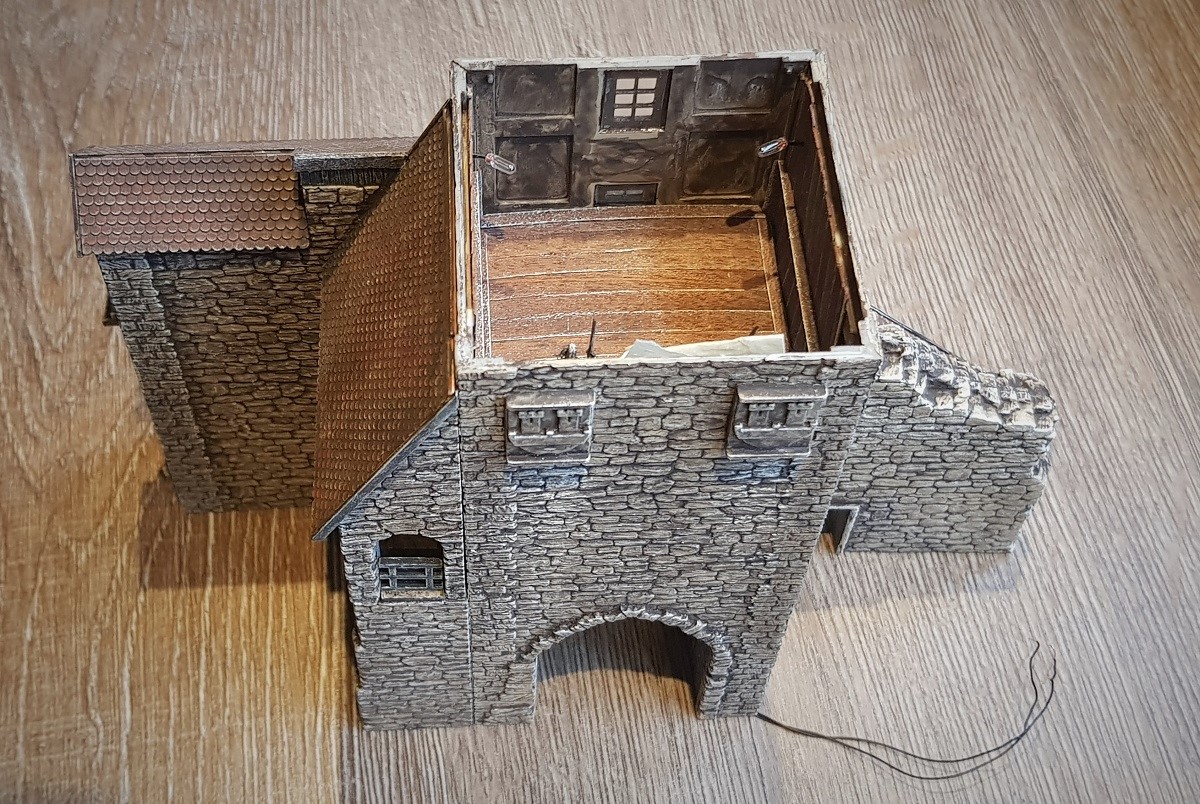
It's growing bigger and heavier than I imagined...
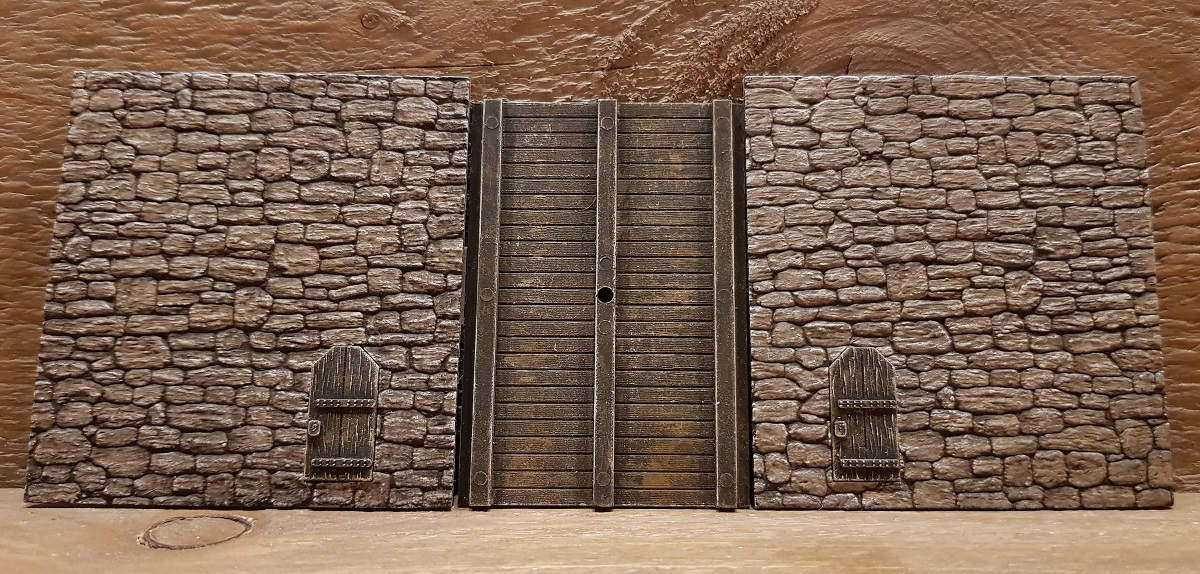
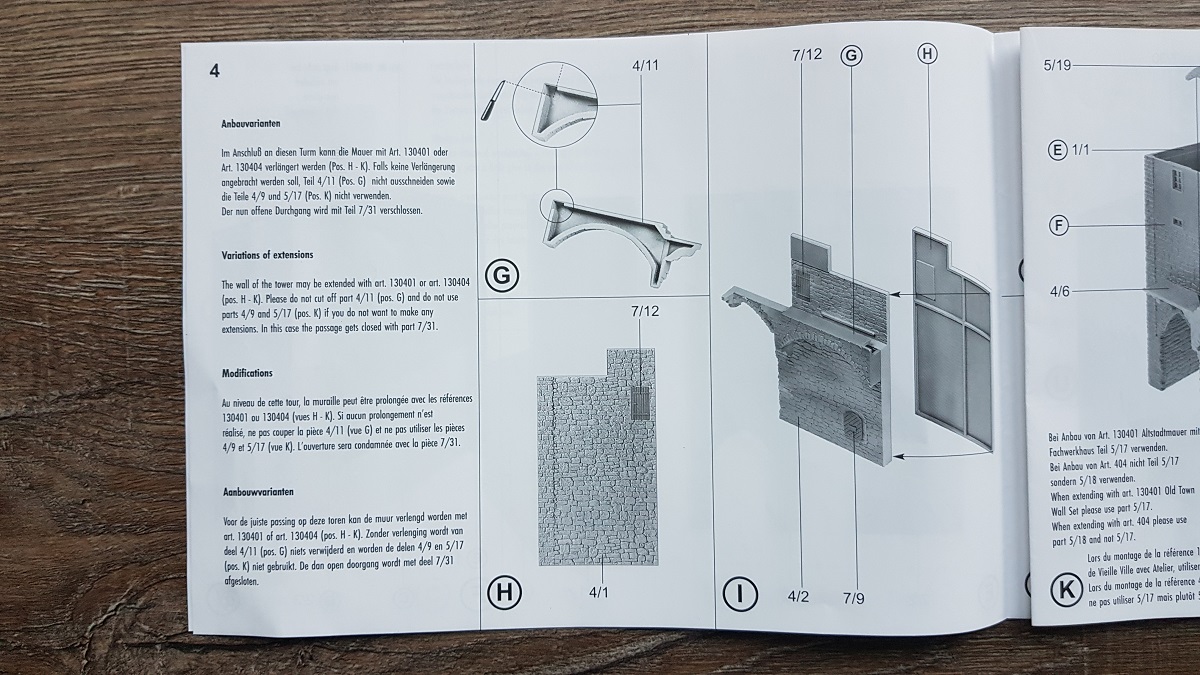
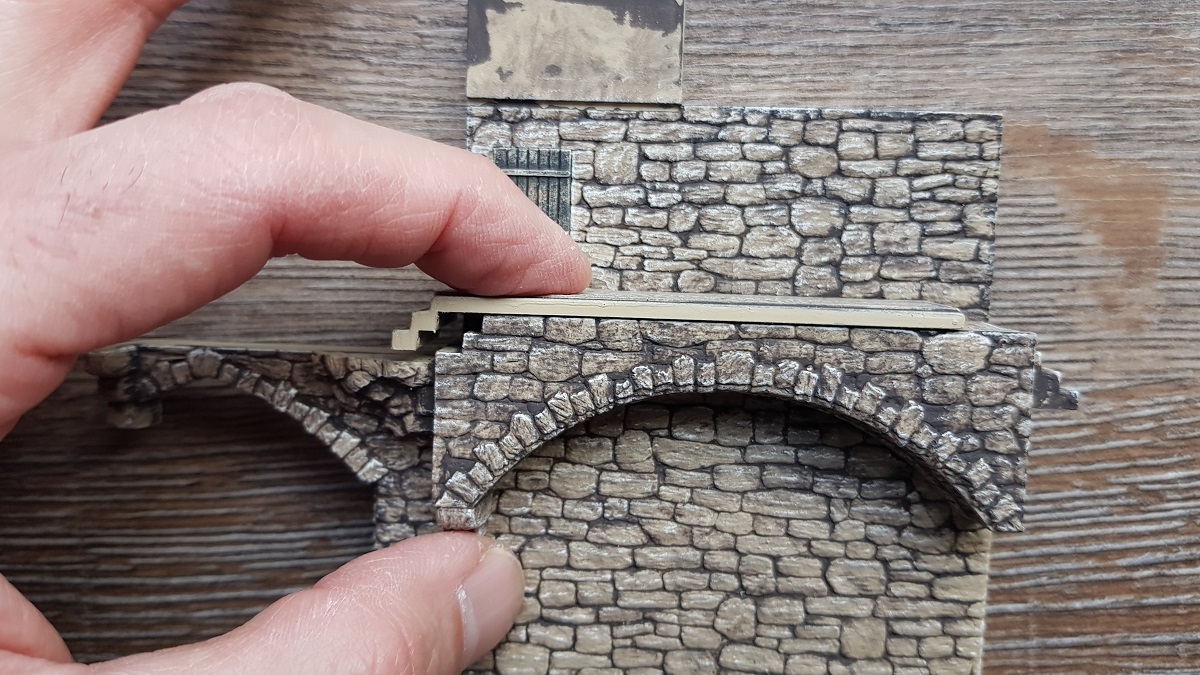
A small challenge arose: how to join the Klingentor with the present wall of Cochemer Town.
But with a few cuts...

I will deal with the "flight of air-stairs" later...
~~~
Tuesday, January 12
~~~
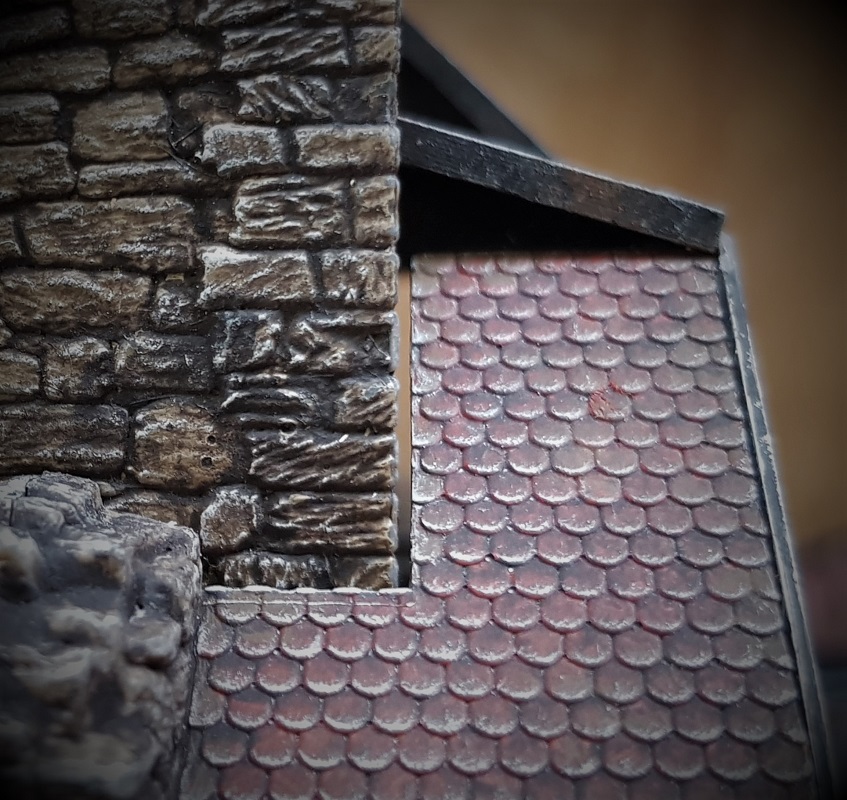
Similar to the Cochemer Burg and Town Hall, the slate roof tiles of the Klingentor will also be old orange.
But that's more a job for tomorrow...
~~~
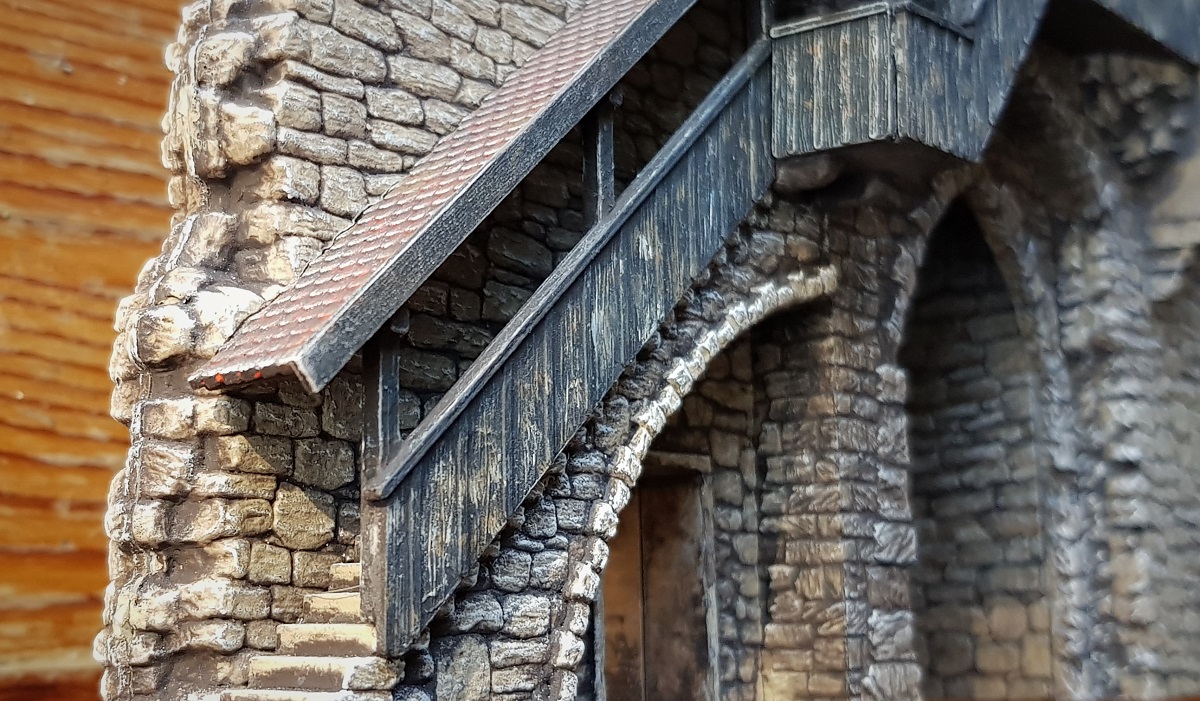
The next day, 13.1.2021
Painting the roof tiles meant for the staircase.
I will weather the tower rooftop not before all roof ridges are positioned.
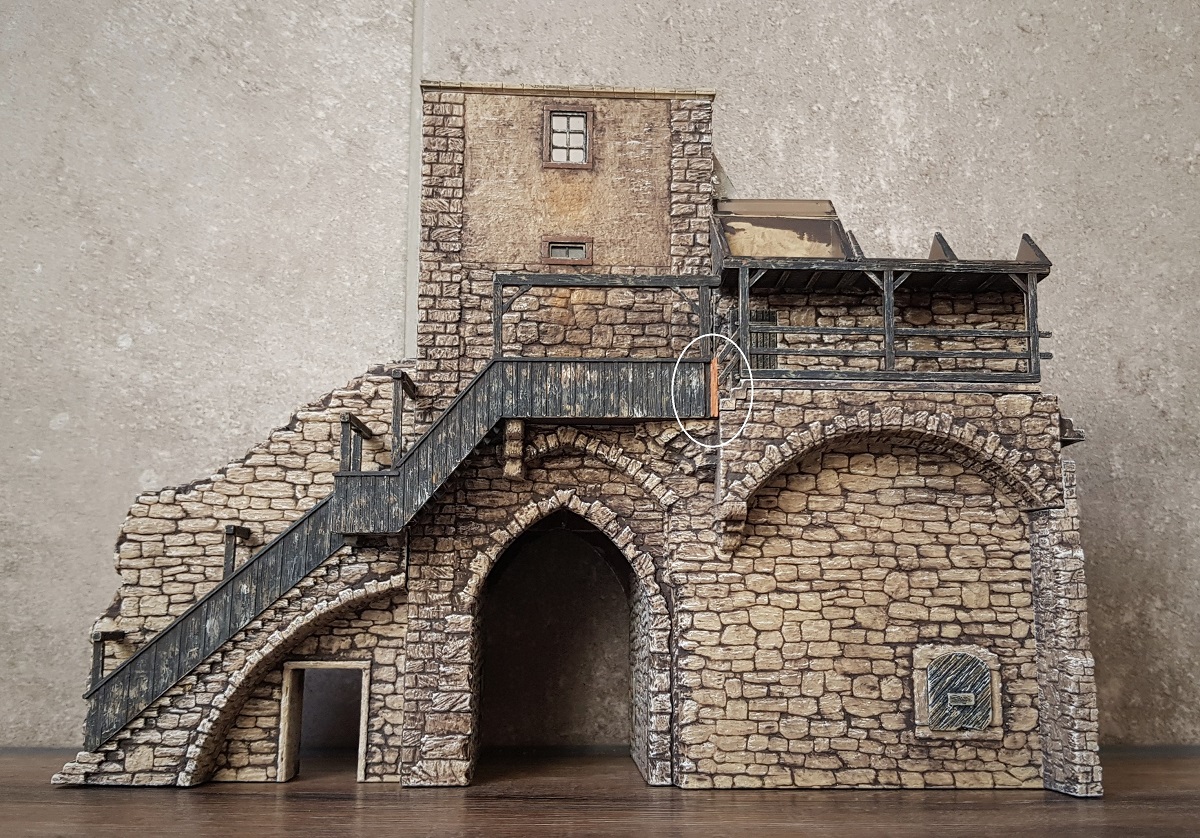
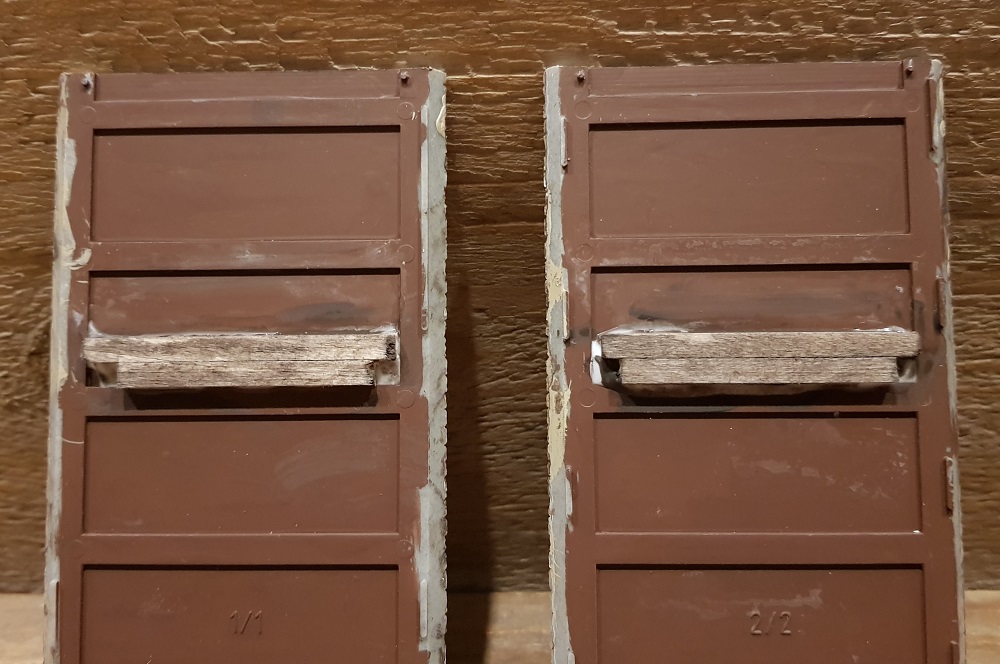
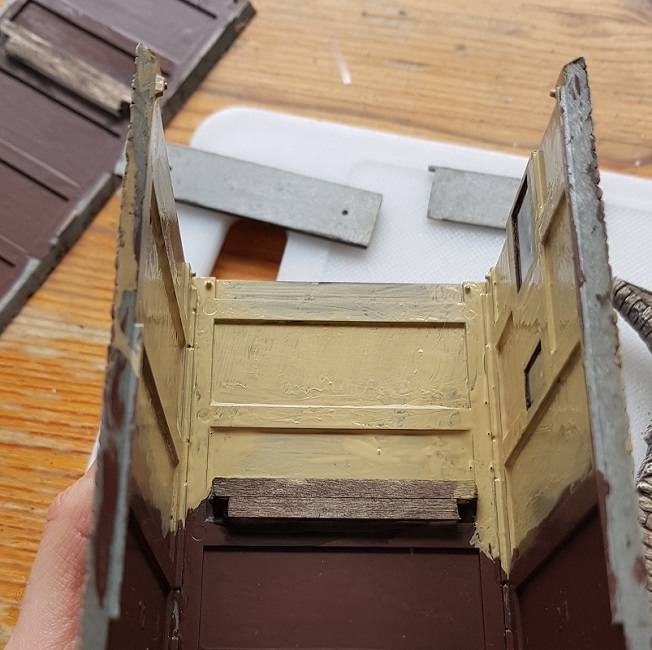
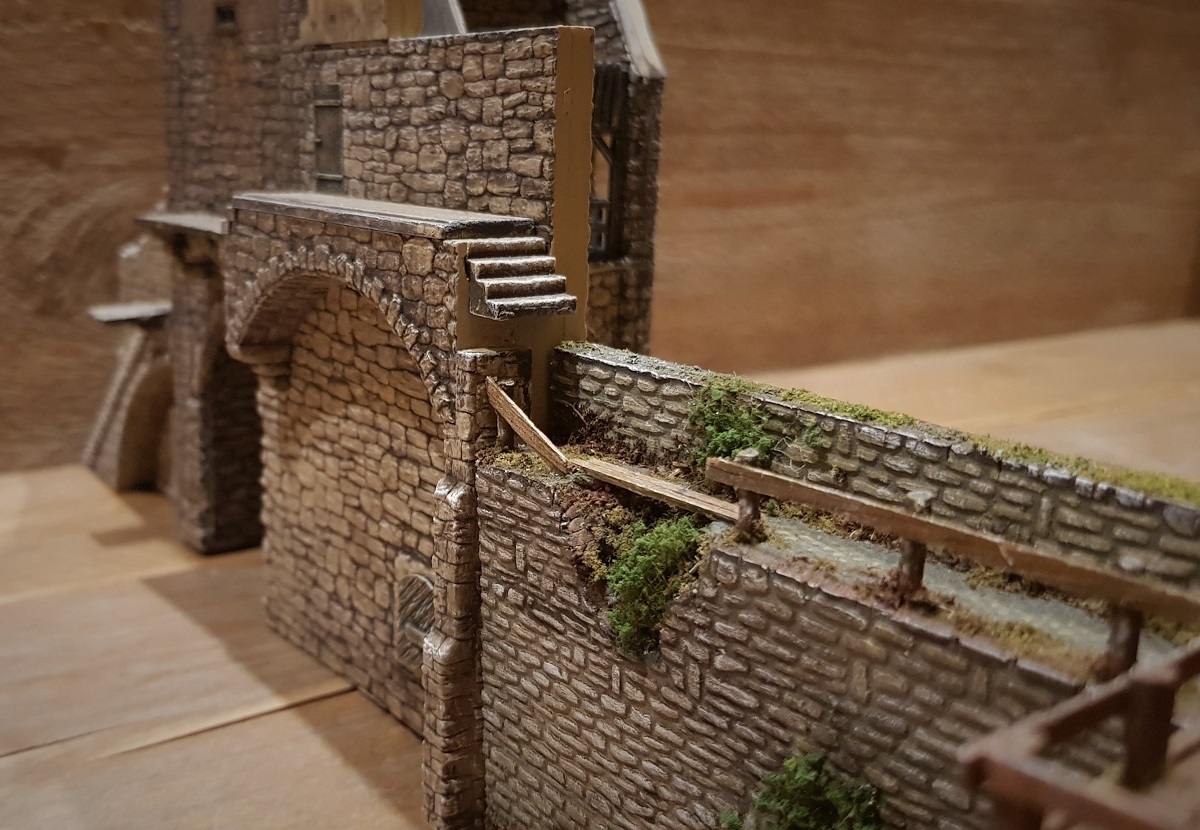
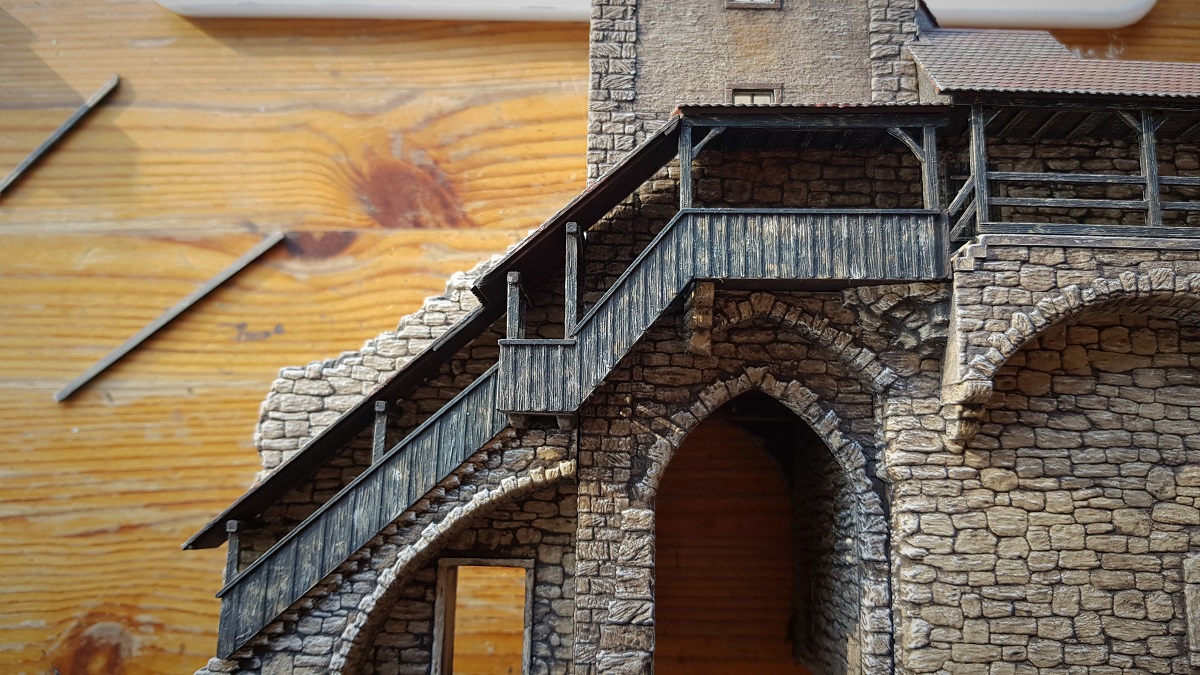
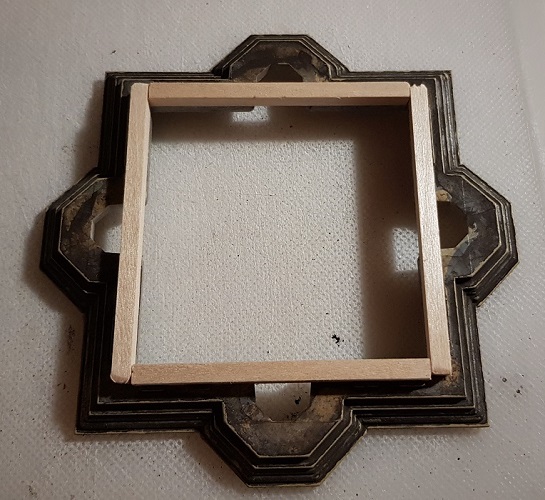
Since a gap was between these two parts and the banisters hung in the air, I placed a wooden beam in the opening.

~~~
Today I installed the roof mouldings and made a second floor for the next room (January 14, 2021)

6.6.2022
~~~
Painting and cutting shelves out of balsa, for creating the next floor...
N o t i n c l u d e d !
What lies ahead, is a new alphabet!
~~~
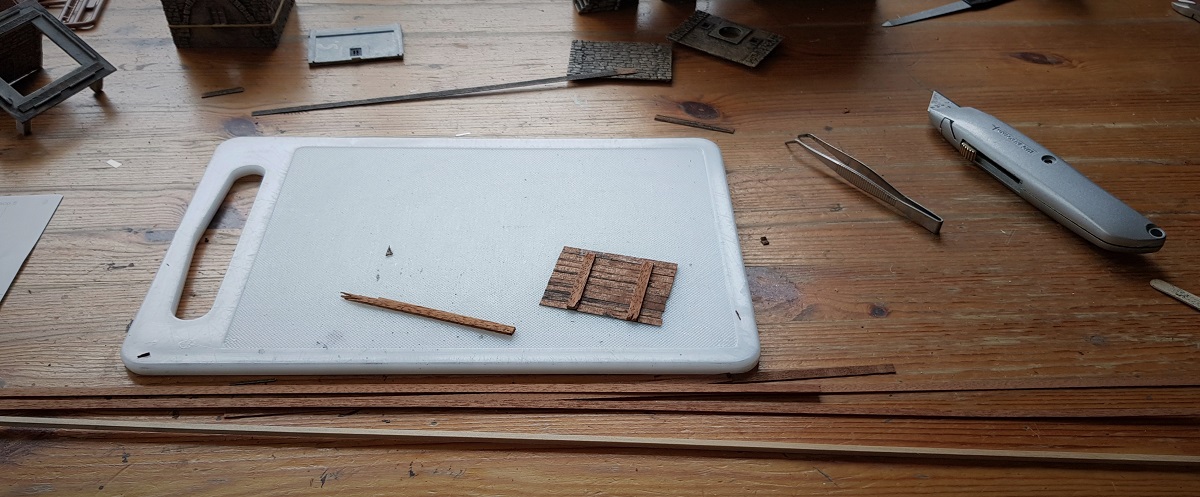
Friday, 15.1.2021 ~ Woodwork
Today I did some finetuning with balsa.
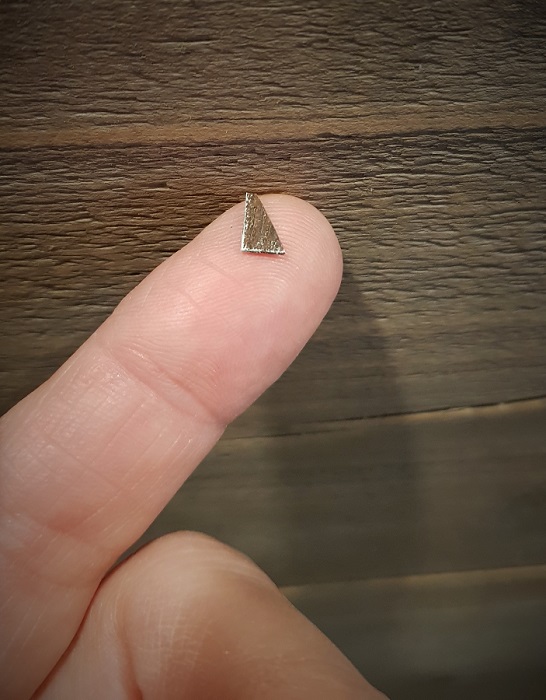
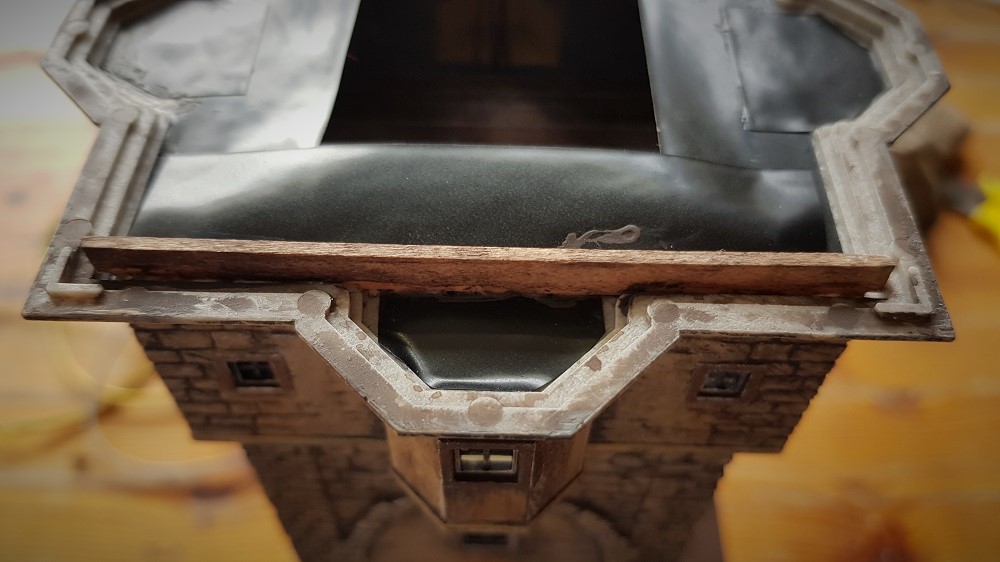
Since this kit had no fitting part in this curious open spot, that's why I made a triangular panel for this area.
Working on the second floor with ma-hogany and a lot of ma-fantasy...

Since rain is falling through, I used wooden shelves to seal up this gap.
This tower is going to be huge...
~~~
Saturday, 16.1.2021
Today I have not been able to glue any plastic part of the Faller set. It became all w o o d w o r k.
I chose to finish the panelling completely. After all, everyone is looking over my shoulders ...
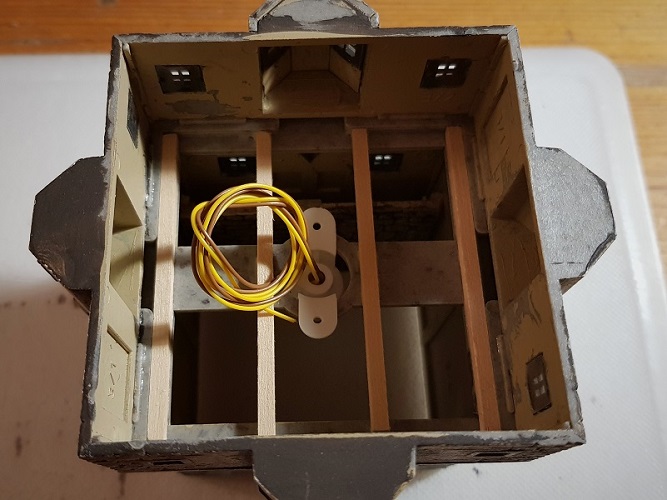
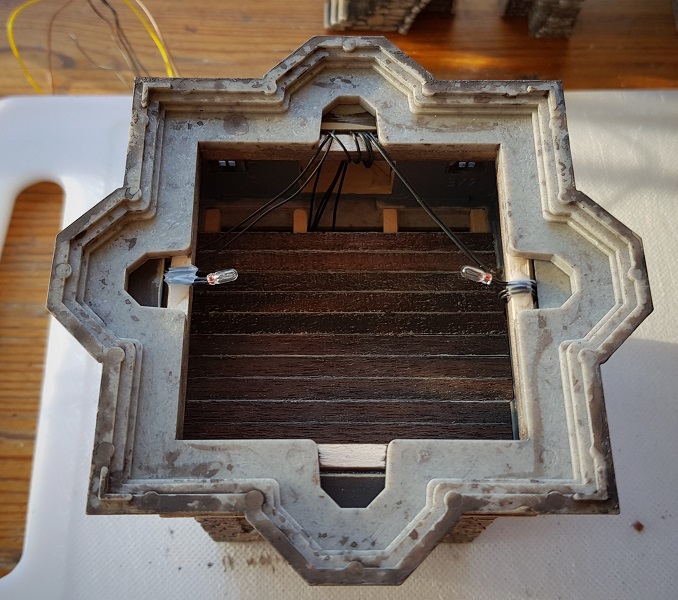
One thing led to another. The lighting on the first floor had to be installed.

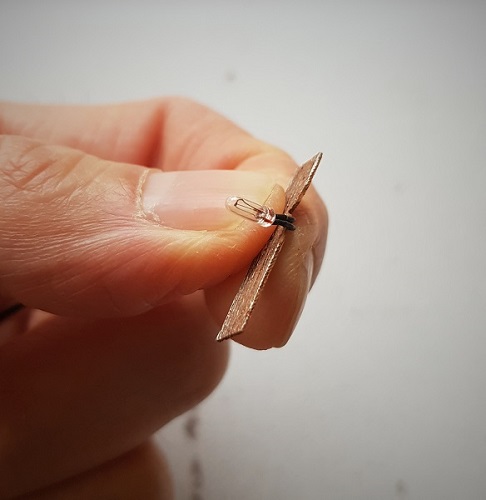
The lamp had to be mounted somewhere on the wall. I initially opted for two planks of wood.
But in the end, I panelled the entire wall, also to tidy up the wires in the niche.
I definitely didn't want a ceiling light, but neatly at the front, so that the door and knights would be beautifully lit.
After testing with only one bulb, it turned out how poor that was. So, it became two, one on each side.
In the meantime, I was preparing for the floor above.
Because I also leave the window open here - and just for fun - I create a room with interior.
I constantly have to take into account how and where I leave the cables of the lighting.
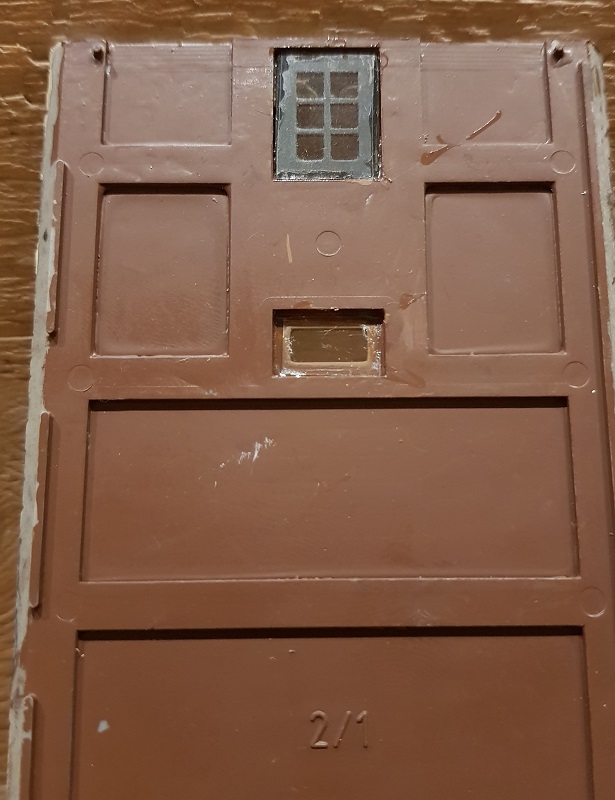
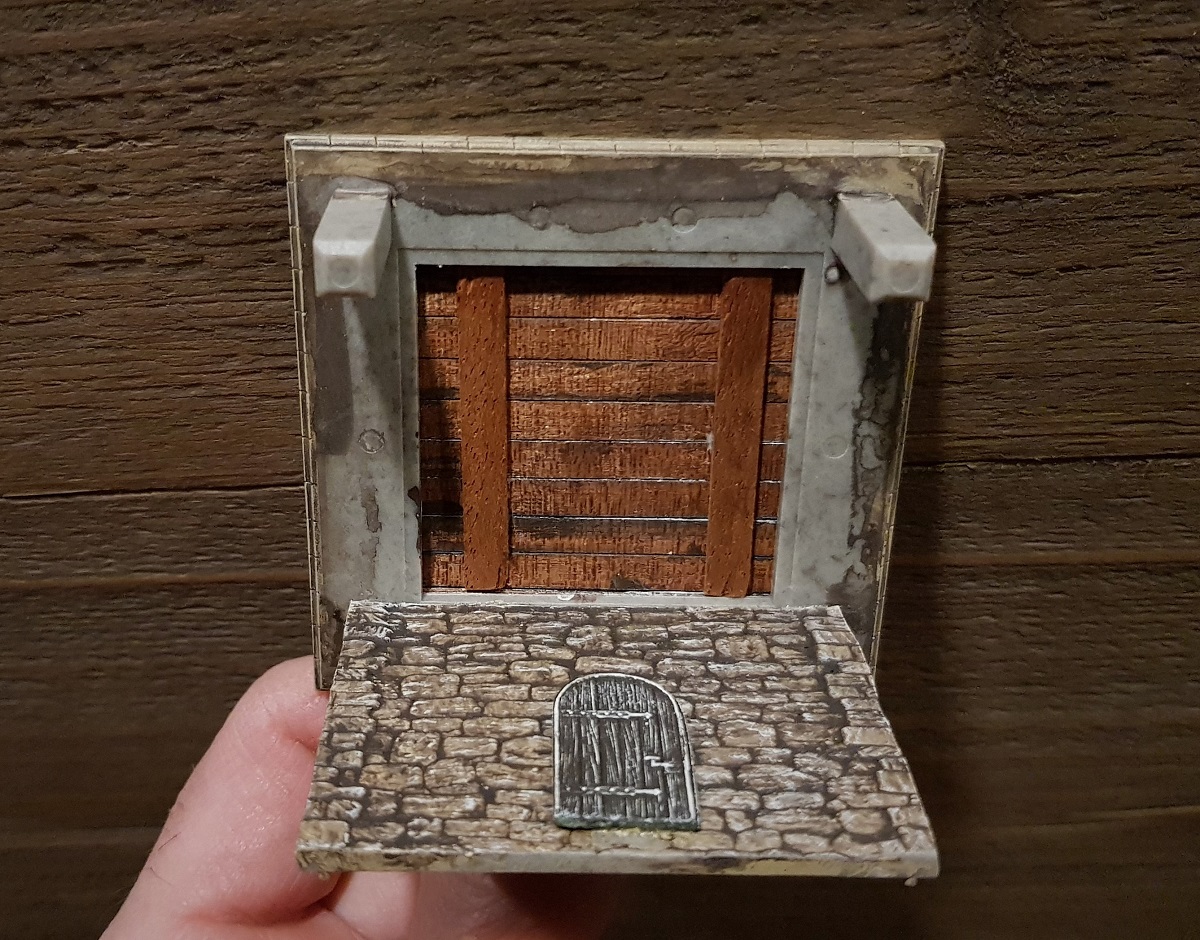
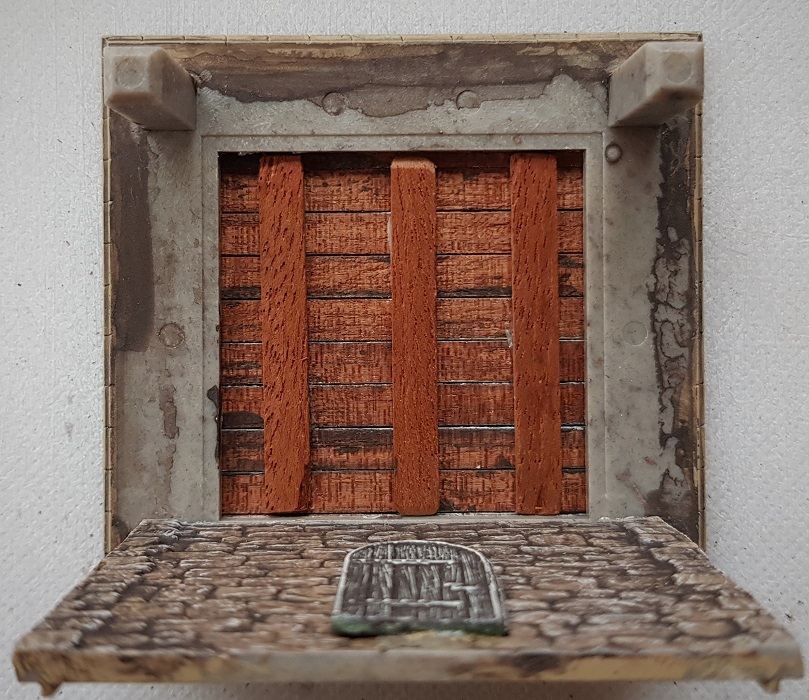
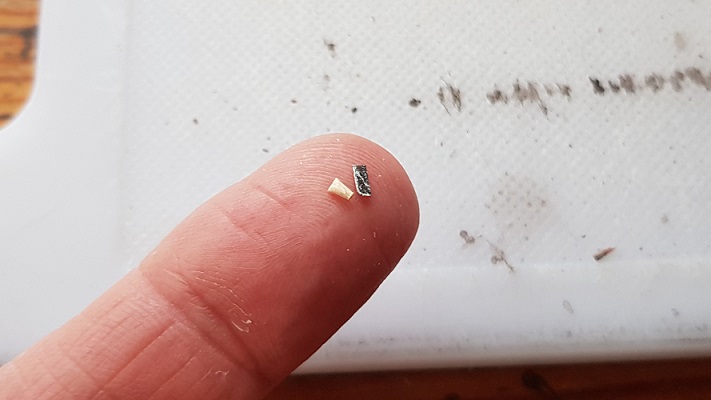
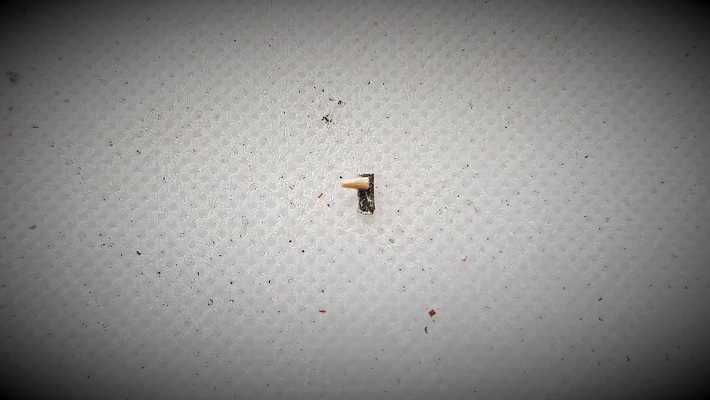
At the end of the day - and after a time-consuming search for a fitting door - I decided to make one myself.
This day started and ends with woodwork.
Again... N o t i n c l u d e d !
~~~
The next day...
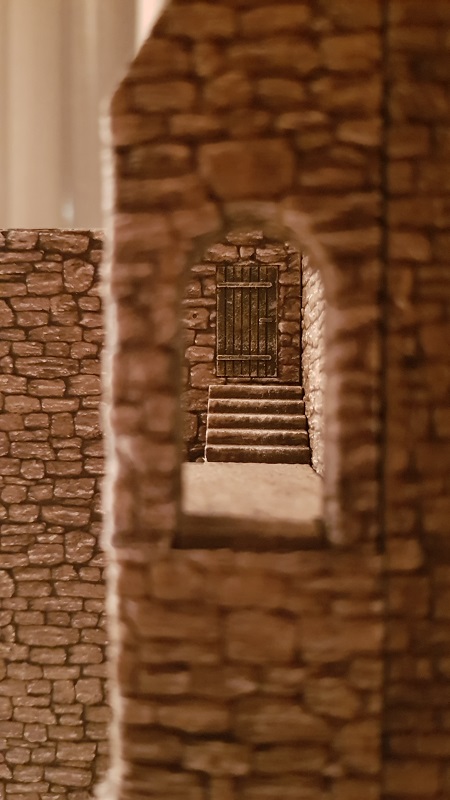
Although Faller decided to not make an entrance door at the front, as the original prescribes,
I made an extra outside door on the side, so that my little people still can enter the tower in an orderly manner.
18.1.2021
With a serious attack on my patience...
~~~
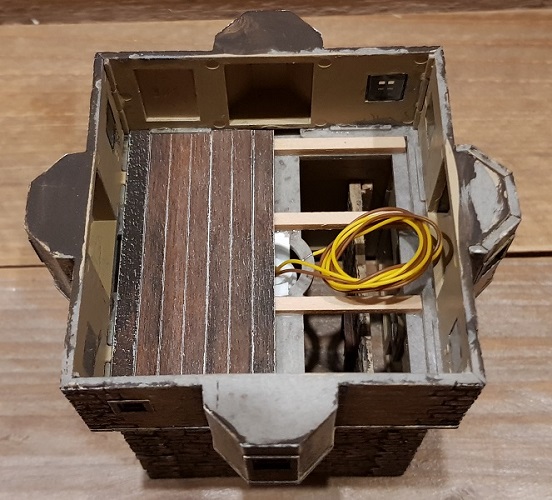
Finally, the Top Floor (January 19-21, 2021)
To prevent sagging, such as on the bottom floor, sturdy beams are now installed.
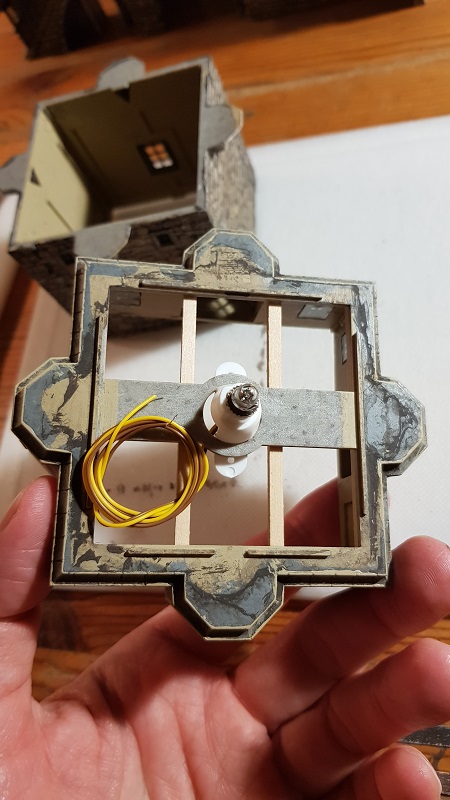
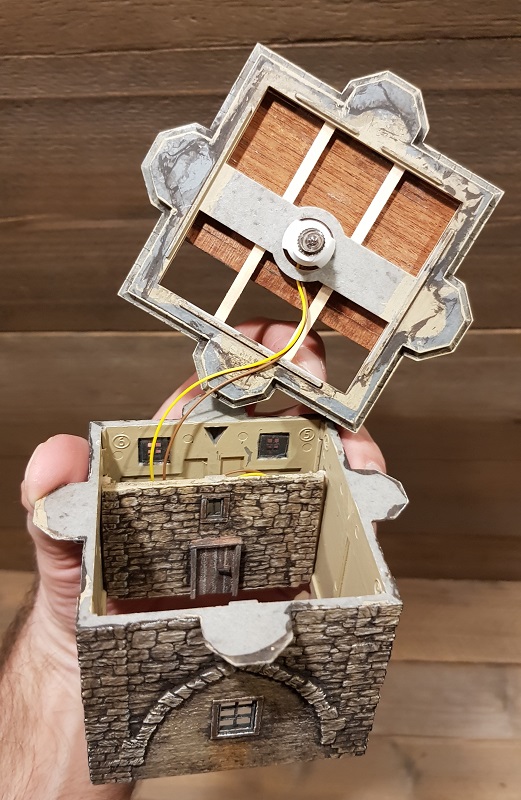
The lighting for the second floor disappears completely into the floor.

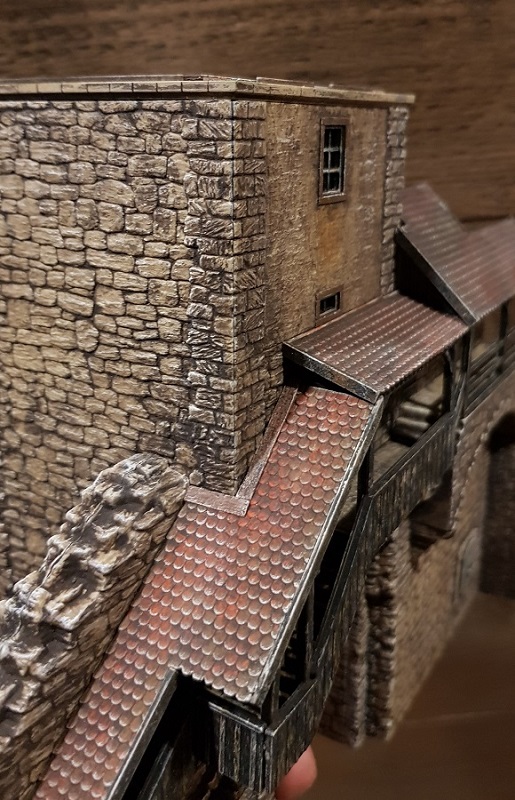
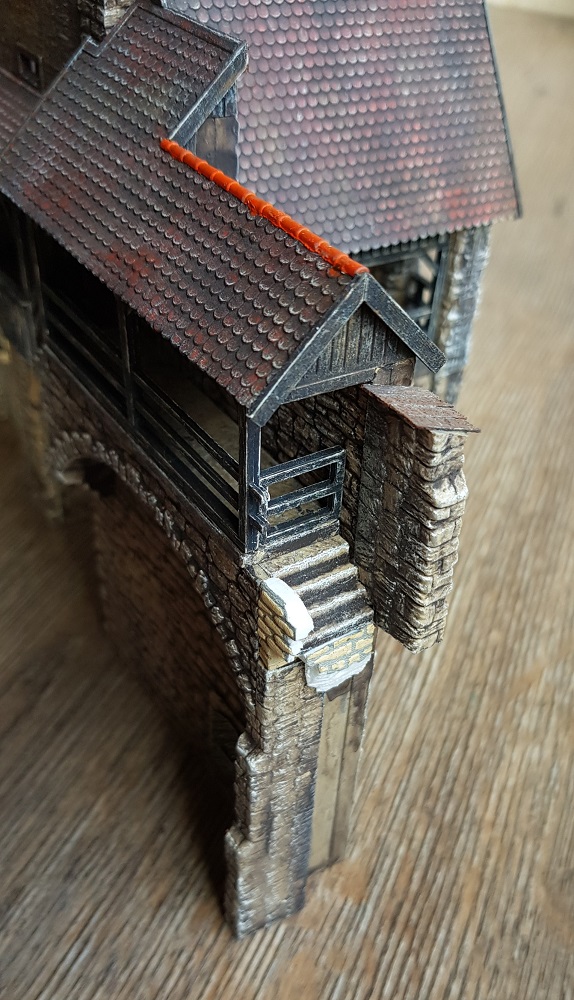
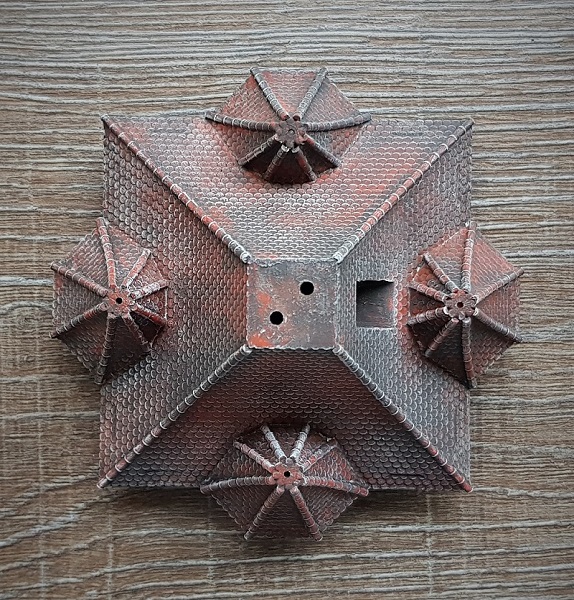
On Thursday (21.1.21) I started painting the rooftop with amaranth red.
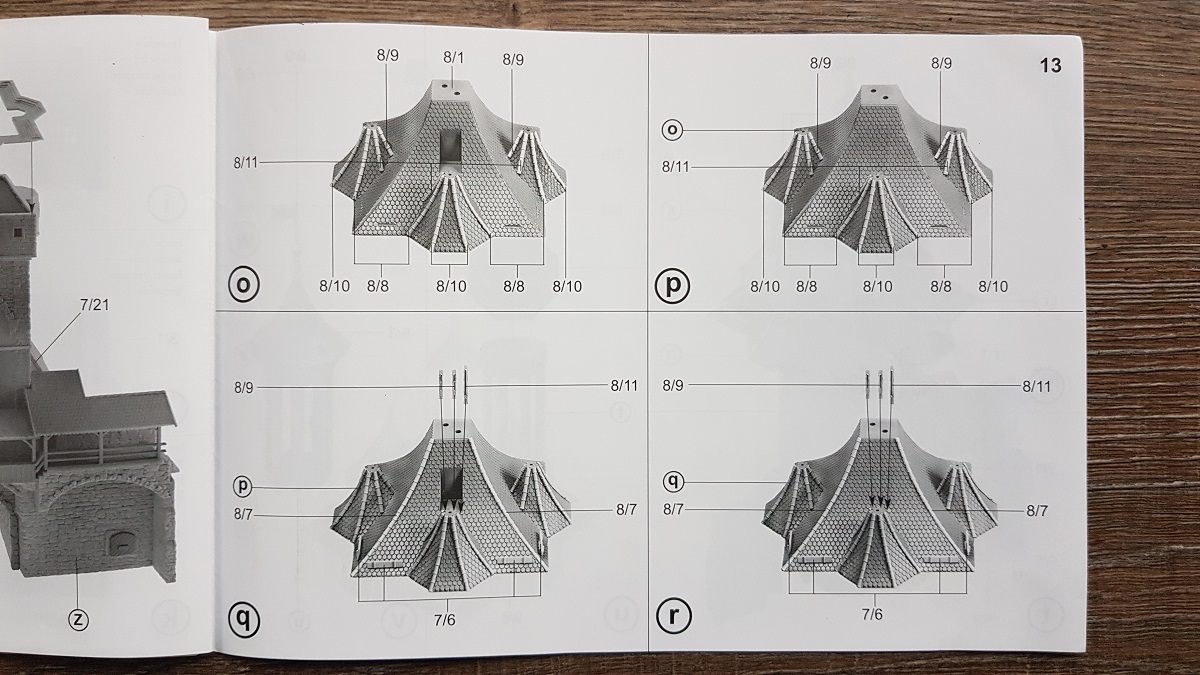
It took me more than three hours to cut 34 roof ridges, remove their casting remnants, and then glue them to the roof. Dyeing came later.
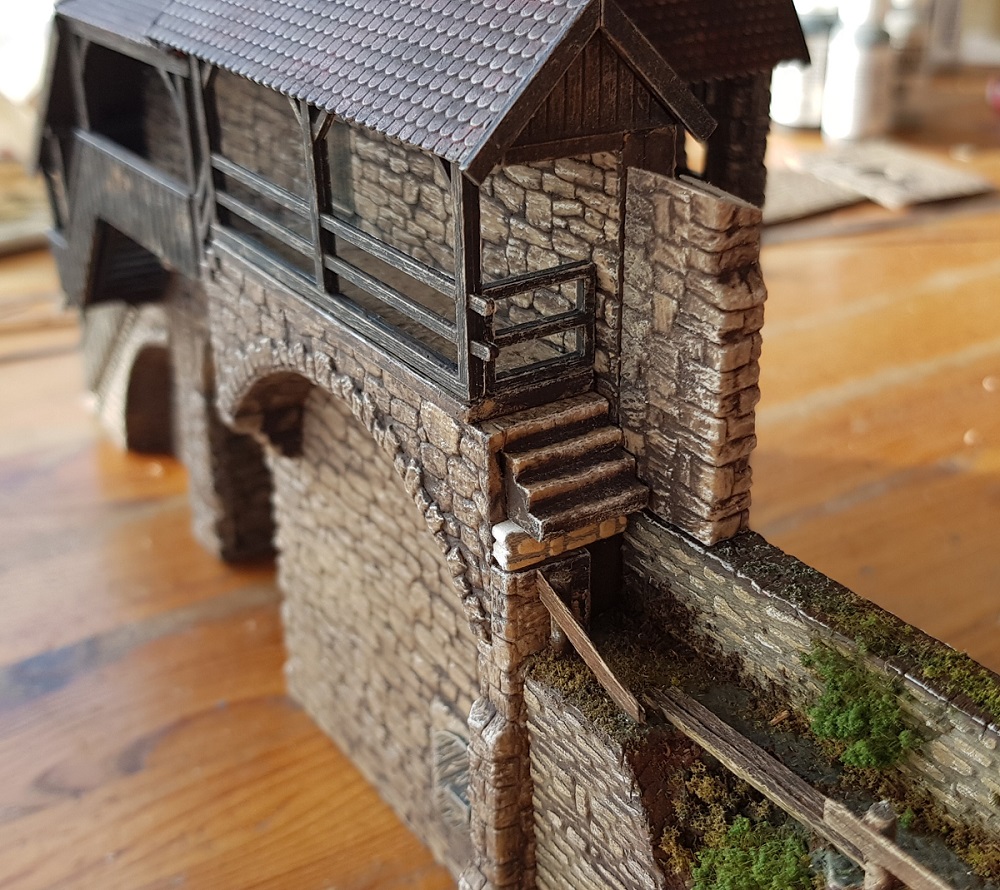
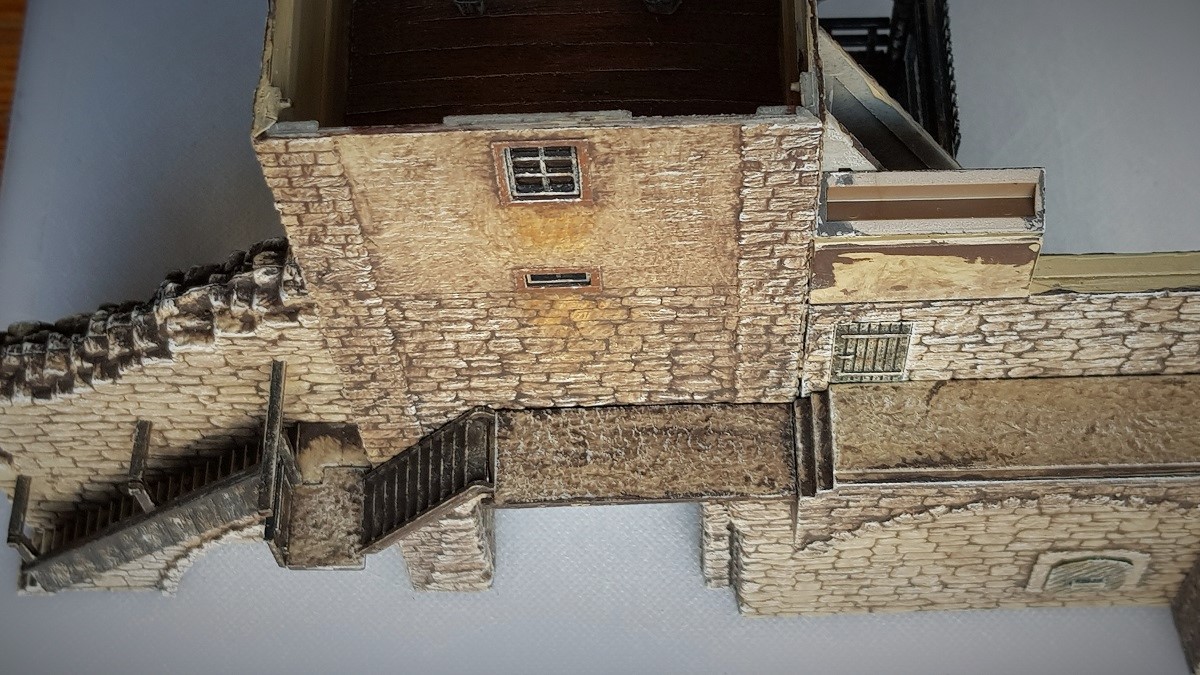
Then it was time to think about the transition from the Klingentorturm to the wall I made.
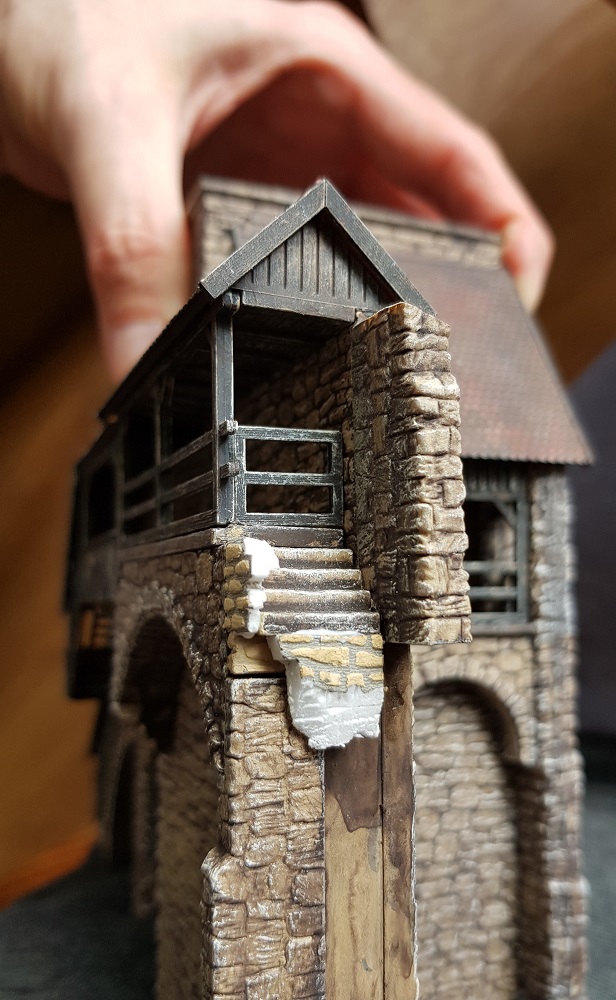
I connected the demolished staircase to the adjacent wall with Styrofoam and balsa wood.
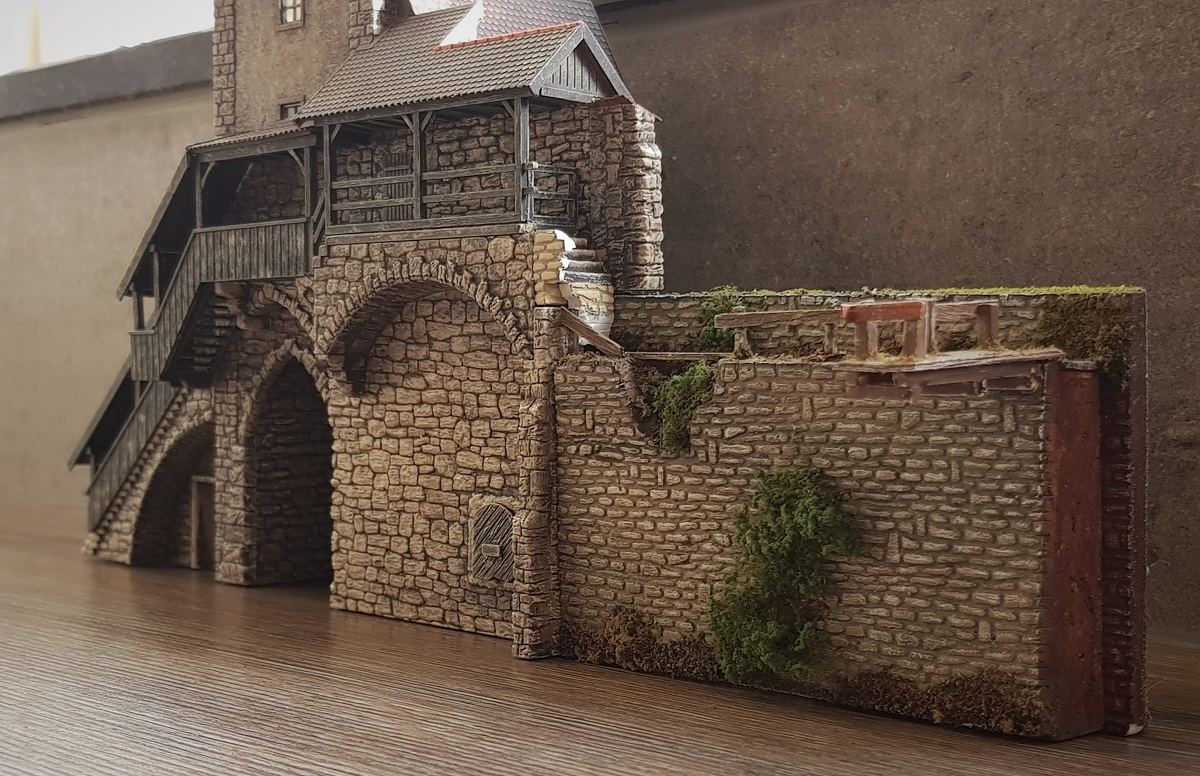
The stone staircase will soon change into a decayed wooden staircase.
~~~
A new week to begin with the e l e c t r i c a l c o n n e c t i o n and f i n i s h i n g t h e r o o f t o p.
Monday, January 25
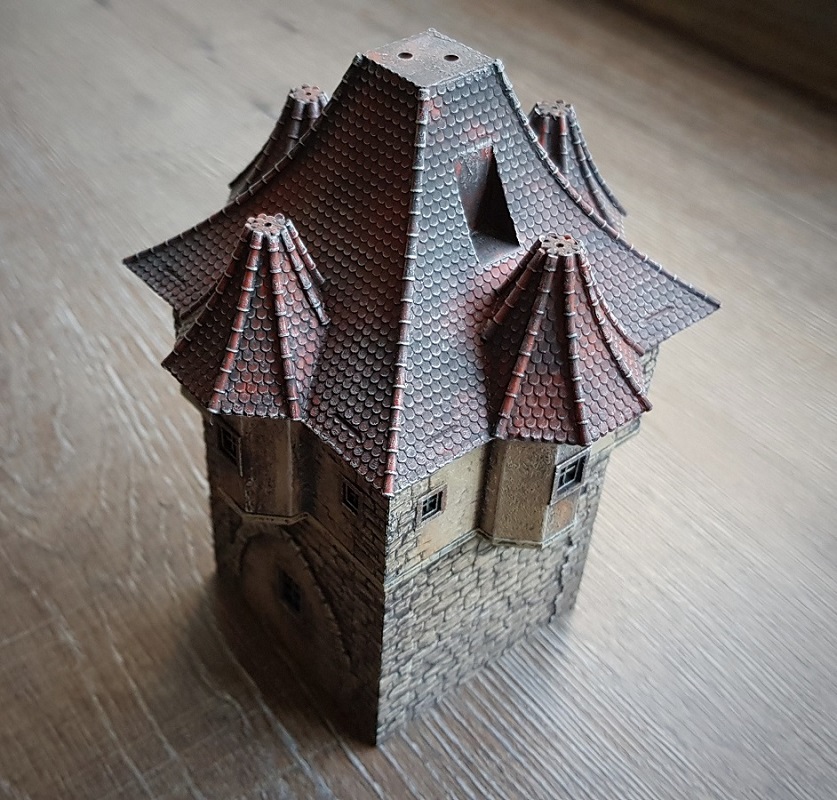
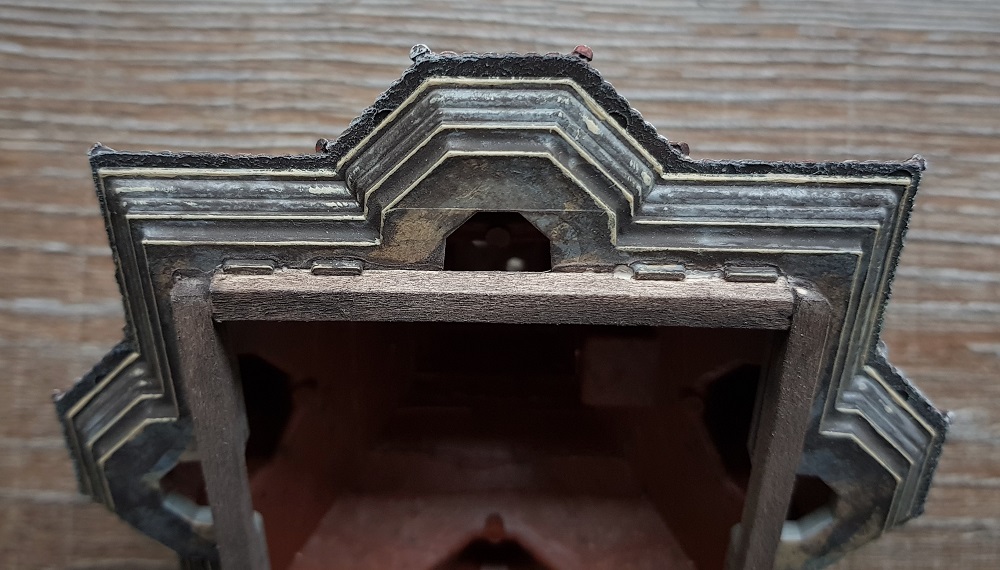
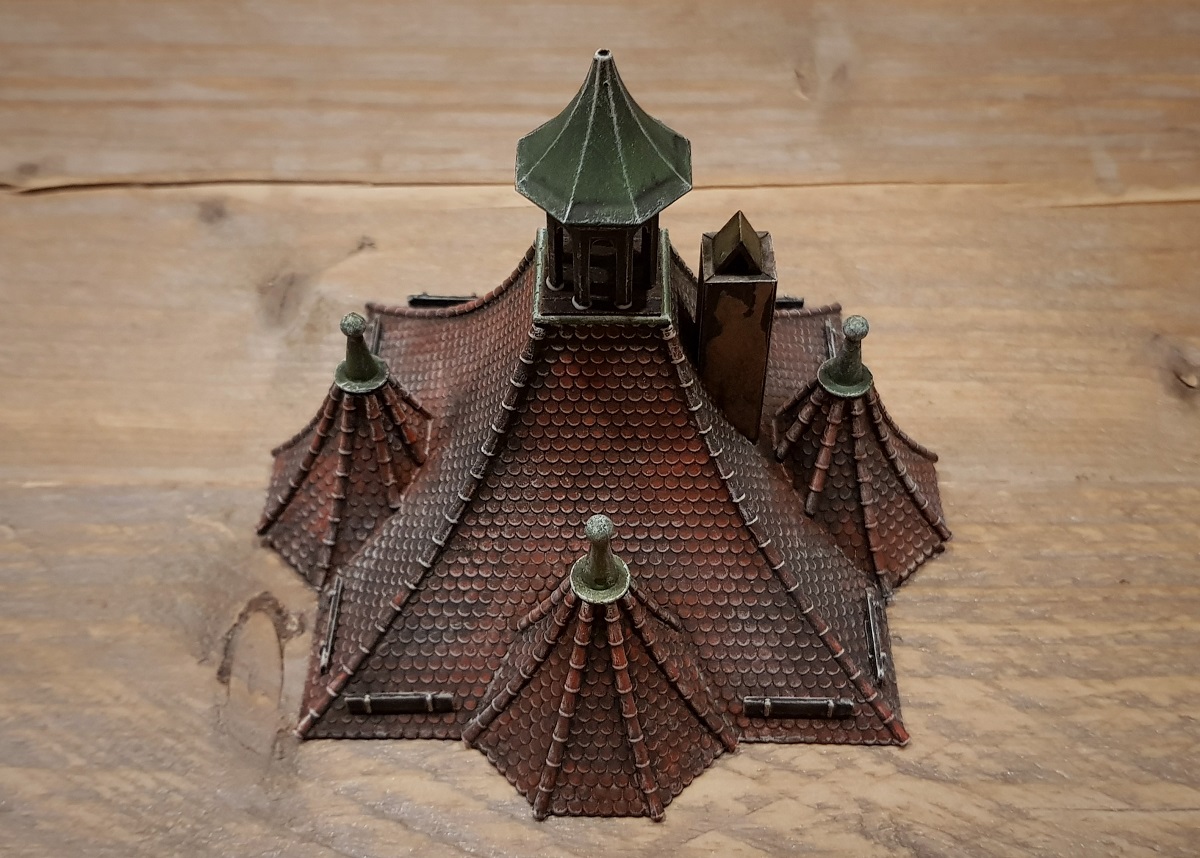
The beautifully designed roof profile is now weathered.
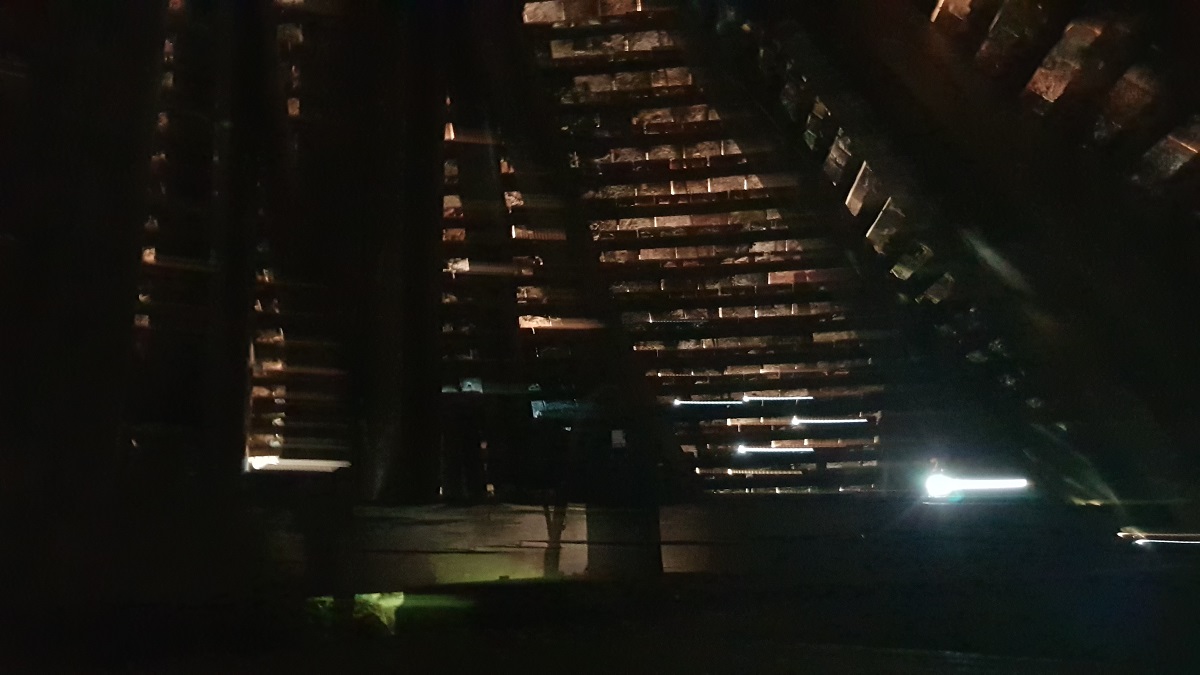
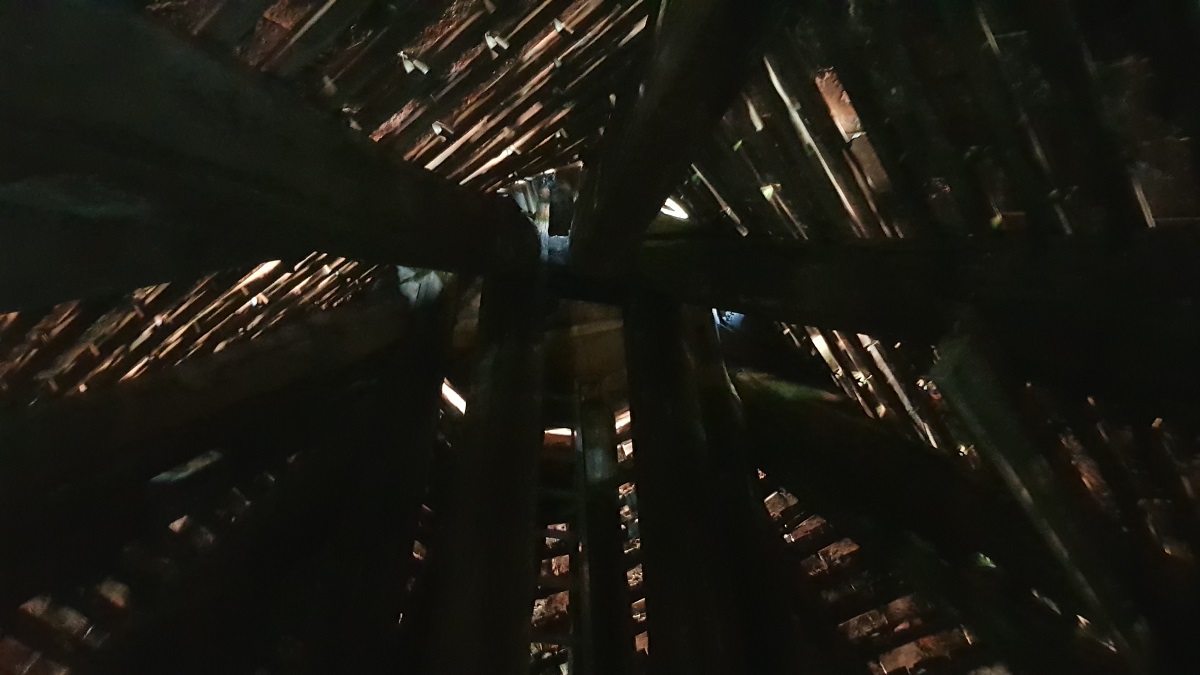
Inside the real rooftop of Rothenburg's Klingentroturm:
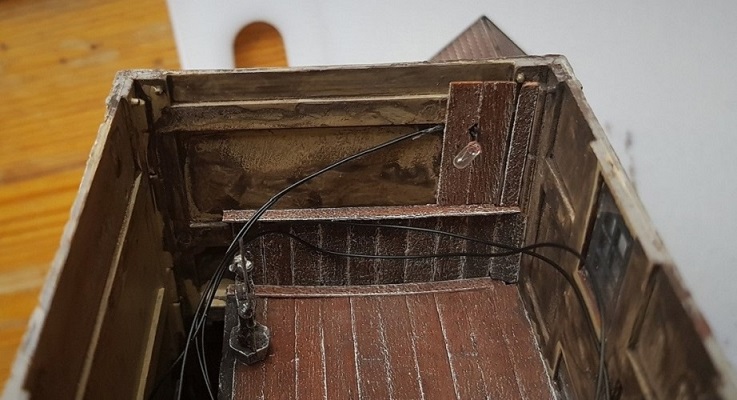
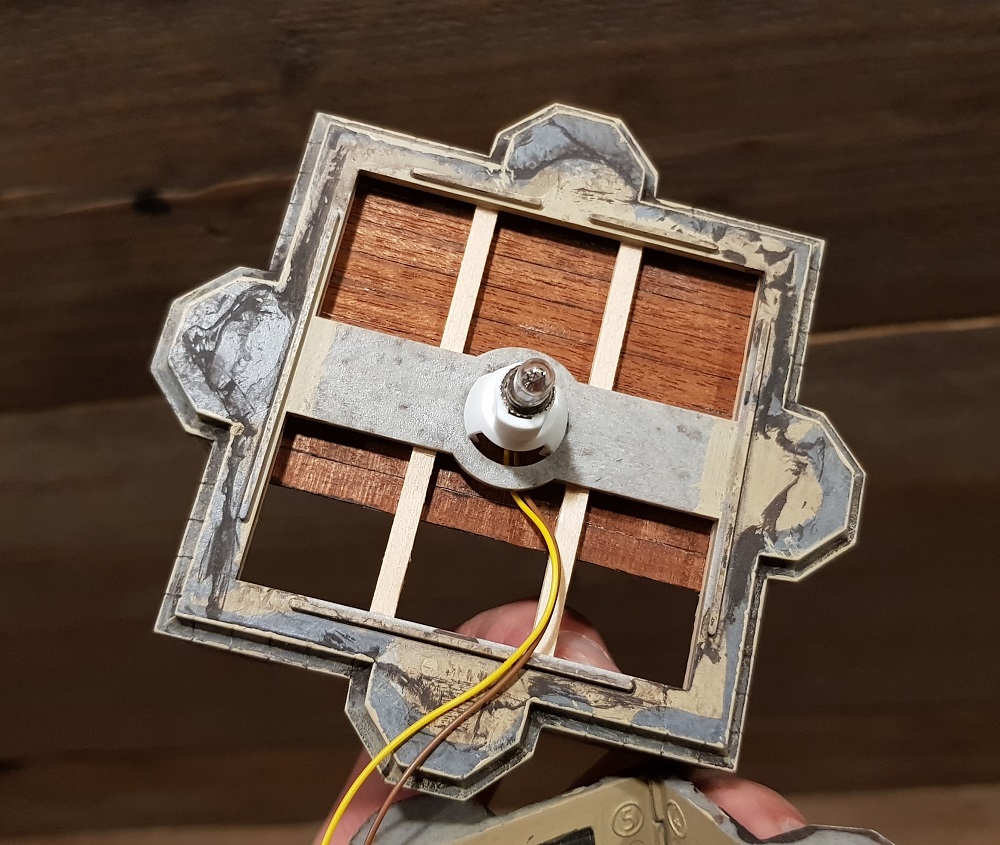
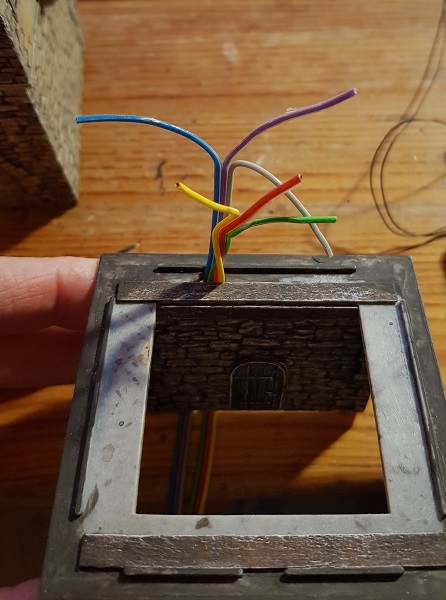
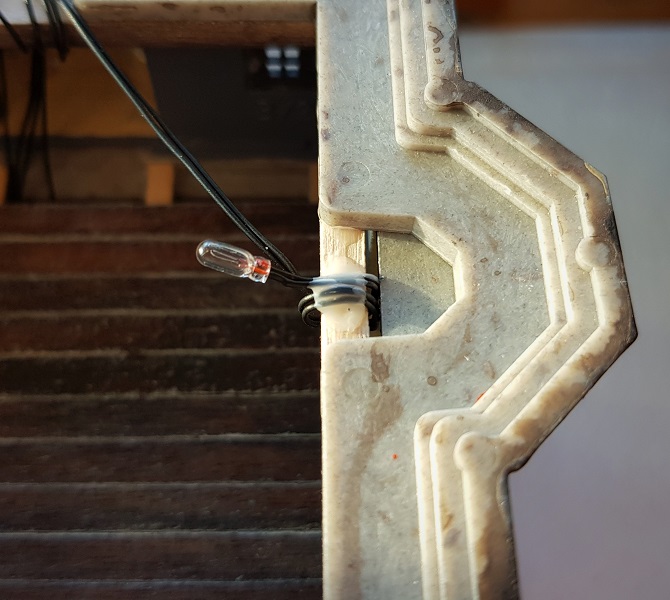
Fixing the micro-cable bulbs

~~~
Tuesday, January 26th

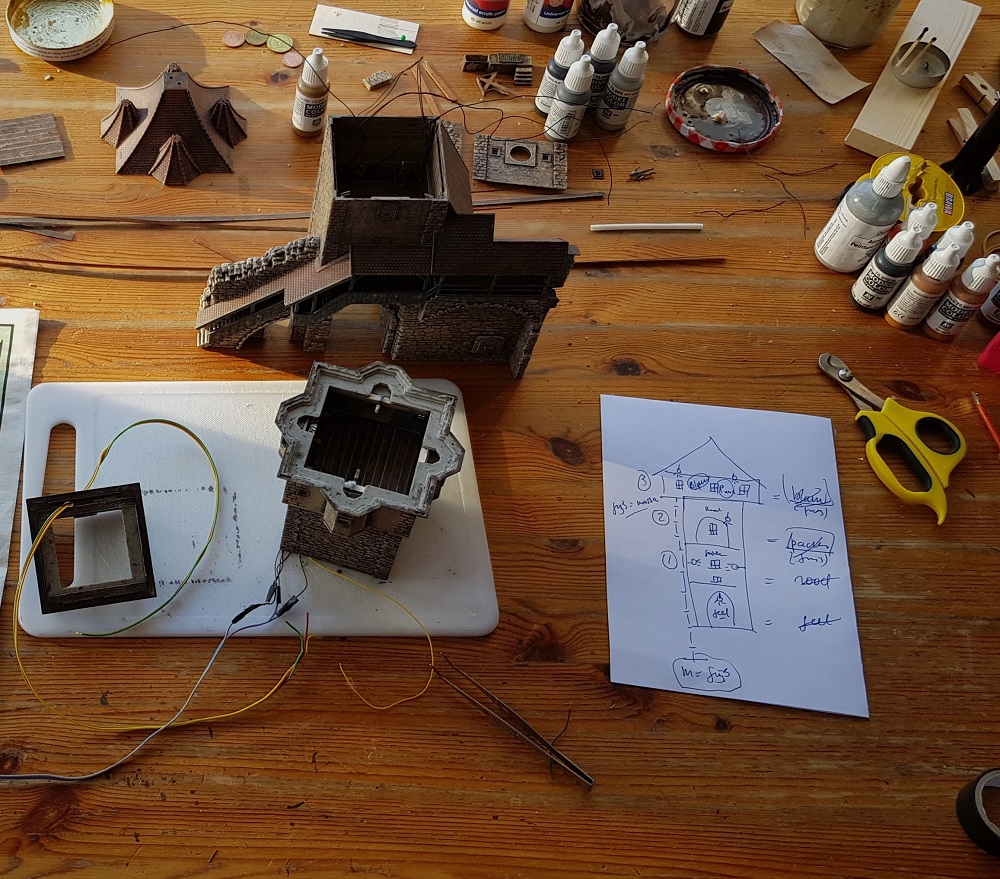
A busy workplace, with a note sheet indicating which colour code to use.
The last two planks finish the floor and hide the wires.
~~~
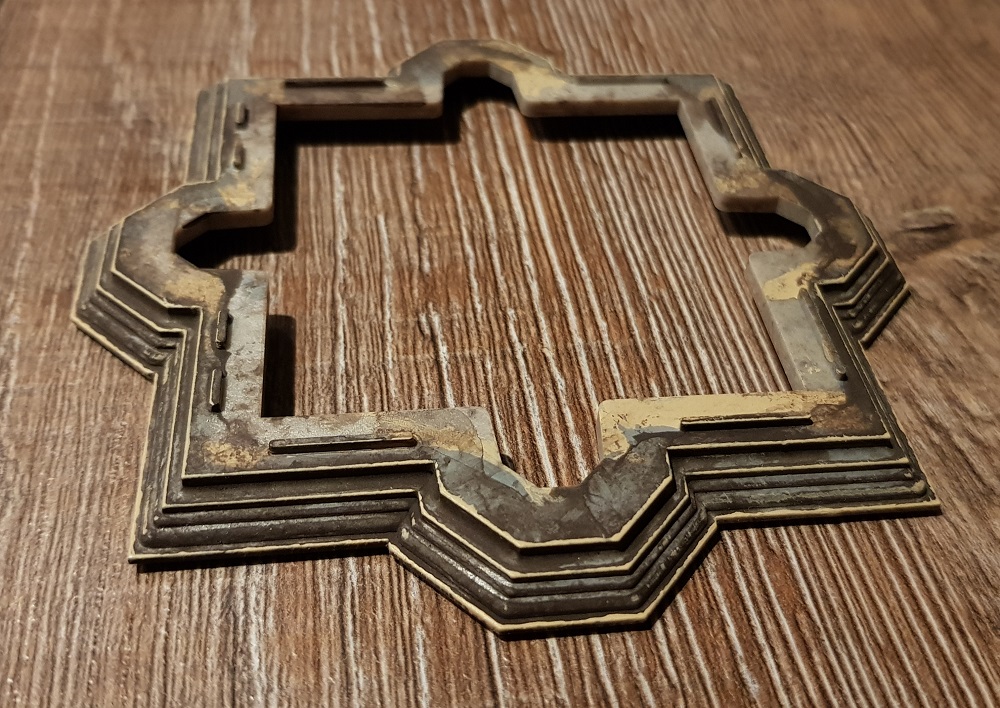
Finally, the detail work on the roof is approaching...
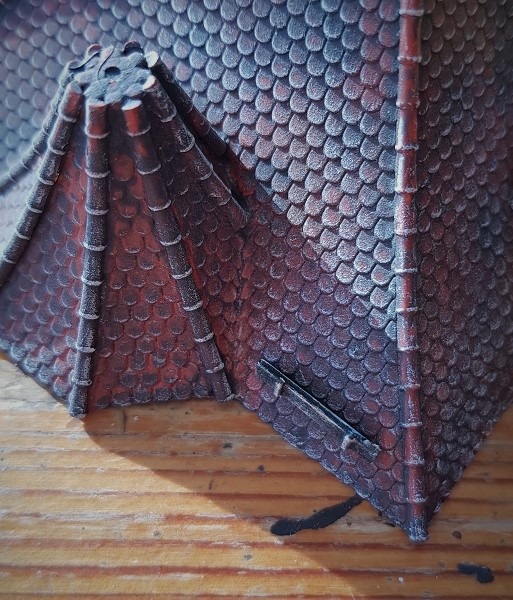
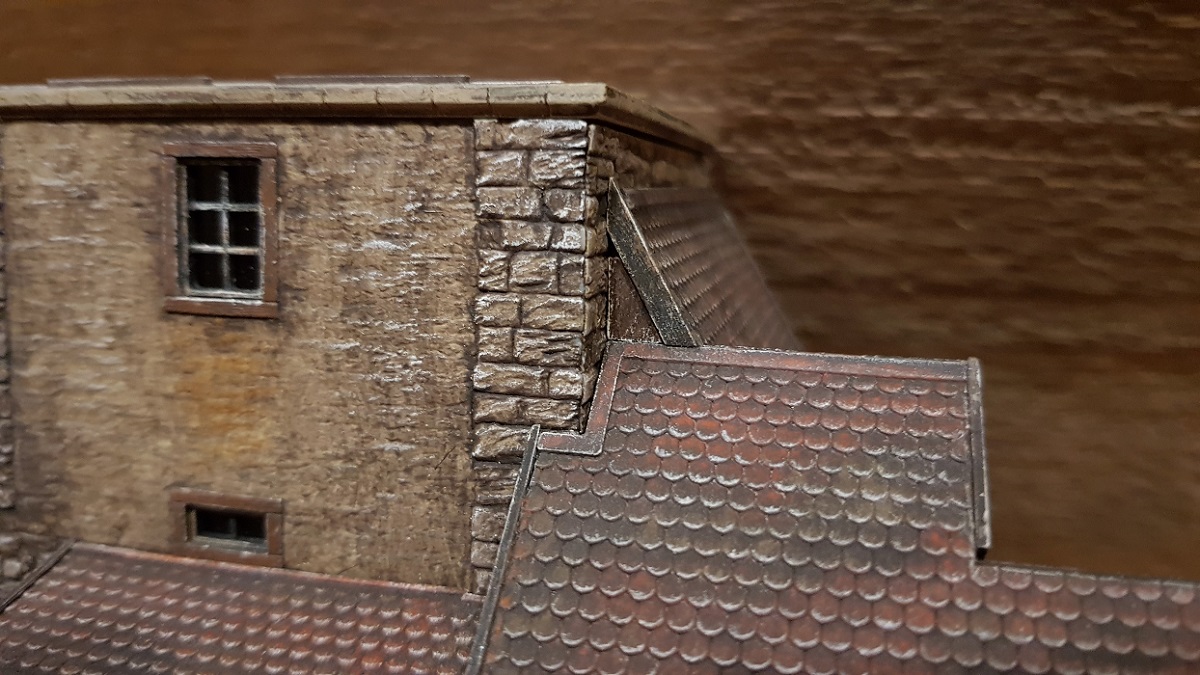
Planks are placed on the slate roof to prevent packs of snow from splashing down ...
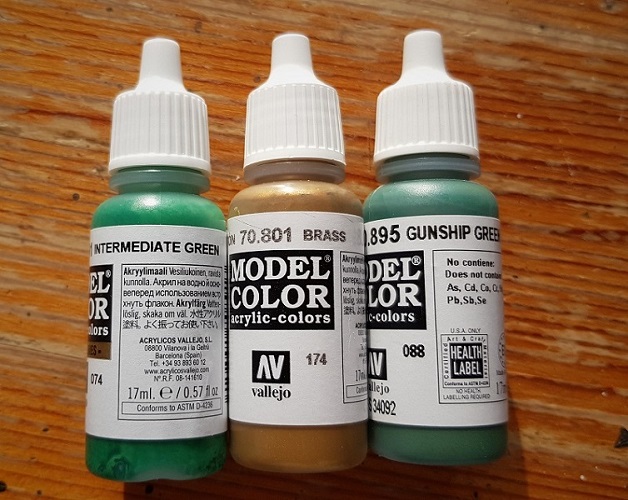
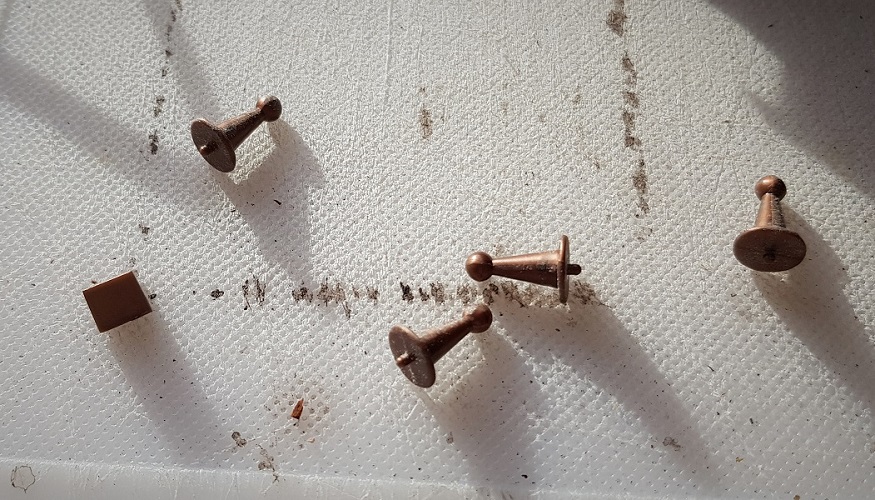
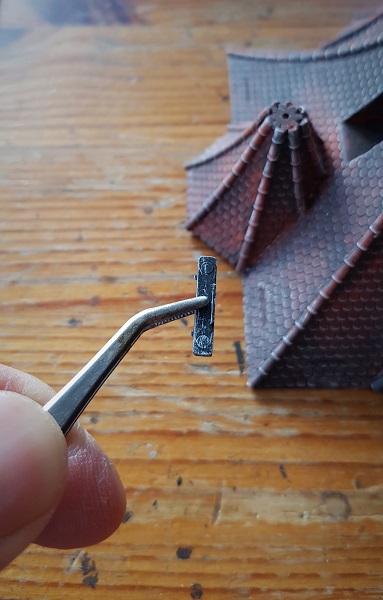
I mix green and brass to 'oxidize' the copper roof decorations
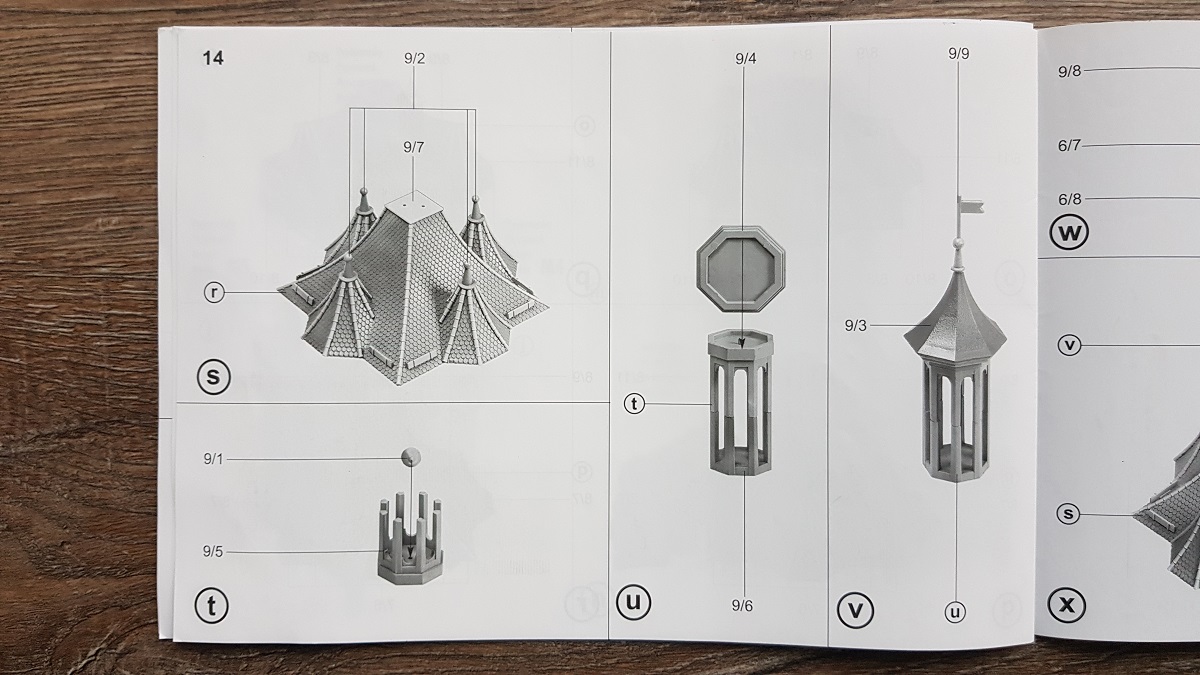
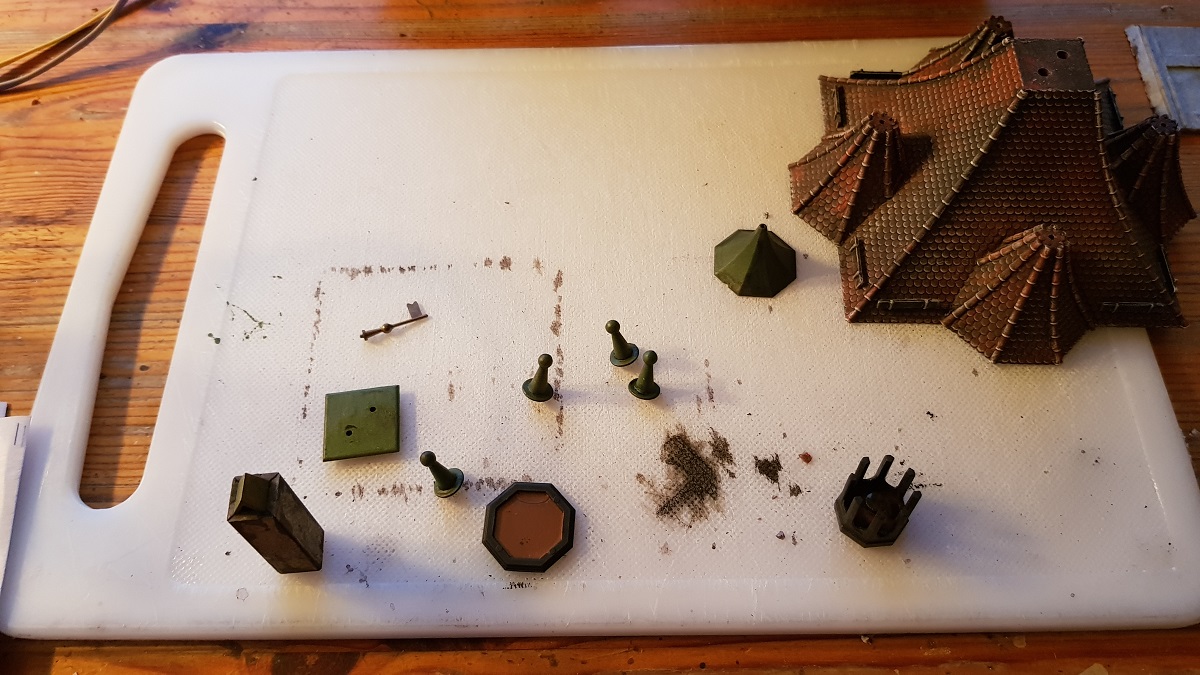
As you can see, I decided to not use both parts of the bell tower. Already at first glance I found this out of proportion.
What's more, I didn't like the fraction halfway the posts.
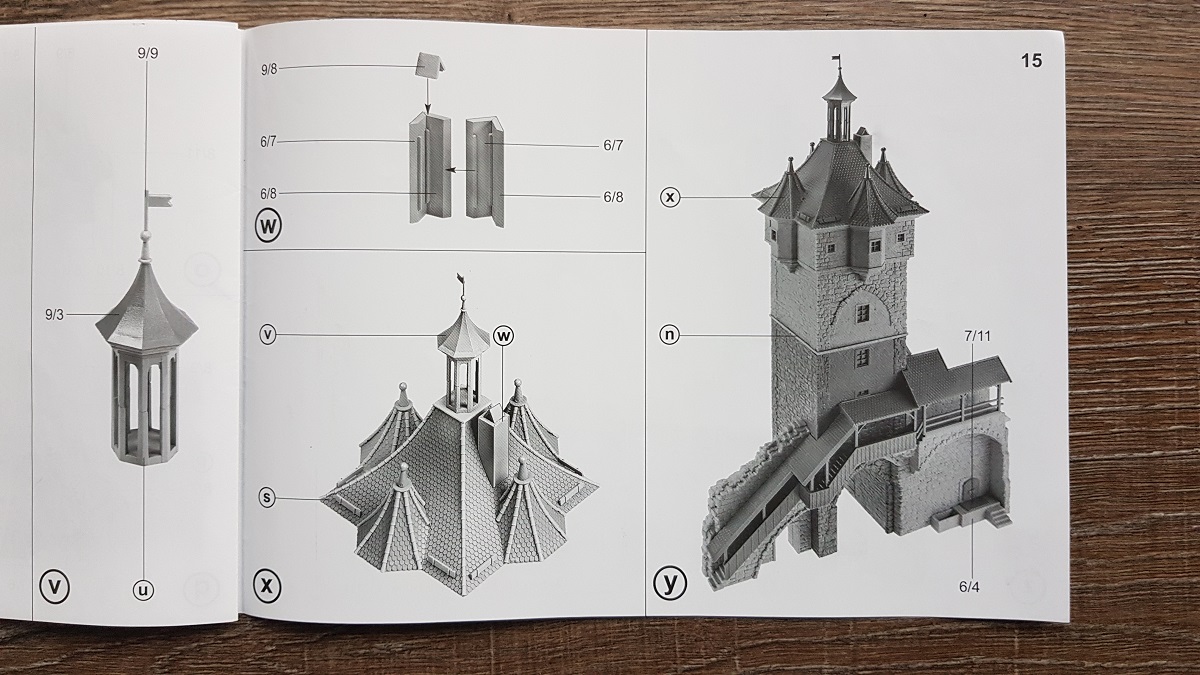

To seal these holes and to make the whole look a bit more traditional, I opted for a wooden deck.
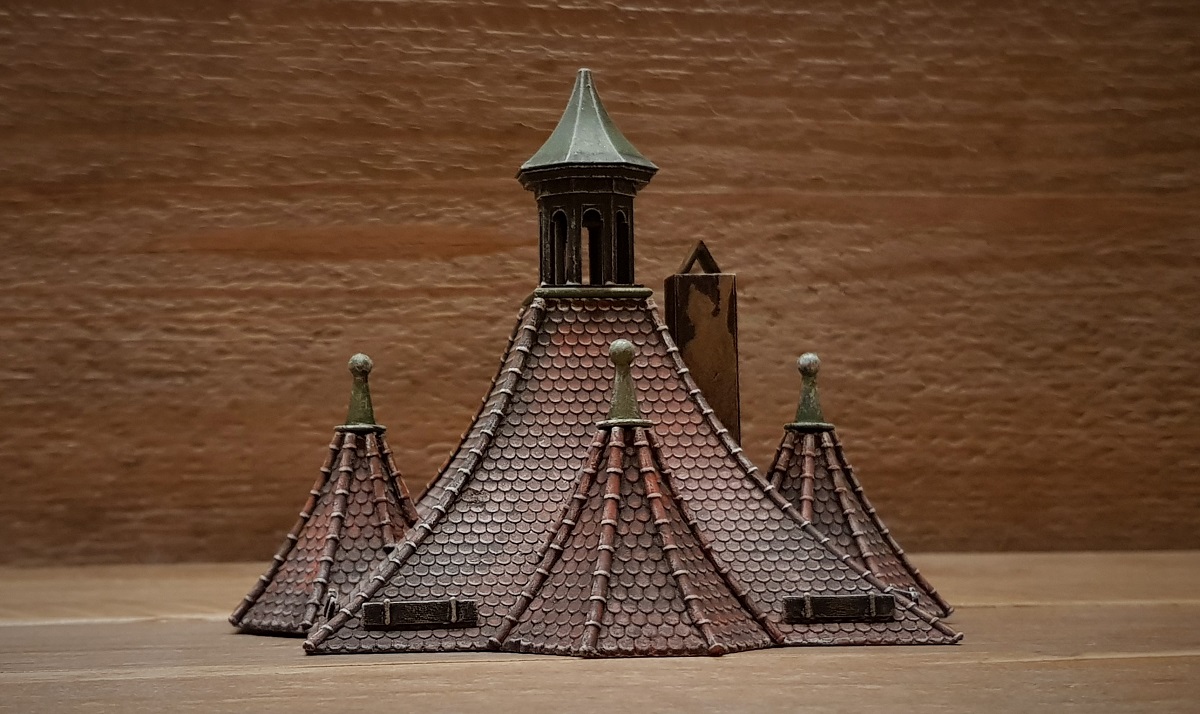
One part omitted, yet another added.
~~~
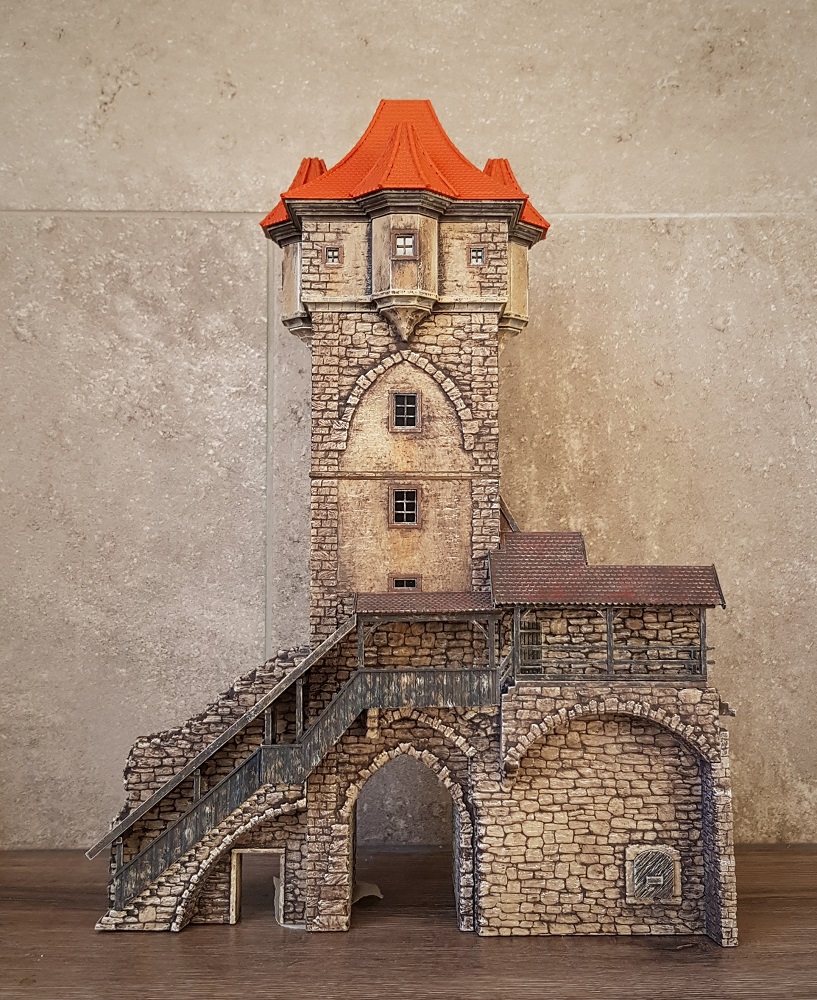
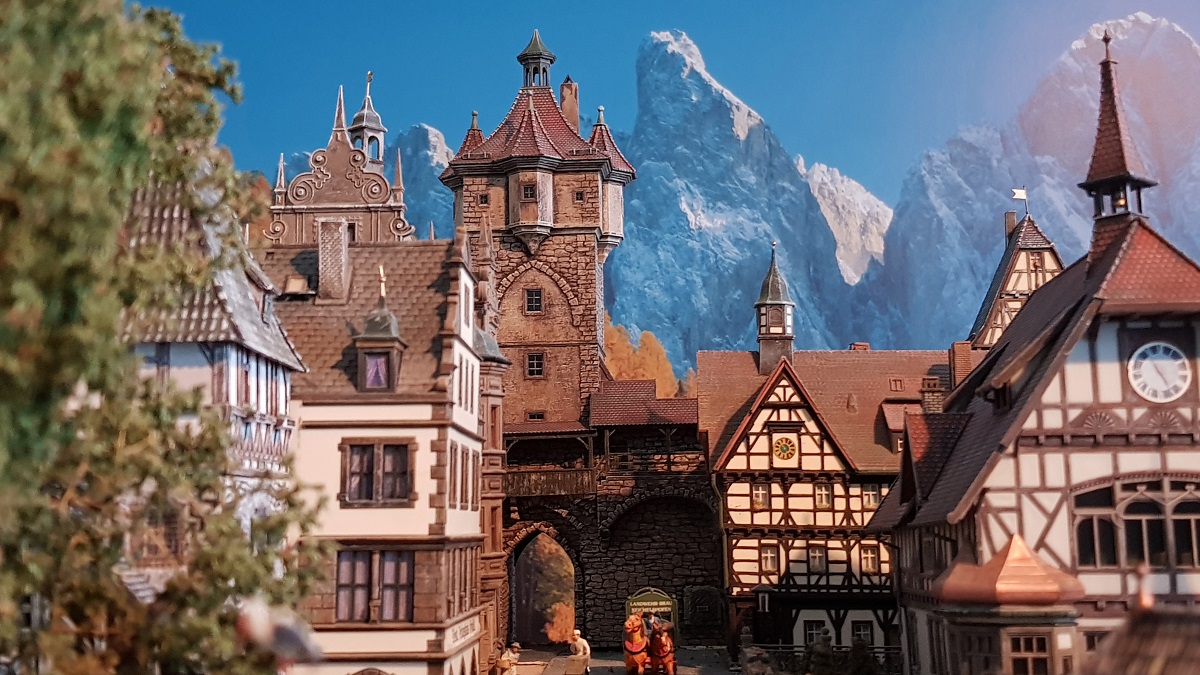
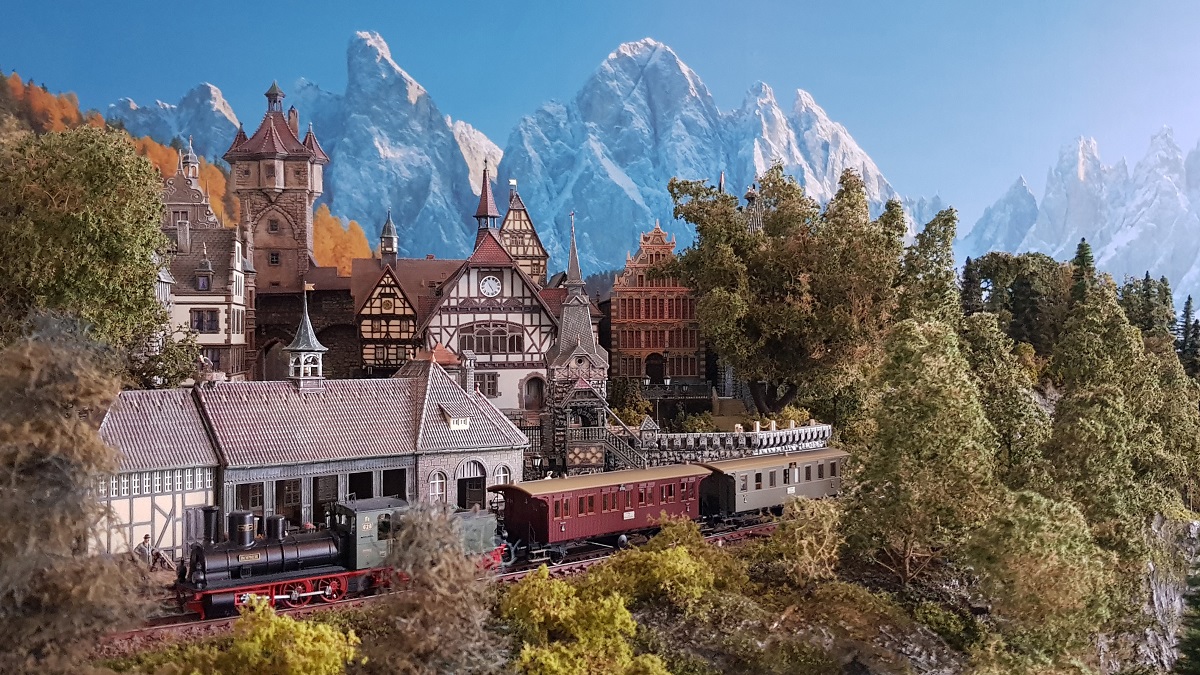
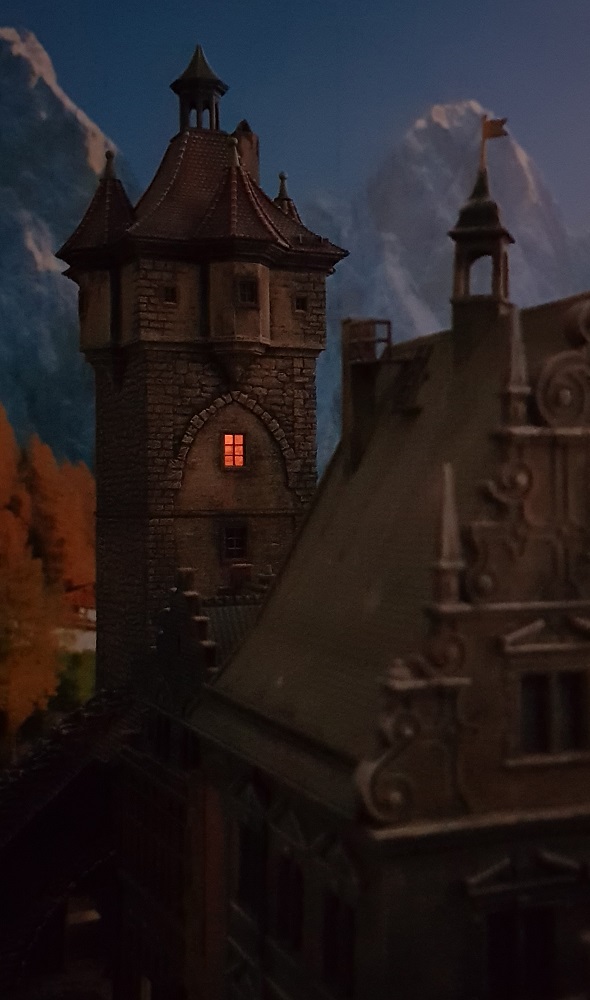
Almost finished. First impression on the layout (Wednesday, January 27)
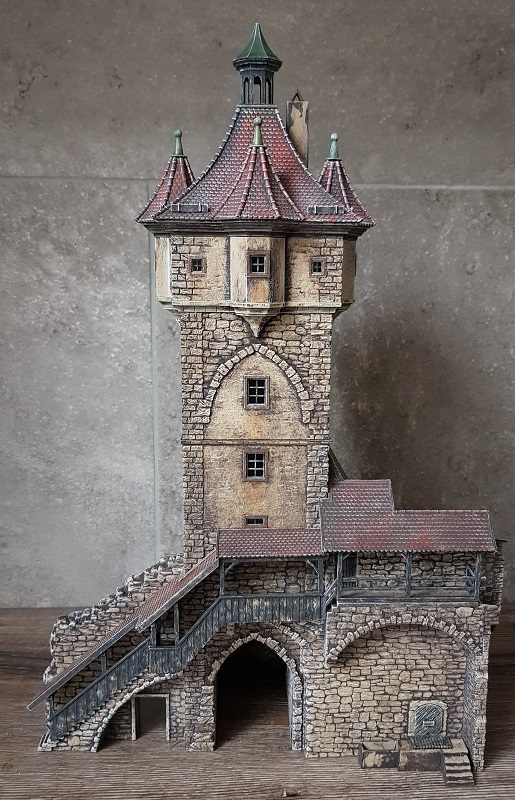
~~~
Thursday, January 28th 2021
Getting things started
Because the Klingentorturm is right on the edge of the layout and the ground here is not flat
- while I currently have no material to extend the clinker road under the gate -
I decided to use mahogany for a classic passage. Now it all forms a unity.

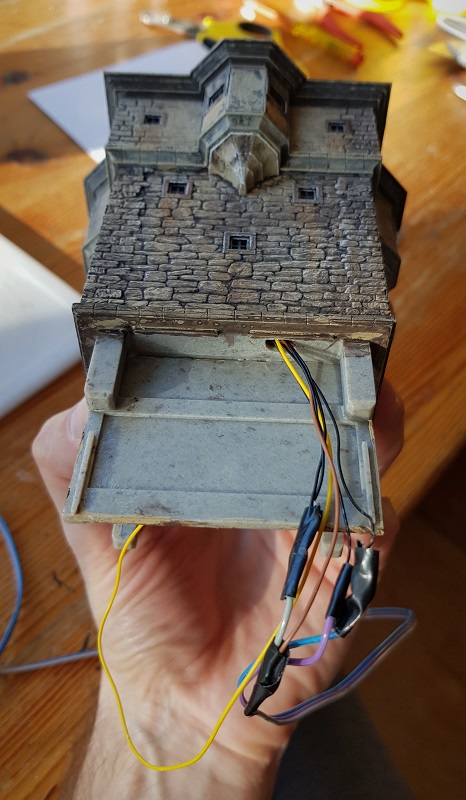
Let there be... light!
Today I also tried to get the tower 'light-tight'. It needed some adjustments.
Well, those stains and griminess require a thorough restoration...
NOT!

~~~

10.4.2024

23.6.2024
Frits Osterthun © 23.9.2022
Last Update: 1.7.2024