R e n o v a t i o n J o u r n a l
~~~
Since the Cochemer Bahn involves so many projects in my 2019 Renovation Plan,
it seemed fit to me to tell the whole story as a Journal
instead of scattering all bits and pieces over several pages on this homepage.
Previously, I wrote about the renovation that started in 2018!
~~~
Chapter 1.1 ~ T h e W a l l
Aging and Weathering into Old Stones
(March 29 and 30th, 2019)
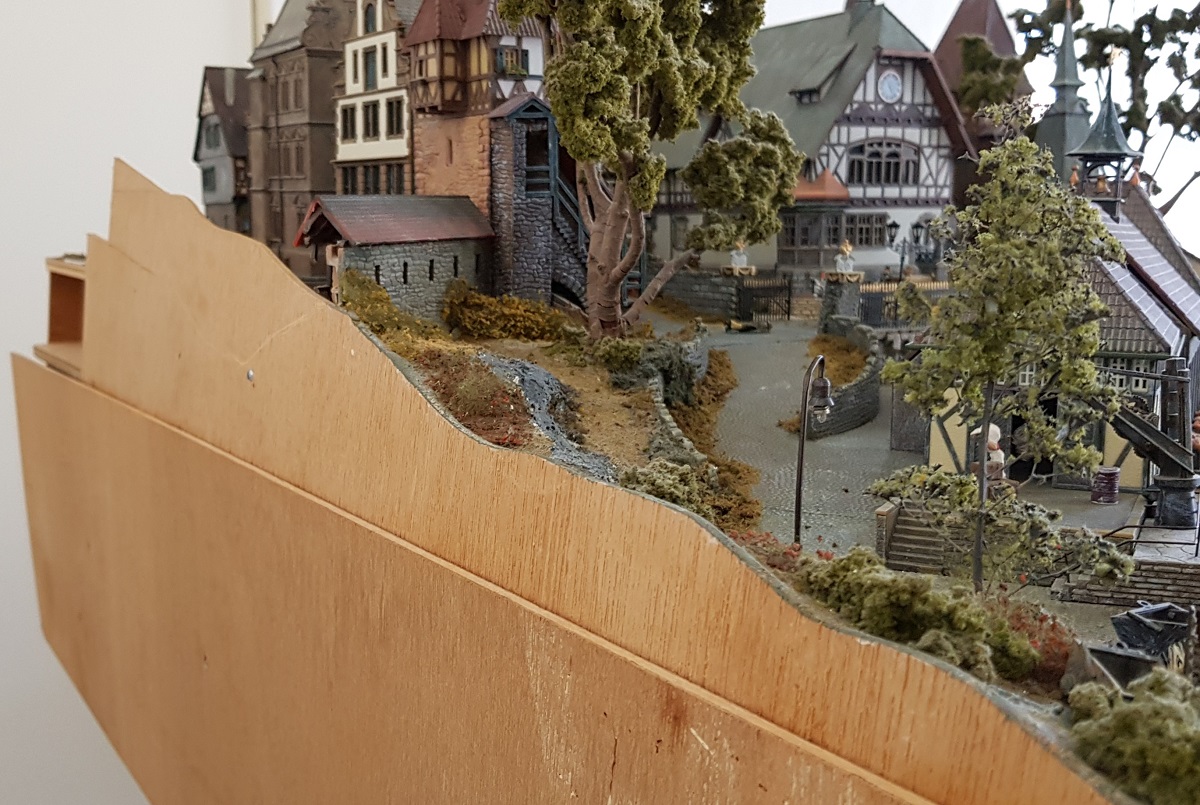
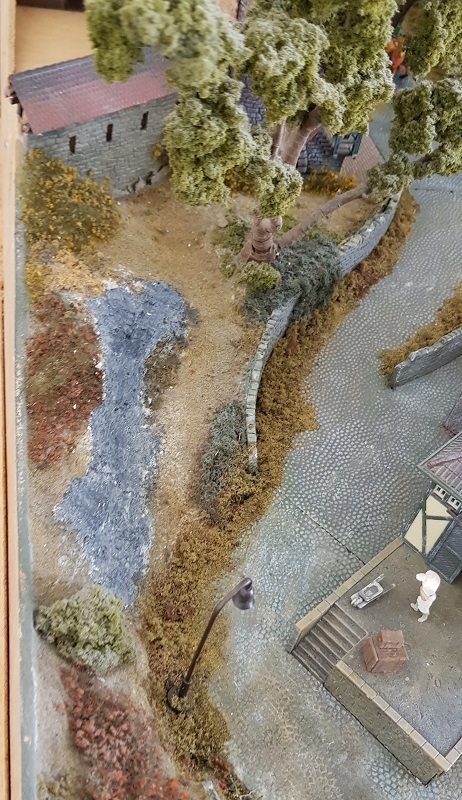
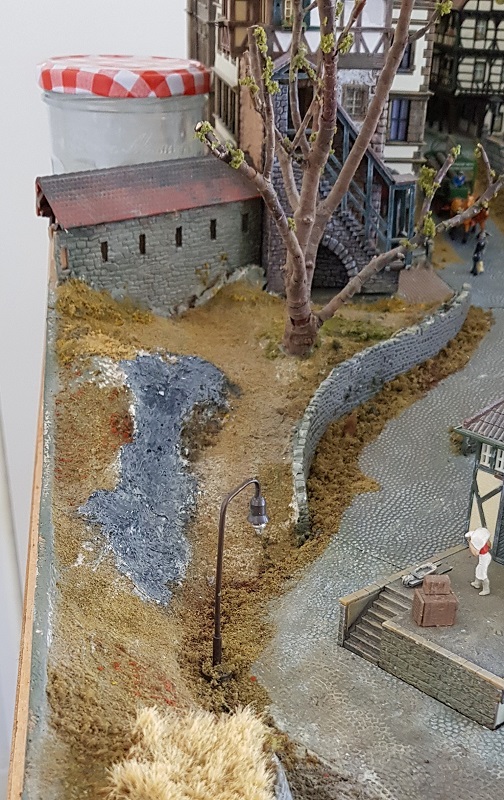
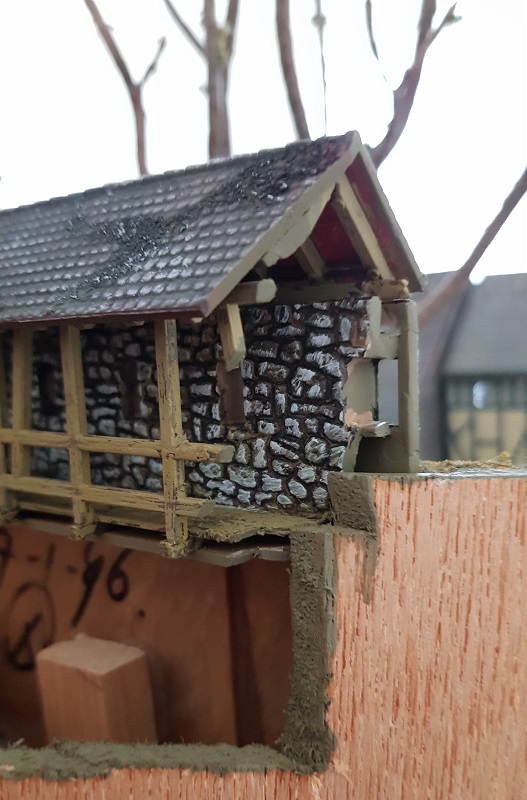
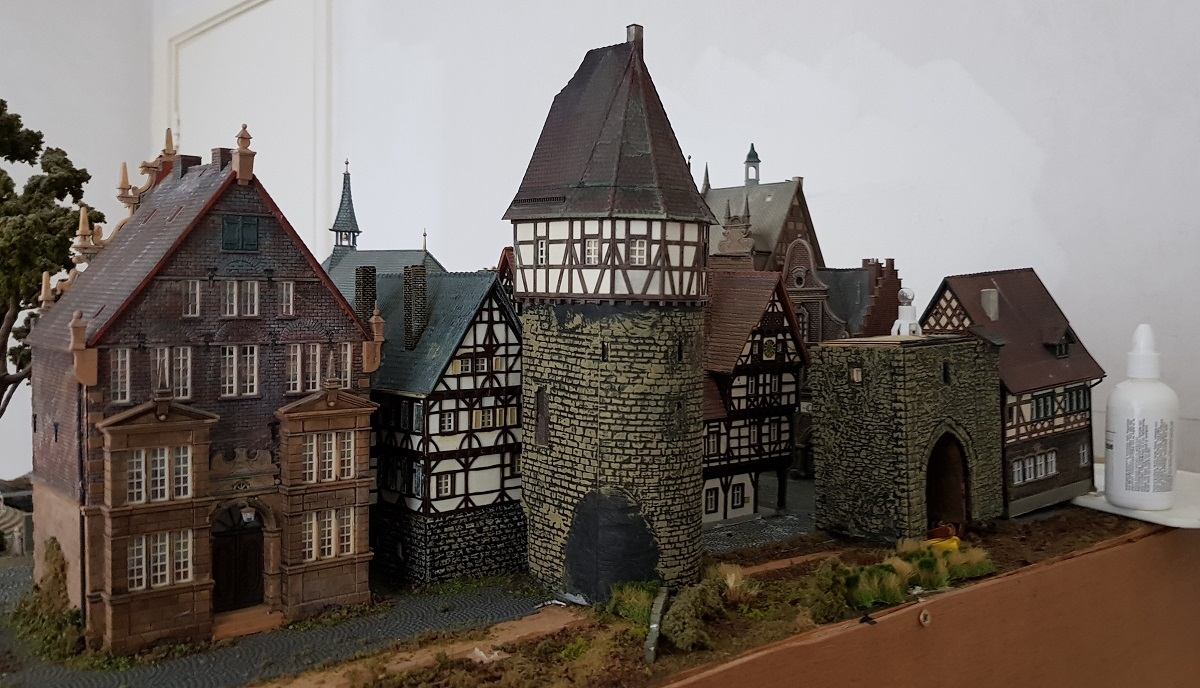
At the far left side of the layout, just behind the station, there is this small park, dominated by a huge tree and confined by the city's wall.
Although I 'weathered' the wall in the 1990's - then again I must say: only the parts visible from the front! - it doesn't outweigh the standard that I am after today!
But prior to taking care of the vegetation I will do some weathering and painting of the walls.
Since I am planning to redo the whole 'unseen' backyard behind the houses, I take the whole area into consideration.
Part of the side panel - in the early days meant for a steep hilltop! - has to be removed for gaining a better access to the town.

Some eight years of dust have committed a major attack on most of the vegetation.
In my 2019 Renovation Plan I sincerely consider to remove most if not all of the vegetation - grass, bushes and trees,
since it is impossible to remove the now 'sticky' layer of dust with brush and vacuum cleaner.
However, since this tree trunk has such a magnificent shape, I will remove the clumps of foliage and try to use Seemoos for branches instead.
You can read more about that in chapter 8.
And now for some finer handicraft...
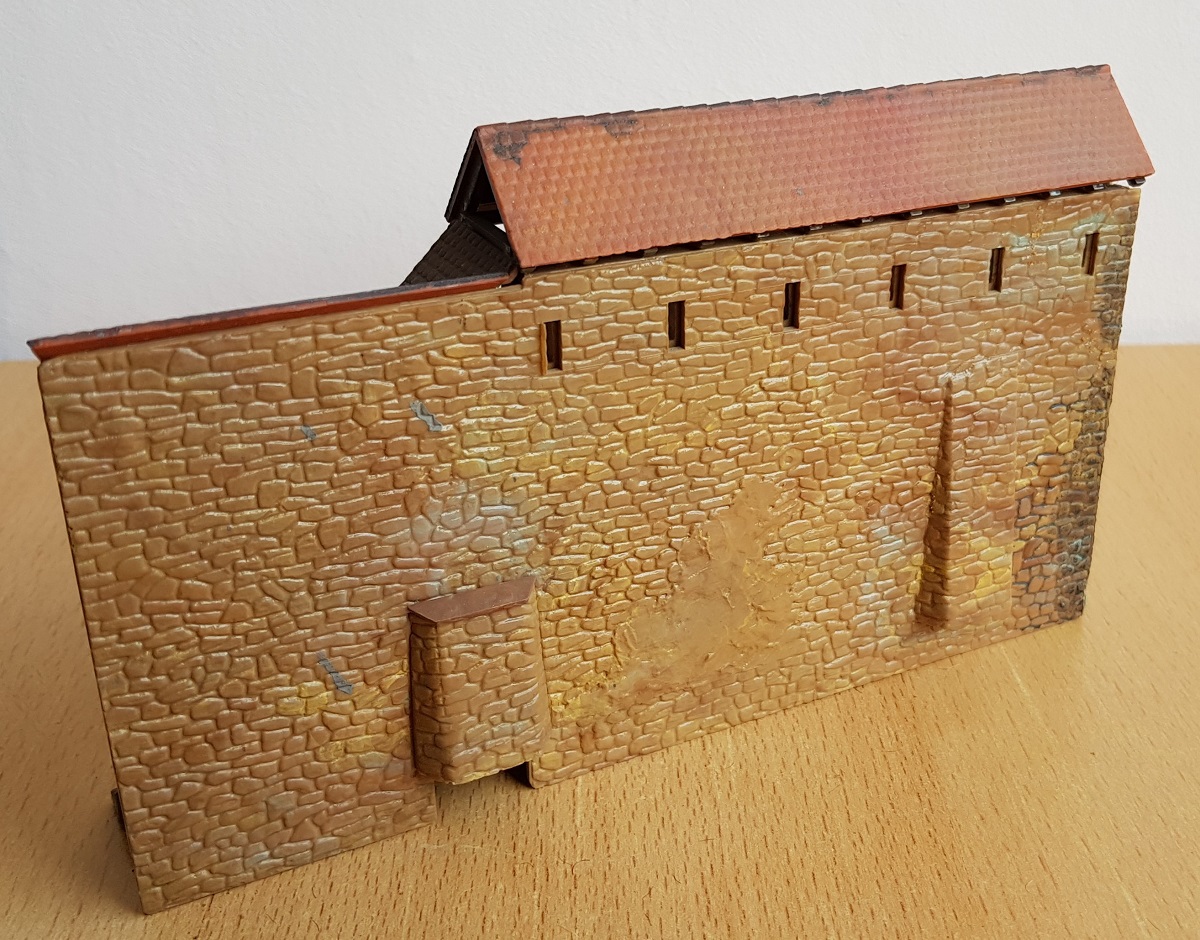
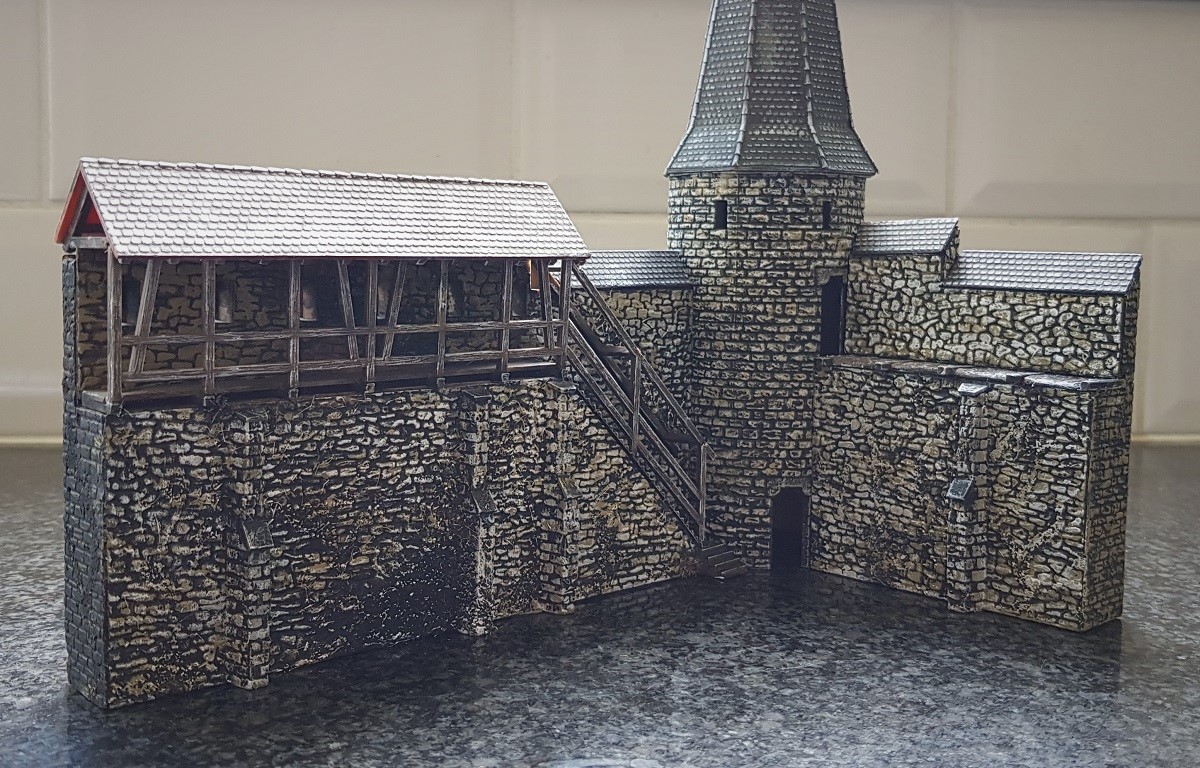
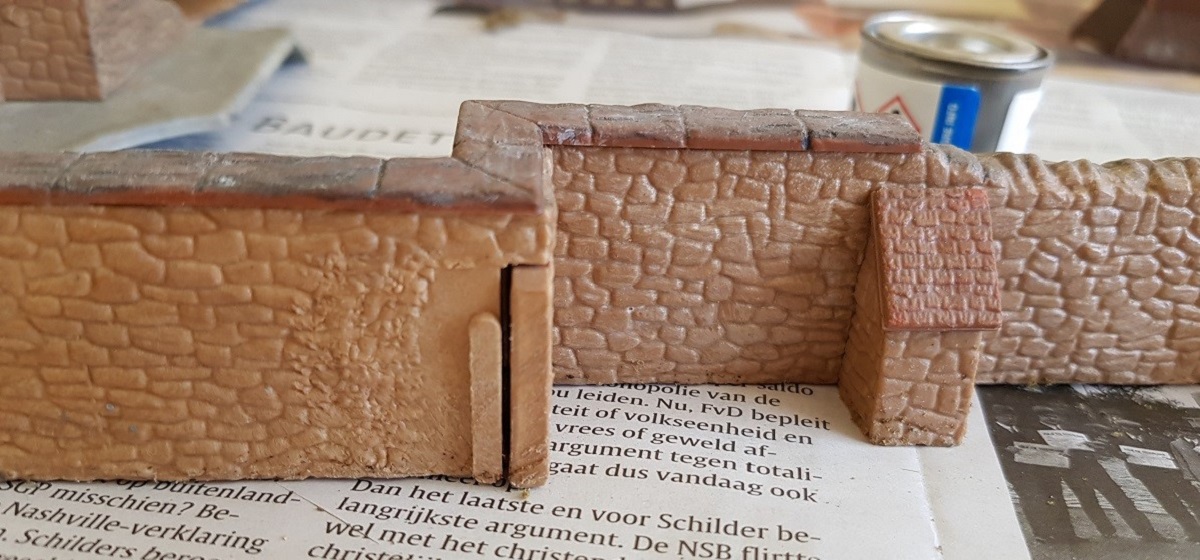
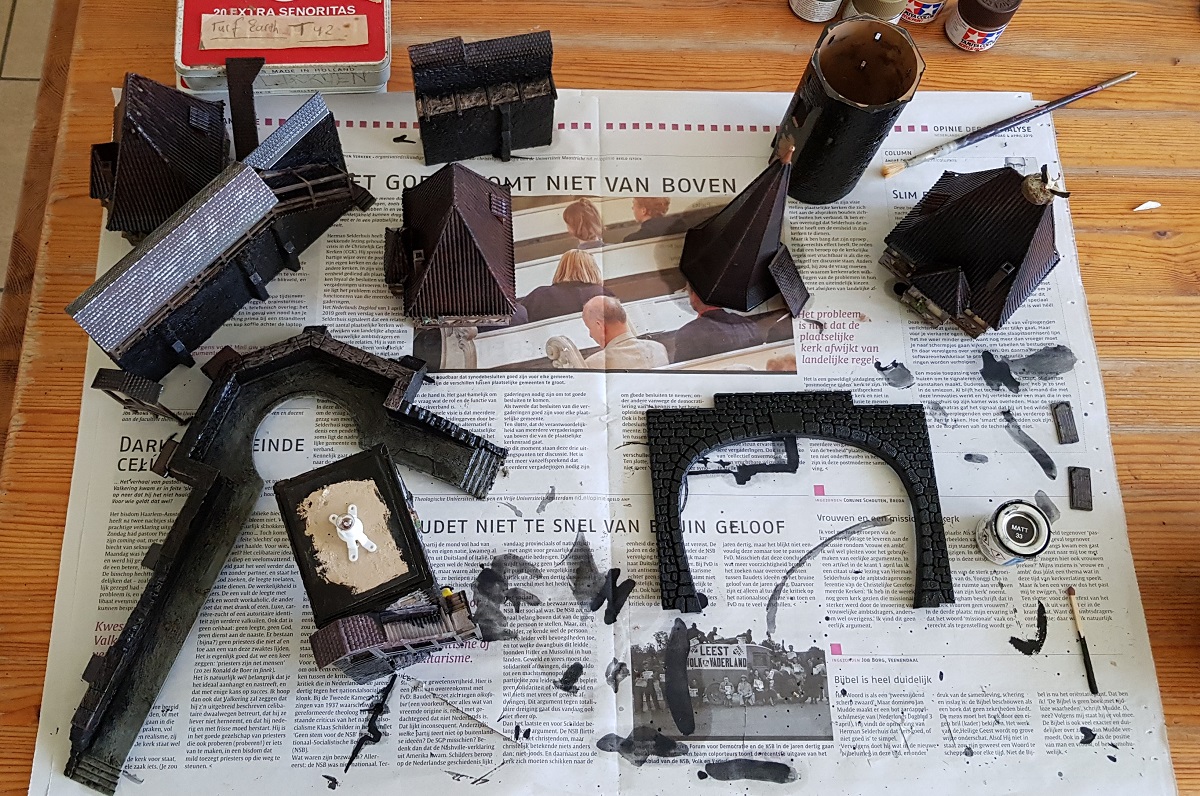
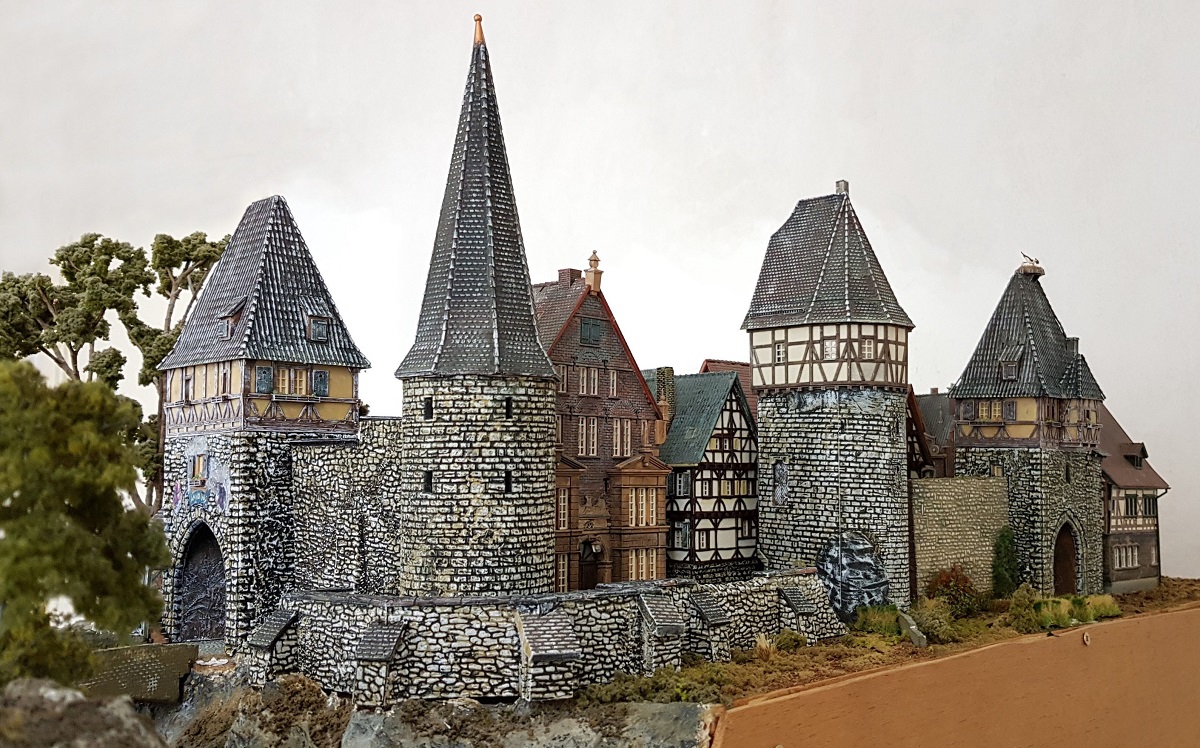
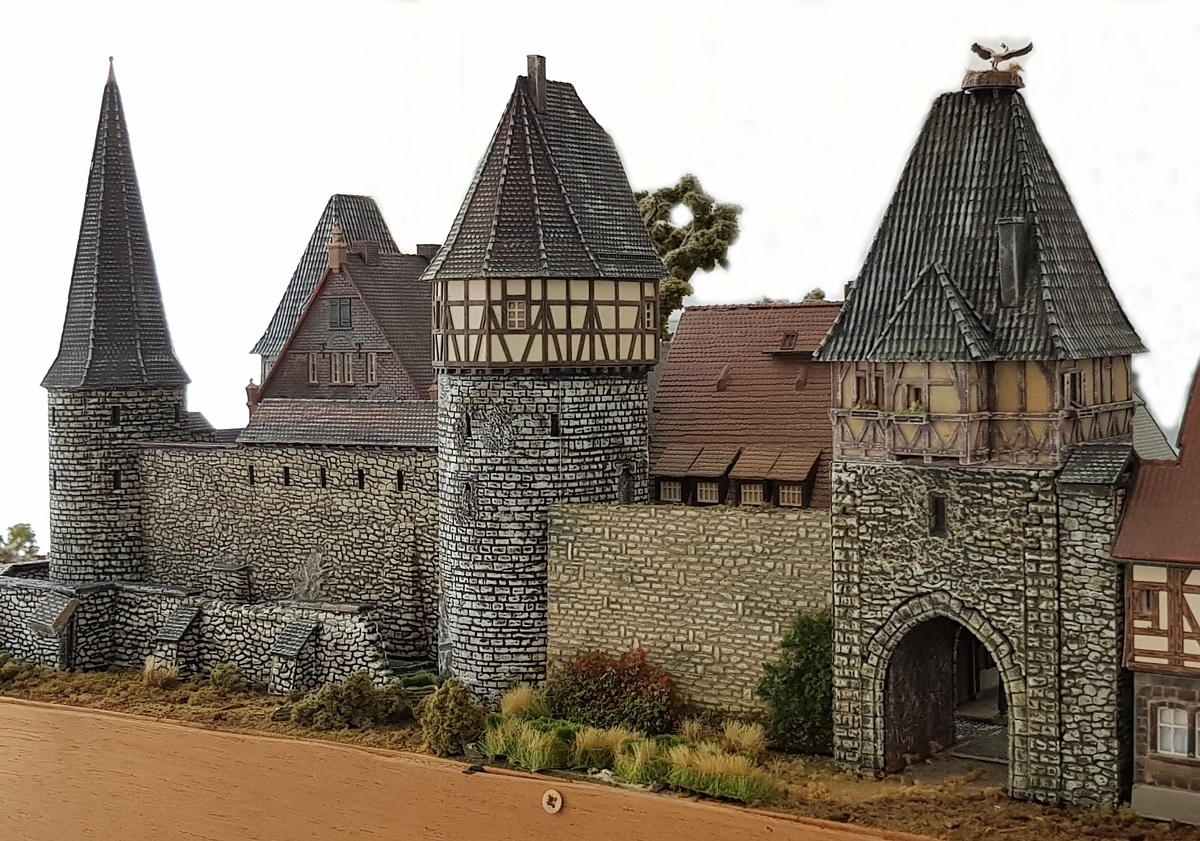
My first priority is to repaint all stone walls and towers to give them a more 'stonelike' look as if they have endured ages past.
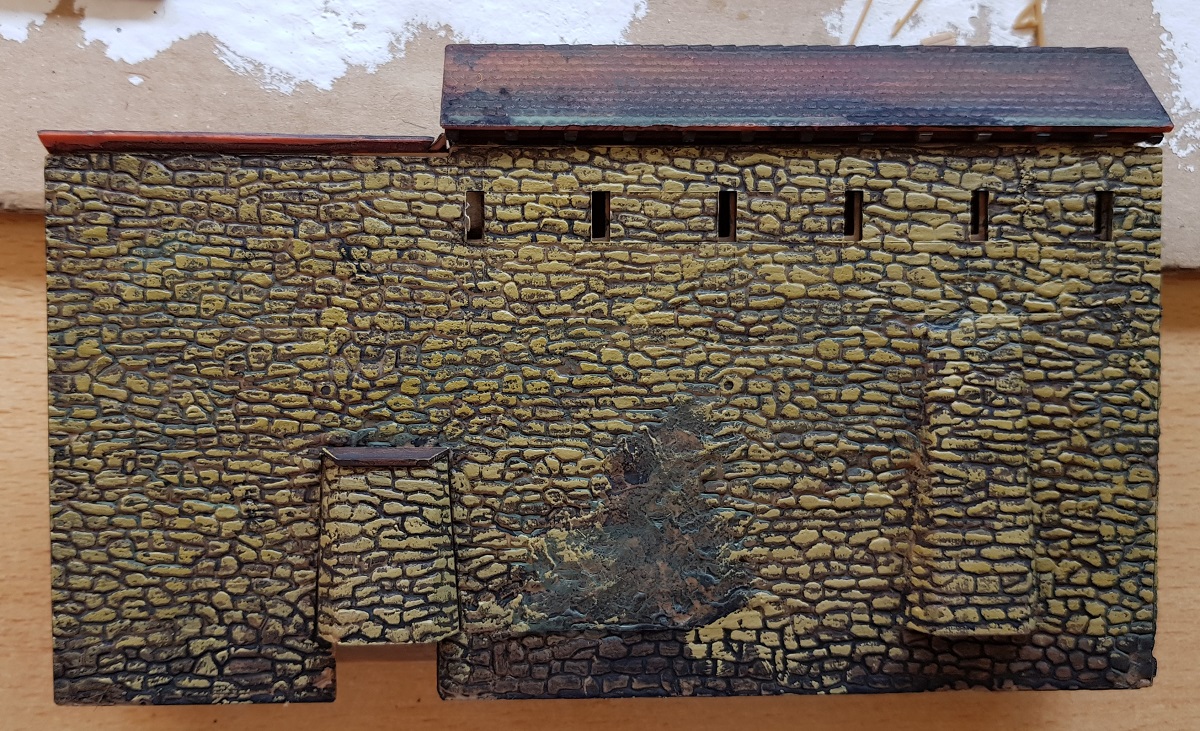
I chose a colouring in an Elsass-Lorraine style: a kind of light greyish and yellow stones with dark mortar.
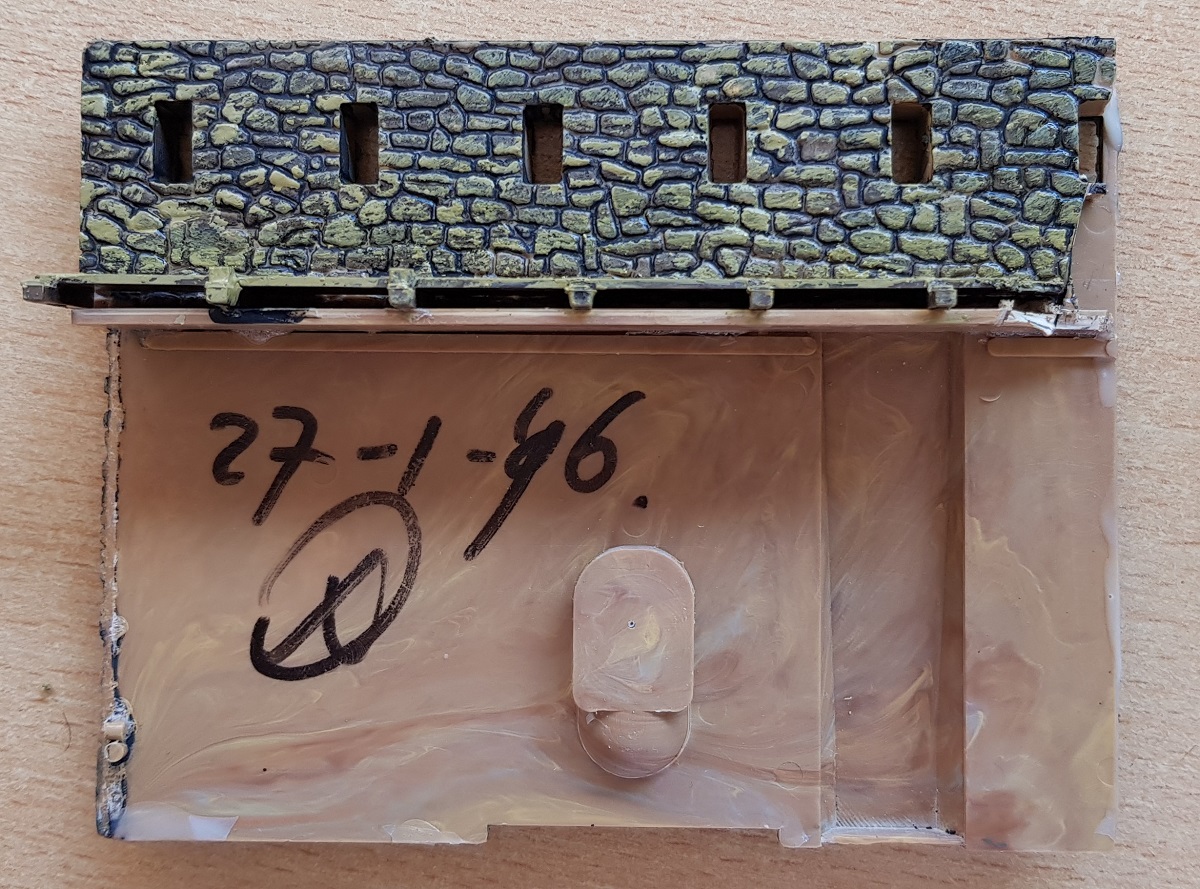
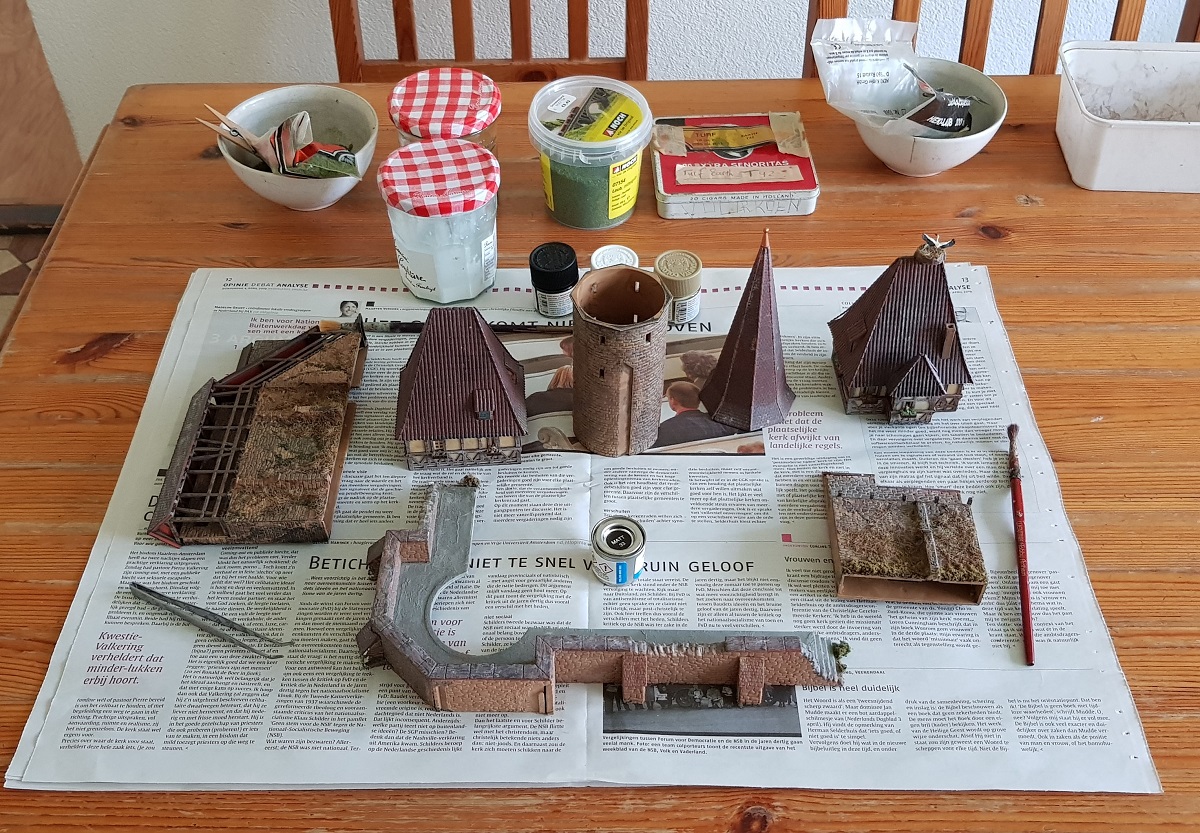
Before painting I'll have to remove them carefully from the layout...
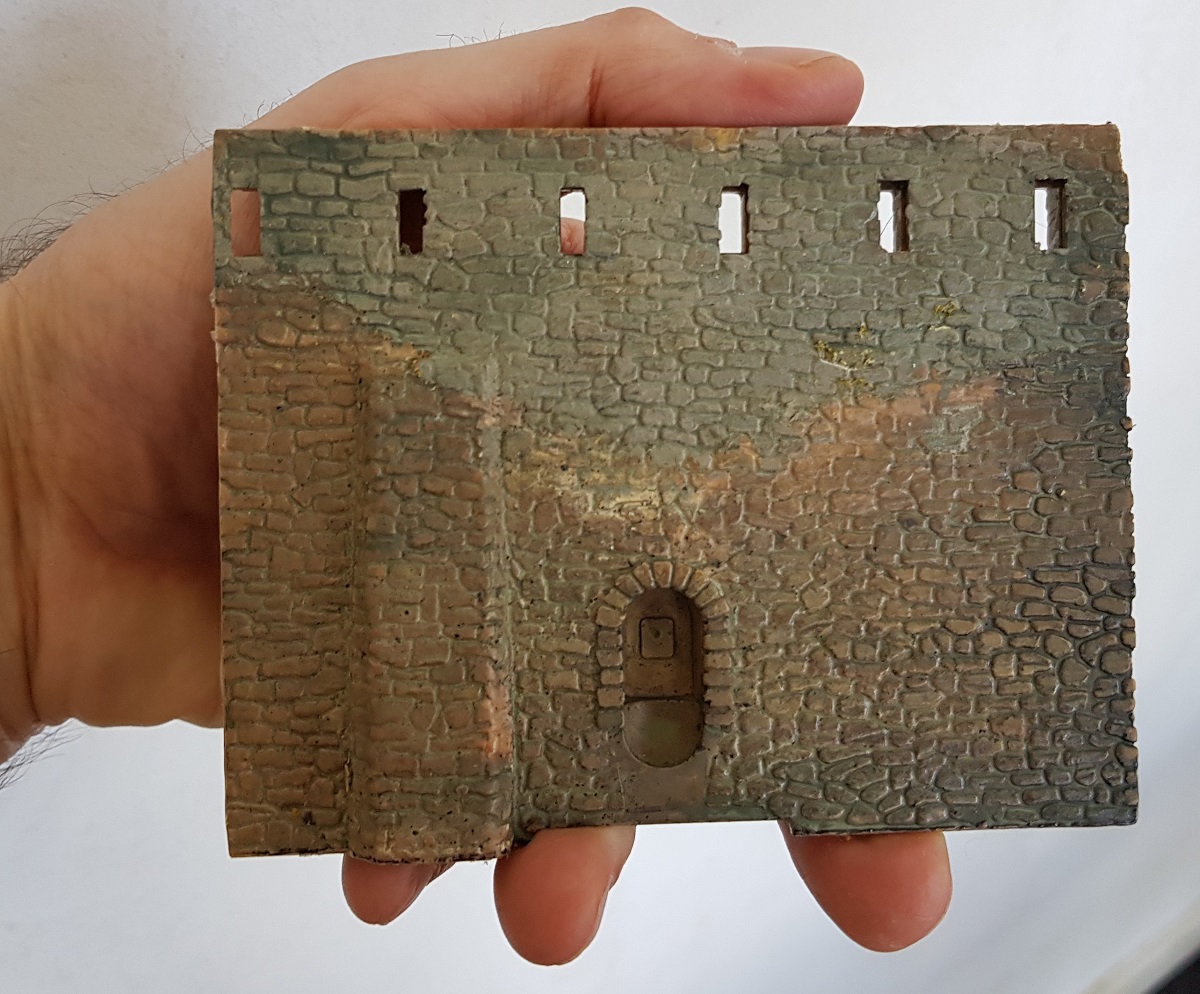
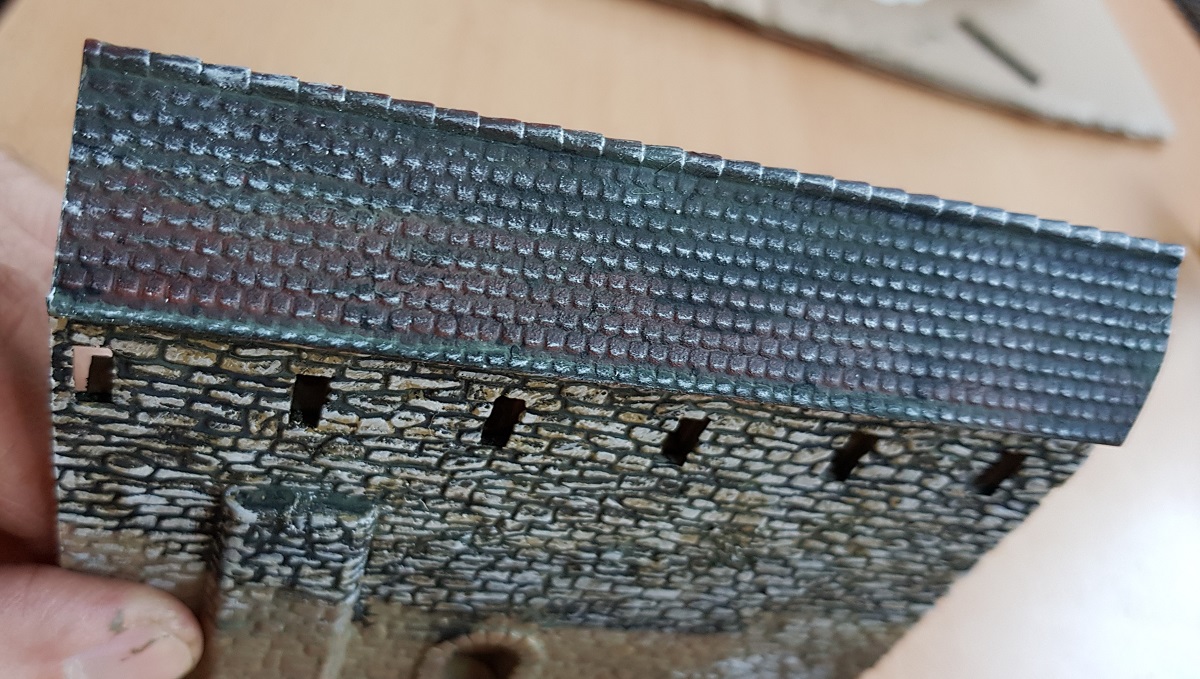
Part of the ancient Kibri wall. Screaming for colour, yeah, I know!
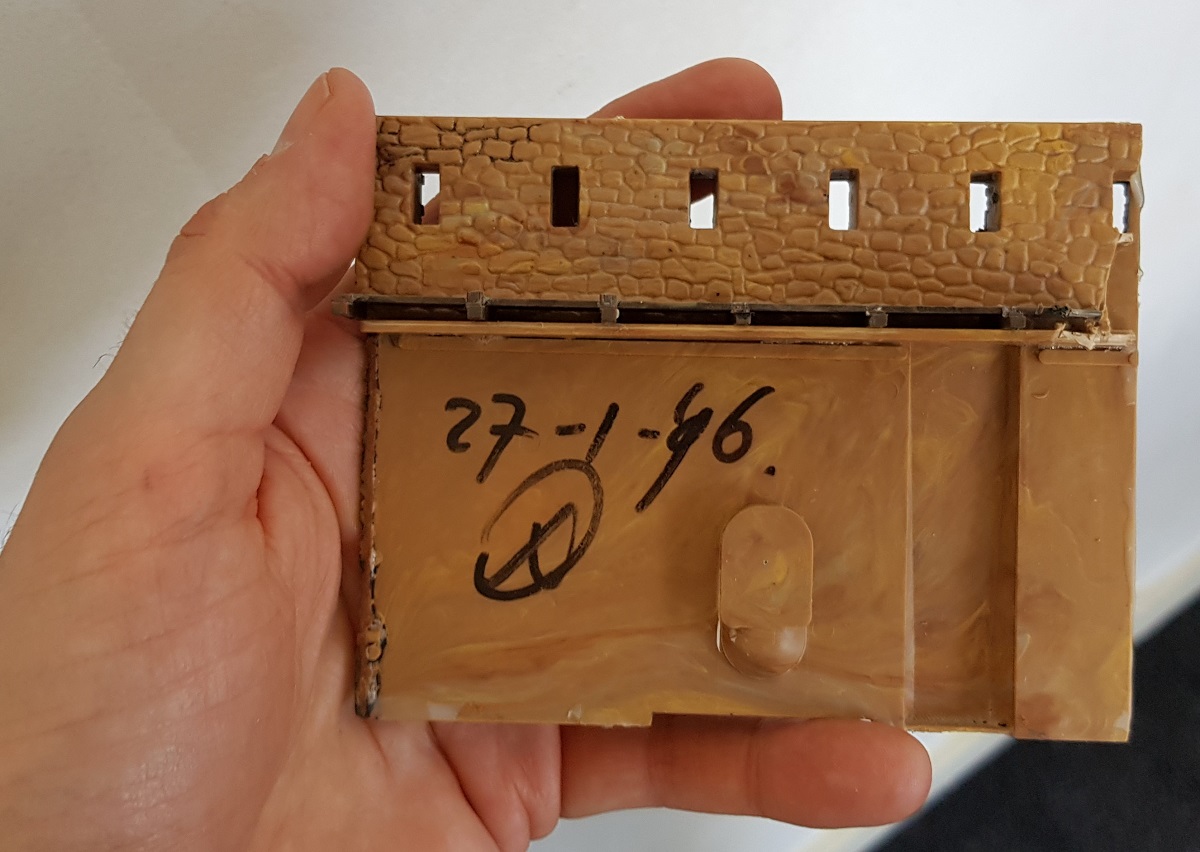
The back side wasn't even touched at all!
Pretty singular... a date written on the back side.
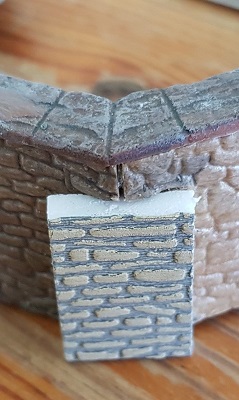
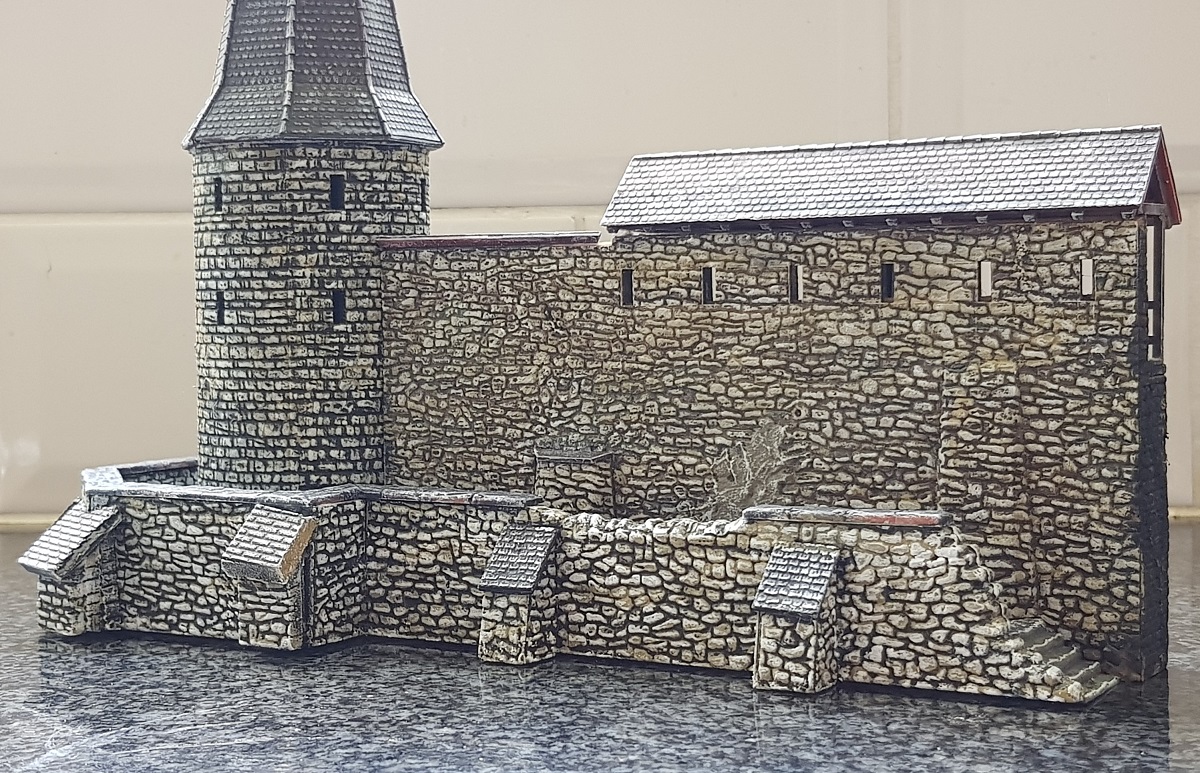
A. First a flat black layer (wet)
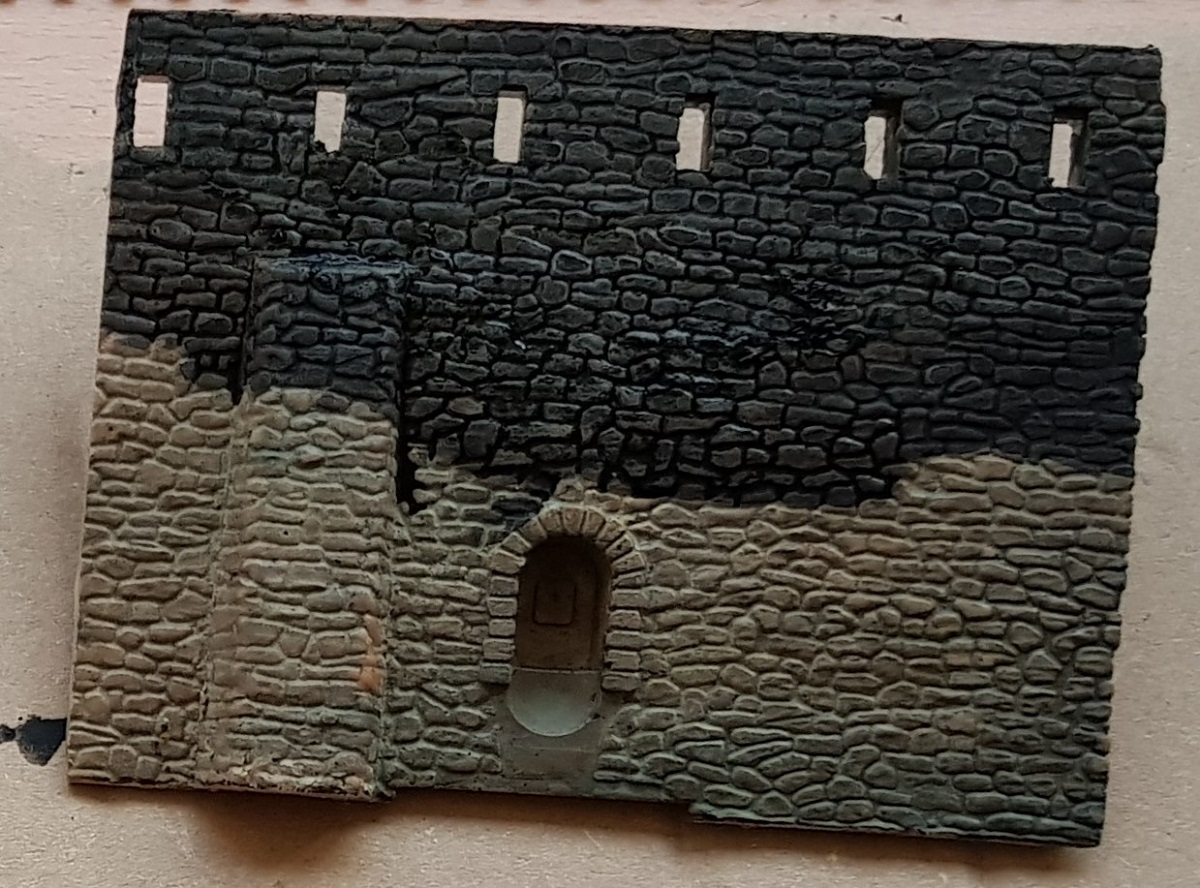
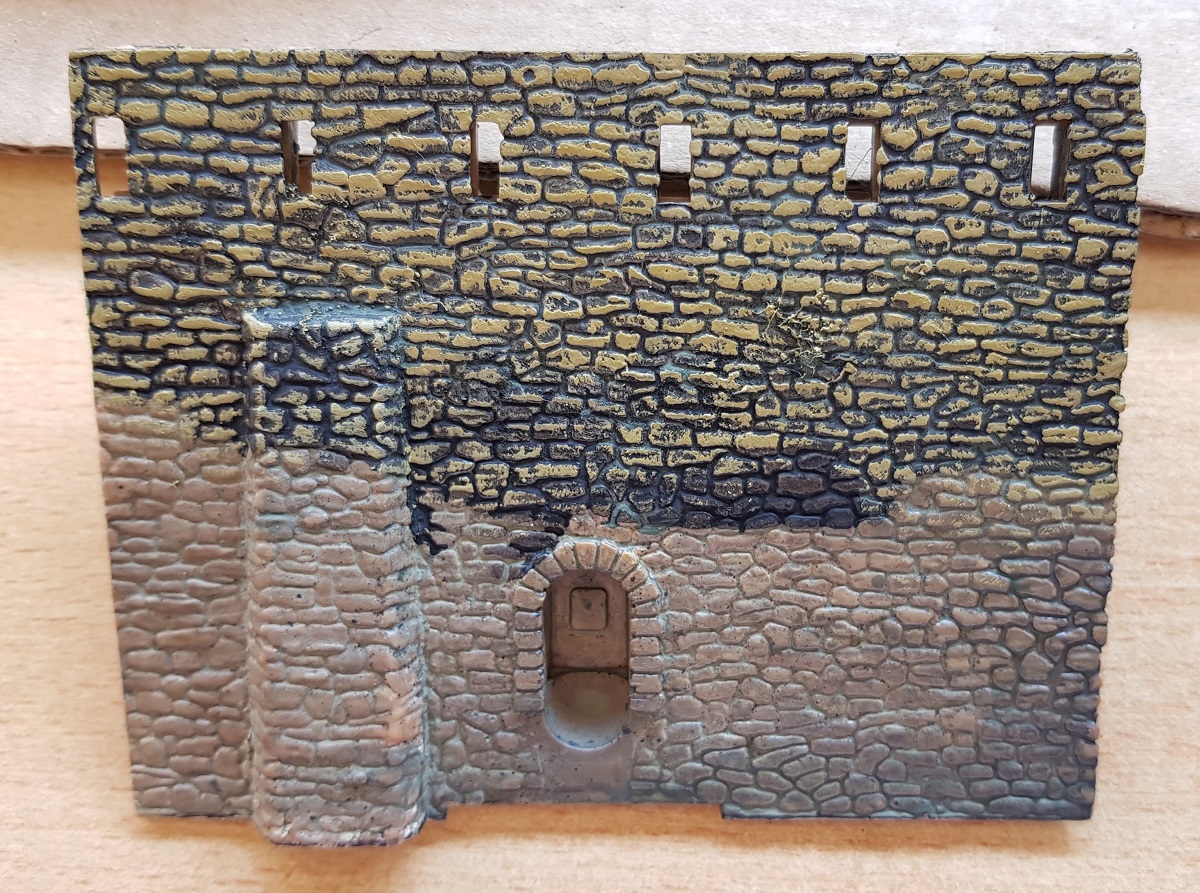
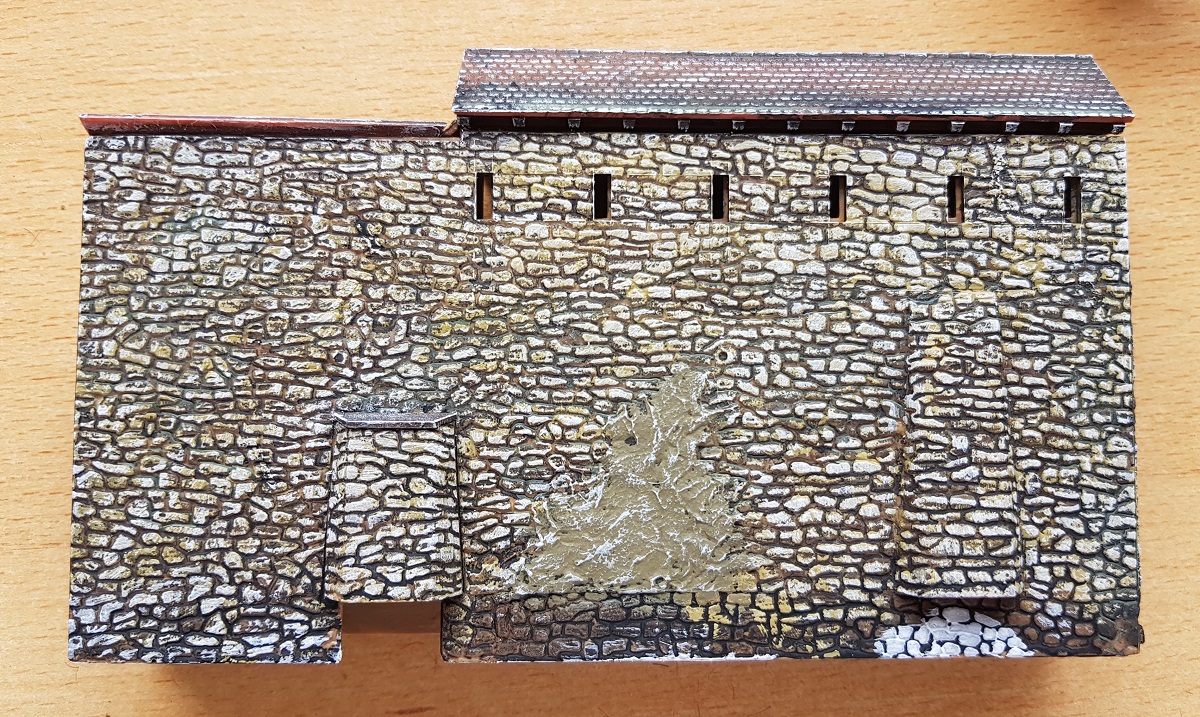
B. Then a semi dry layer of yellow, keeping the brush horizontal ...
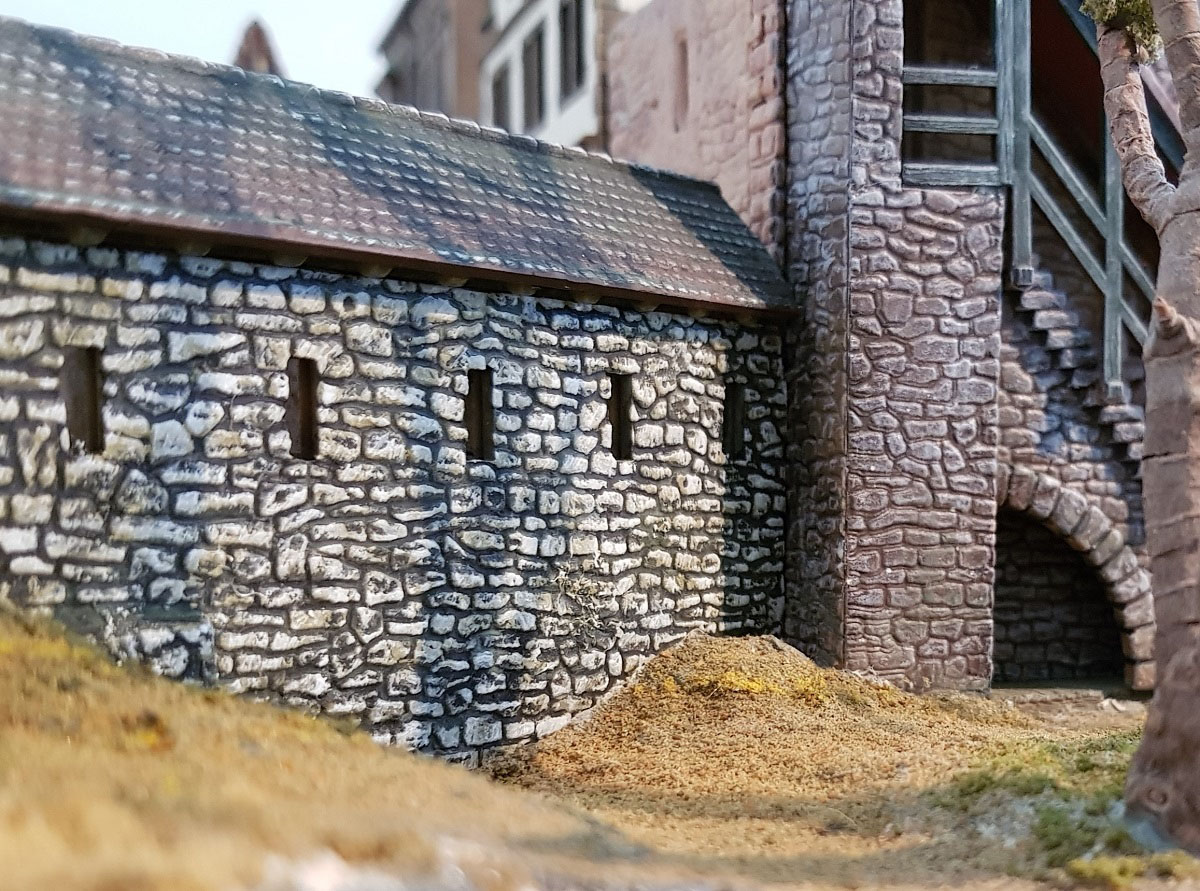
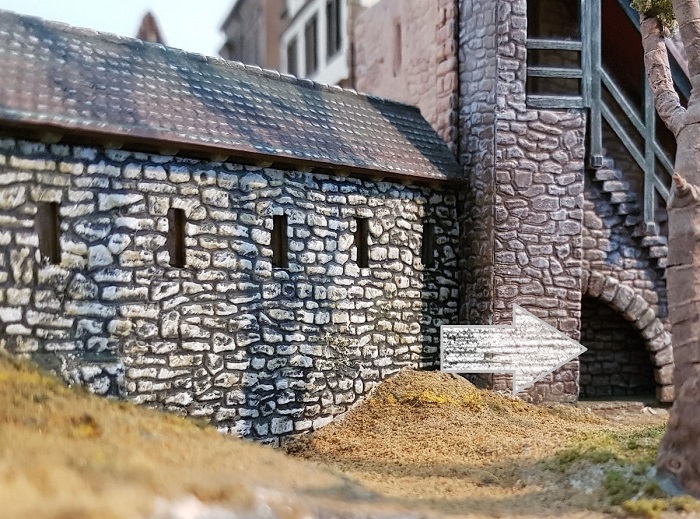
A quick peek to see how it fits in the environment...
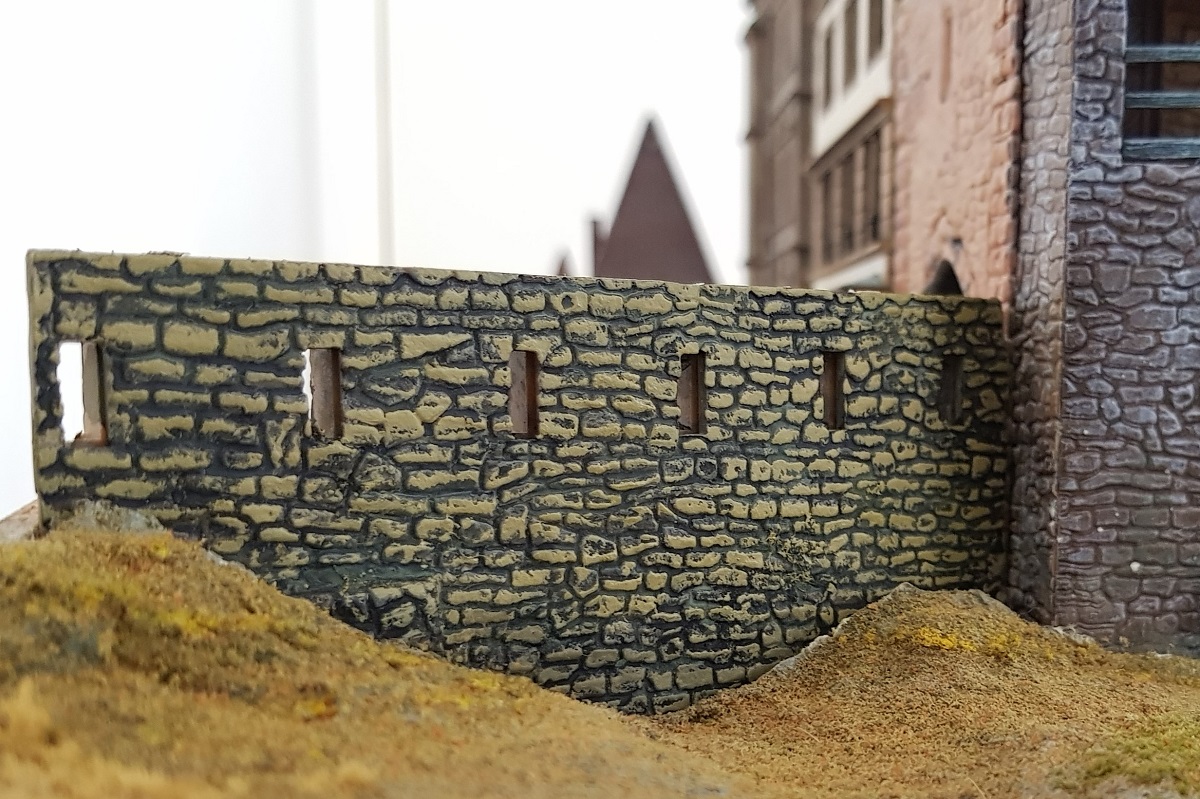
Not bad, but also... not yet!
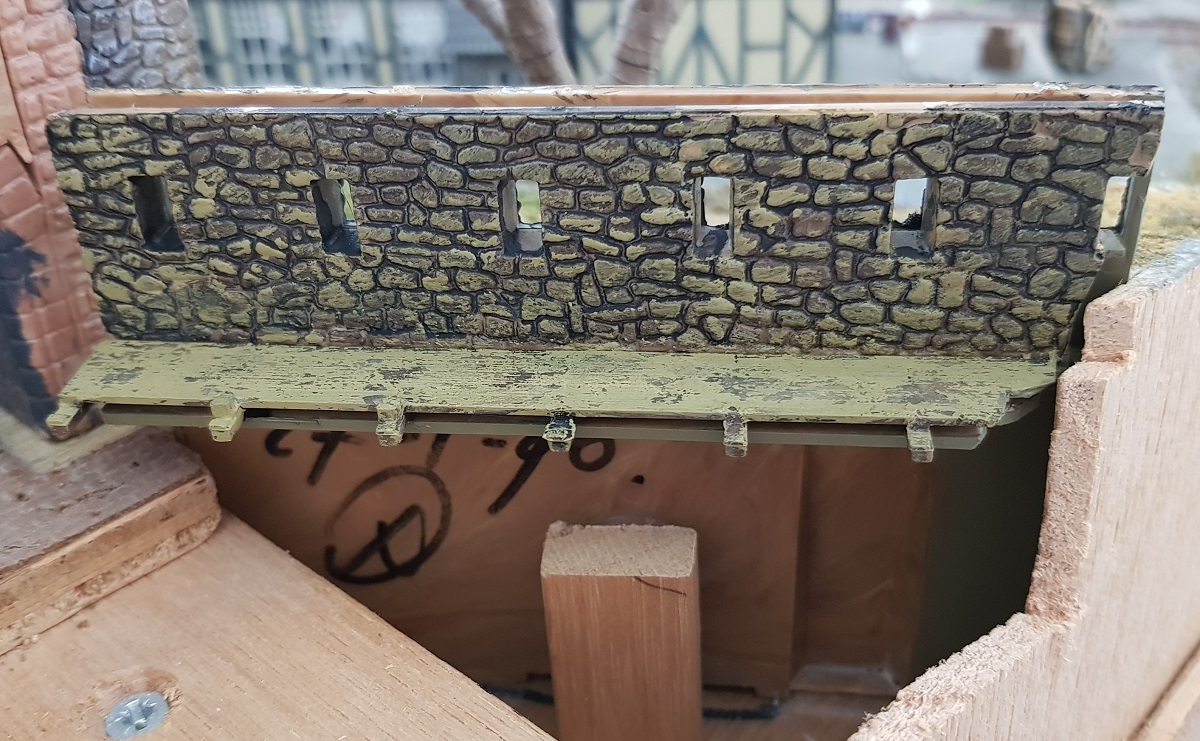
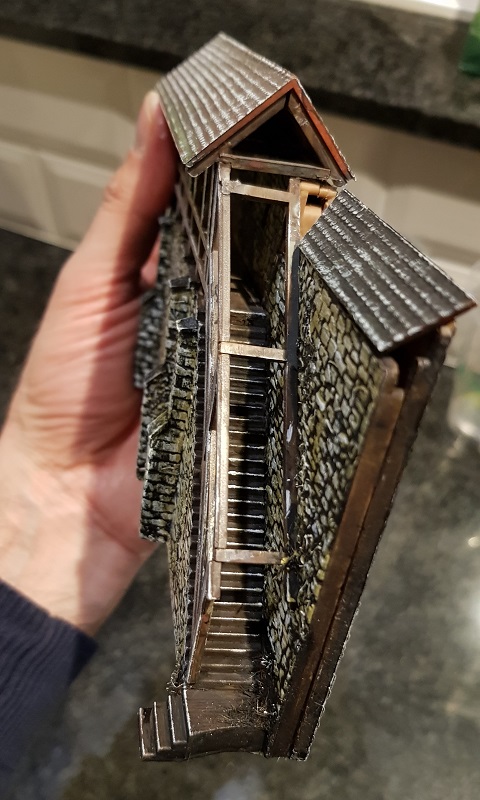
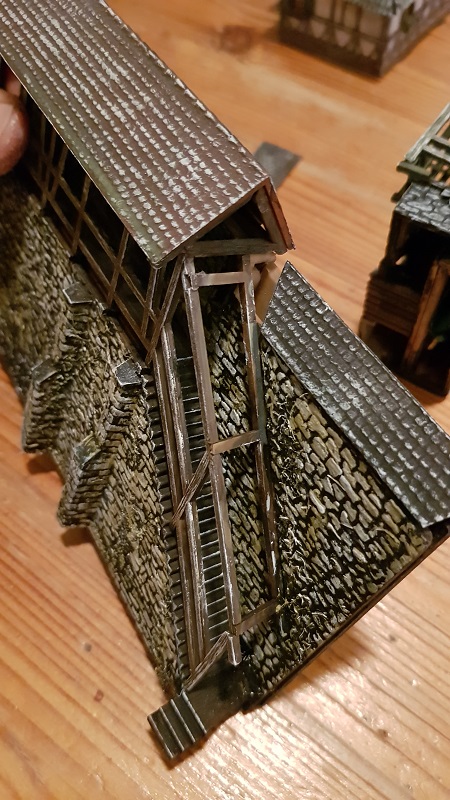
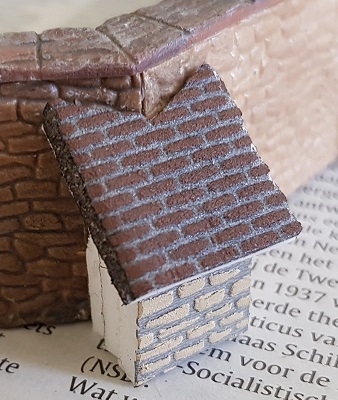
Before I come to step 3, first I'll take care of the corridor on top of the wall!
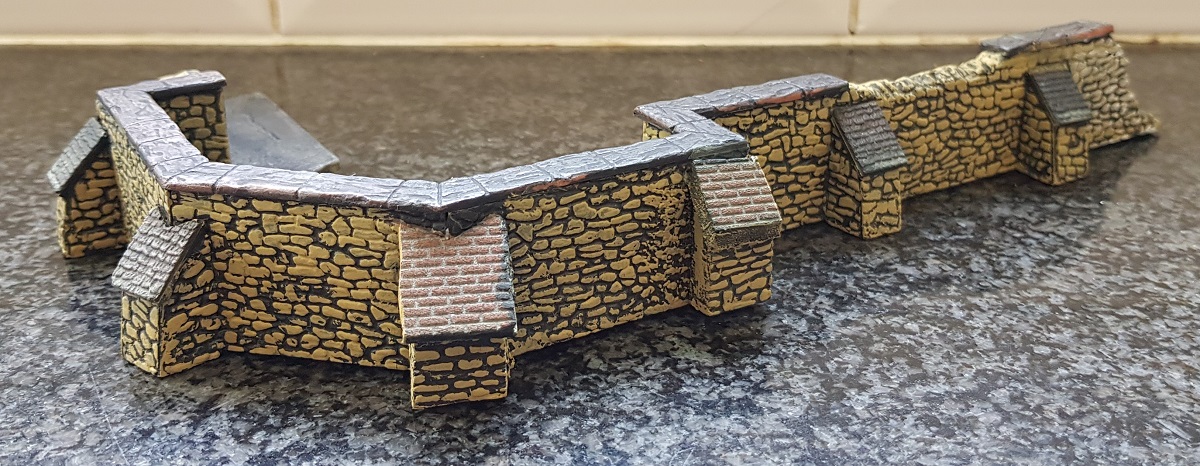
C. Finally, a dry brush of white, both on the wall and rooftop tiles ...
~~~
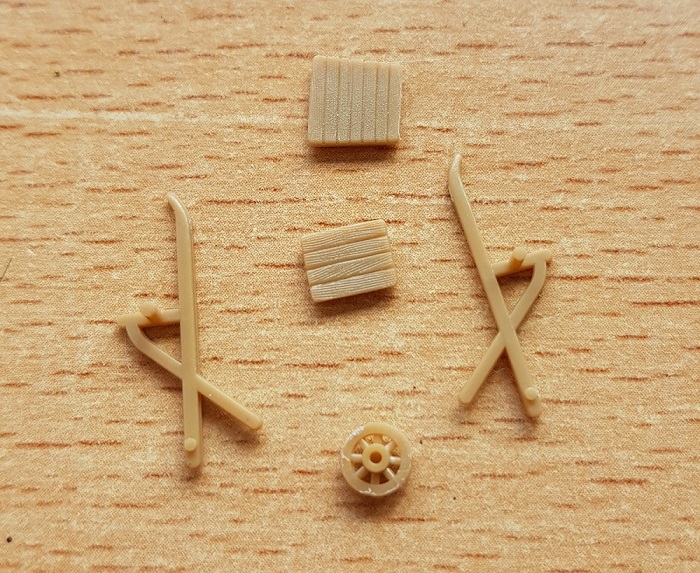
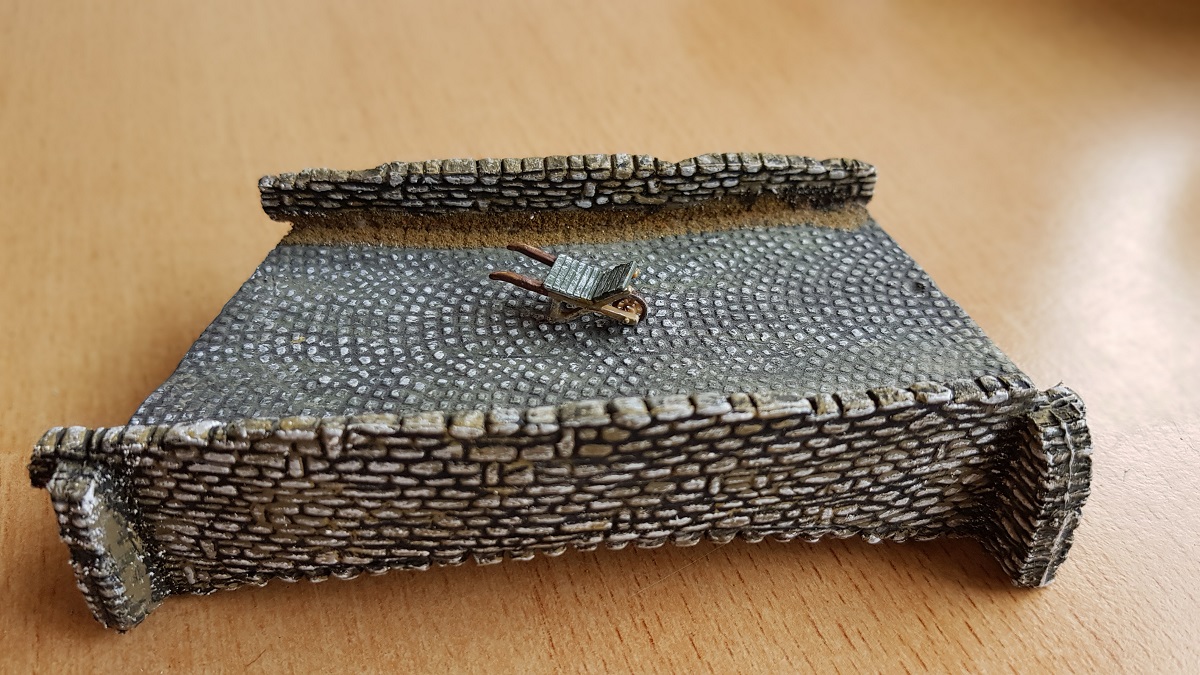
1.2 ~ I n t e r m i s s i o n: The W h e e l b a r r o w
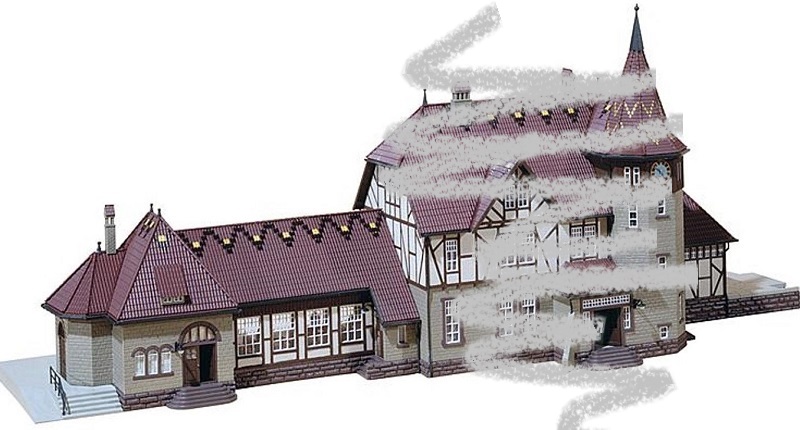
Since I only used part of the Faller Station "Bahnhof Schwartzburg" for my 'Endbahnhof' at Cochem Town,
I recently discovered that in the remnants of that kit were some peculiar parts of this ancient wheelbarrow,
exactly the kind I was looking for so many years ago... (in Chapter 28 you can read of another one)
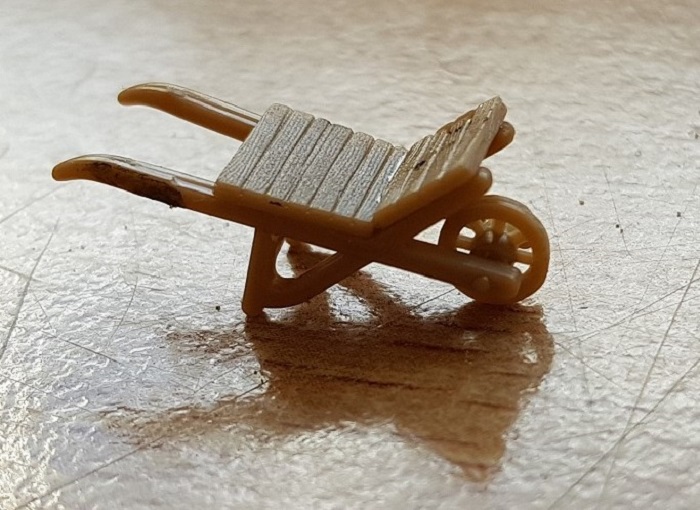
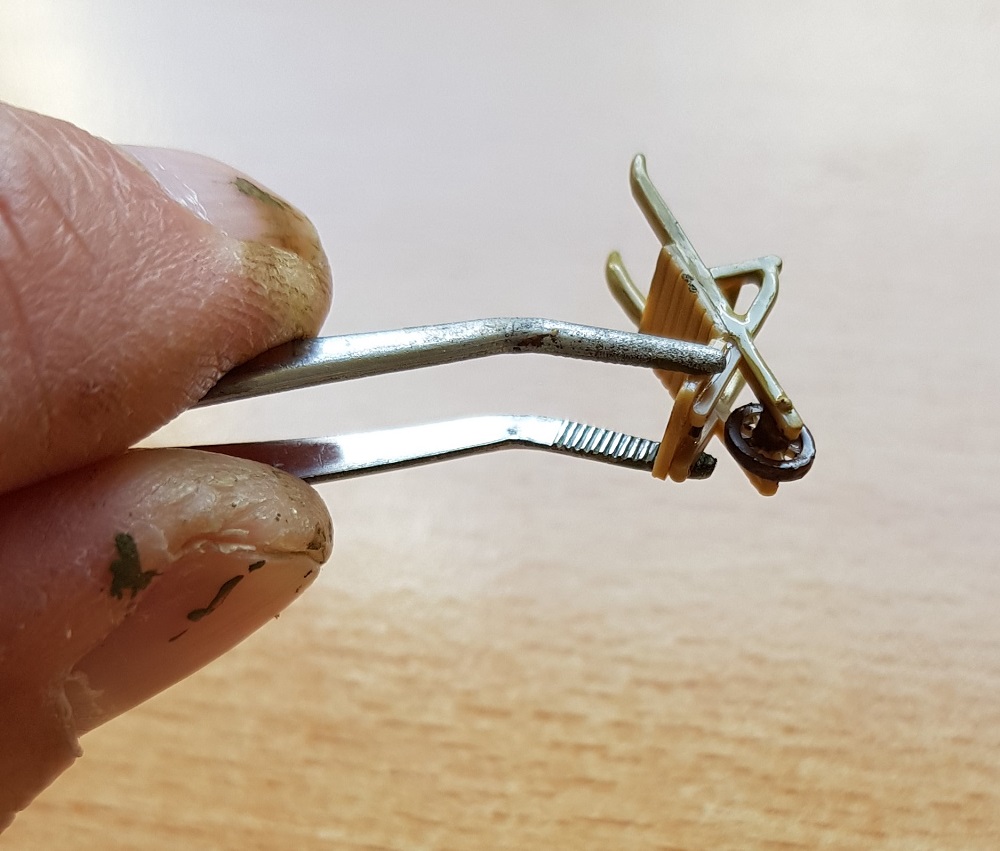
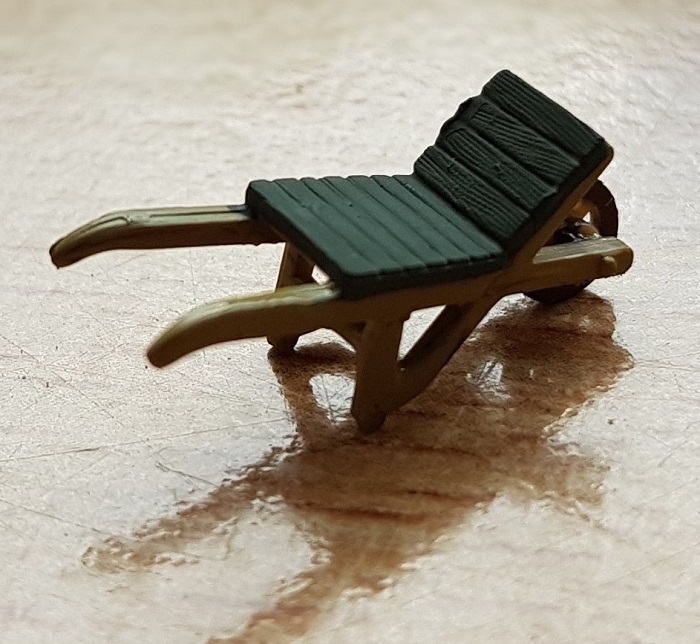
Finally, a dry brush white and...

... there you go!
~~~
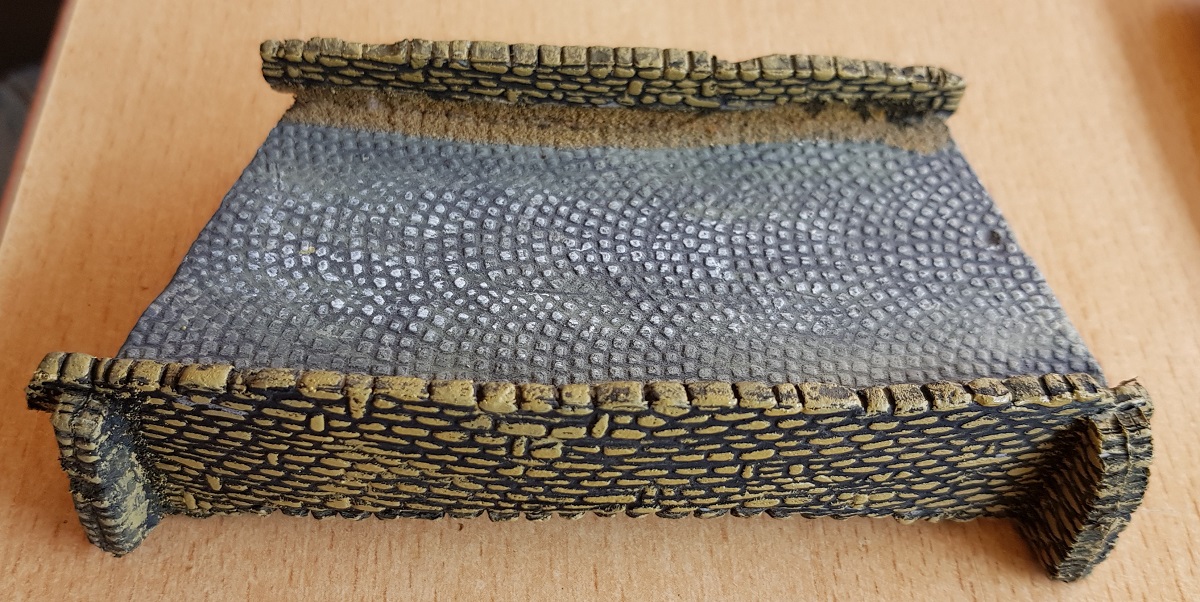
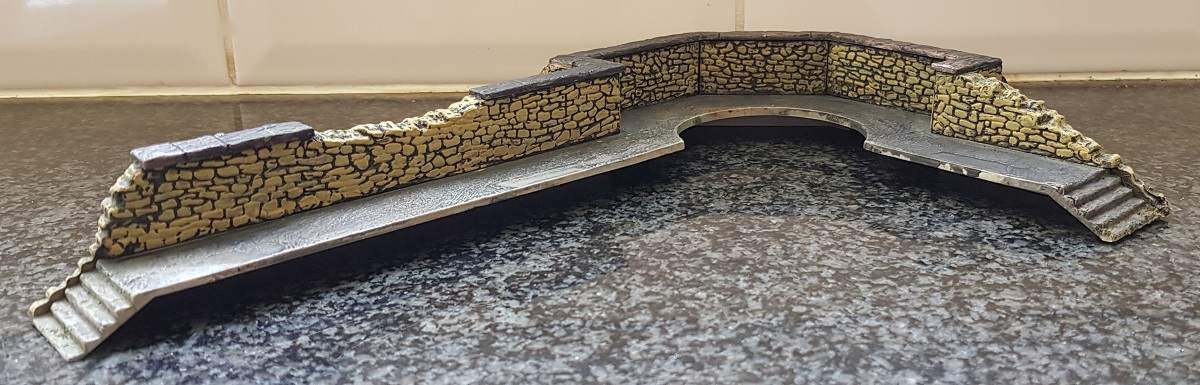
1.3 ~ T h e b r i d g e
Probably you've noticed the little stone bridge across the gorge, leading from the plains into Cochem Town:
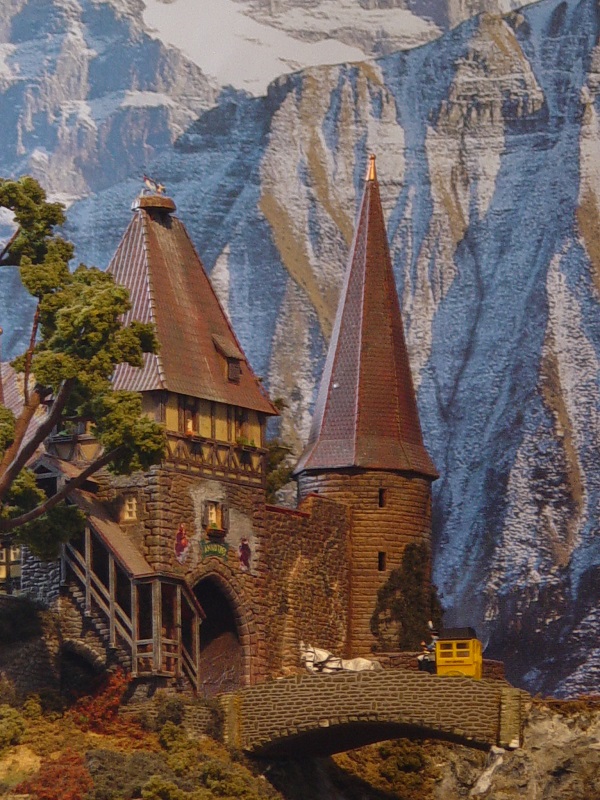
7.3.2003
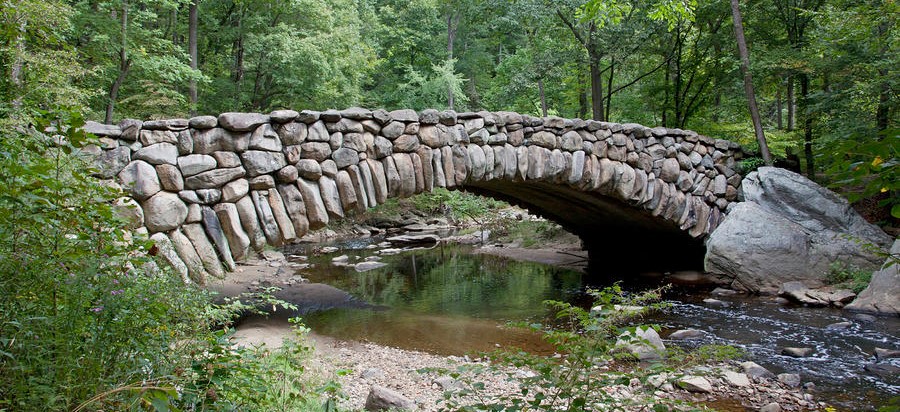
I am aware that the bending of the arcade is rather slight, and I had to make a curve for reasons.
In the world there are bridges having a similar slight bending.
Since I am redoing all the masonry and brickwork, I thought it a good idea to give this little bridge an upgrading as well.
The same procedure is applied.
I know: "Heard of... Droogstoppel, makelaer in koffij, Lauriergracht 37..."
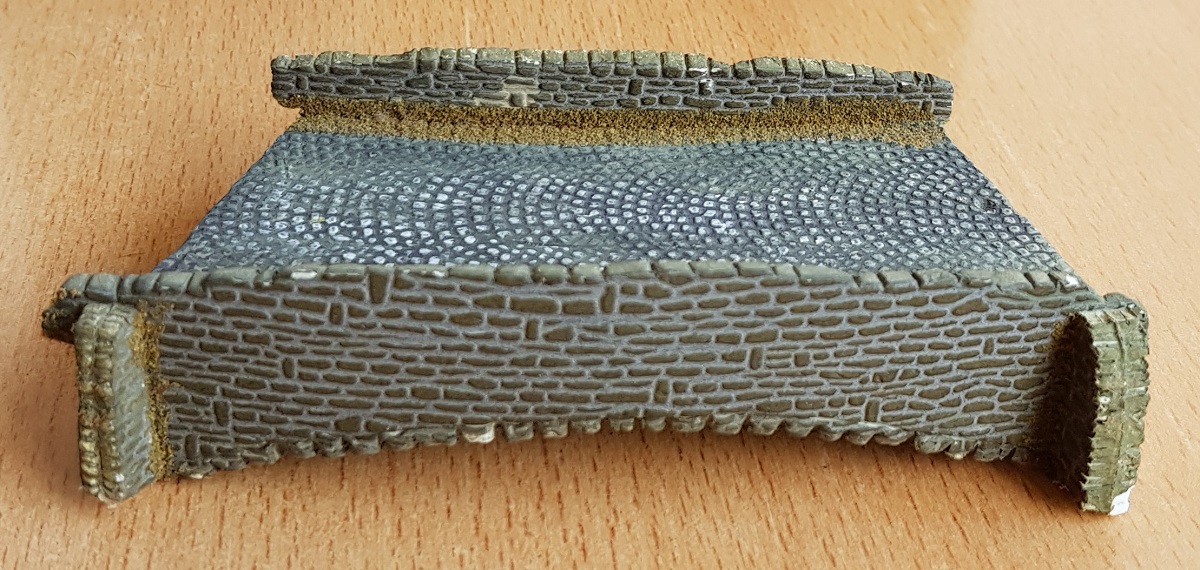
To start with...
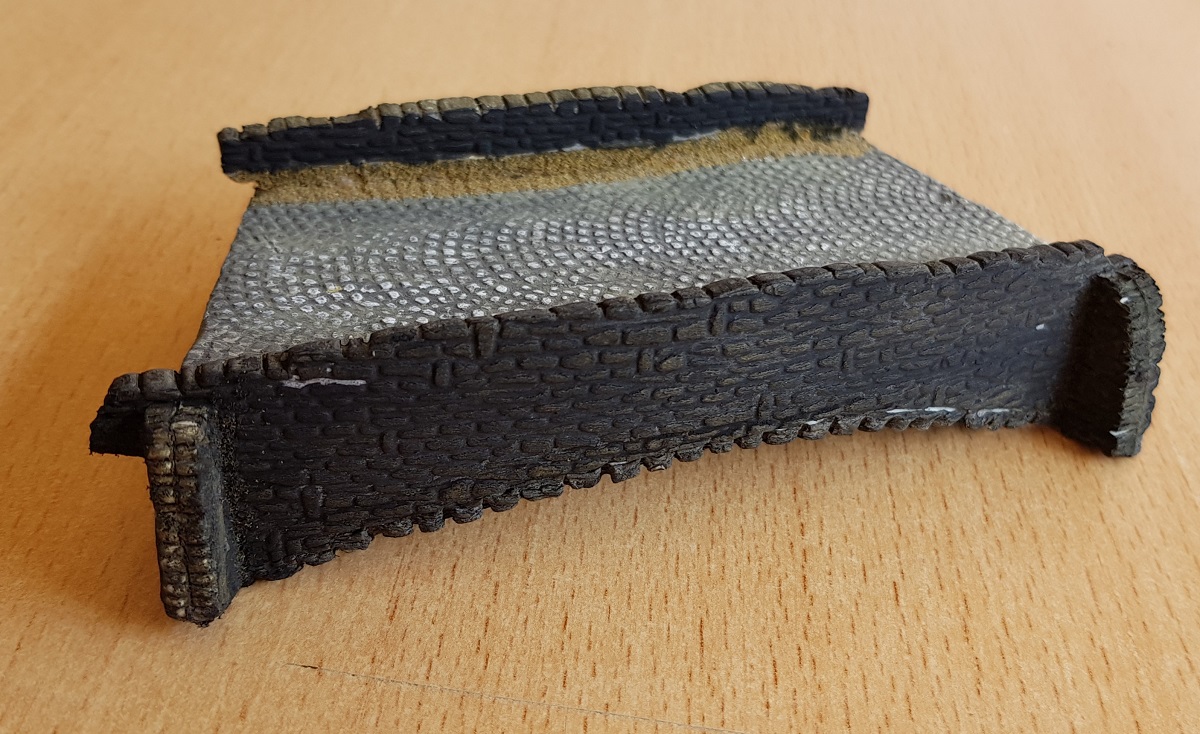
...adding mat black
...and yellow
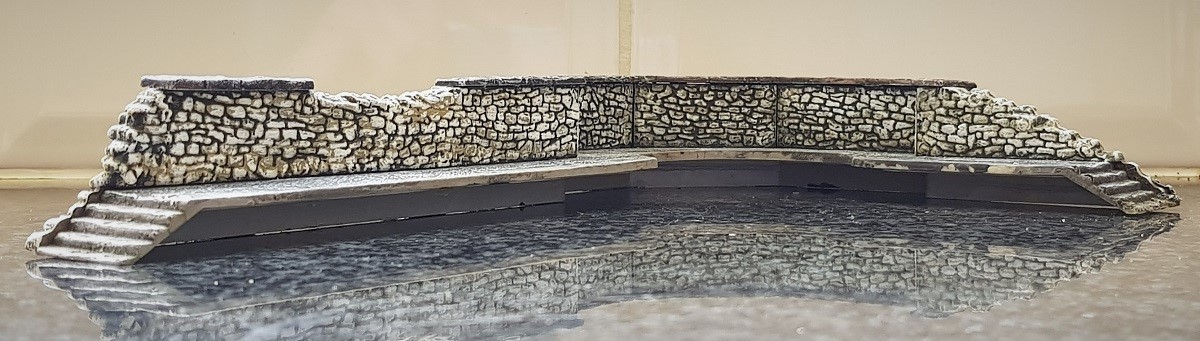
... and a white dry brush
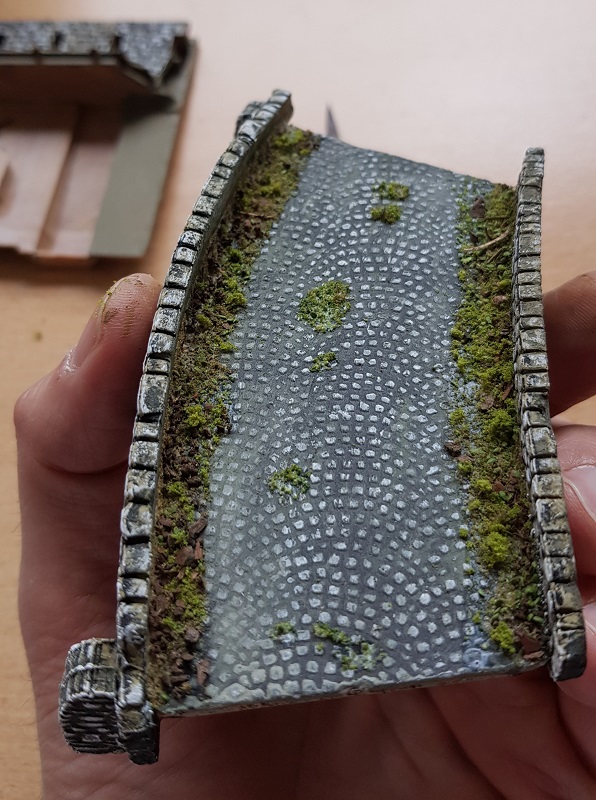
... and why not some fresh vegetation to it?

A new miniature!
~~~
1.4 ~ A n o t h e r w a l l i n t h e b a c k
Following the same procedure!

~~~
1.5 ~ I n t e r m i s s i o n
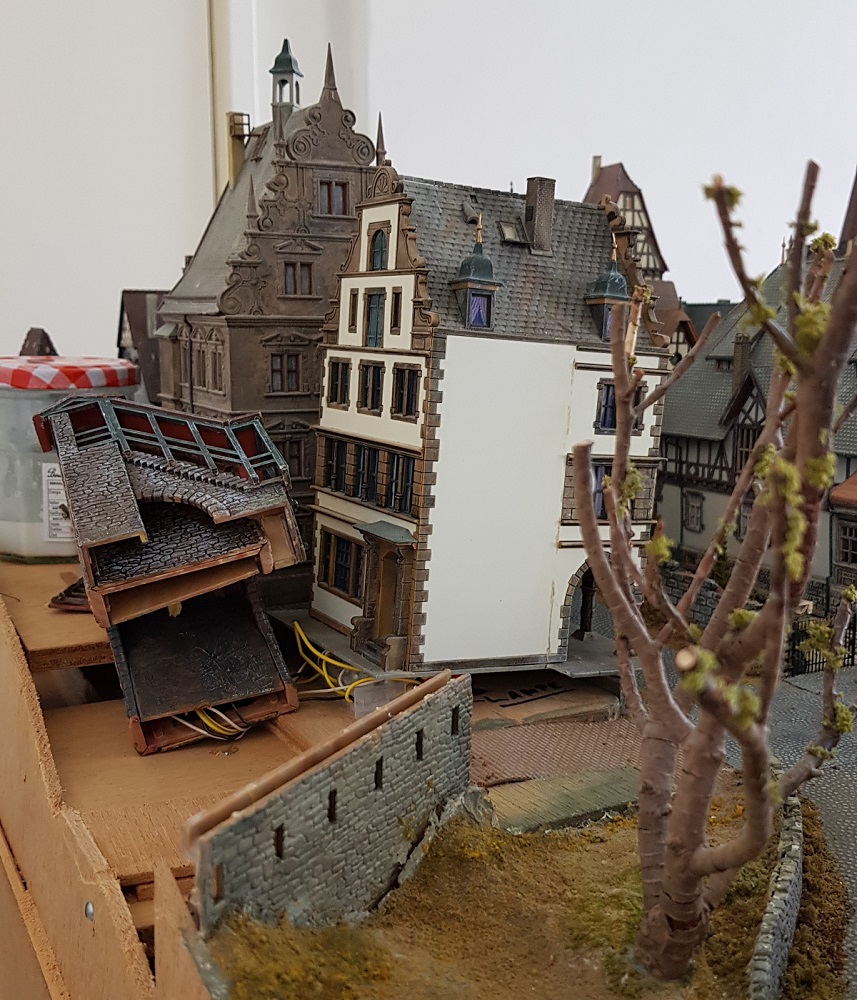
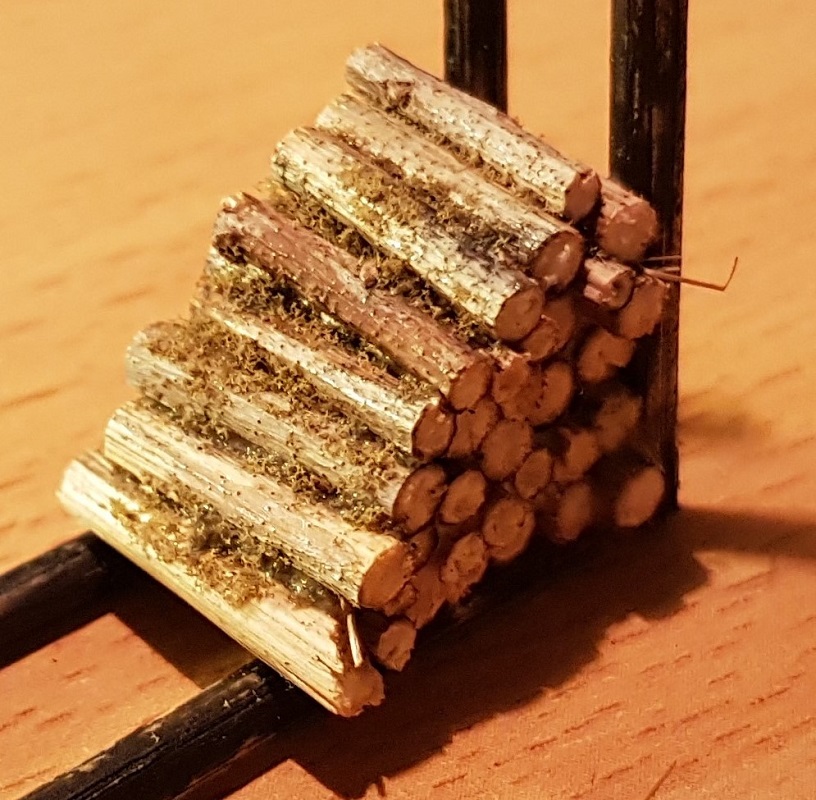
A pile of wood under the Tower
The Kibri tower has room for a semi round pile of wooden branches.
Why not make one for real?
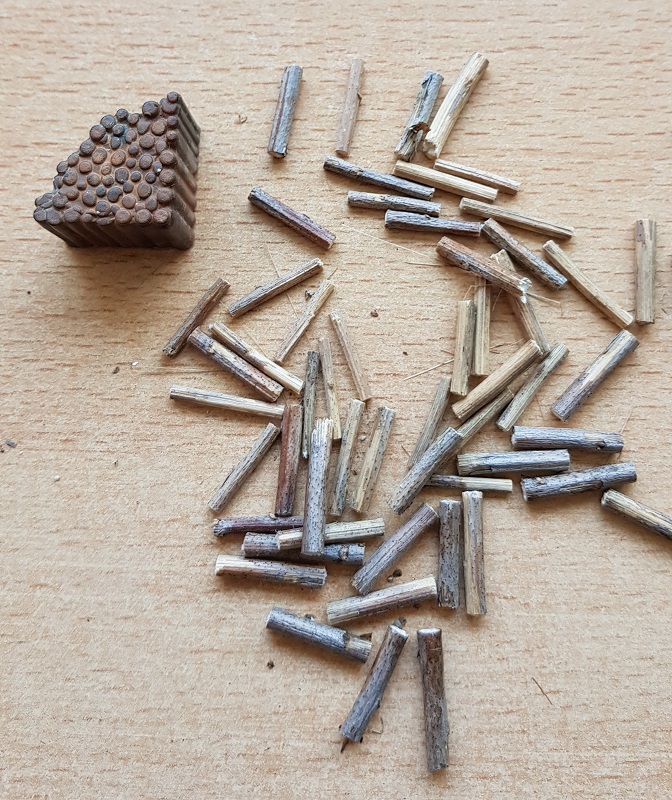
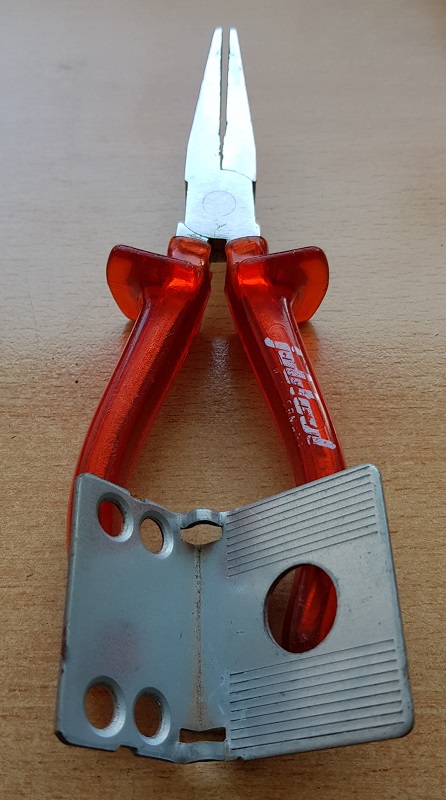
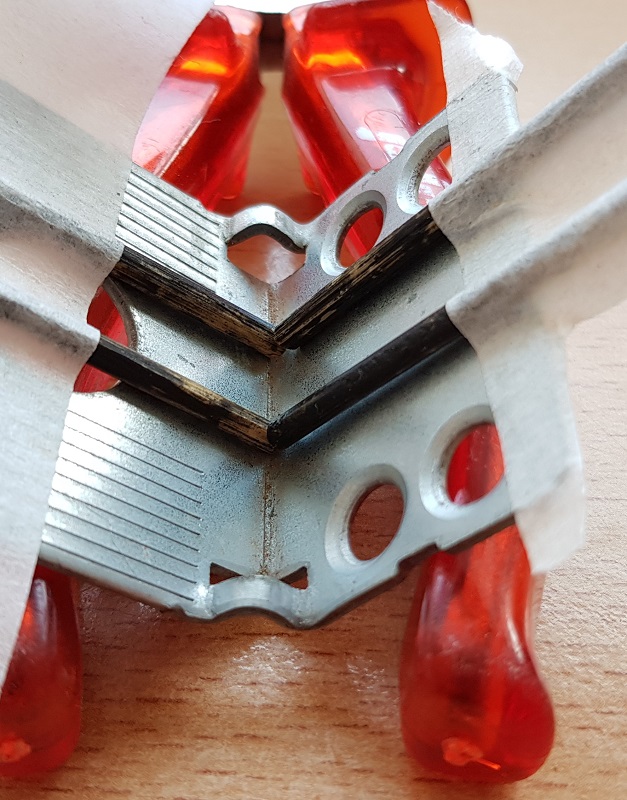
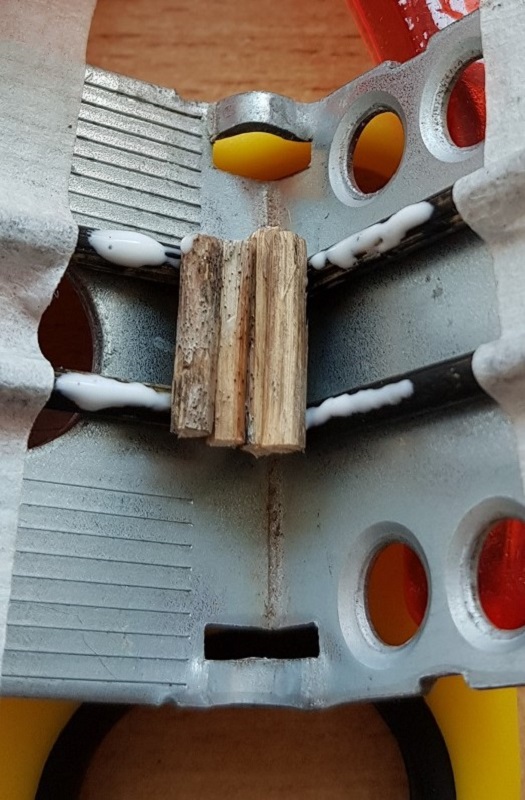
With four skewers and an angle iron it might work! And it did!
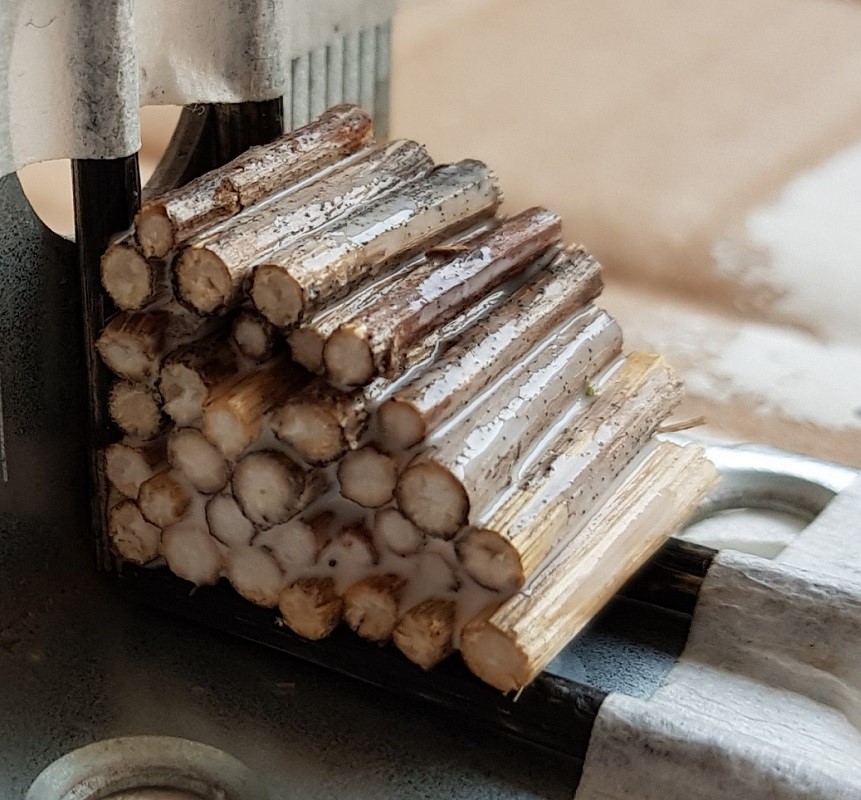
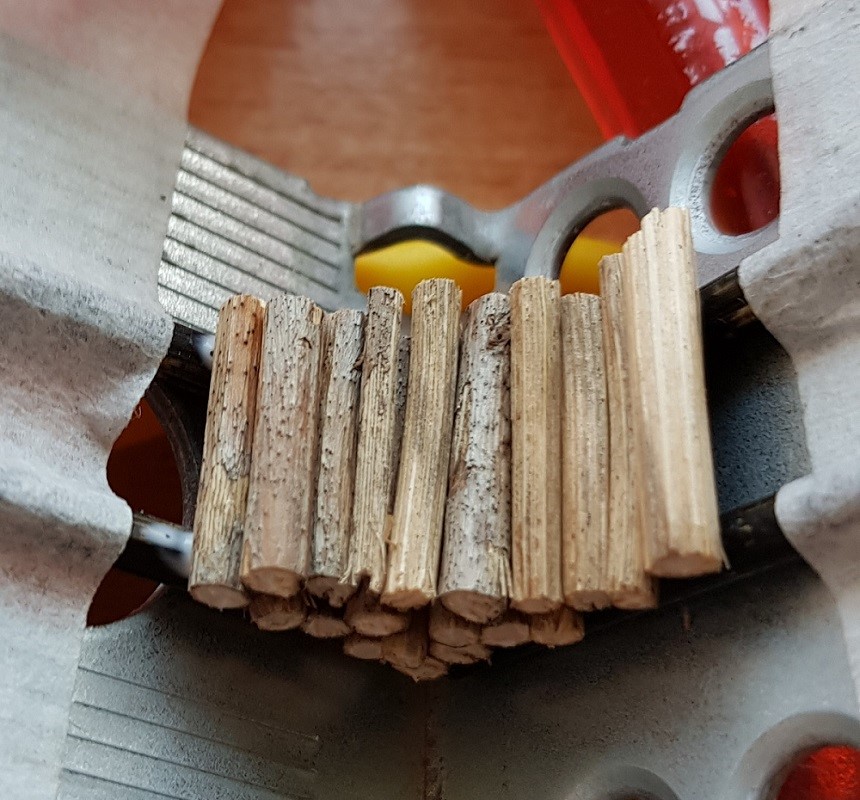
Fixing the beams with white glue...
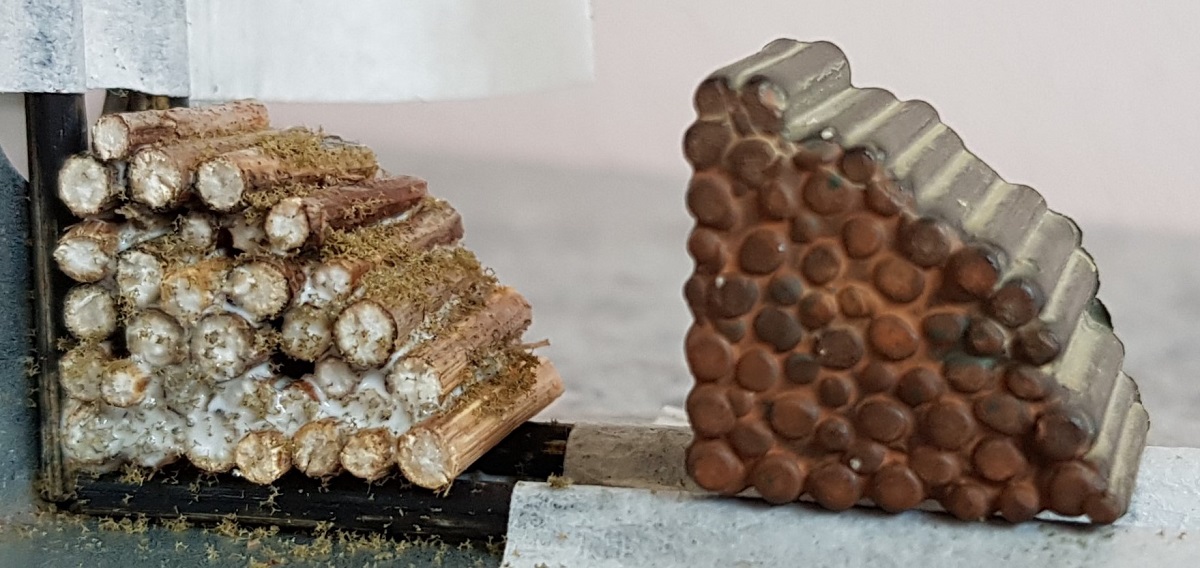
... and some additional vegetation!
~~~
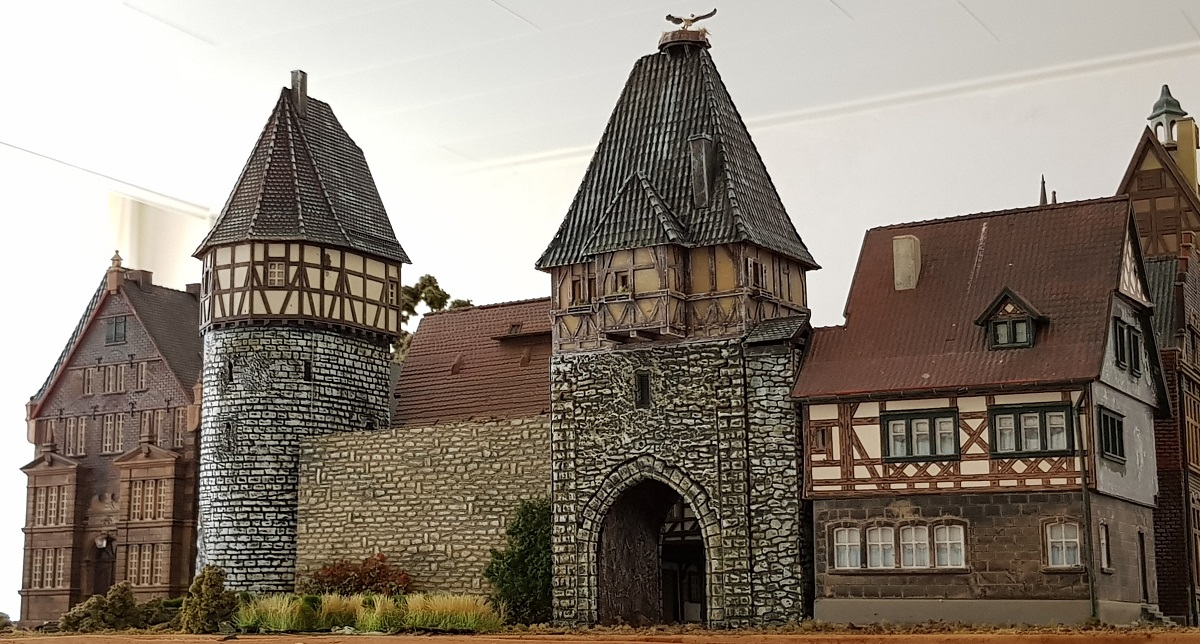
1.6 ~ T h e C o r n e r T o w e r
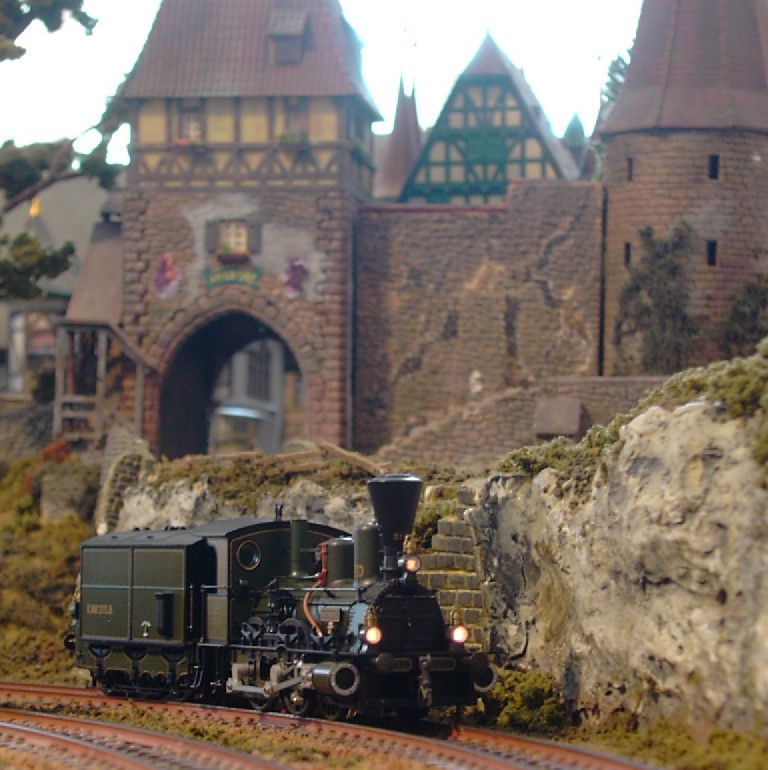
This is how the city wall looked like in 2002...

From brown to a kind of "Anton Pieck" green...
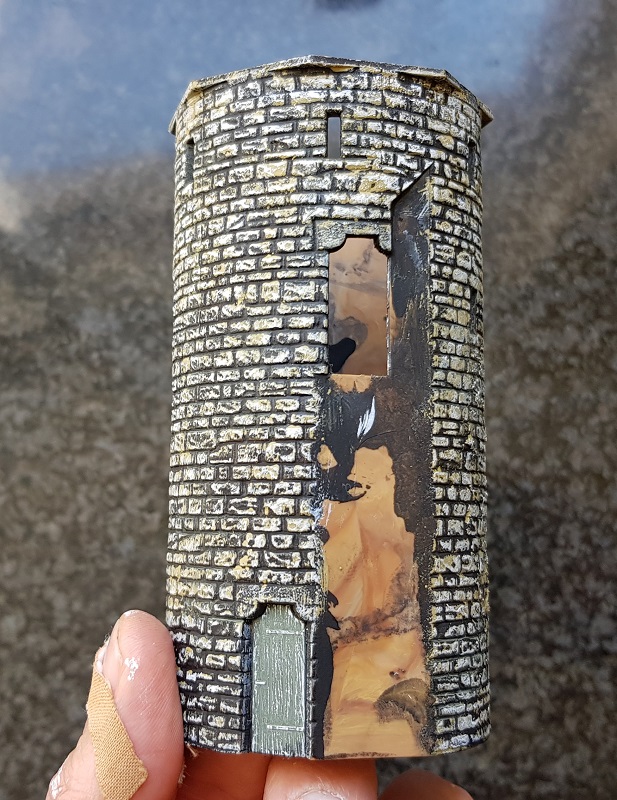
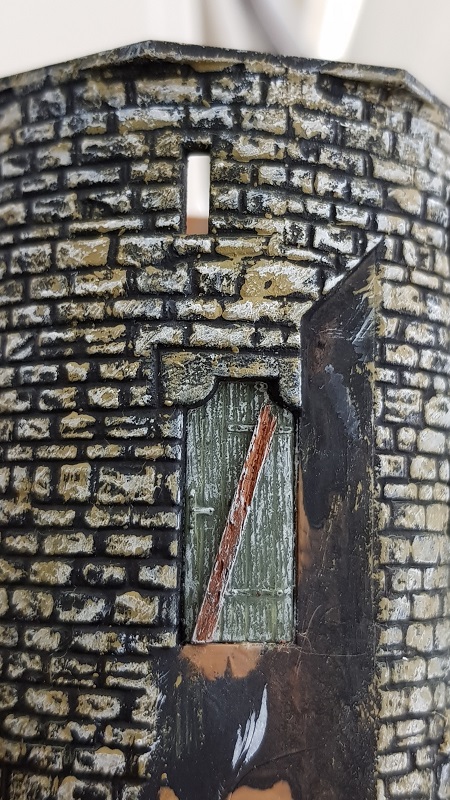
Since the adjacent wall lacks a proper fencing, the upper door is locked with timber...
Painting the stairs and inner wall
The first results. Promising!
~~~
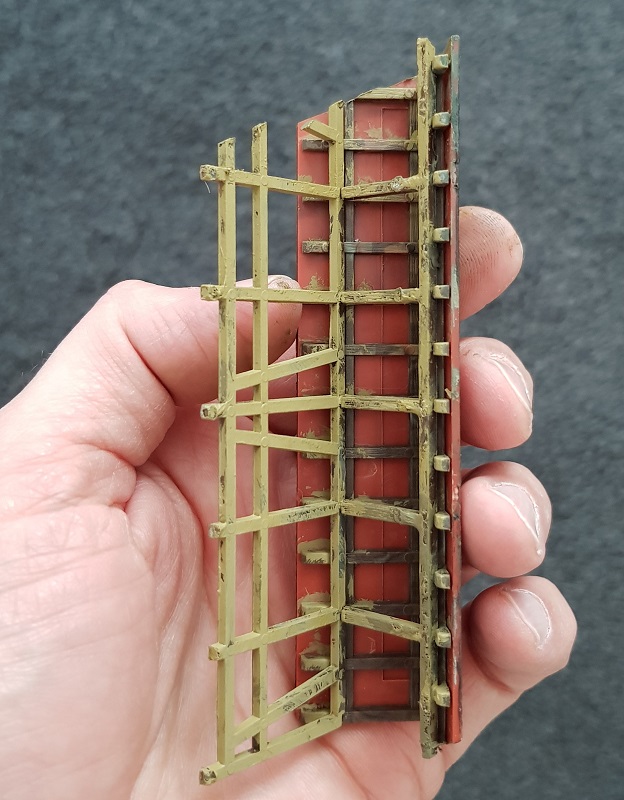
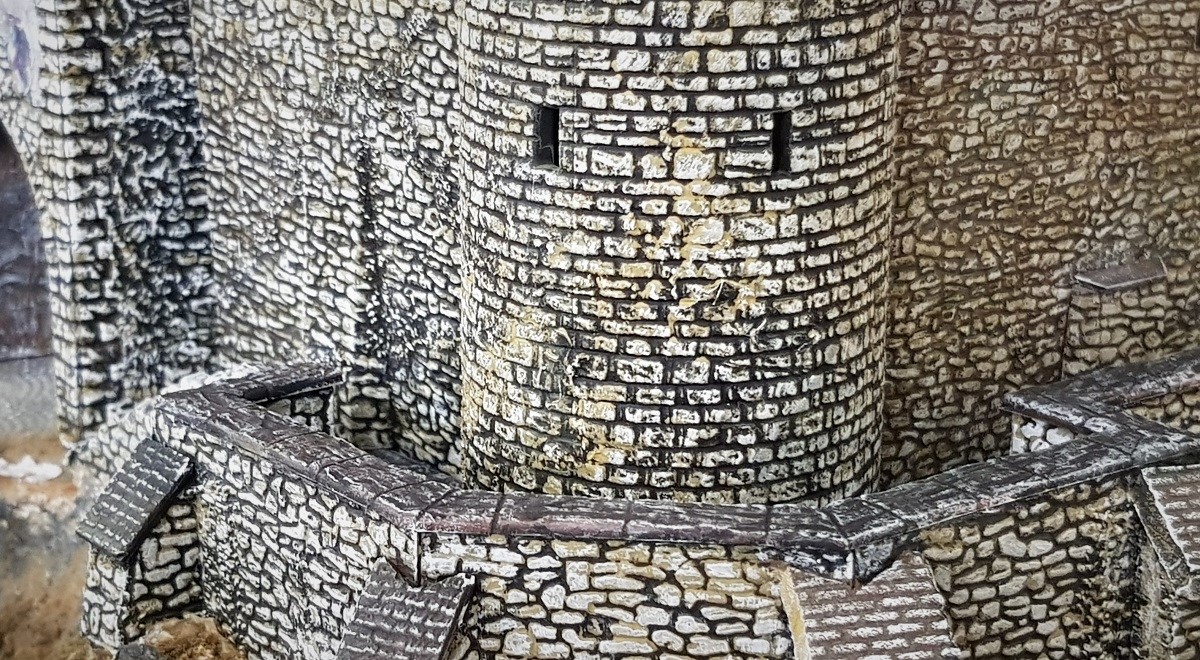
1.7 ~ T h e W a l l a r o u n d t h e C o r n e r T o w e r
Now it's time to pay attention to the balcony-like wall which surrounds the corner tower.
This part was never touched by any pencil.
Until now...
(April 11 - 12th)

I had to make new corner stones out of profiled Styrofoam, since I used the original parts at the Cochemer Burg
Black, yellow, white... well, ya know, the same procedure all over again.
Now, all remnant pieces were taken care of in less than two days.
Yea, I know. That hurts the eye...!
~~~
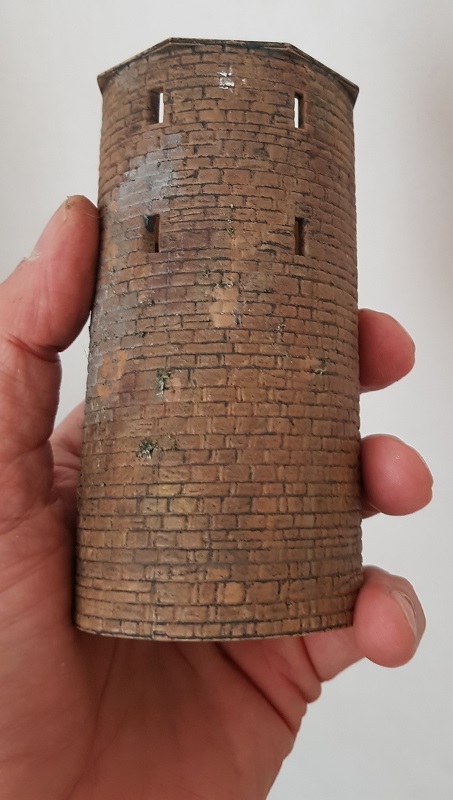
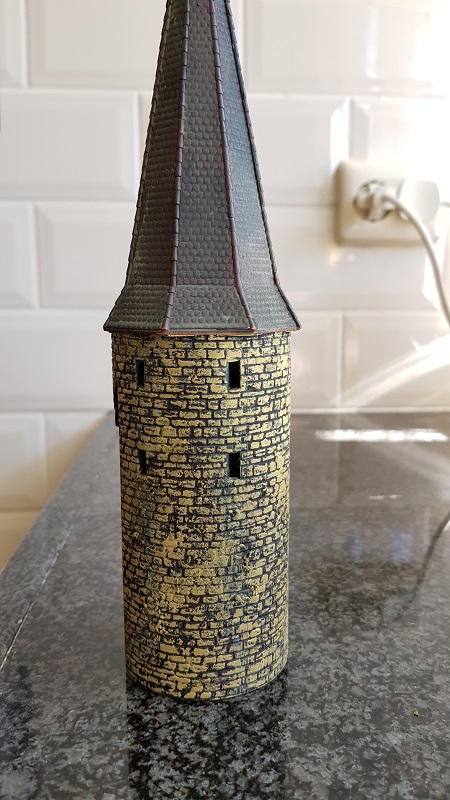
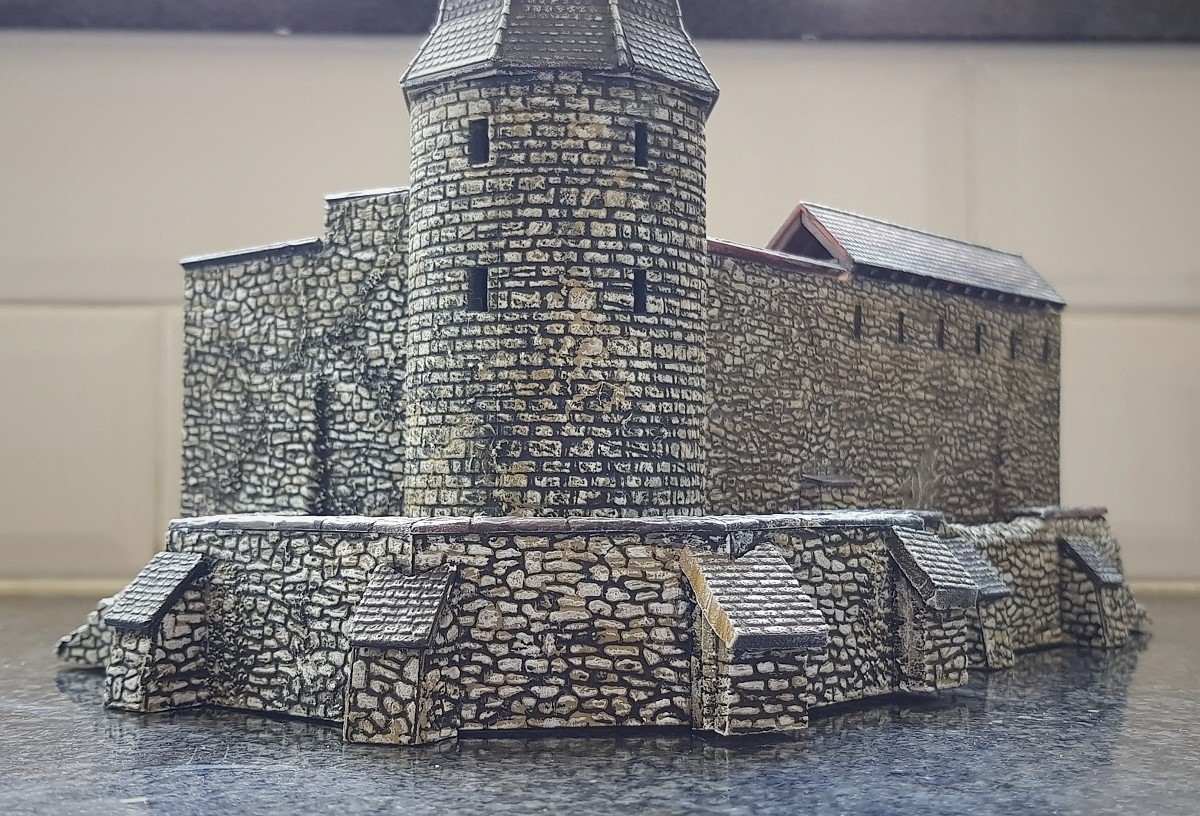
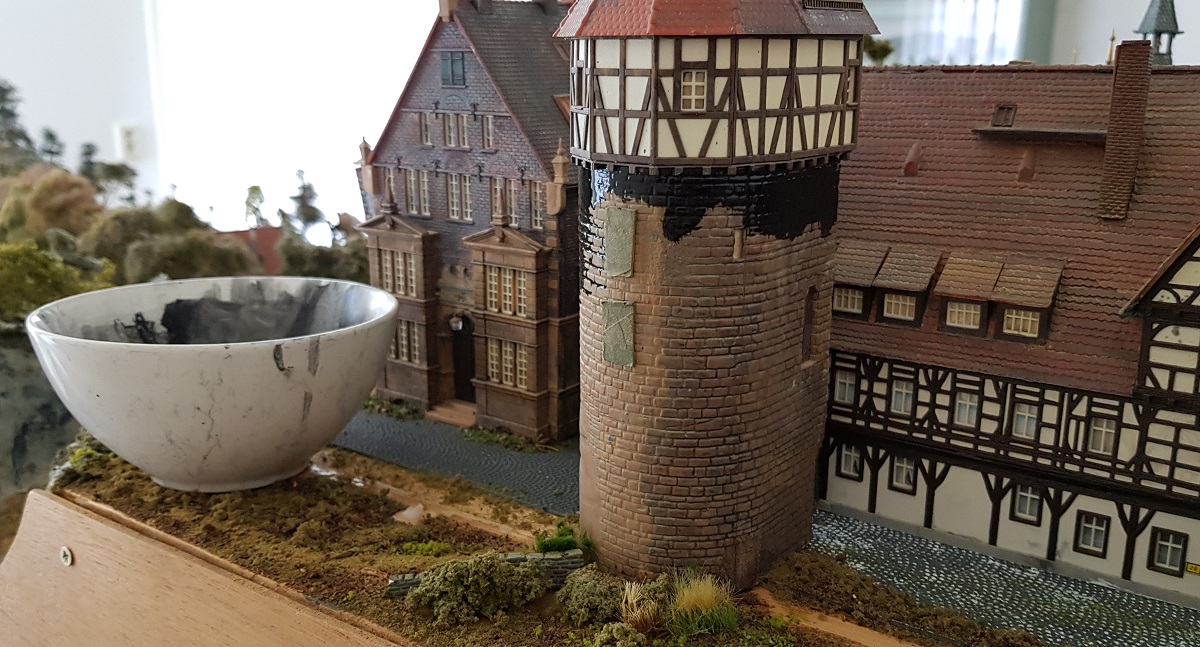
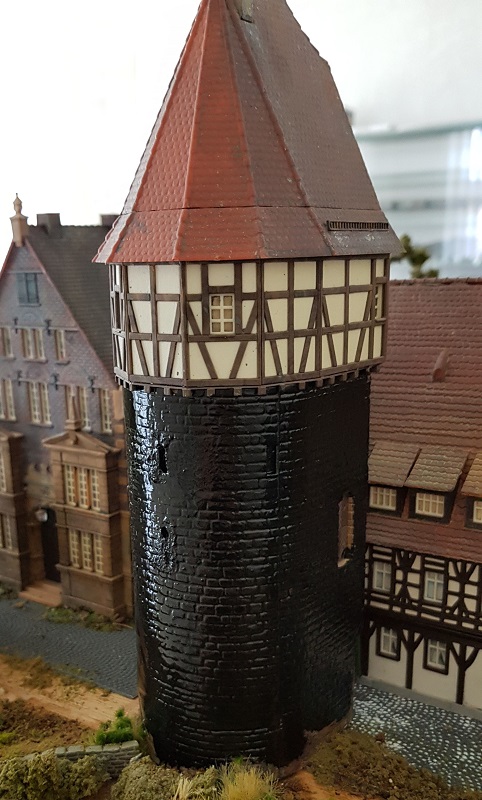
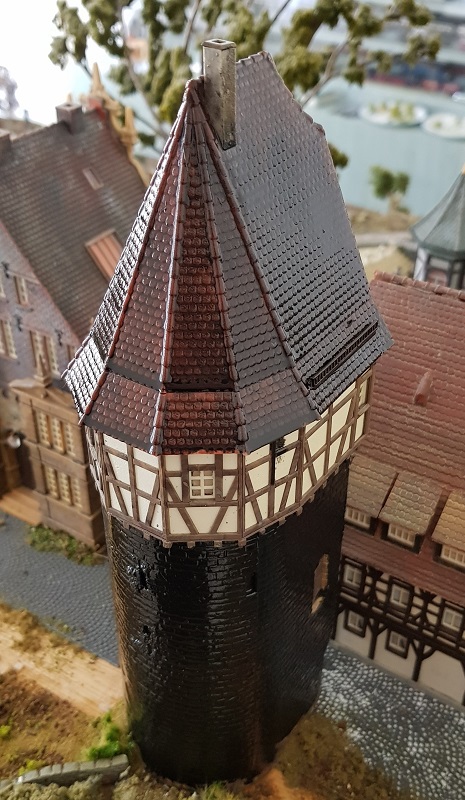
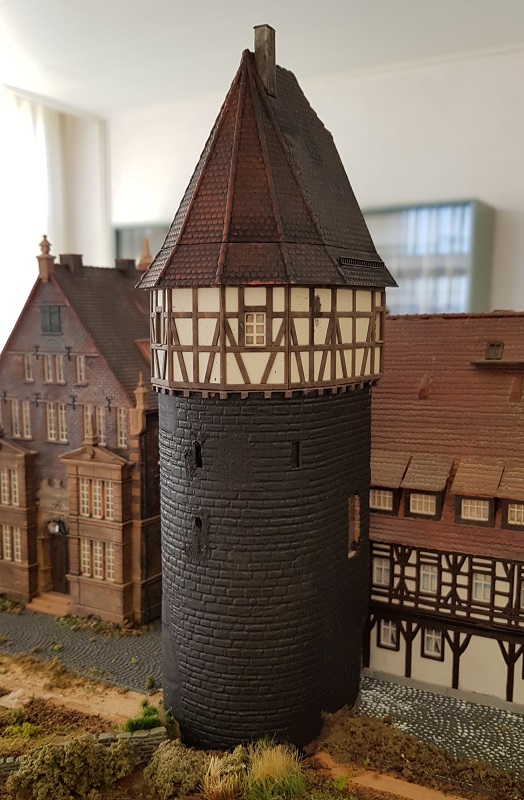
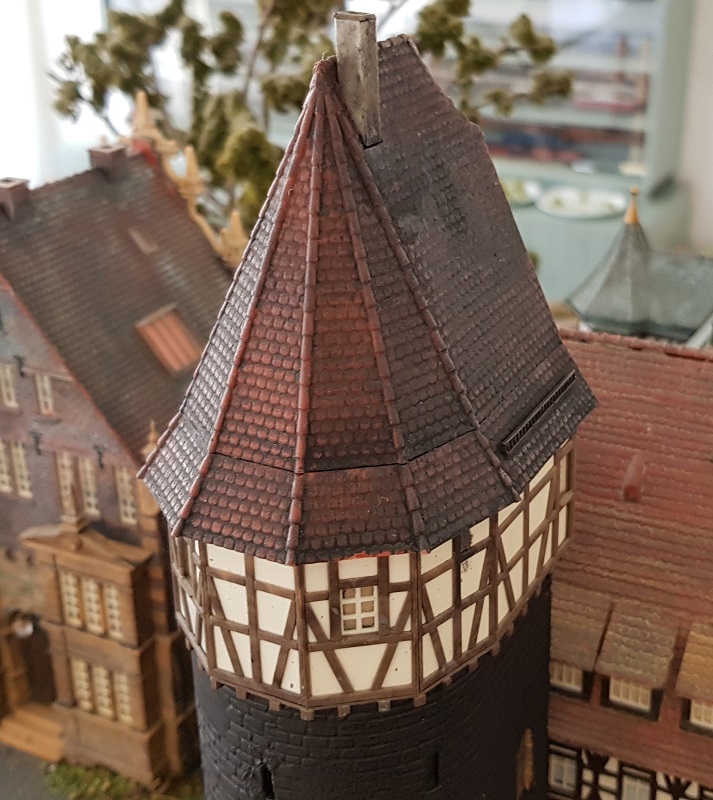
1.8 ~ T h e M i d d l e T o w e r
(April 11 - 12th)
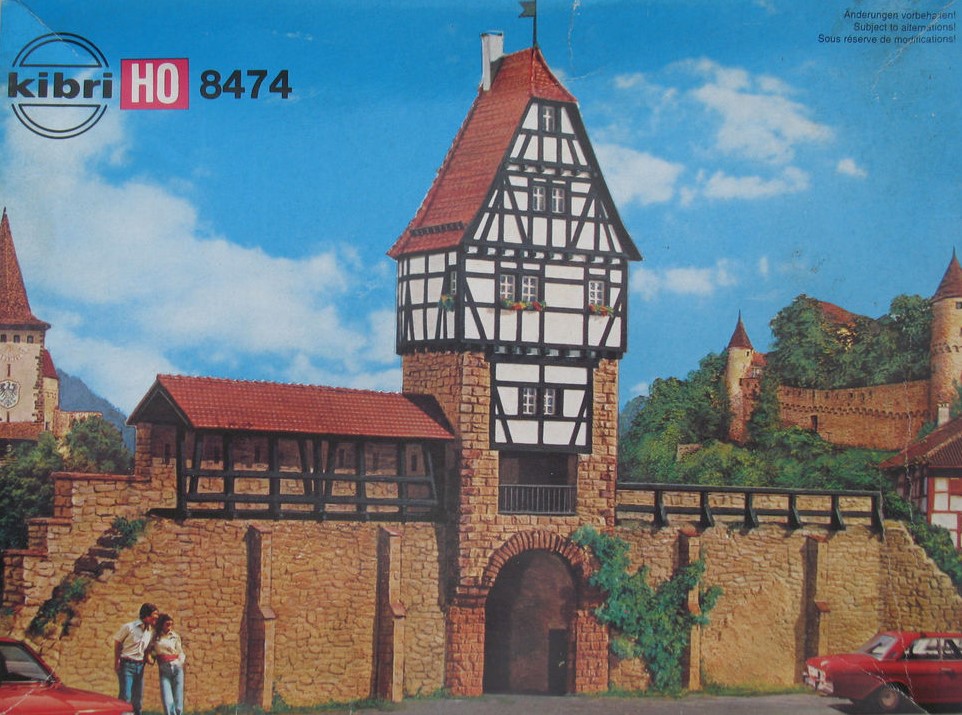
In the collection of the Kibri Ancient City Wall, this 'Wehrturm' (Kibri 8474) fits quite fine!
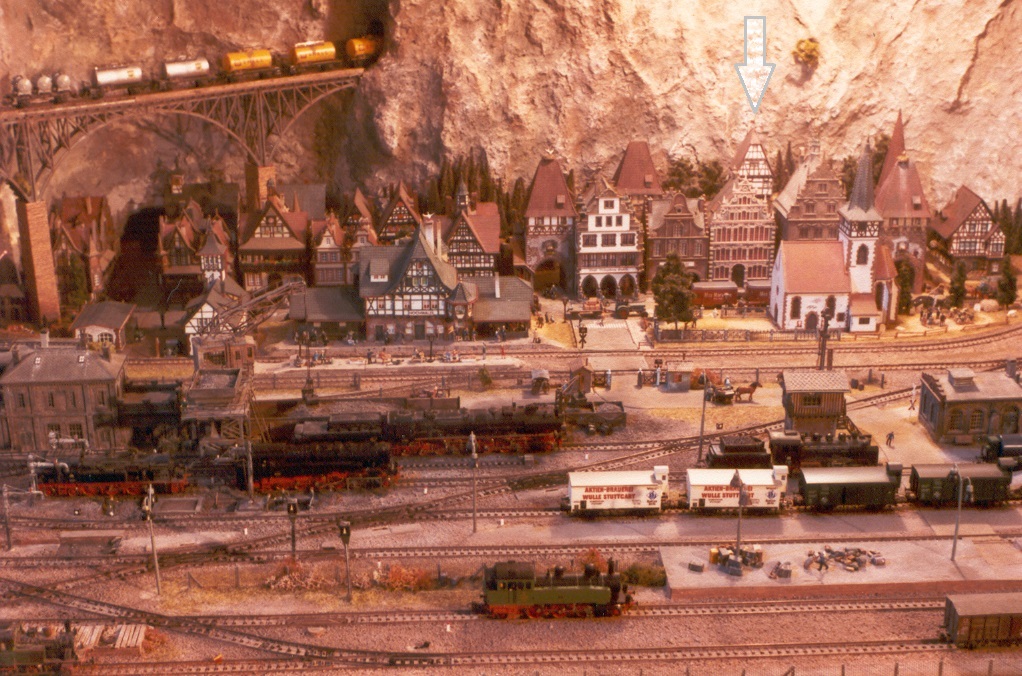
I purchased it somewhere in the late 1970's and it stood in the back of my town, on my dad's layout.
~~~
Things have changed...

27.3.2205
~~~
Frits Osterthun © 2.4.2019
Last update: 11.2.2023 / 22.9.2025