2018: Prelude
2020: Part 3 ~ Part 4 ~ Part 5 ~ Part 6 ~ Part 7
2021: Part 8 ~ Part 9 ~ Part 10 ~ Part 11 ~ Part 12 ~ Part 13 ~ Part 14 ~ Part 15
2022: Part 16 ~ Part 17 ~ Part 18 ~ Part 19 ~ Part 20 ~ Part 21
Renovation of "Cochemer Altstadt"
2018
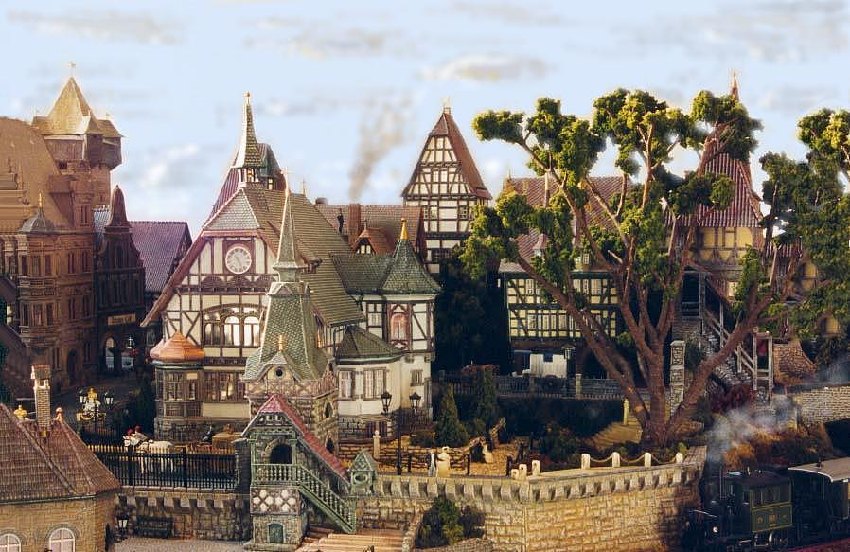
Ever since I made the Altstadt (old city) of the Cochemer Bahn - around 1994 - the scenery in the back ground couldn't satisfy.
The first Belgian Pave (Vollmer foil) got affected by dust and dirt.
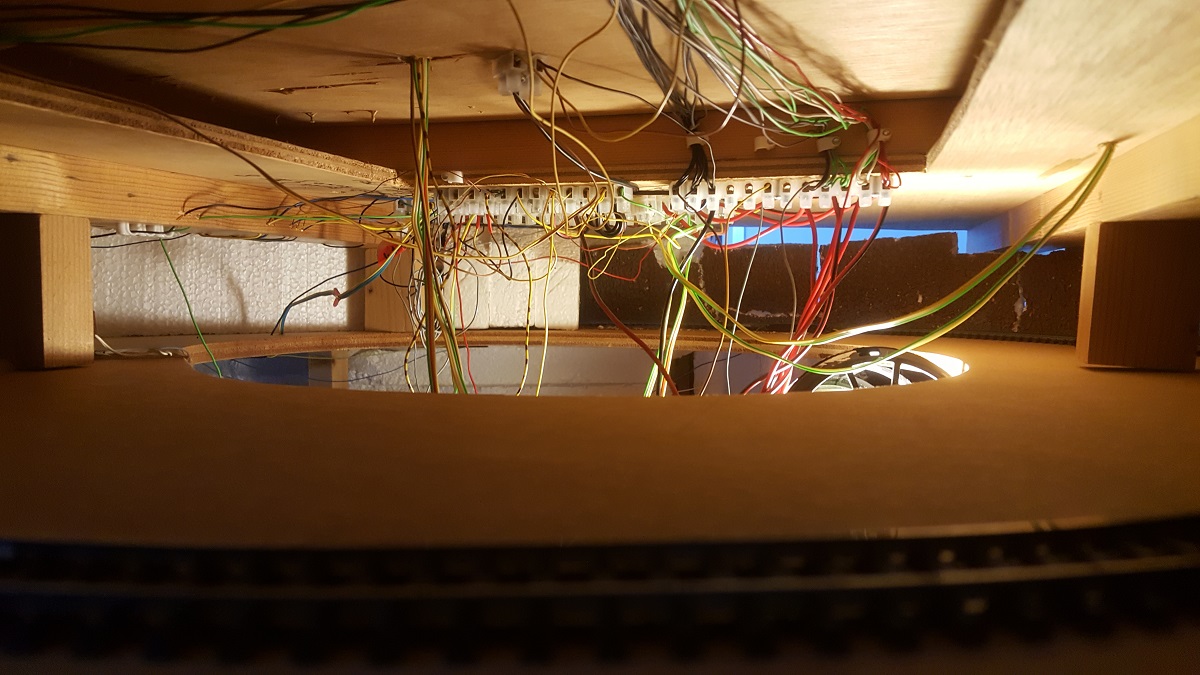
I even noticed that the wires of some houses were still disconnected.
So, decisions were made:
* A whole new square of Belgian Pave...
* Repainting of the Urach Fachwerk house...
* More outdoor lighting had to be added...
* Two spare Viessmann lampposts had to be used now or never!
So, lets have a look at some progress...
~~~
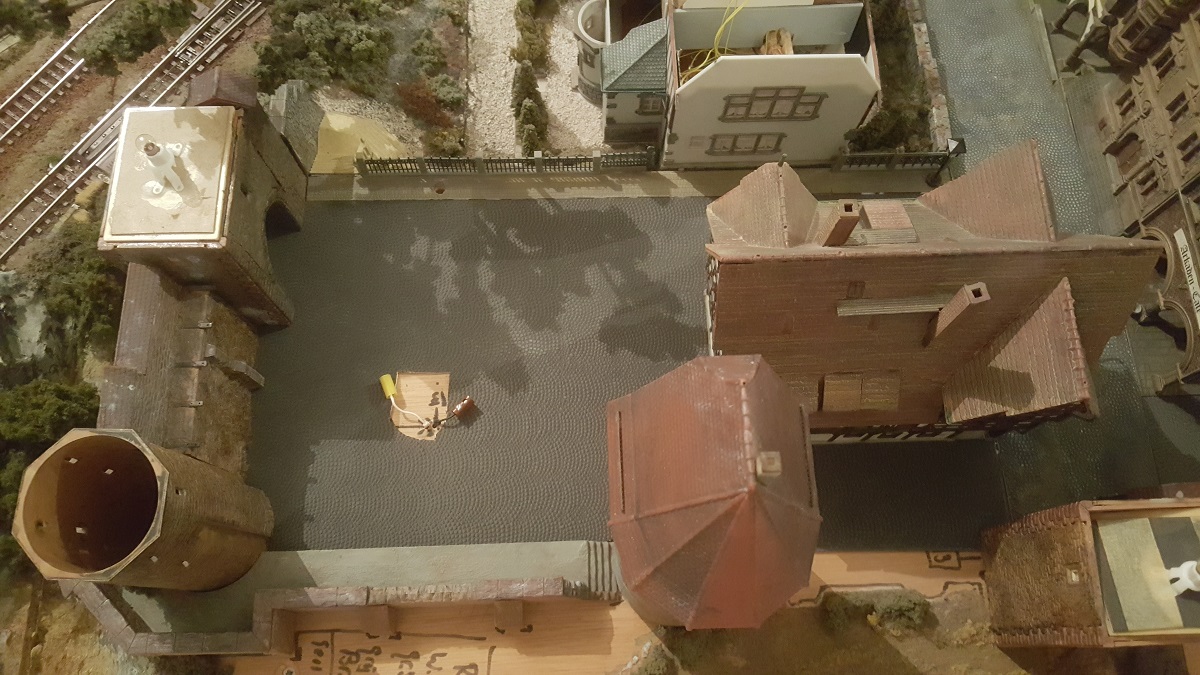
1. A new square with Belgian Pave
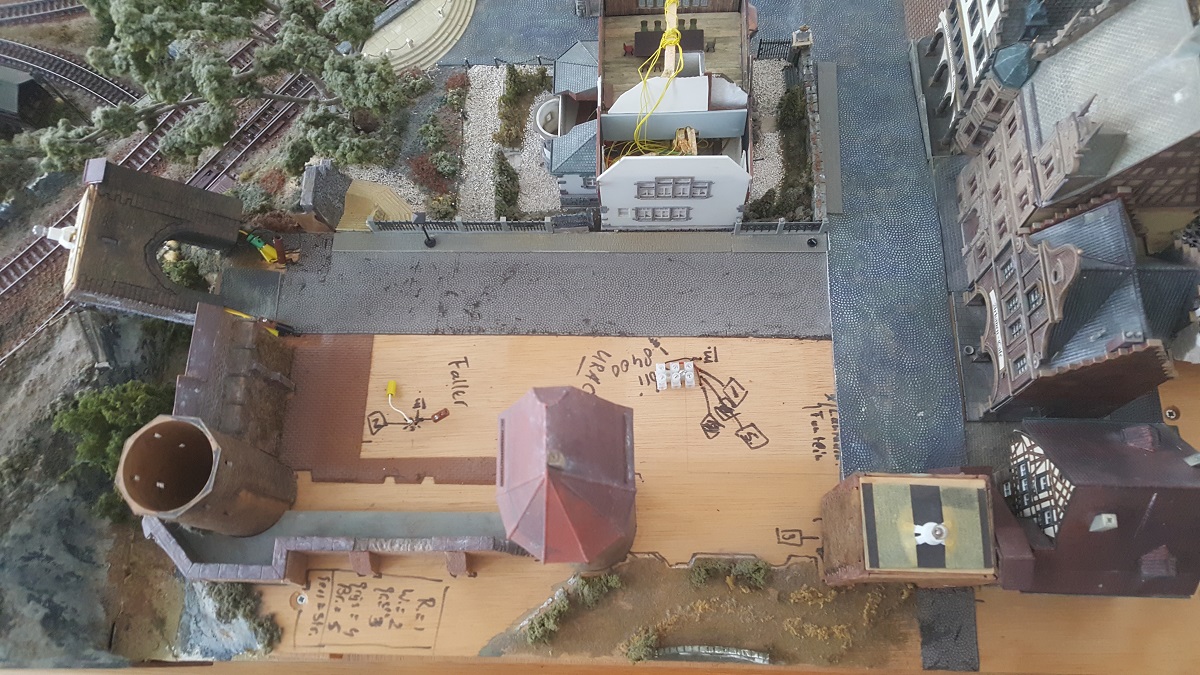
This is how the old foil looked like. Dusty and affected.
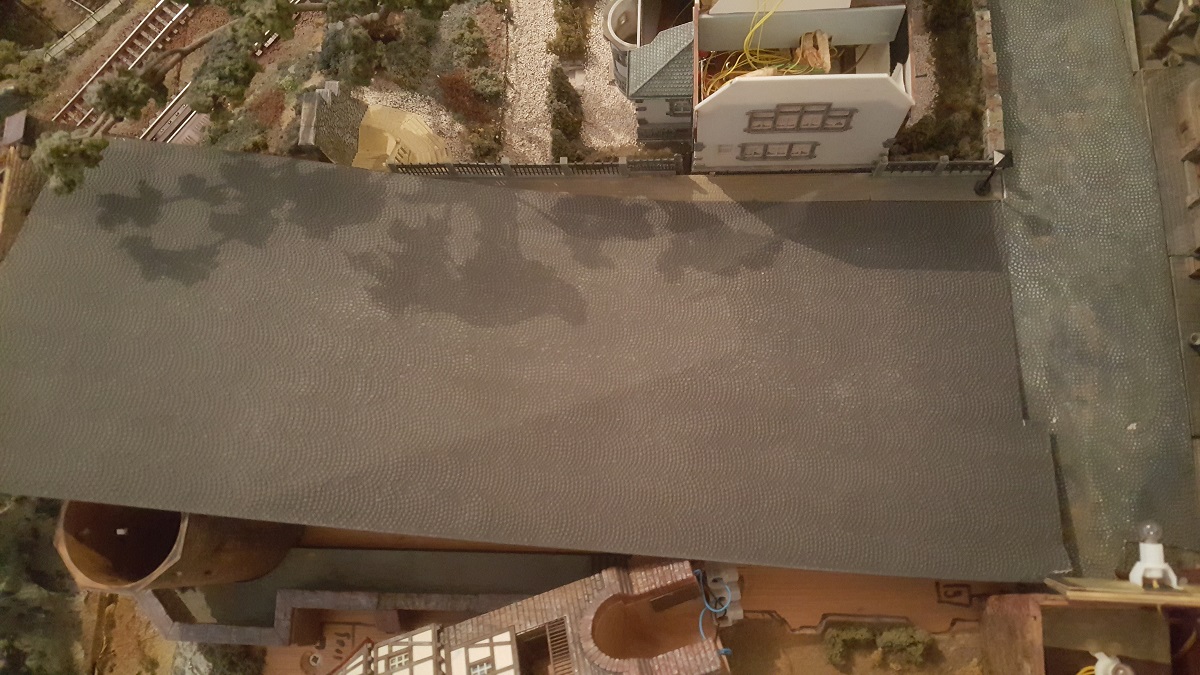
Since I had lots of materials left, I decided at the spot to not do the street only, but do the whole area with Kopfsteinpflaster.
Afterwards I can make some green areas here and there.
Now this is what became of it...

Kibri 8400, now forseen with a new light bulb 'outdoors'
It will need some painting, but not before all buildings are in their proper positions.
At this point I still had to make a decision whether or not to have both houses switch position.
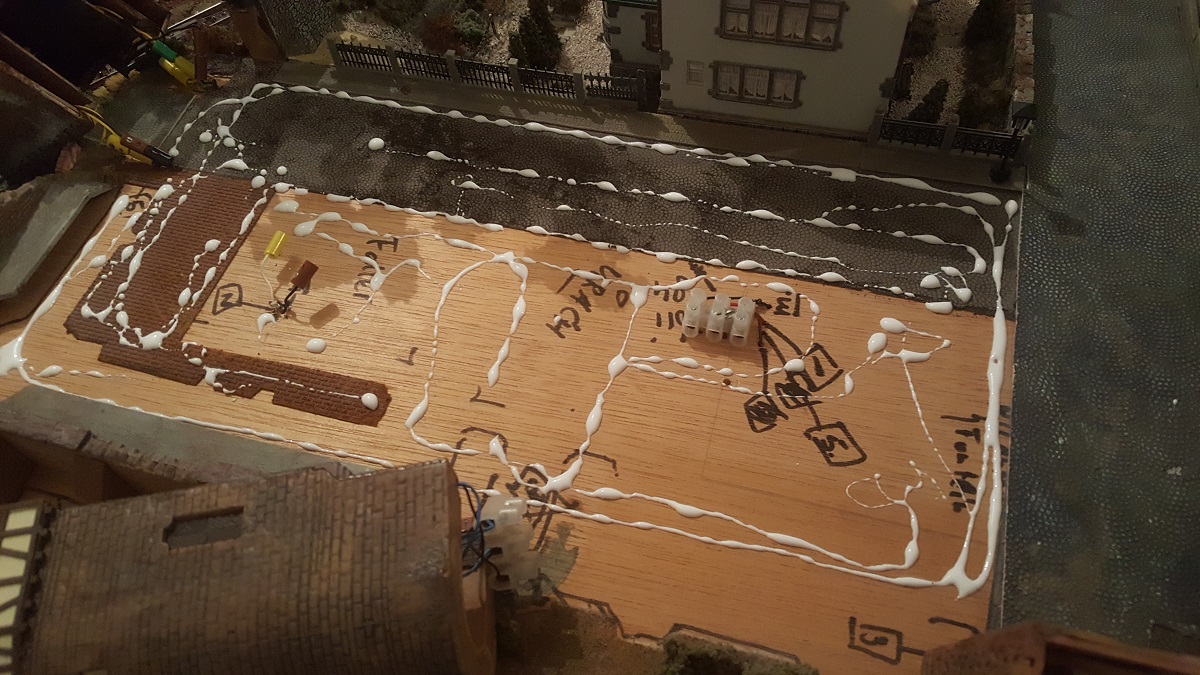
But first I had to do some new wiring...
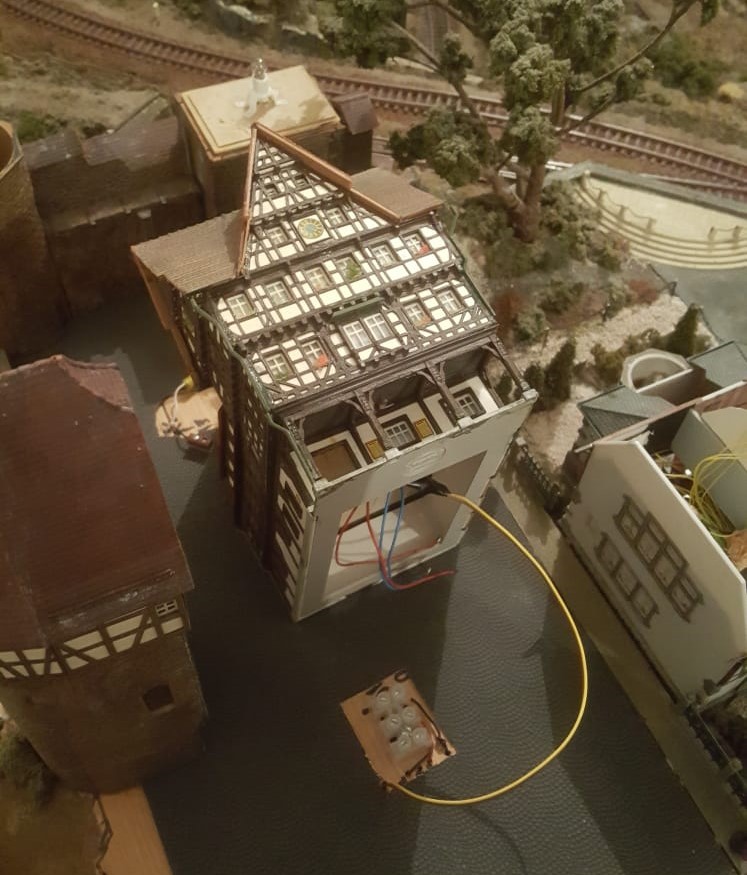
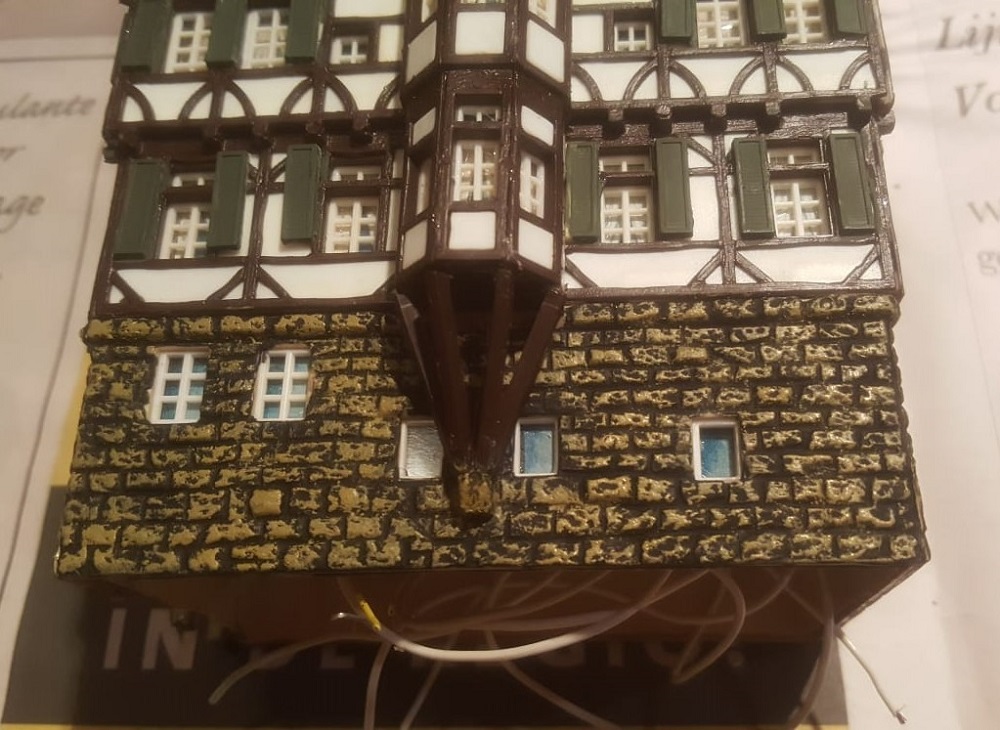
2. Urach Fachwerkhaus
As a student, I made my first layout in my dad's the attic.
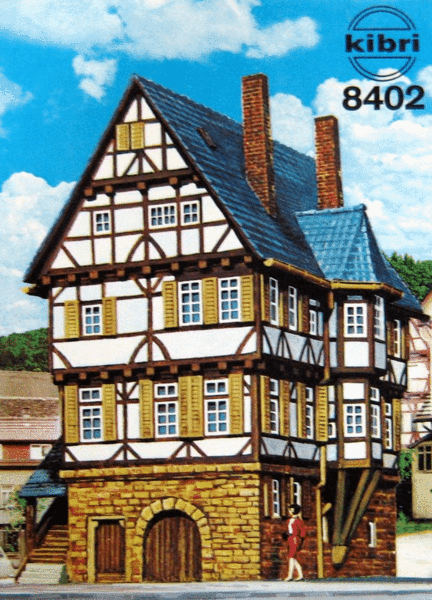
House Urach from Kibri (8402) suited my policy of landscape style with 'Fachwerk' houses, situated in the south of Germany.
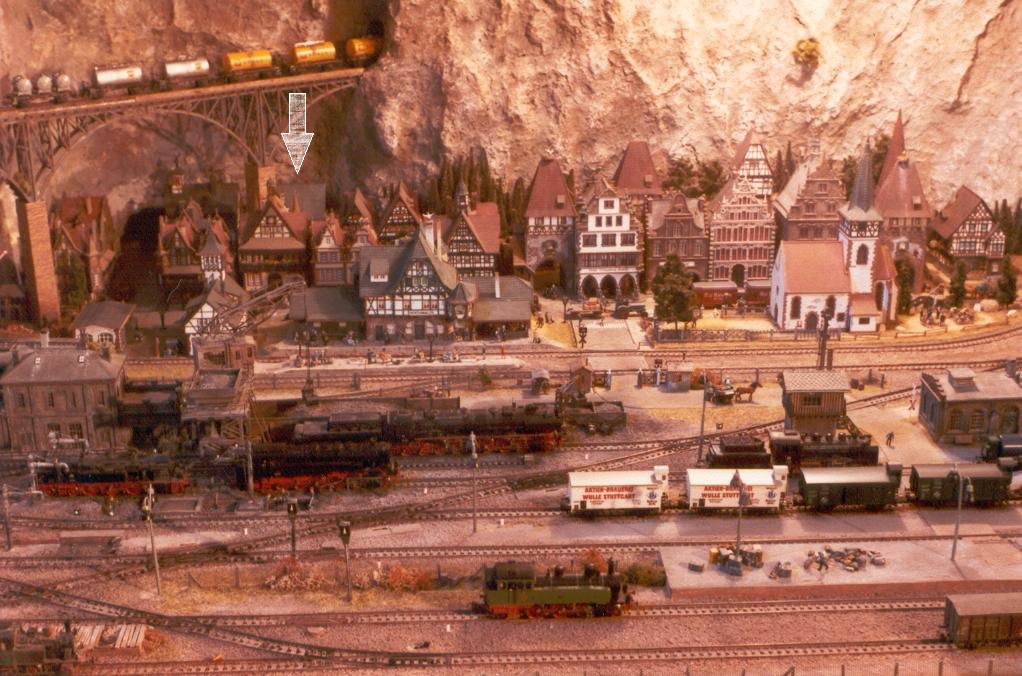
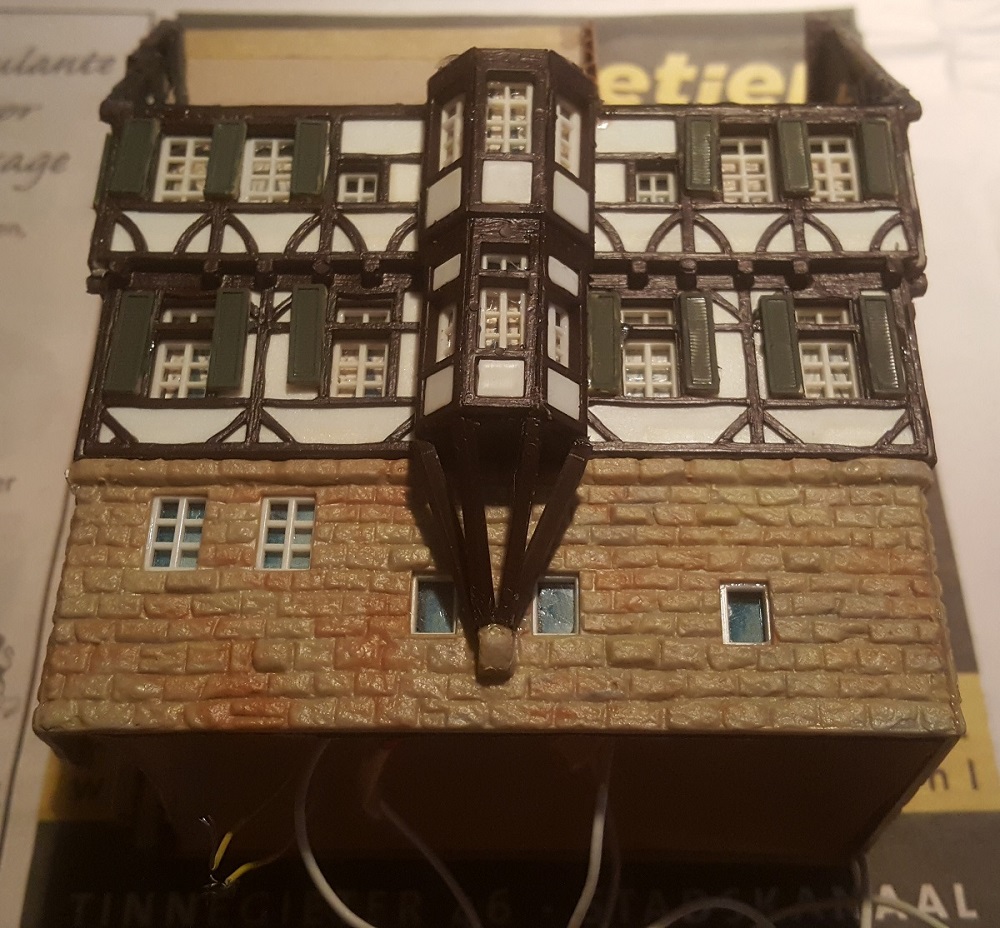
The Urach model kit however resided far in the back ground of my town. One could only see it's rooftop (see arrow).
Therefor I didn't bother weathering the kit at all, I guess.
As you can see below: right out of the box! It hurts the eye but... it might be a new challenge as well.
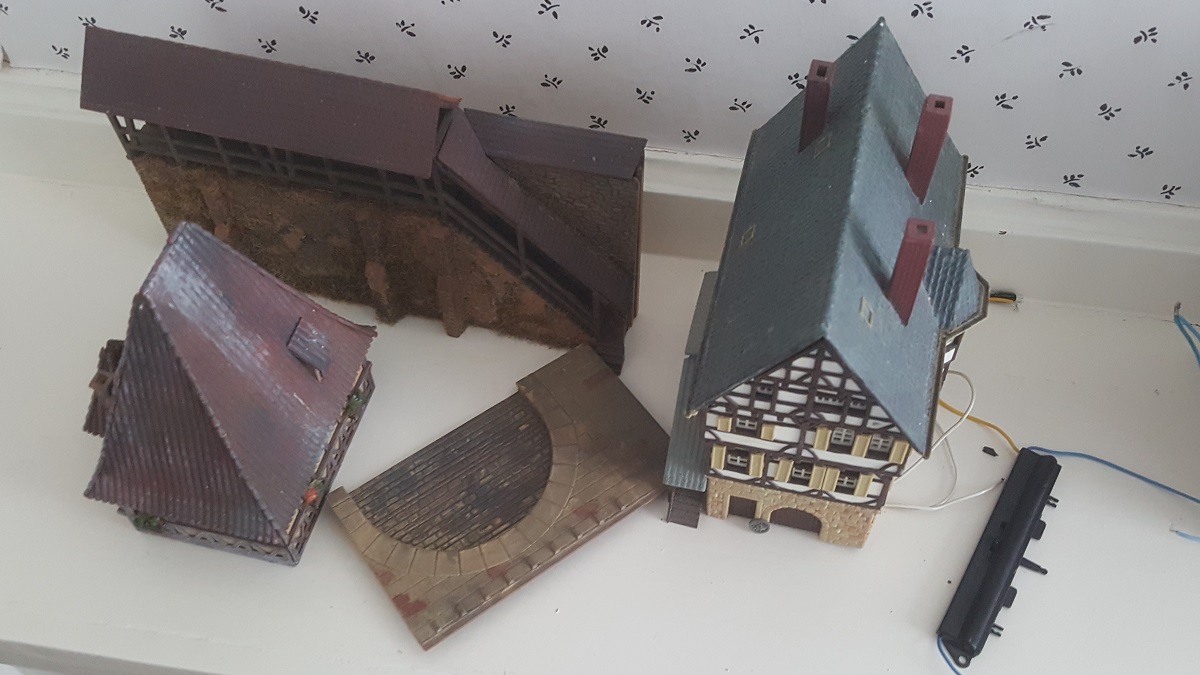
First of all, I had to remove doors, stairs and rooftop.

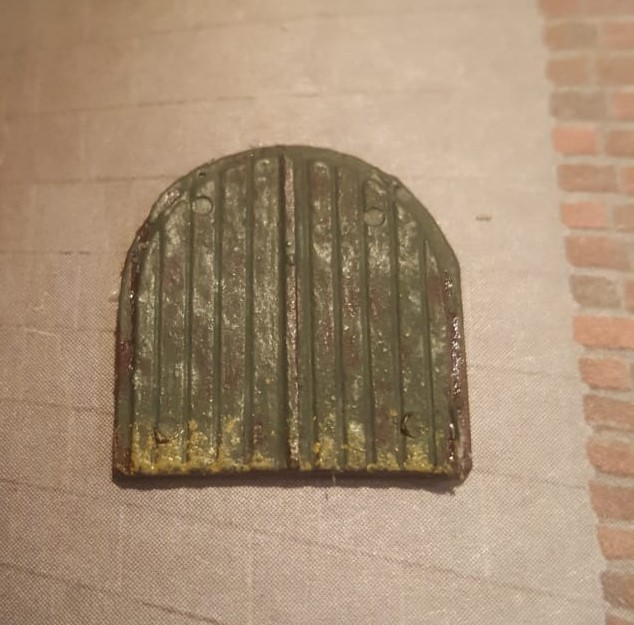
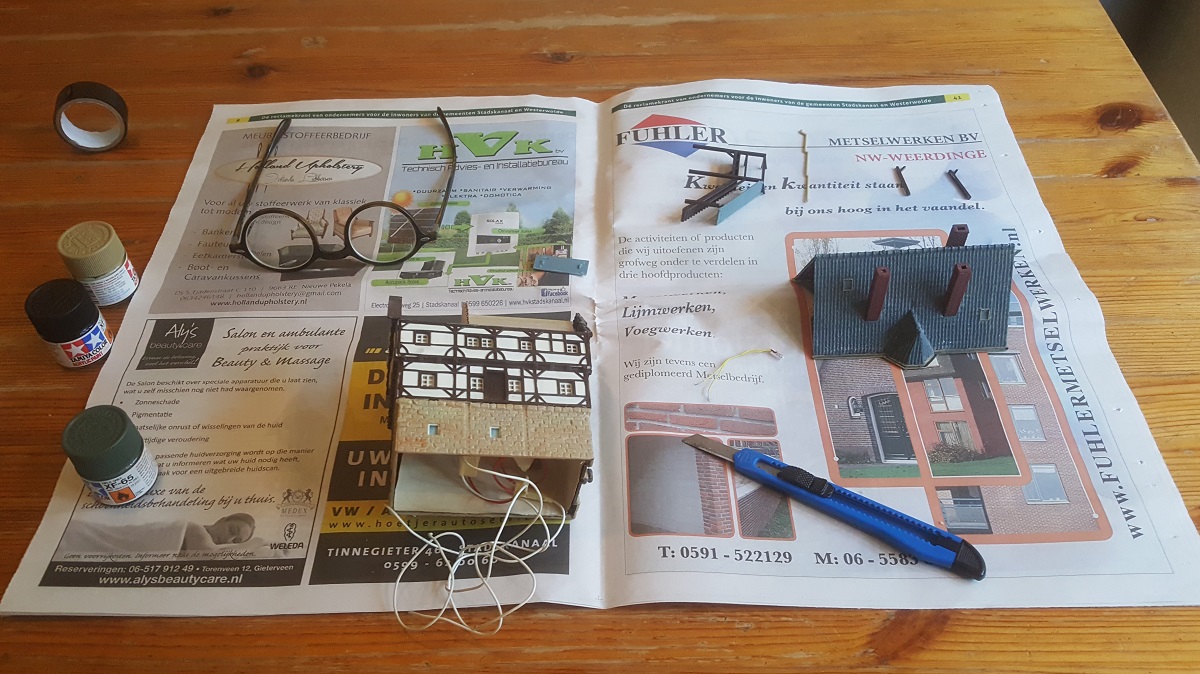
The doors - yet plastic brown - were made old and dirty...
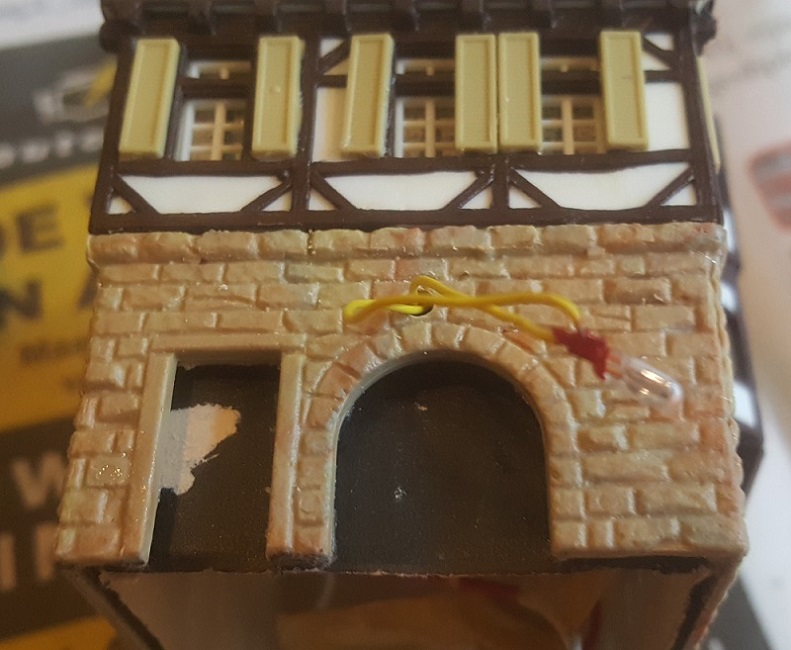
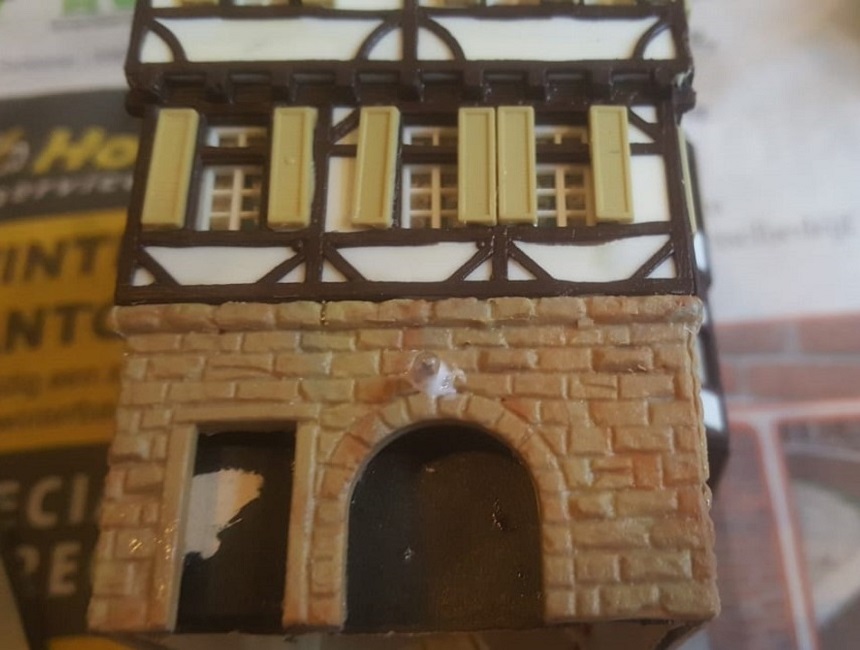
After drilling a hole, a small bulb was inserted and fixed with glue.
The yellow hatches got a green painting for better contrast, whereas the lower wall screamed for even more attention.
And then the pièce de réstitance:
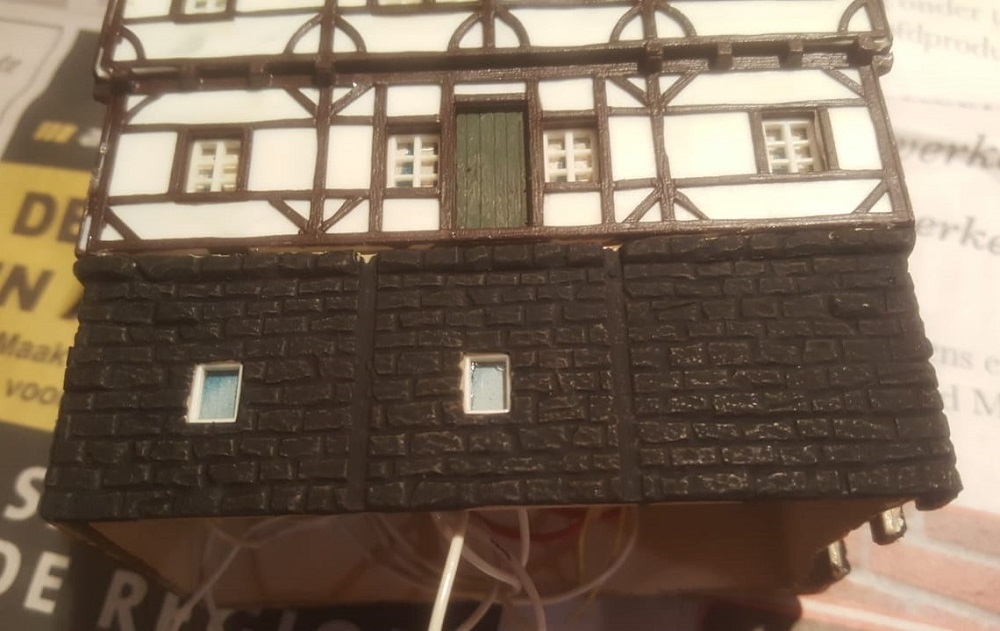
to get an old looking stone wall structure, I decided to follow the same recipy as I once did to the Falkenstein castle:
first a layer of black grounding, followed by a yellow dry brush topping.
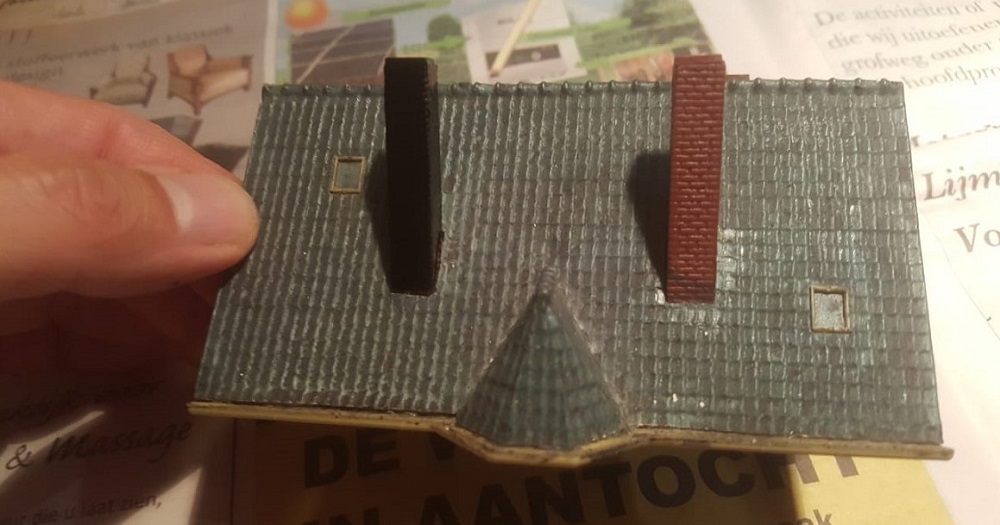
The chimneys could use some repainting as well... same recipy: from original shiny red via black to yellow.


Finally a white dry brush topping and the job is done!
@@@
To continue the story of further renovation, please click here.