
R e n o v a t i o n J o u r n a l 2
A u t u m n 2019
2018: Prelude (Part 1) - Prelude (Part 2)
2020: Part 3 ~ Part 4 ~ Part 5 ~ Part 6 ~ Part 7
2021: Part 8a ~ Part 8b ~ Part 9 ~ Part 10 ~ Part 11 ~ Part 12 ~ Part 13 ~ Part 14 ~ Part 15
2022: Part 16 ~ Part 17 ~ Part 18 ~ Part 19 ~ Part 20 ~ Part 21 ~ Part 22 ~ Part 23 ~ Part 24 ~ Part 25 ~ Part 26 ~ Part 27 ~ Part 28
2023:
Chapter 30 ~ Vineyard Watchtower
~~~
I continued 'foresting' my layout. To begin with...
2.1 ~ The Rock
(Saturday 8.9.2019)

2.11.2009
Not far away from the station, there's this little rock formation, which is the next step in my Renovation Plan.
It appears like the bow of a ship and - like the water of the ocean is being divided - this rock splits the track into two directions.
I never paid much attention to this part, although there were plans.
But as it goes... "once" in effect always ends with "never".
U N T I L N O W !
This is how it looked for many years (4.6.2002 to be precise), desolate in one word...

Now, before I could start this morning with the forest on top of the rock,
I noticed that one part of the tunnel has never had any revetment, since it was 'out of sight'.
So that's the first thing to begin with.

A preformed piece of Styrofoam...


With the familiar treatment of Heki Lasurfarbe, yellow-brown painting and finally some dry brush off-white, it's done in less than half an hour.

And then, off we go to...
F O R E S T I N G

For many years the rock only showed a ground coating...

White glue on the intended area...

... and after a layer of bottom vegetation has been applied, the first tree can be planted. It's a beautiful Conifer.
Even if I have made some thirty trees in the past few days waiting to be planted, only five of them were appropriate for this section.

Since Seemoos has many trees in the box with only one proper looking side,
whereas the back side is rather flat and pressed, either by natural growth or by pressure in the box,
like in real nature, one can use two or three elements to make one bush or tree by putting them together.
So, this second tree consists of two pieces.

Shrubs and bushes fill in the gaps.

With fine-grained poly fibre (Noch, Heki), stretched to the utmost, detailing starts here!
See the fine shrubs hanging from the edge of the wall. Well, hardly to be seen, but they're there alright.


From above it looks like this...

Now, there's still this small strip at the bottom of the rock and adjacent triangle piece of land between the tracks at the right.
They both need attention as well to finish the rock as a whole.


By the way, that little bush at the right, next to the locomotive, consist of no less than 9 pieces alone...

Now, that's more like it!
Finally, the Württemberg Fc 626 'Bopser' is approaching the new domain...


All pictures taken on 7.9.2019
~~~
September 23, 2019
At the back of the station


The station got some green stuff in the back, whereas the large flower box on the platform got new vegetation.
2.2 ~ I n t e r m i s s i o n
(25.9.2019)
While searching through some boxes, I happened to find a spare lamp post...


~~~
2.3. ~ Forest and Field
(September 26, 2019)

Today it's this area's turn to have vegetation. Field and Forest!
But first some detailing...

The dark green bush against the wall needs berries to become a Firethorn (Pyracantha)...

... where a small bush adorns the wall near the signal house.
The lost downspout will be fixed too!
How so... d e t a i l ?

But now... on to the meadow!

Although I thought foresting the whole hill side left of the station building, I observed that it might be too 'tree-ish'.
Space and perspective - the main principle of "less is more!" - is what matters!
Therefor I decided to create a meadow.

Testing view before glue!


As you know, under bushes and trees there's more brown than green


Three Conifers in the front (seen from the back) and a Birch tree in the middle for diversification


I consider a small foot path between grassland and fence.
Only one birch tree marks the corner of the field and hides a small 'miniature' in its shadow...


One small bush added at the fence can make a huge difference. At this moment I consider this the most cosy and enjoyable spot on my layout!
Needless to say, that the slope and meadow in the front are the next step to furnishing...
I consider to breaching the forest edge and meadow to come with a small slope of deadwood, fallen downhill from the fir tree above.


I also imagine to continue the yellow grass meadow at the right of the country road too,
forasmuch not obstructing a proper view on the track in the back.
2.4 ~ I n t e r m i s s i o n
(29.9.2019)
Since the ornaments on the pillars at the platform entrance are looking way too plastic, I considered to paint them in between...
They were removed some days ago...


It's in the details...
Since I am able to observe the layout from the back closely, I discovered many things that have not been realized over time.
For some reason they were forgotten or never fixed for convenience's sake.
One of these things for instance is the roof top of the shed at the station. It still lacks windows.
So...


Since this kit was made around 1994 and original parts are missing yet, I just cut parts from balsa wood.
I will weather them in time. Perhaps the whole tiled roof of the station will be layered with Lasurfarbe. Dunno yet...

~~~
2.5 ~ H i n t e r l a n d ~ a m a t t e r of p e r s p e c t i v e!
Working on the Hinterland, I realized more than once that perspective is very - very! - important now.
Bush and tree that are fitting at the foreground are way too big in the distance, as it seems.
Therefor I opened another box and started to make new trees which look finer and will carry less vegetation.


Yea, my 5th box in the meantime...!

Always wondering what will come out of that square package this time. I was not disappointed...

Beech trees on the left...

... and - most wanted now! - birch trees on the right

Painting the trunks white, and then...


A triple birch tree at the left, and a tenfold (!) beech tree. Still the latter needs another branch for visual balance...
(3.10.2019)


The next morning...
This tree will replace one of my finest and the most central tree on the layout: the big oak tree right behind the station!
Remember this one?

Now that was 2002!
Another eye catcher might be this birch tree, made out of three elements.
This time - as an exception for this fine specimen - I used the remnant leaves that fell off from Heki Foliage (1676) for foliage...


The proof: less is indeed more!
~~~
2.6 ~ T h e M e a d o w
3-4 October 2019

The meadow behind the station - right in the middle of the layout - has become a barren piece of land after I stripped it of all its vegetation.
I sincerely feel sorry for the stork, who found green pastures in the past...

But today is her lucky day, for a change is at hand...

Sieving of new soil before I get to work... and here we go!

I carefully removed the stork, for I had the idea of continuing yellow grass field on this side of the fence


Adding bushes and small vegetation on the still wet ground


Another birch tree near the shack gives an even better perspective

Finally, a bush on top of the hill, next to the track and I guess it's in good harmony now.


Mr. and Mrs. Stork can look for frogs again...
Besides, since I am stripping the whole layout now, I had to remove the deer, as you know: Hirschsprung, Gleissprung at...

4.6.2002
I think, they have a finer spot right here:

Love this scene!
By the way, talking about STRIPPNG
Monday 14th October 2019 was the day that I stripped
ALL VEGETATION
from the layout...
It did hurt a bit, since those trees reminded me of many pleasant hours.
Nevertheless, I know it will become even the more beautiful!


O U C H ! ! !
~~~
2.7 ~ T h e F o r s t h a u s M e a d o w
22 October 2019
At the right of the dirt road a second meadow is appearing, next to the Forsthaus.
Let's call it the 'Forsthaus Meadow'
I decided to also have a small strip of meadow grass right behind the cattle ramp and another larger one in the distance.
A path to the Forsthaus goes right through the field.

I plan to have the birch trees returned, be it new ones!
The other piece of meadow was cut as one, following the figuration of the slope and paths


~~~
2.8 ~ I n t e r m i s s i o n
Since Autumn has come, I decided to pick up leaves from my yard, put them in the blender and have them... H0-ish!
But first I make them dry - yet bug free as well! - in the microwave.


And while doing so... the finest Intermission is...

Nice motive for the ancient Dutch painters!
~~~
Now, let's get back to...
2.9 ~T h e F o r s t h a u s M e a d o w
(24 October 2019)
--> There's a special report on The Making of the Forsthaus in July 2019 <--
I guess, you'll know the procedure by now:
* white glue (after spraying with a water-soap-alcohol mixture)
* earthen coating
* green ground vegetation
* bushes
* small fibre bushes at the edge of the meadow, some in the middle
* adjusting with details in grain and colour, everywhere...


Behind the Forsthaus, there's a small and steep footpath uphill.


The hill behind the meadow and Forsthaus will be covered with fir trees in the back and beech trees in the front.
As said earlier, the grass meadows will have some isles of birches in the middle, as far as they don't obstruct view and perspective to the rear.
To compare it with so many years back...

2.11.2002
~~~
2.10 ~ T h e F o r s t h a u s F o r e s t
(November 1-3, 2019)
Various items were at my desk this weekend!
1. Some more weathering of the station was needed, as well as some stuff like crates and tons lying around.
The orange station roof got a layer of Lasurfarbe and some fine-tuning with white dry brushing...

2. Main item this weekend was the making of the Forest surrounding the Forest Lodge (aka Forsthaus).
A new box of Noch Fir trees was opened. That means, that every tree needed some 15 to 20 minutes hand labour
where I did some cutting and gluing with a topping of brownish dirt.


~~~
2.11 ~ F o r s t h a u s F o r e s t (continuation)
27-29 November, I continued working on the meadow and forest near the Forsthaus.


November 29th

Where the meadows are filled with small bushes, I was preparing the slope on the right side for extending the forest in a way as to embracing the Forsthaus.

Skewers for securing holes of the fir trees

Brown underground will serve as the basis.


Green vegetation on the still wet underground


Still don't know if I will use some more yellow grass on that little corner, or just leave it like that...

More and more it fits all together

A scene of sheer quietude and mere quiescence...
To continue 'growing a forest'...


Between those two groups of trees, one has fallen down. Did lightning strike it...?
~~~
2.12 ~ S u r r o u n d i n g s
7 November 2019: finishing the surrounding area around the Forsthaus.
A little piece of grass, some bushes, a connecting path alongside the cattle platform, etc...


In the meantime, the Forsthaus is all in all swallowed up by the forest...


My idea of a black forest, some 25 years ago, is taking shape in an unforeseen way!
~~~
2.13. T h e T r a i n B r i d g e
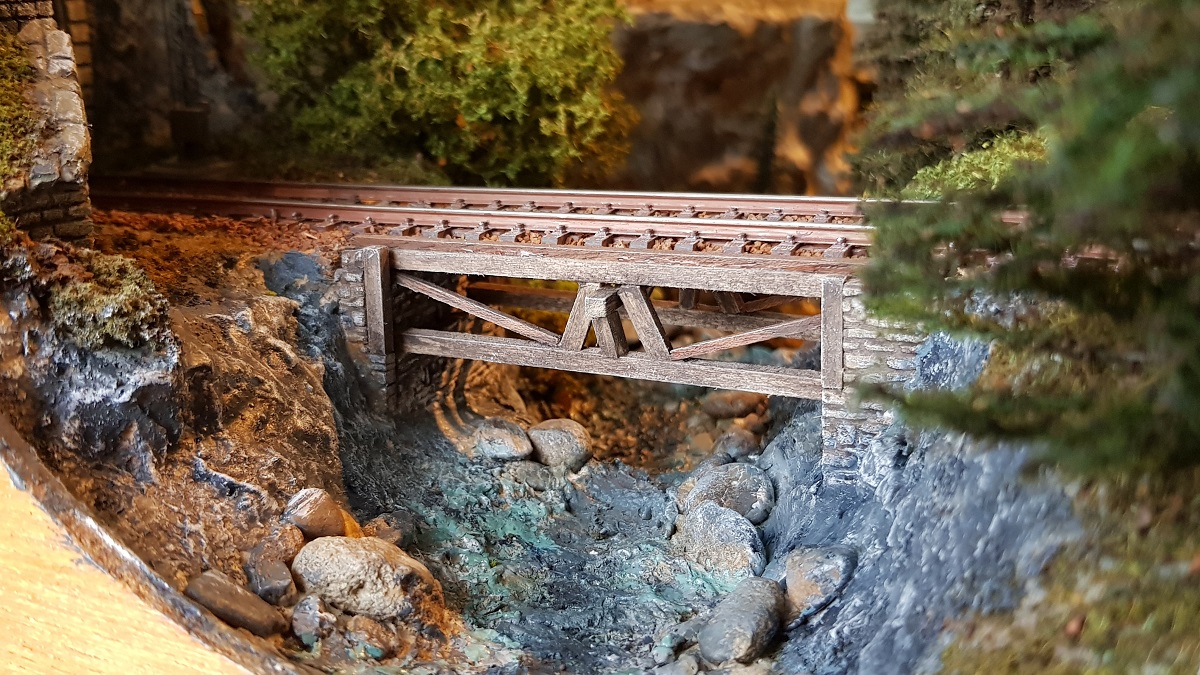
And third, there is this small bridge crossing a gorge with waterfall...
In the late 1990's, when I commenced building the Cochemer Bahn, I already had the idea of a small bridge in the distance.
It started like this...
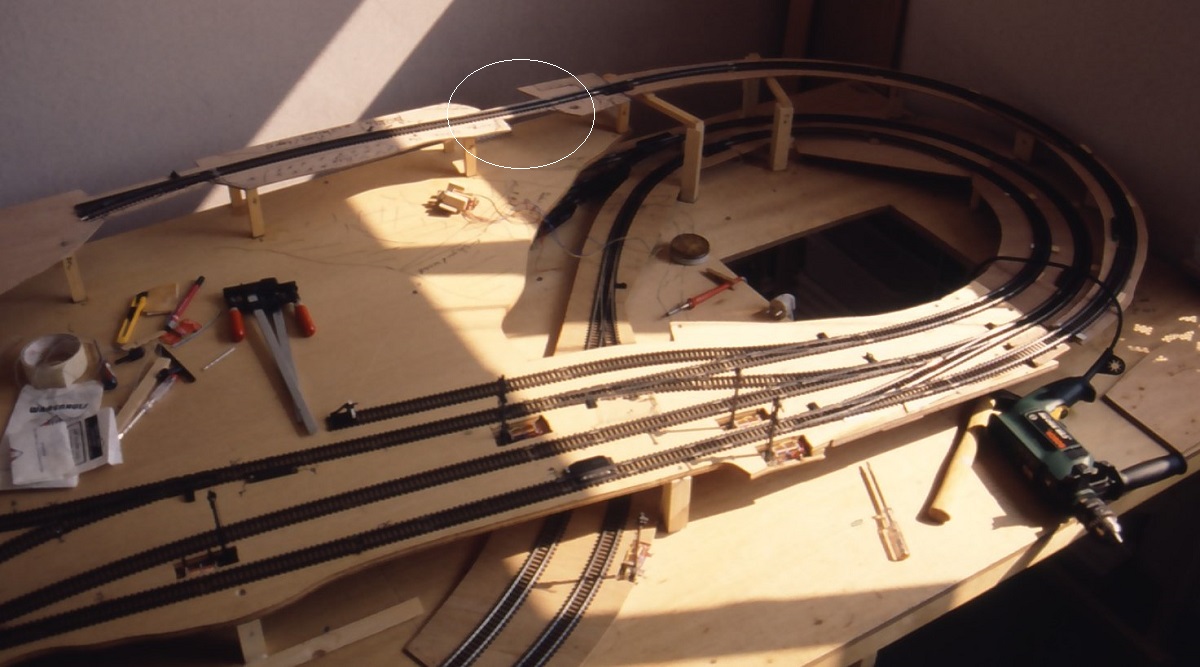
In the years to come, it developed no further than adding ballast.
As you can see, it was no more than the top shelf.
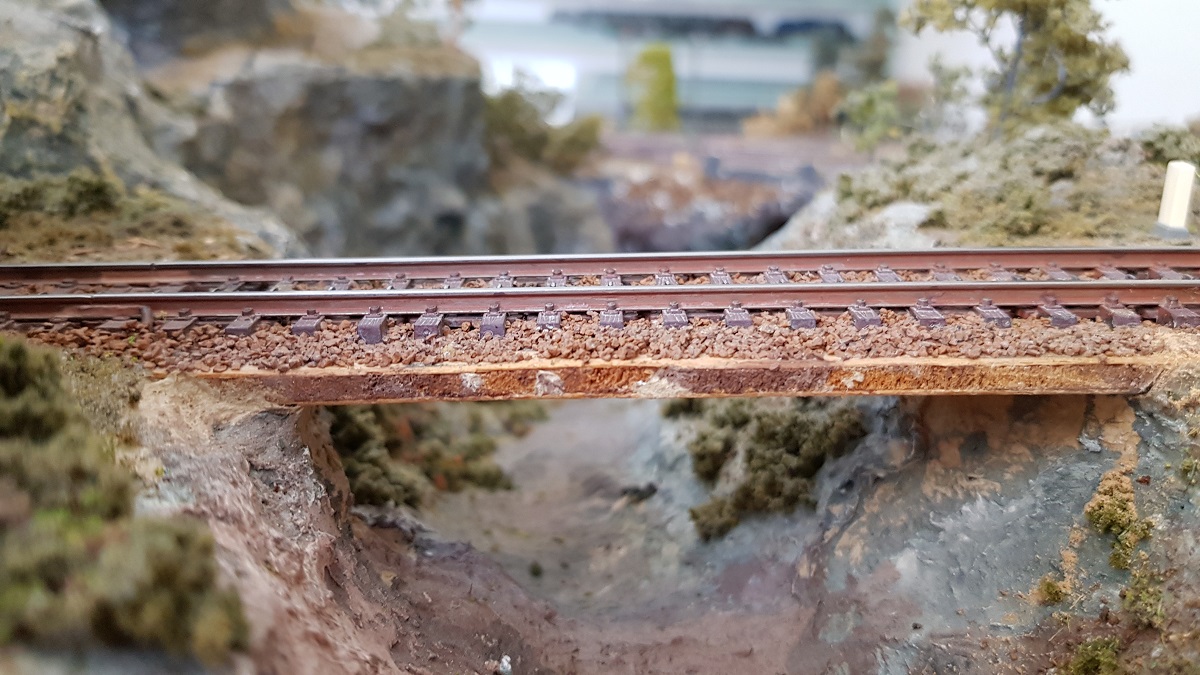
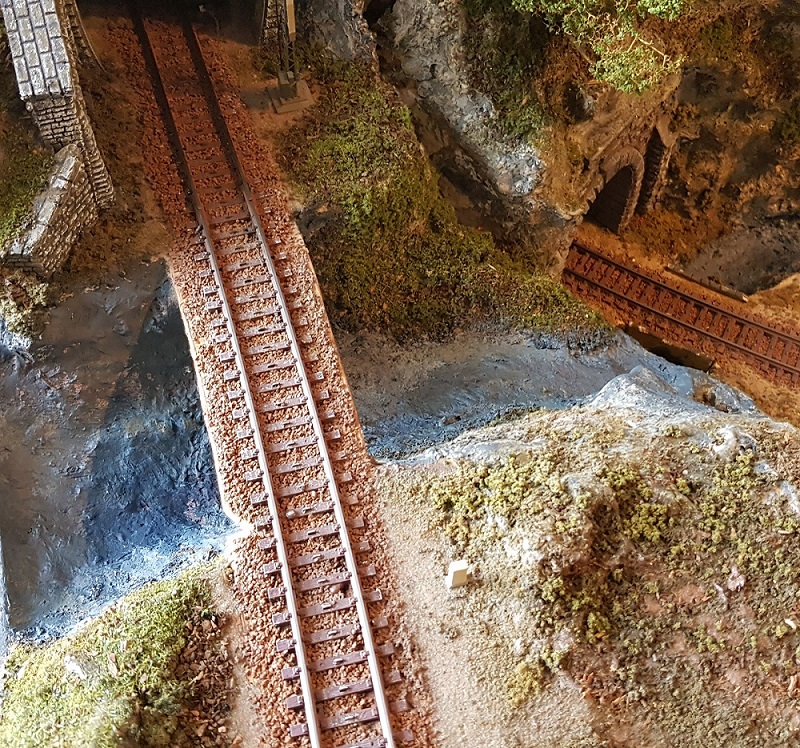
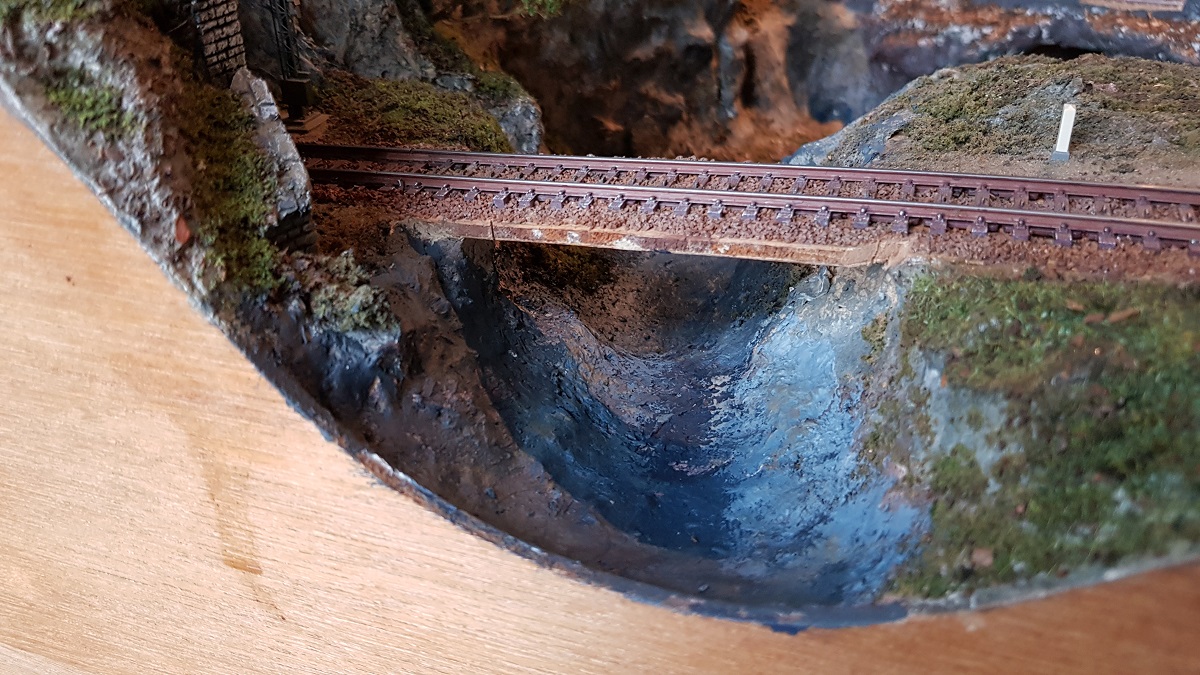
Some months ago, I started cutting the edges of the bridge, but it didn't work out then for lack of a fretsaw.
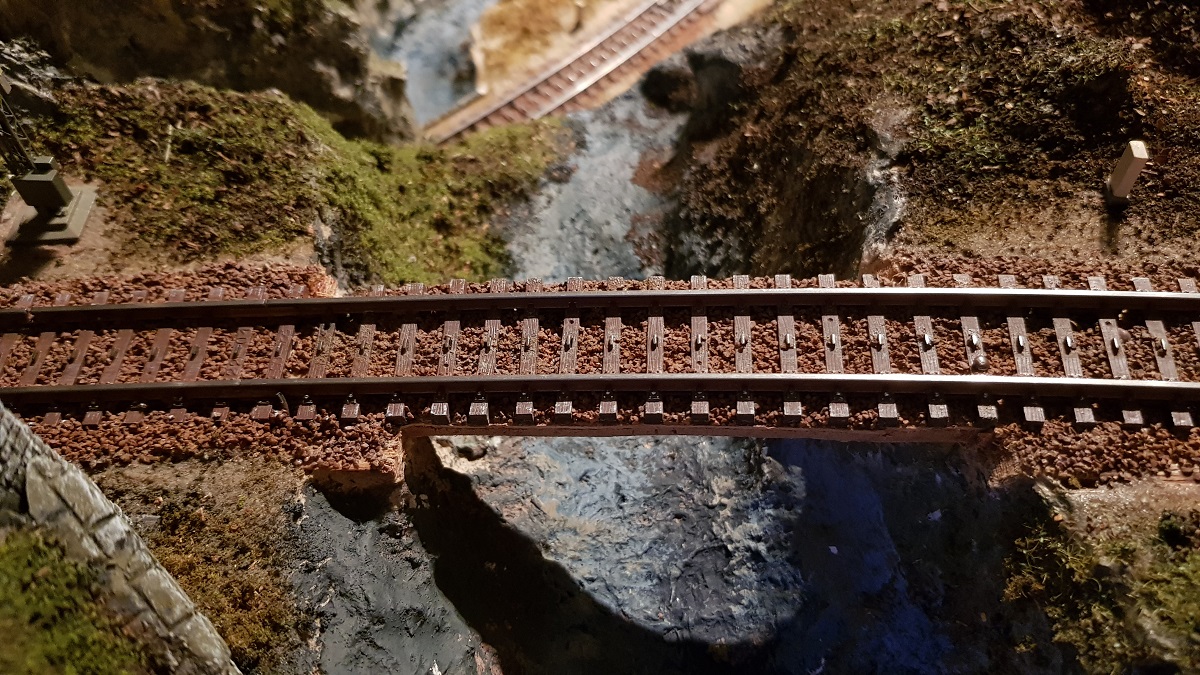
But even the fretsaw wasn't up to this work. So I did it the hard way with a saber saw.
For the abutment (or bridgehead) and carrying construction,
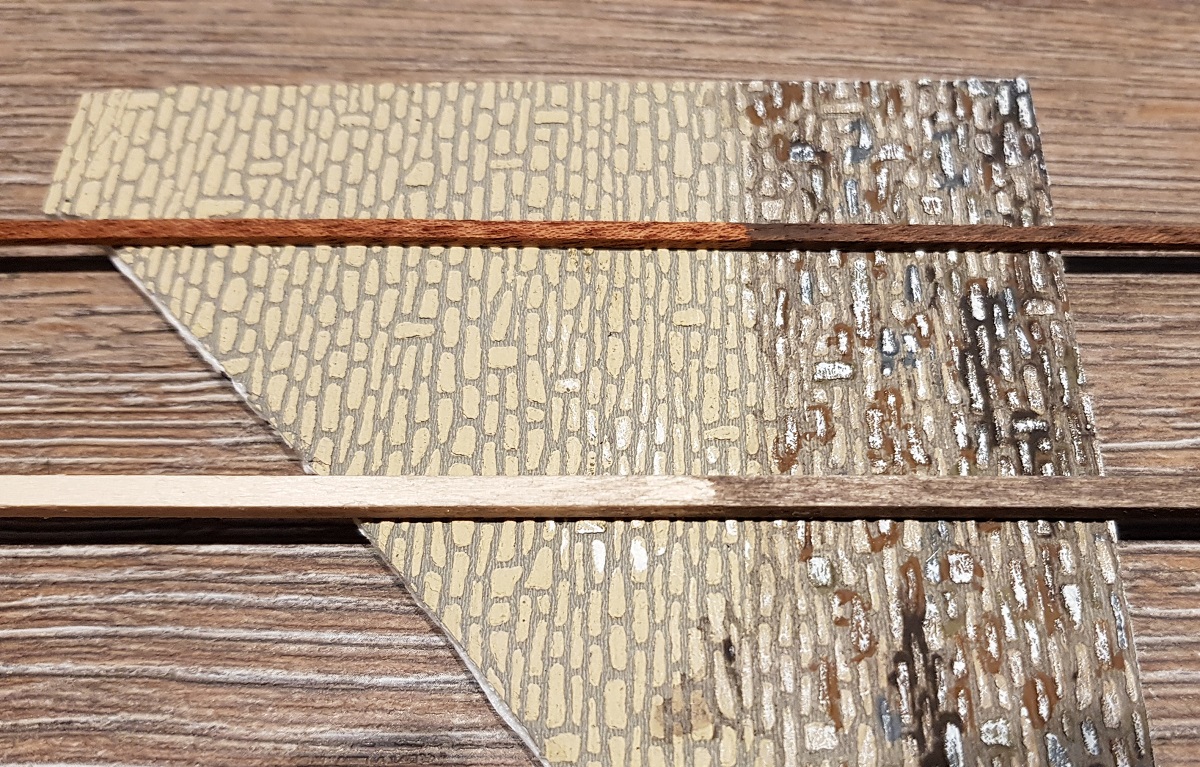
I used painted structured Styrofoam and balsa, both weathered with Heki Lasurfarbe.
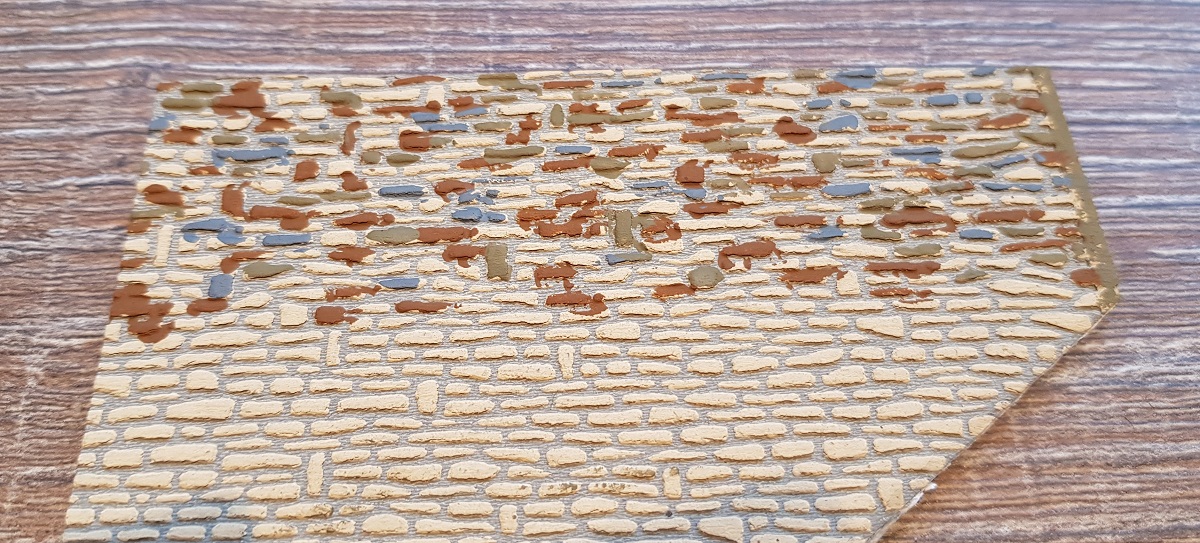
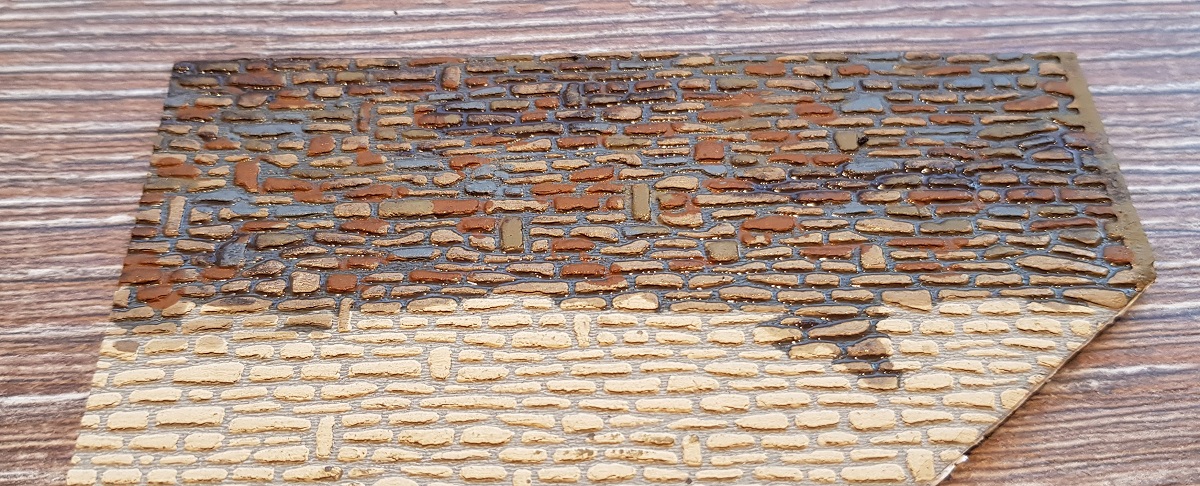
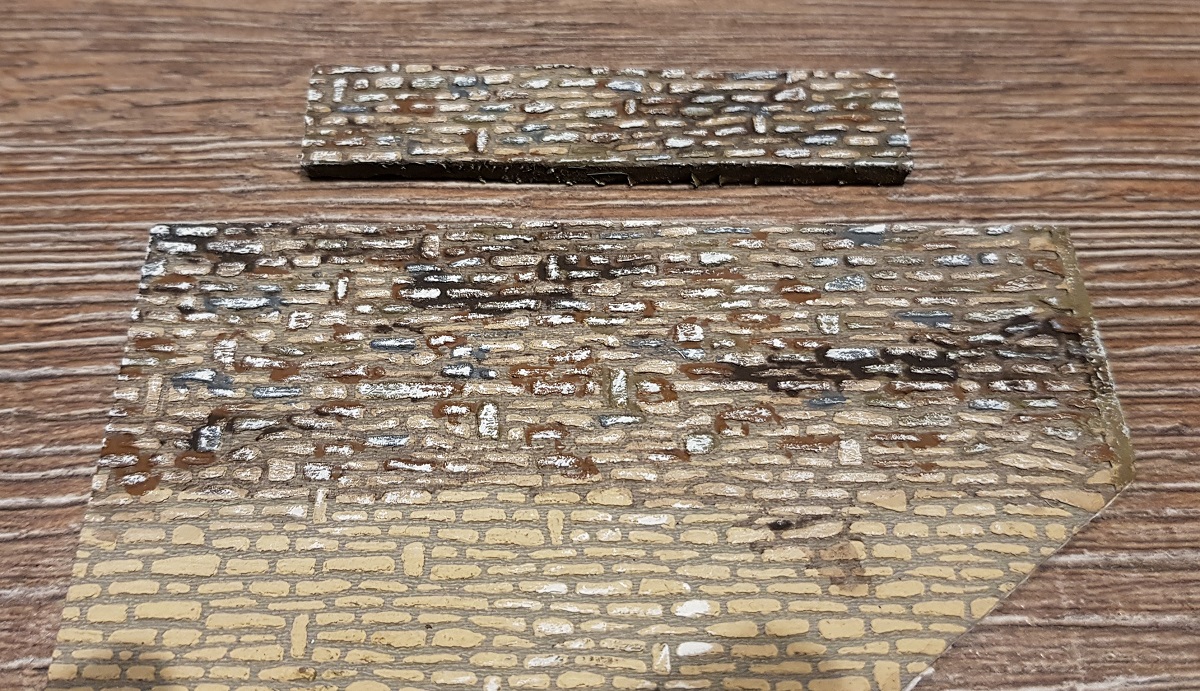
In the meantime, new fir trees are planted behind the Forest Lodge.
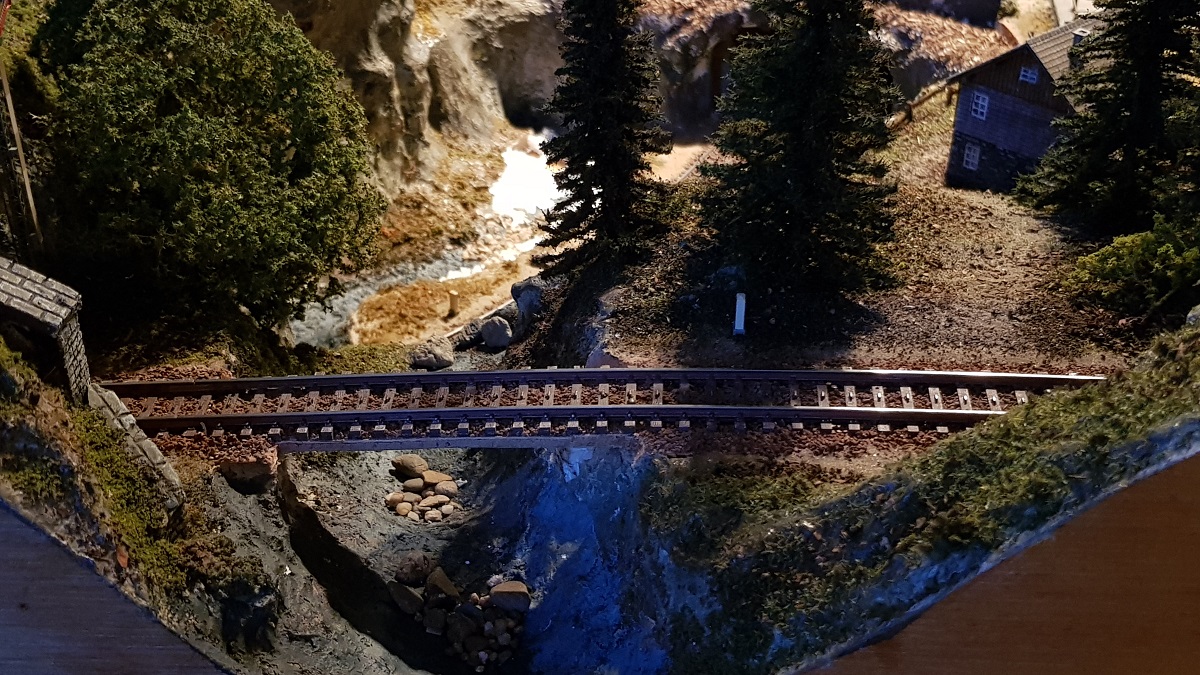
I want this little diorama at the back to be a real cosy spot on my layout, filled with geniality...
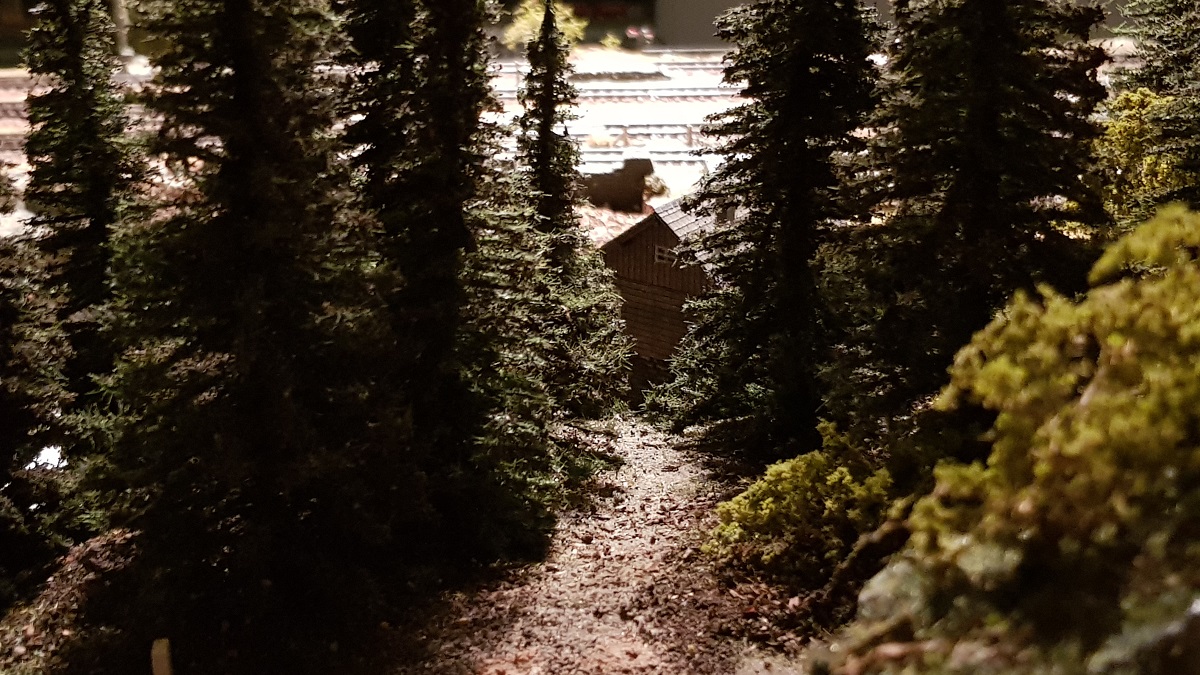
A footpath through the forest is one of the ingredients to bring this to reality.
To avoid people crossing the track when a train is nearby, I thought a small fencing rather appropriate.
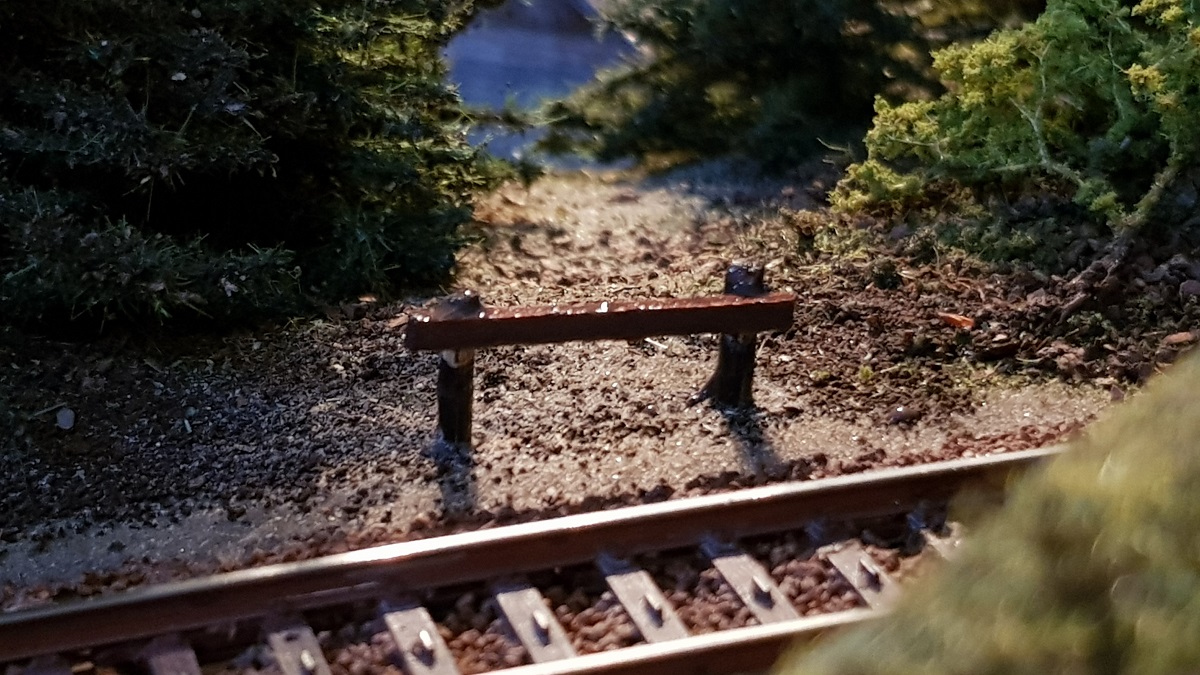
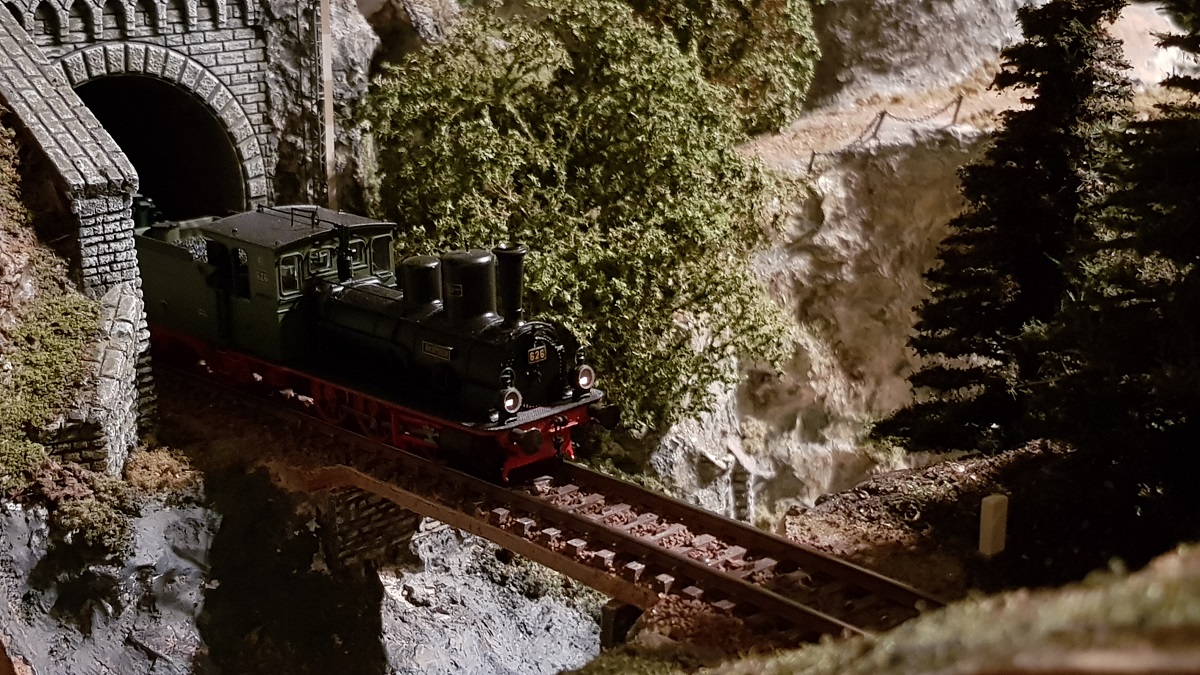
... and that's it for today!
The next day (4/11) I am focusing on the abutment and beams that will support the bridge underneath.
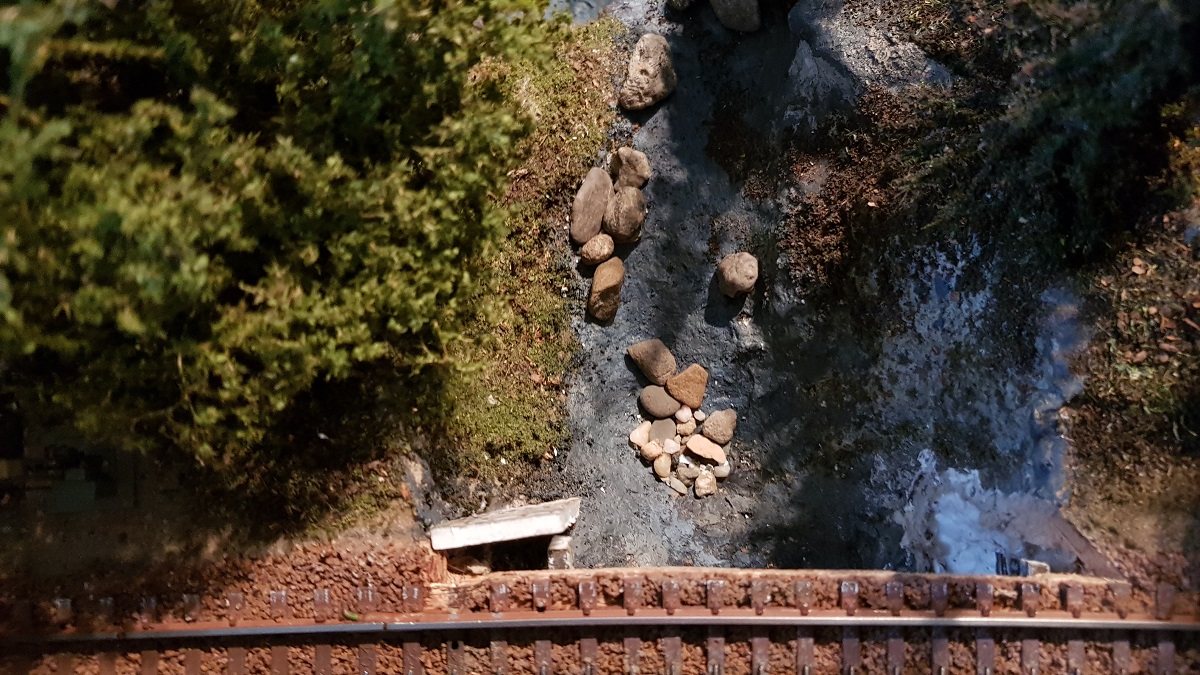
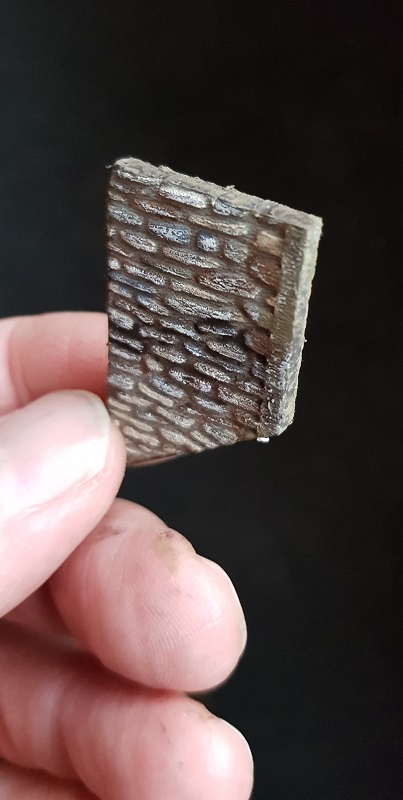
Wooden beams are fixed next to the track
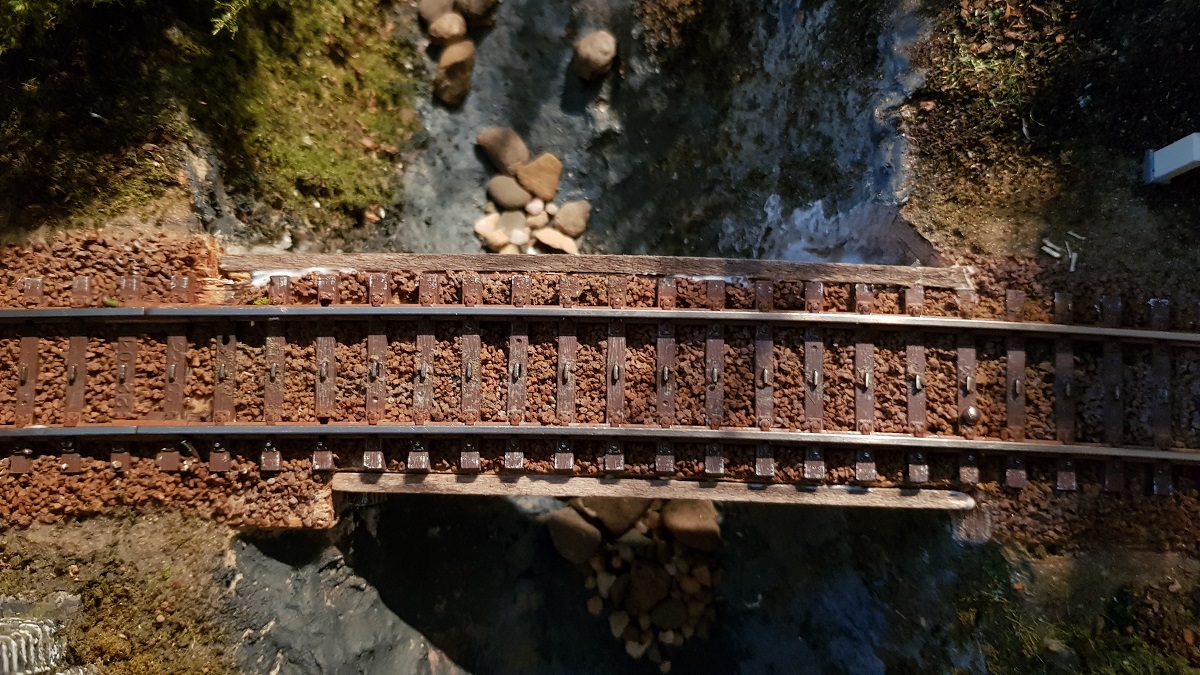
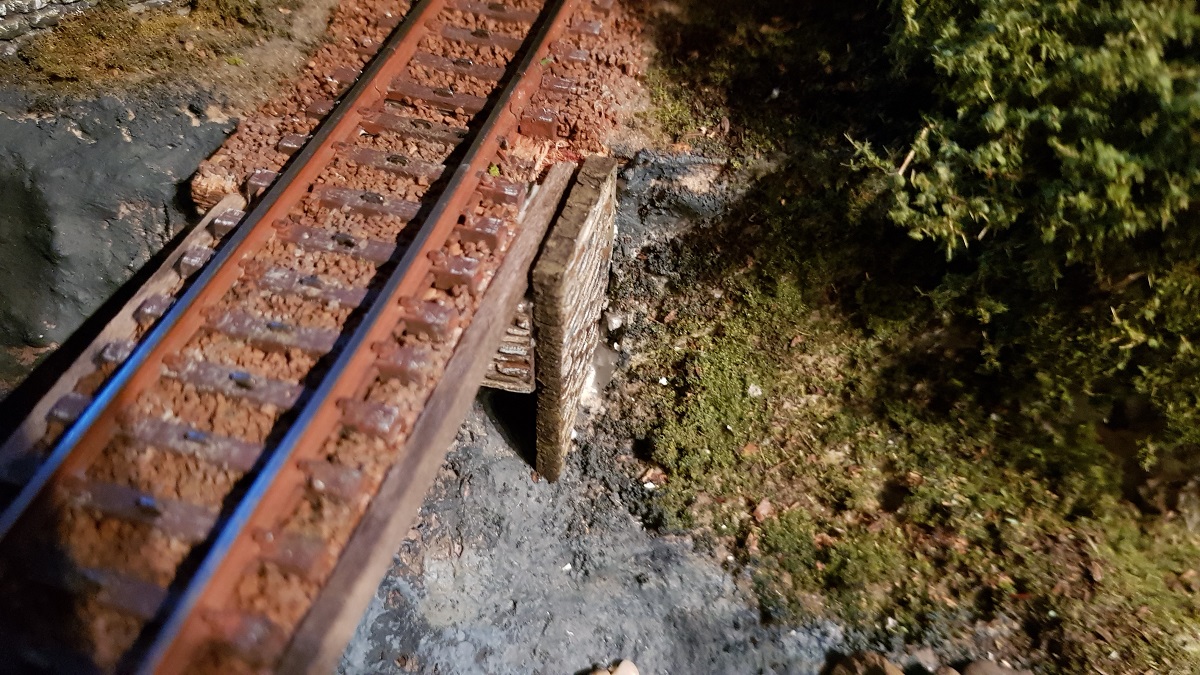
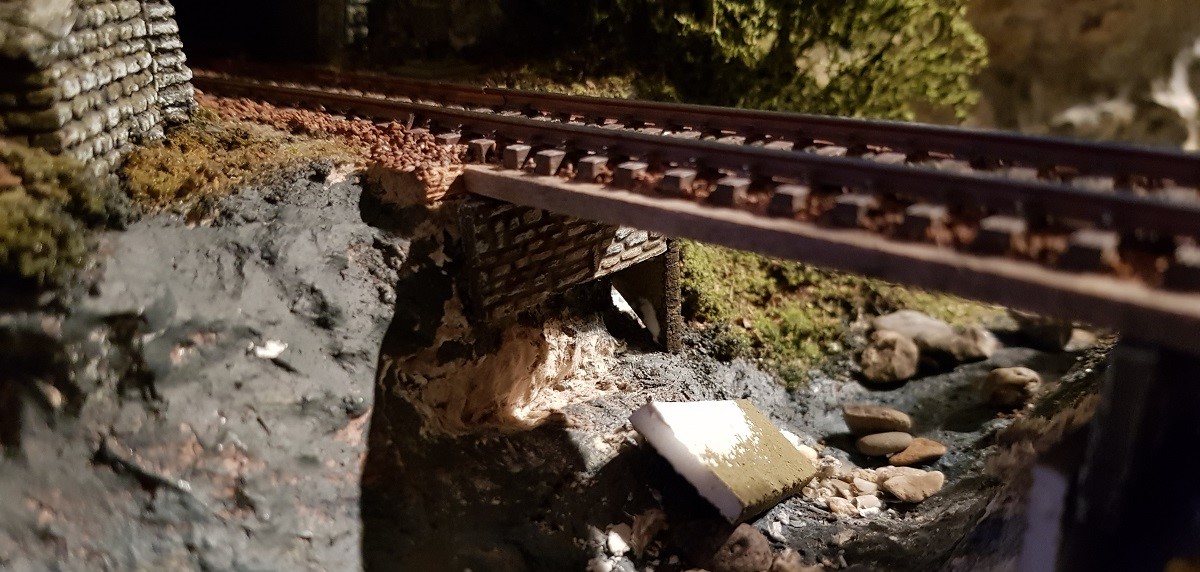
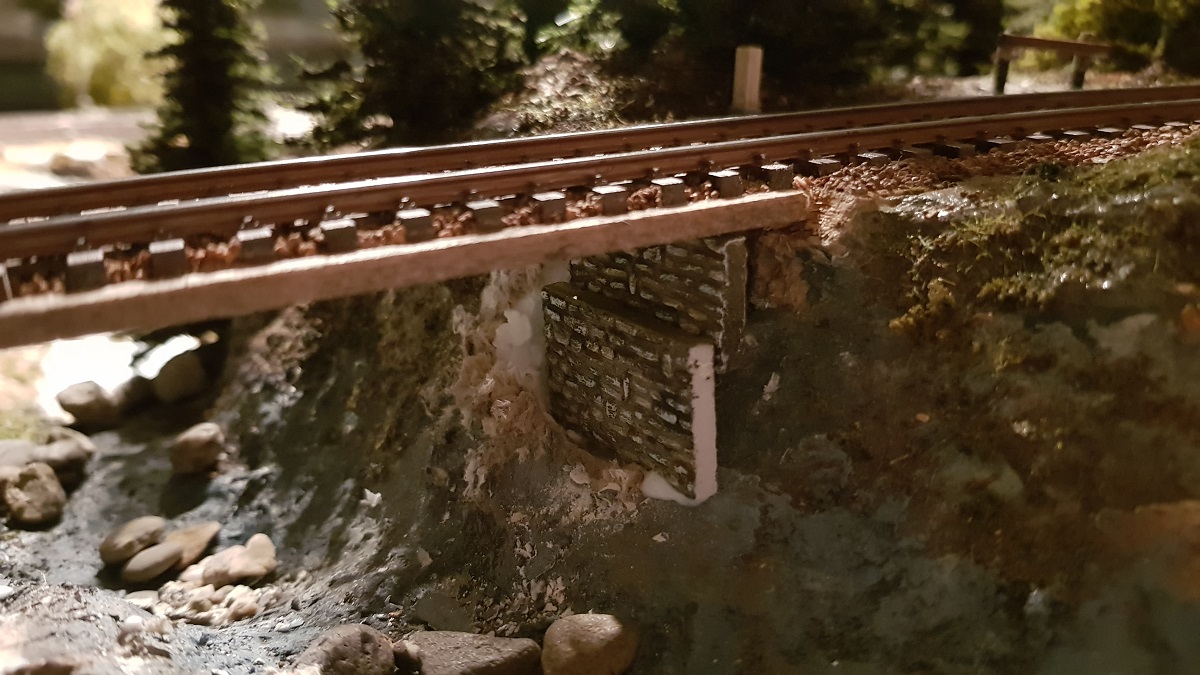
A second stone wall at the base of the abutment will support another pair of beams
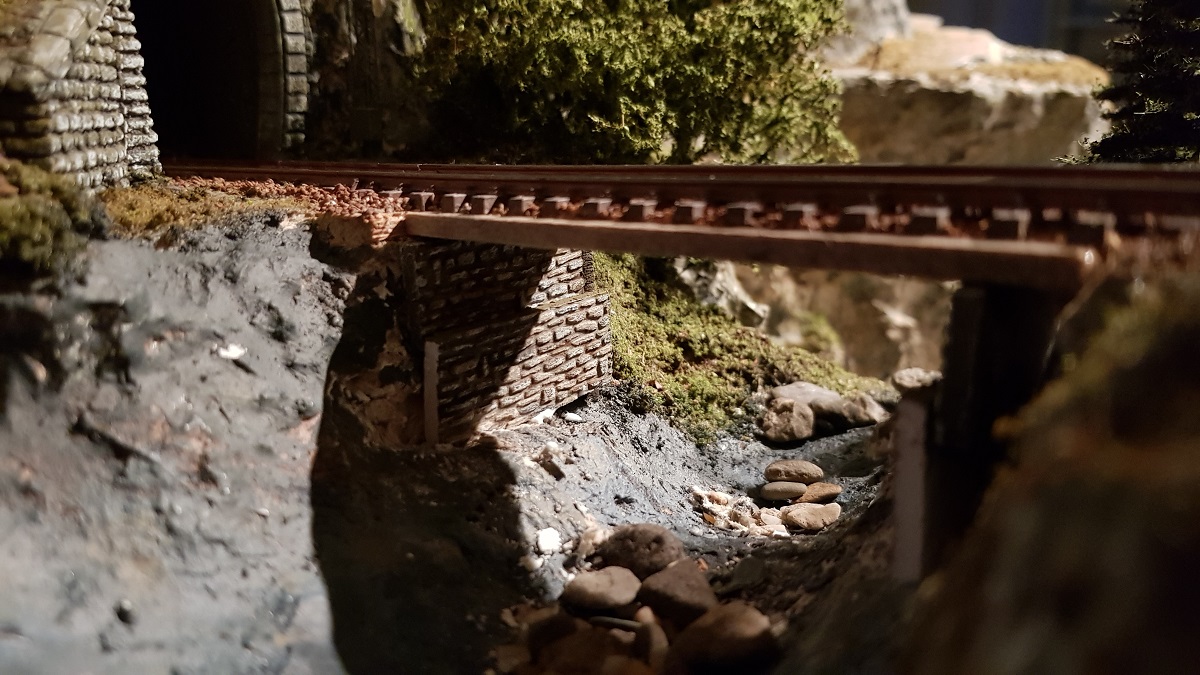
Having come to this point, I was wondering: How to continue?
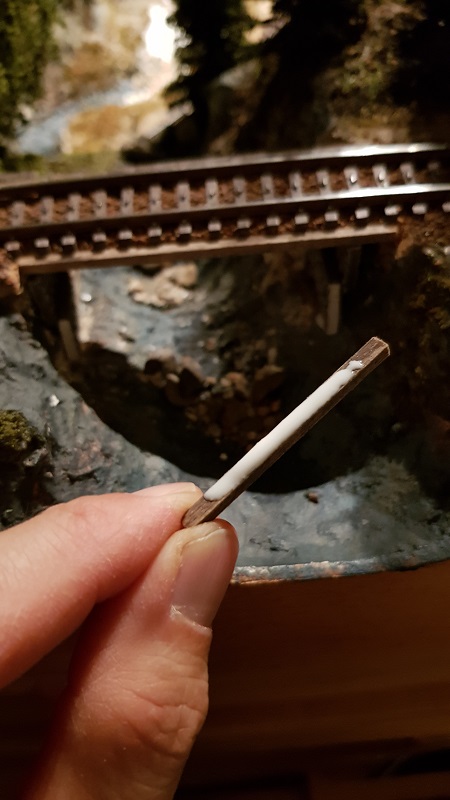
Well, this small wooden girder decided for the rest to come!
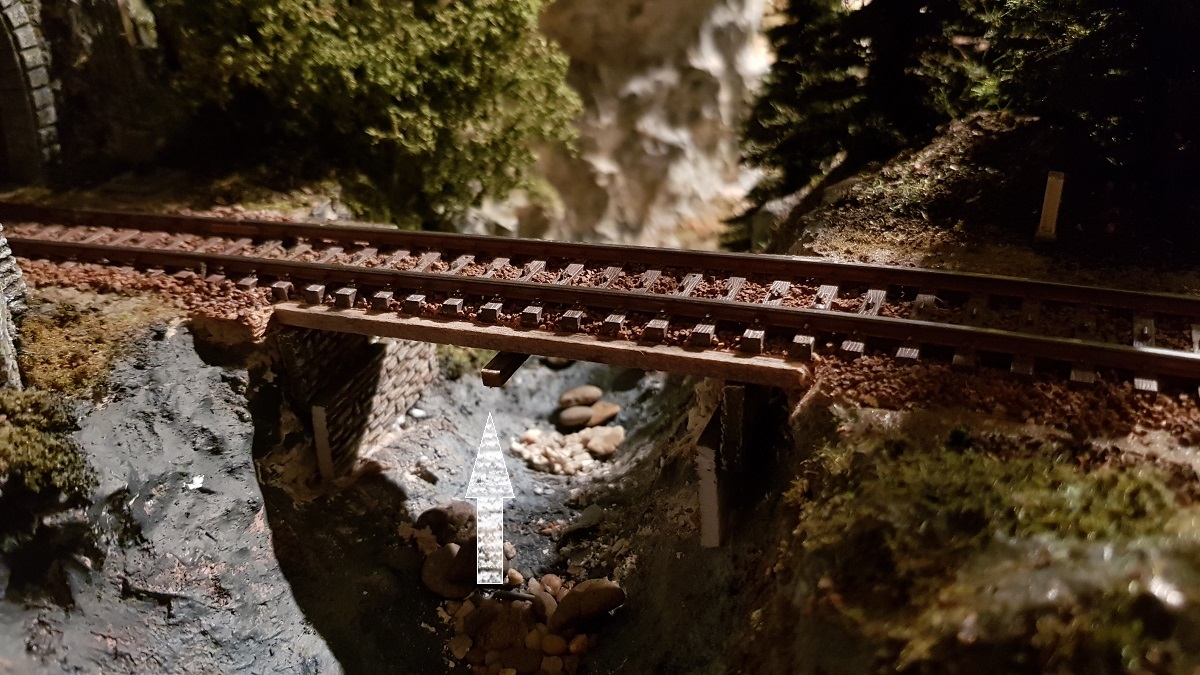
The next evening - in some two hours - I finished the construction underneath the bridge.
Odd enough, I didn't quite know where to start, let alone how to finish.
But while contemplating on what you see and then imagine to see, things are just going to happen spontaneously.
At least... to me!
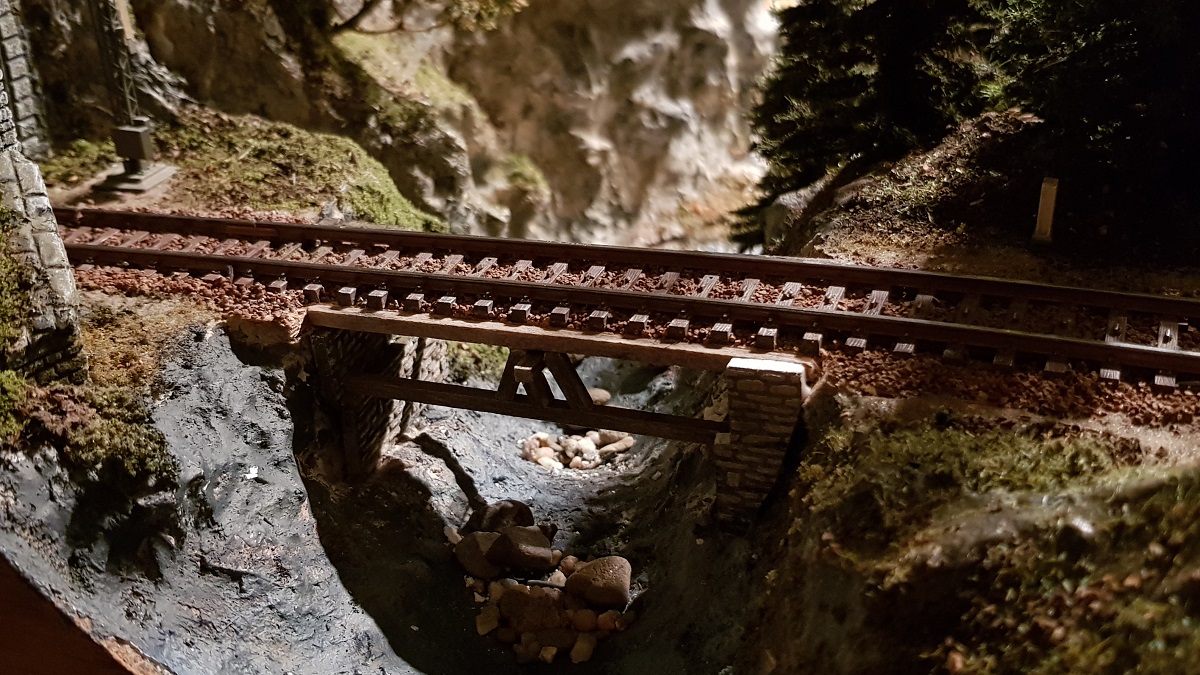
Since I wanted to see the train in full view, I decided to put the supporting construction underneath.
I admit, that while modelling, you normally make the bridge first, and after finishing it, you develop the landscape around it.
However, since my layout was finished already - and renovation was aft - I had to do it like in real life: adapting nature to culture.
Nevertheless, it enhanced my creativity not in the least.
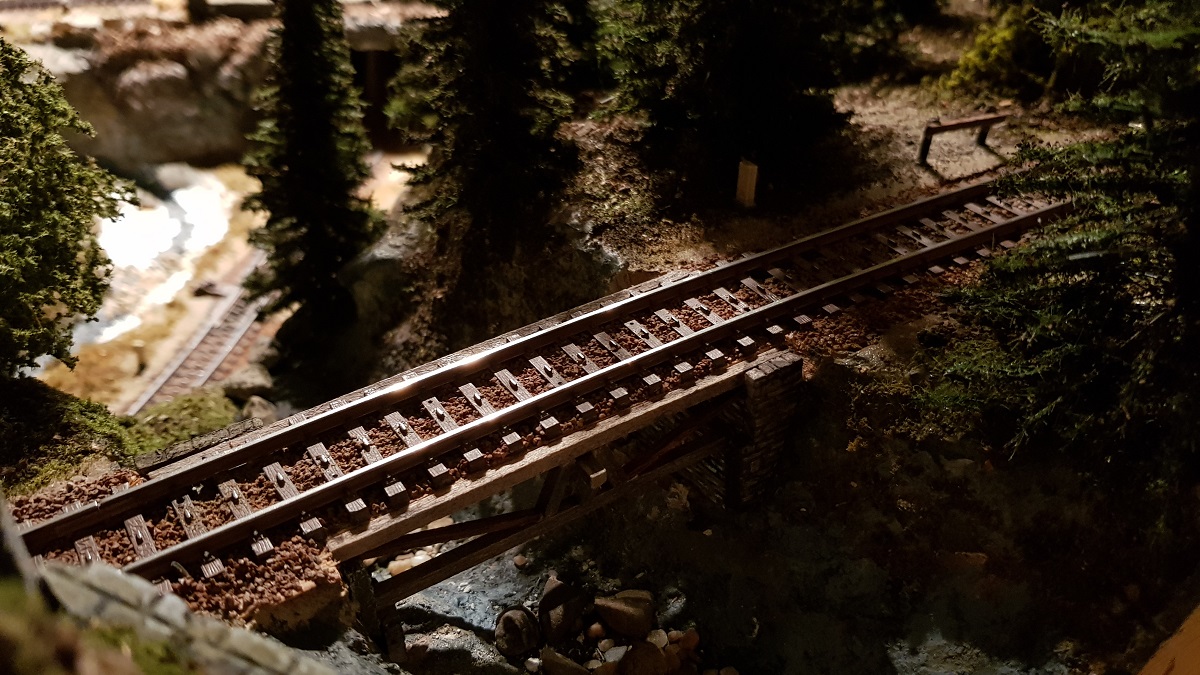
The next morning (5/11), I noticed that the L-shaped form in the abutment was, like, disturbing.
Two more beams at both ends, with coincidentally a perfect fit, were just what I needed.
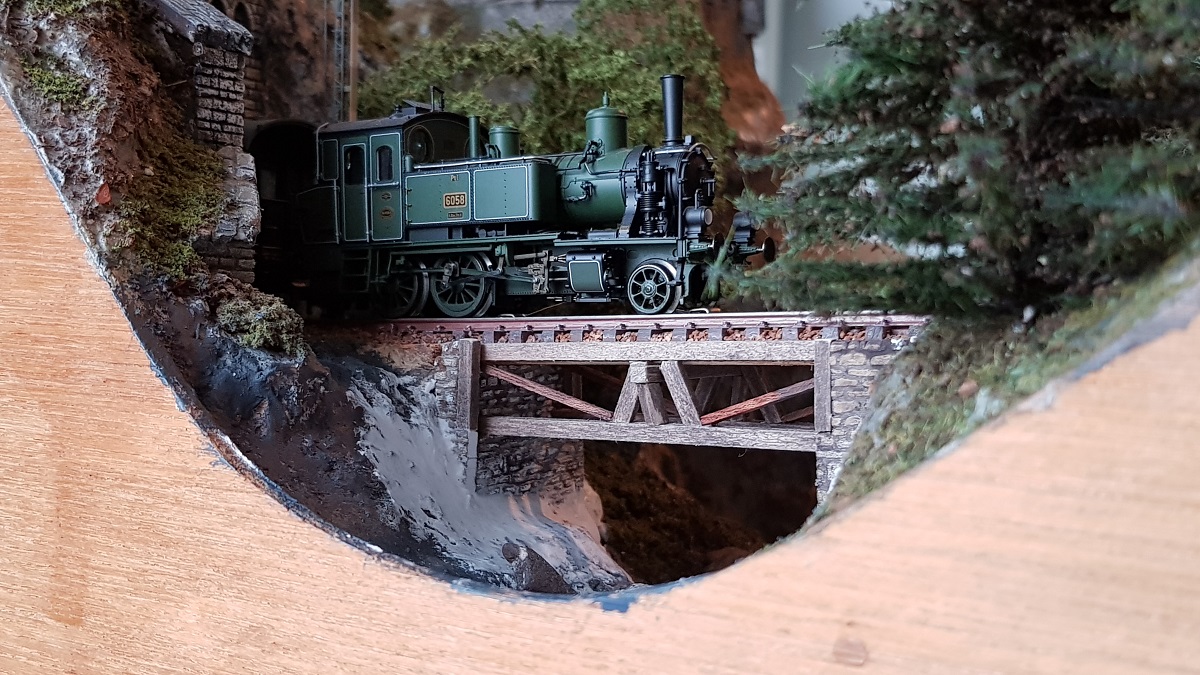
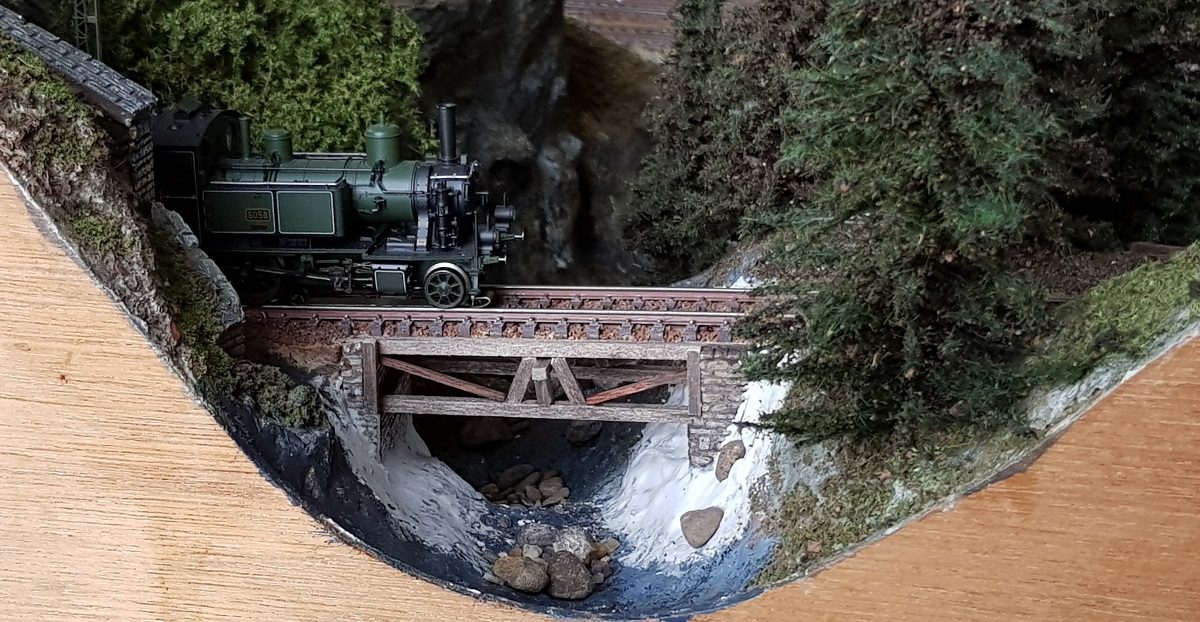
Finally, filler (putty) connects culture and nature.
Matching colours and vegetation will be applied afterwards, when all has dried well.
The funny thing is, that this lovely scene is all in the back of my layout, hardly to be seen from the front!
After a fortnight absence, I continued working on the bridge and collecting new ideas on November 25th...
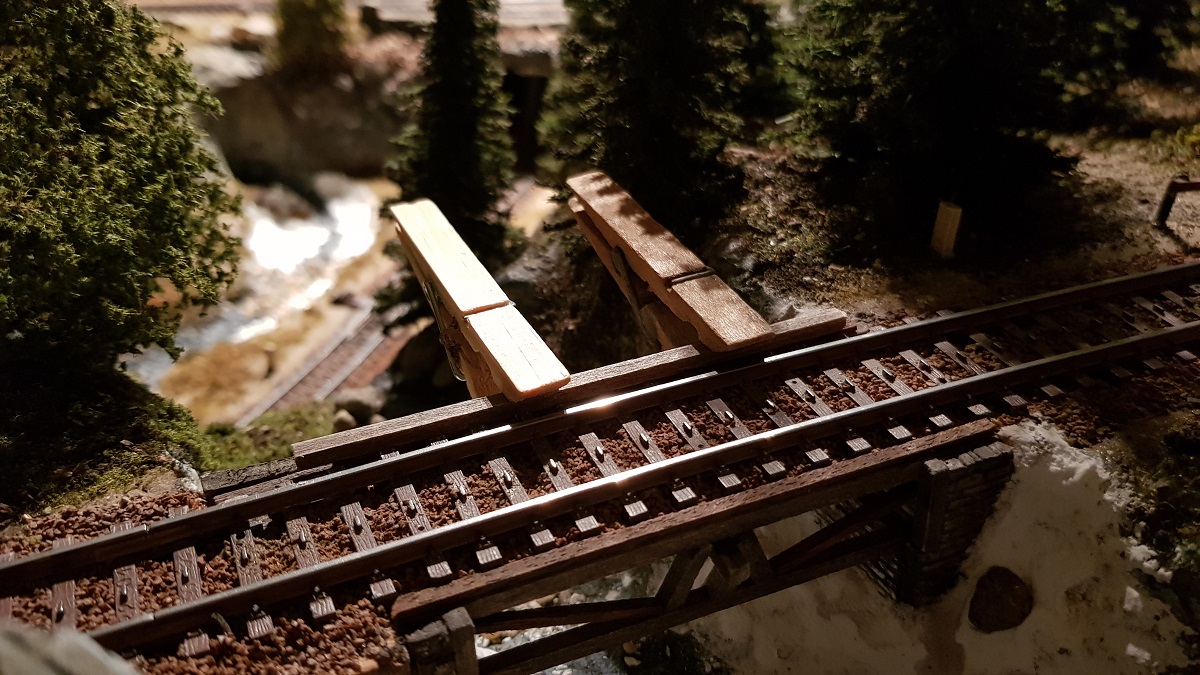
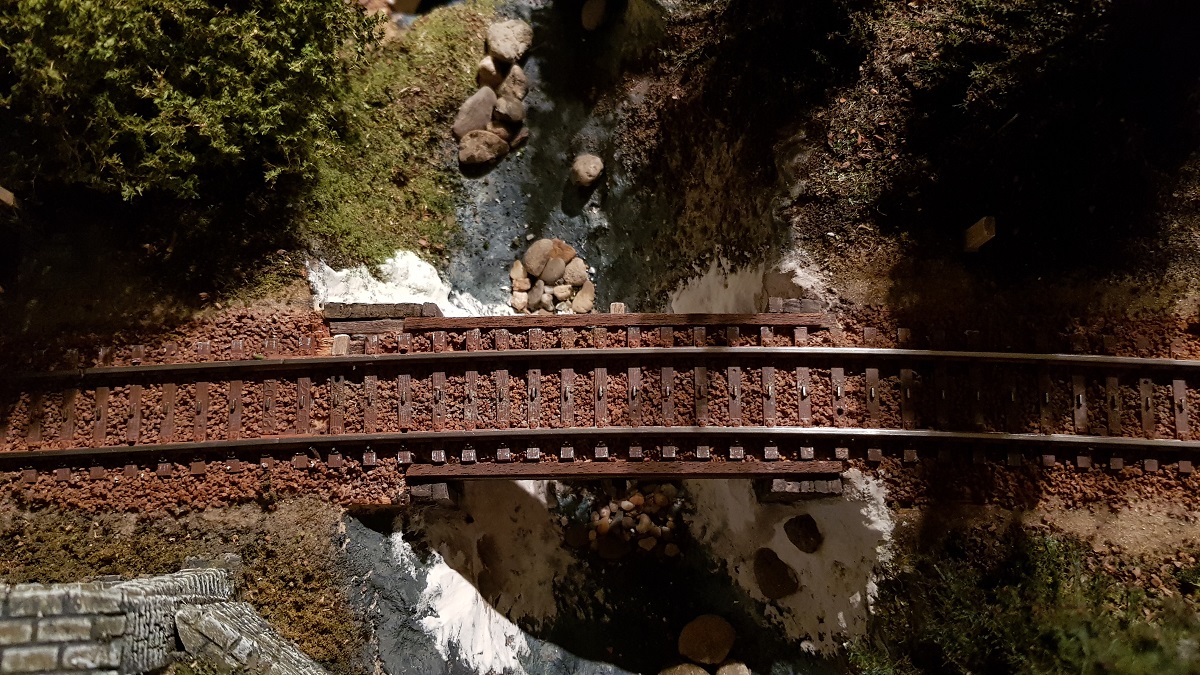
I wanted those sleepers on the bridge to be demarcated, hence these extra slats at the side.
~~~
2.14 ~ H o w e v e r . . .
(18.2.2020)
For one reason or another, it still bothers me the past three months, that there is ballast on the bridge between the sleepers!
It was there for almost three decades and glued pretty tight with white glue, so I was reticent for not wanting to damage things...
However, today I decided to give it a shot. And... it worked all right!
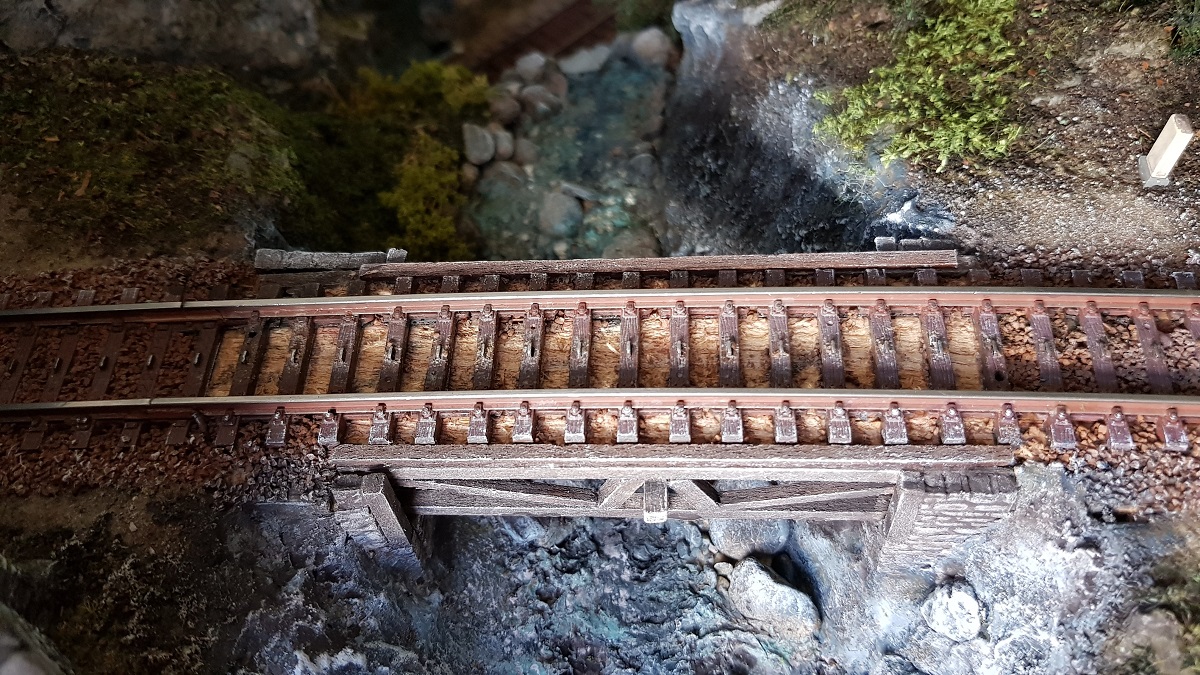
Carefully taking away all the ballast...
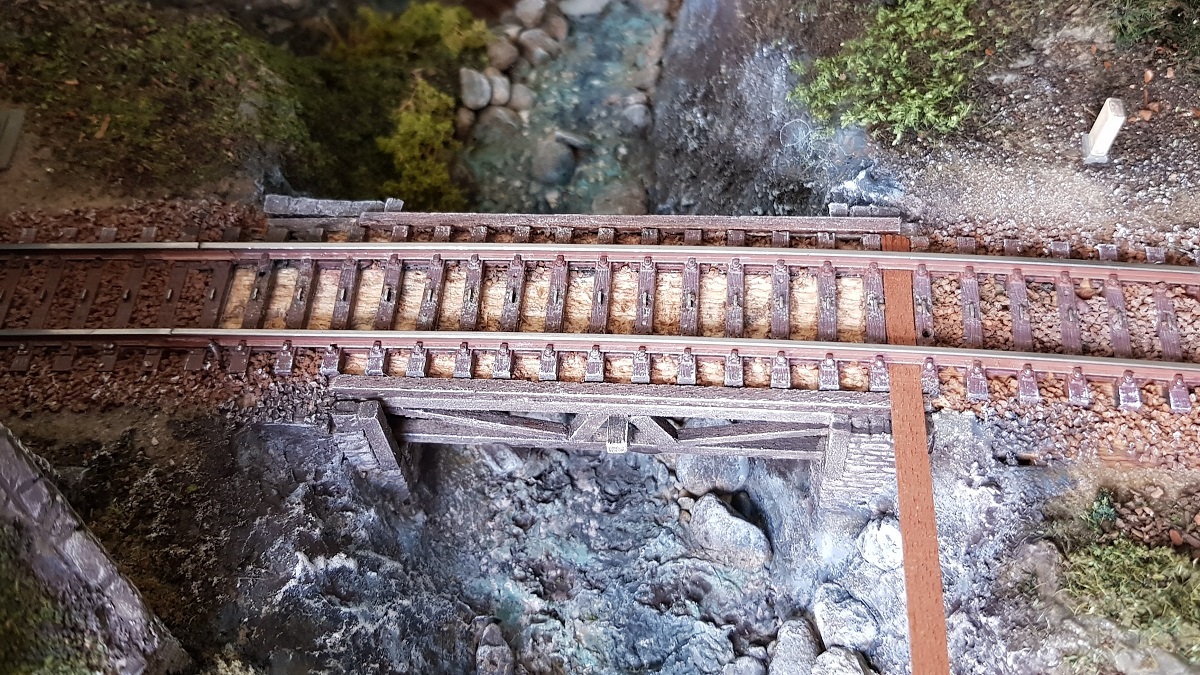
... I first had in mind to use the same beams as the platform, two between each sleeper. They didn't fit.
Then I took these flat wooden boards, that miraculously fit right between sleepers and rail. The perfect solution!
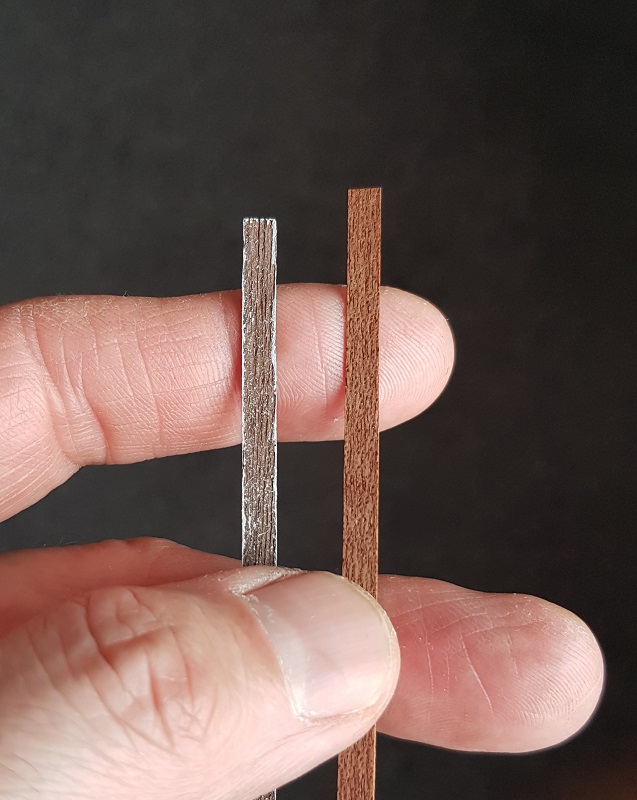
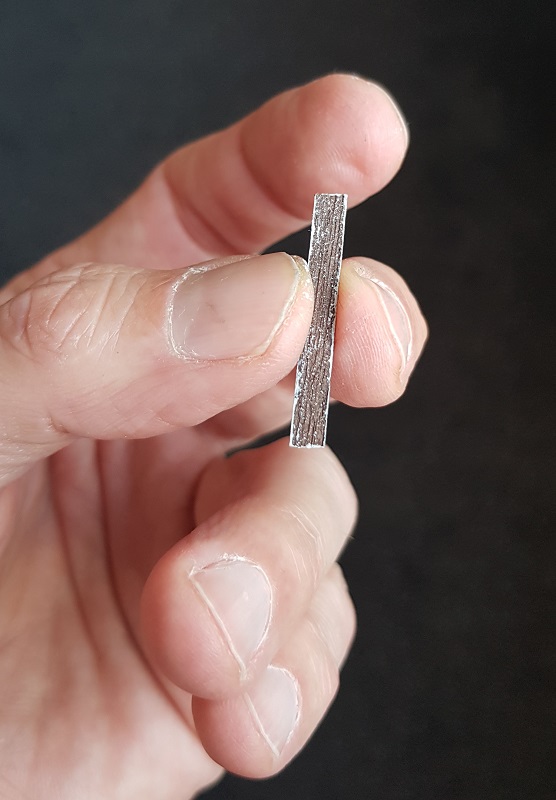
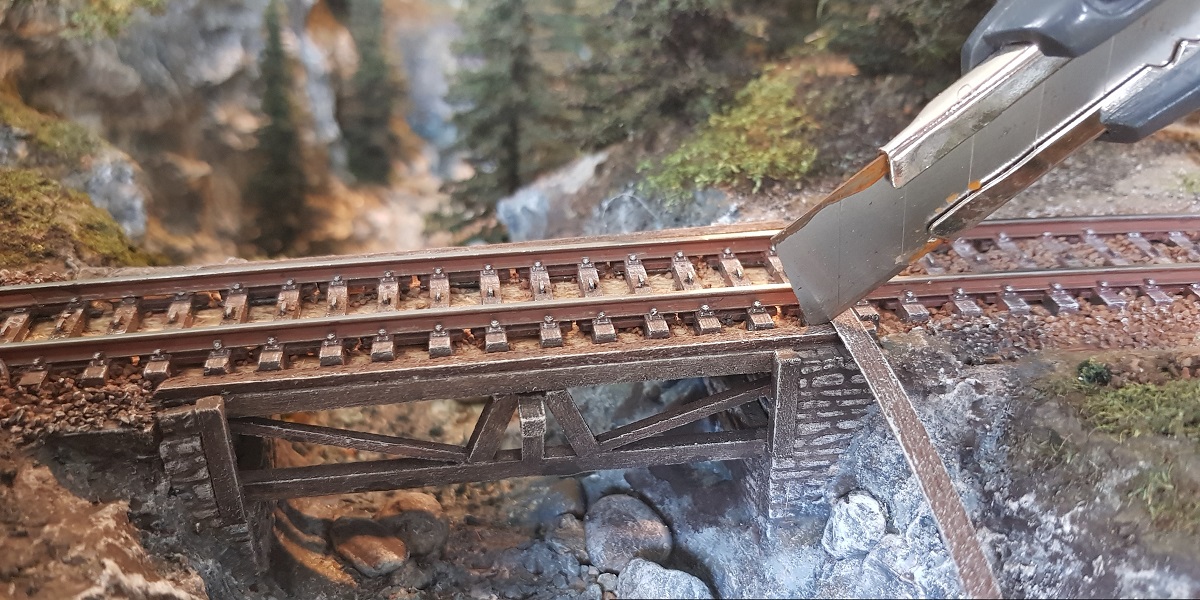
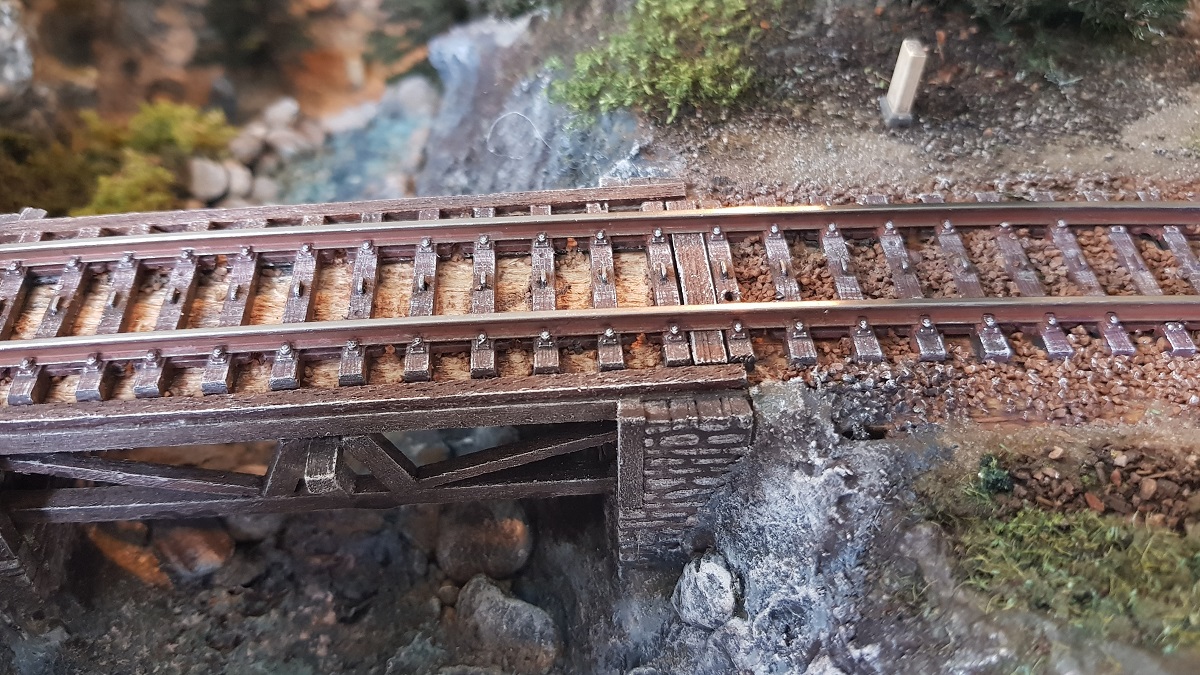
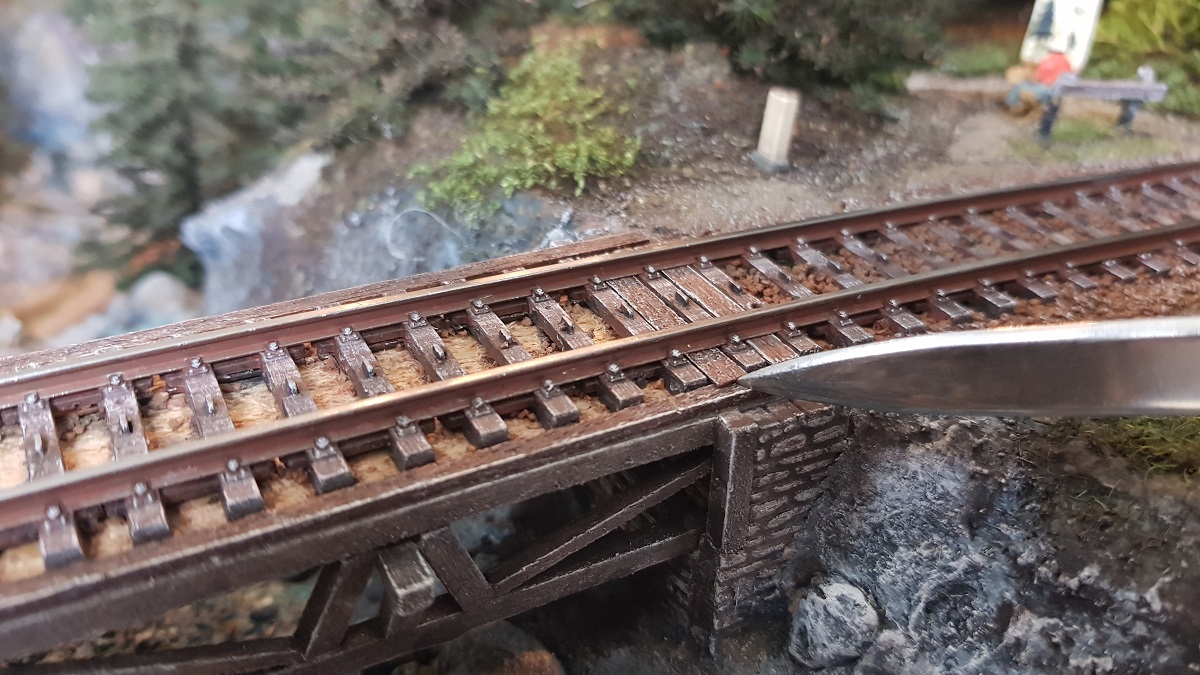
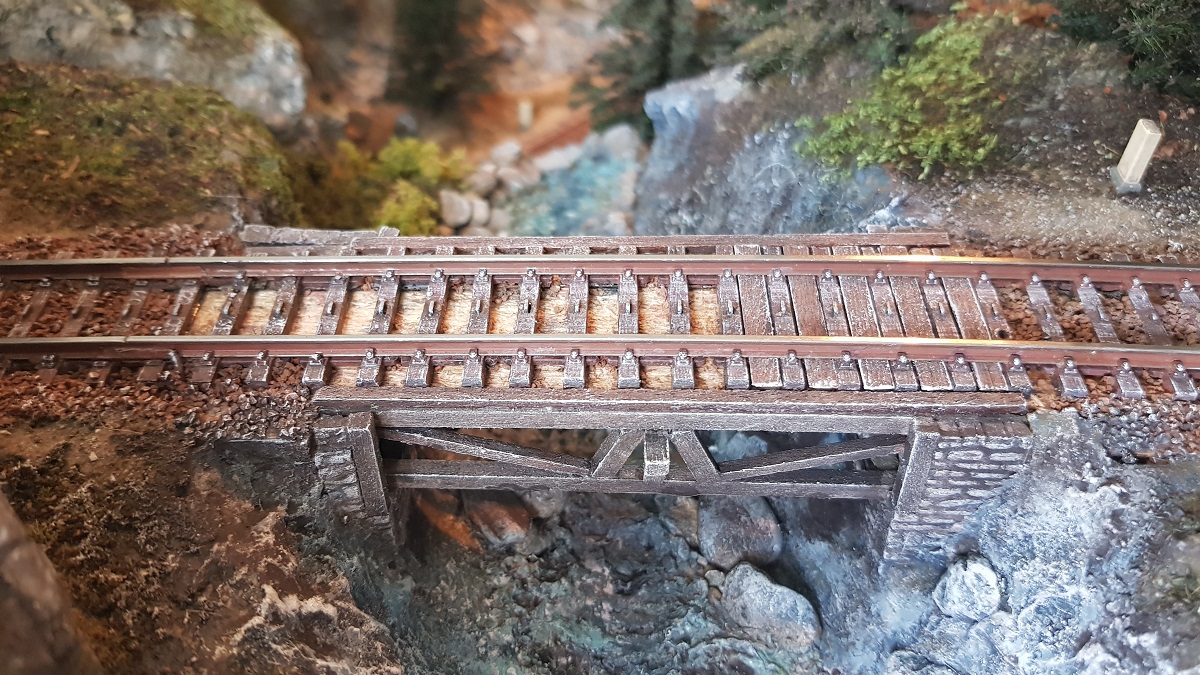
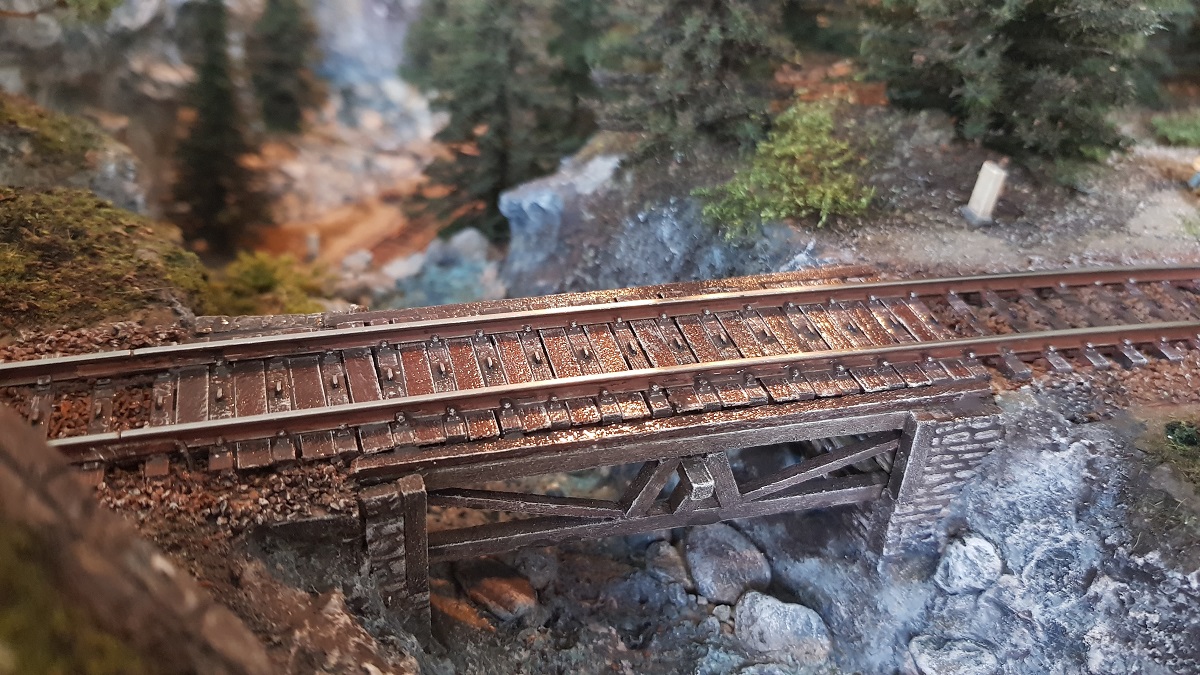
After cutting each new beam, I gave their front ends a dry white line!
After having all 16 positioned, they got another lasur coating 'in situ'.
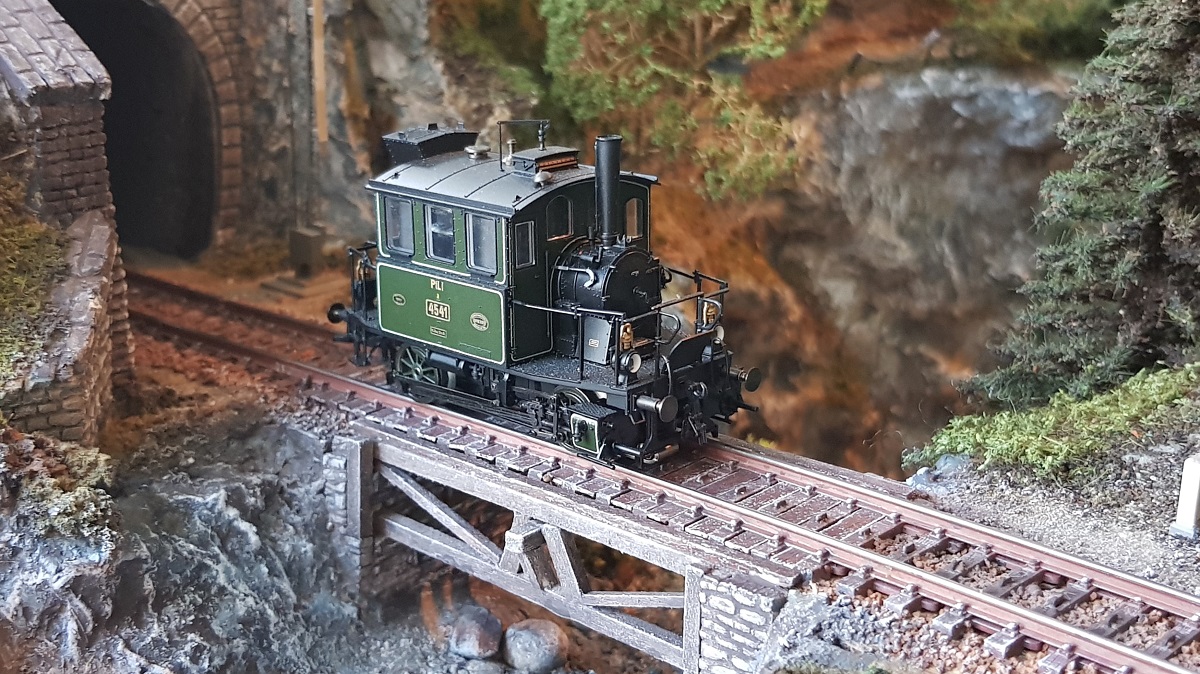
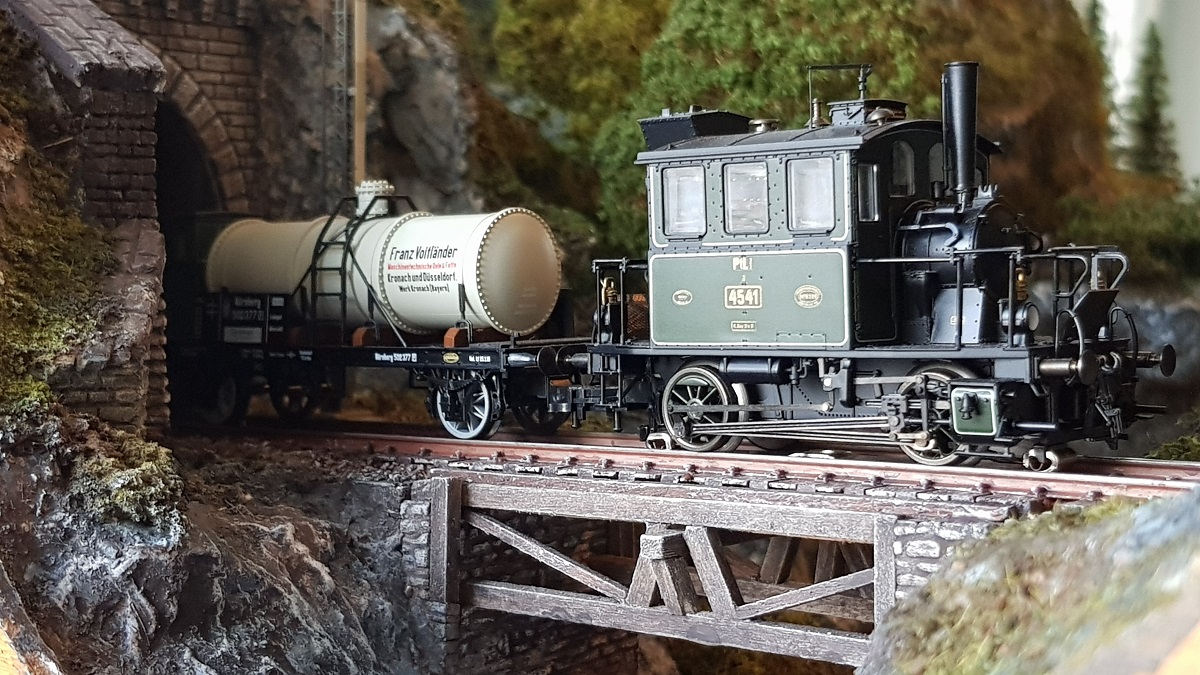
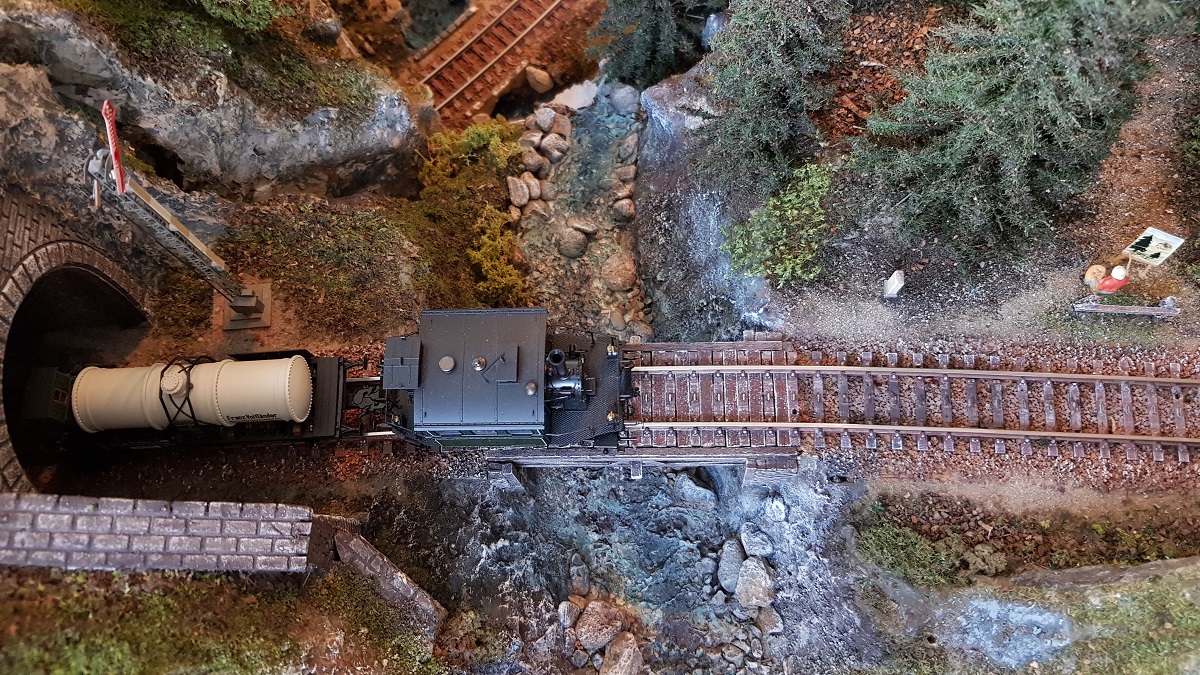
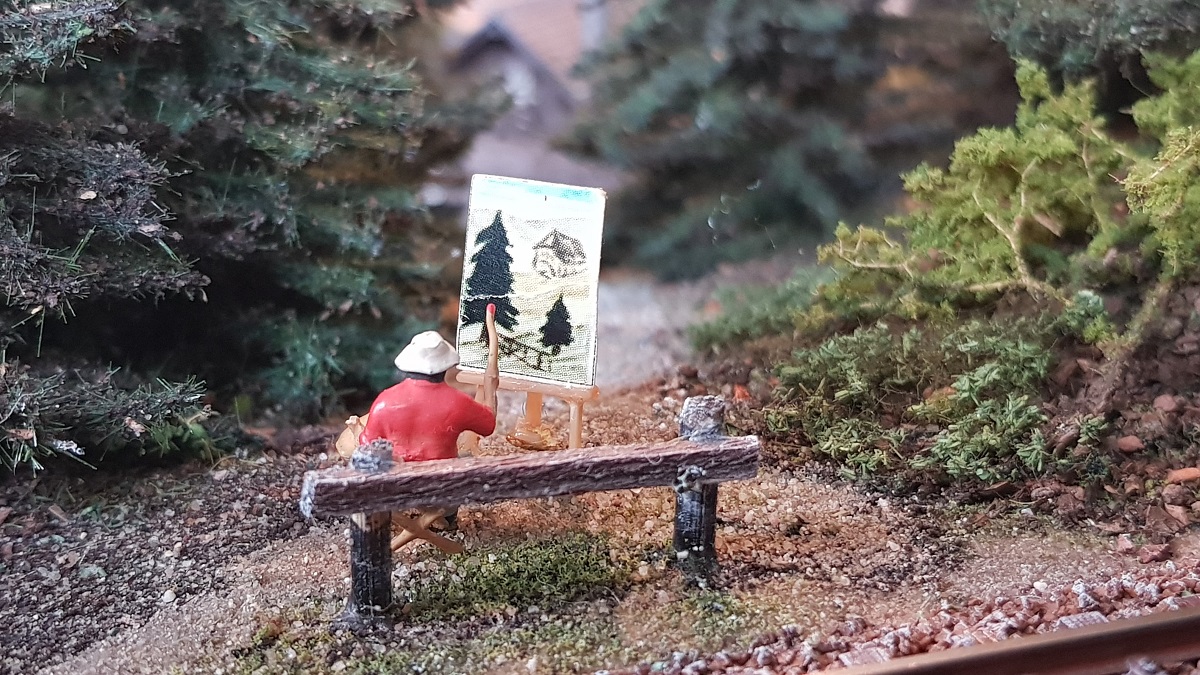
The painter continues undisturbed, focusing on Forest and Forsthaus...
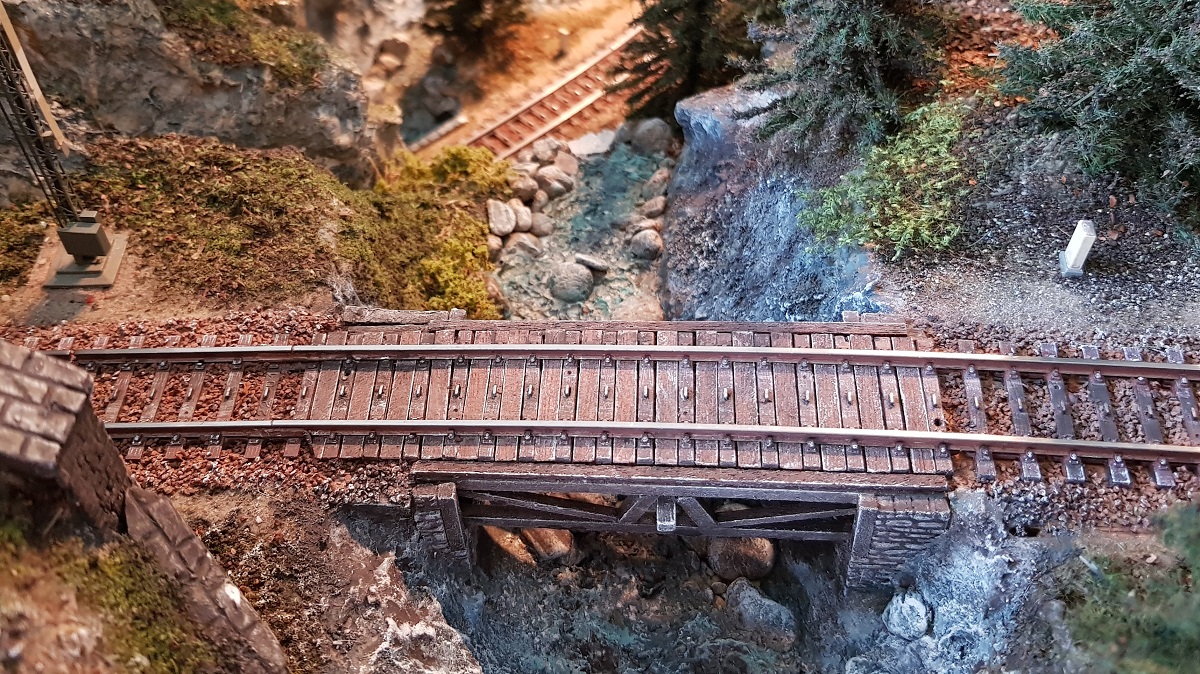
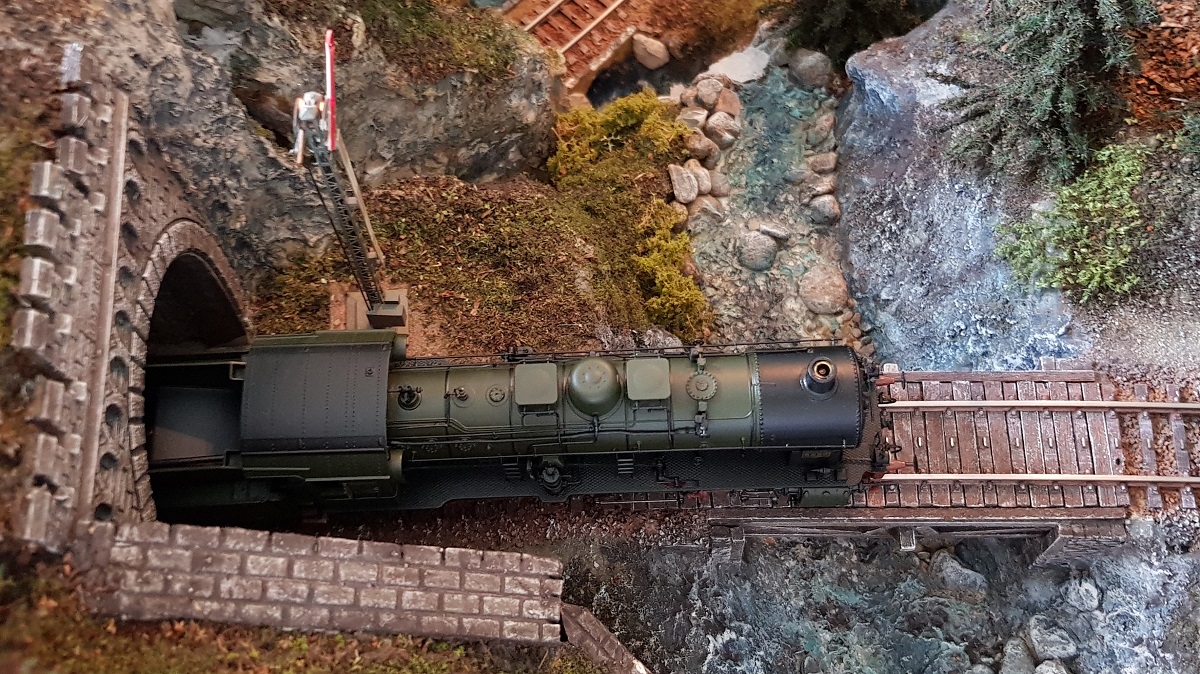
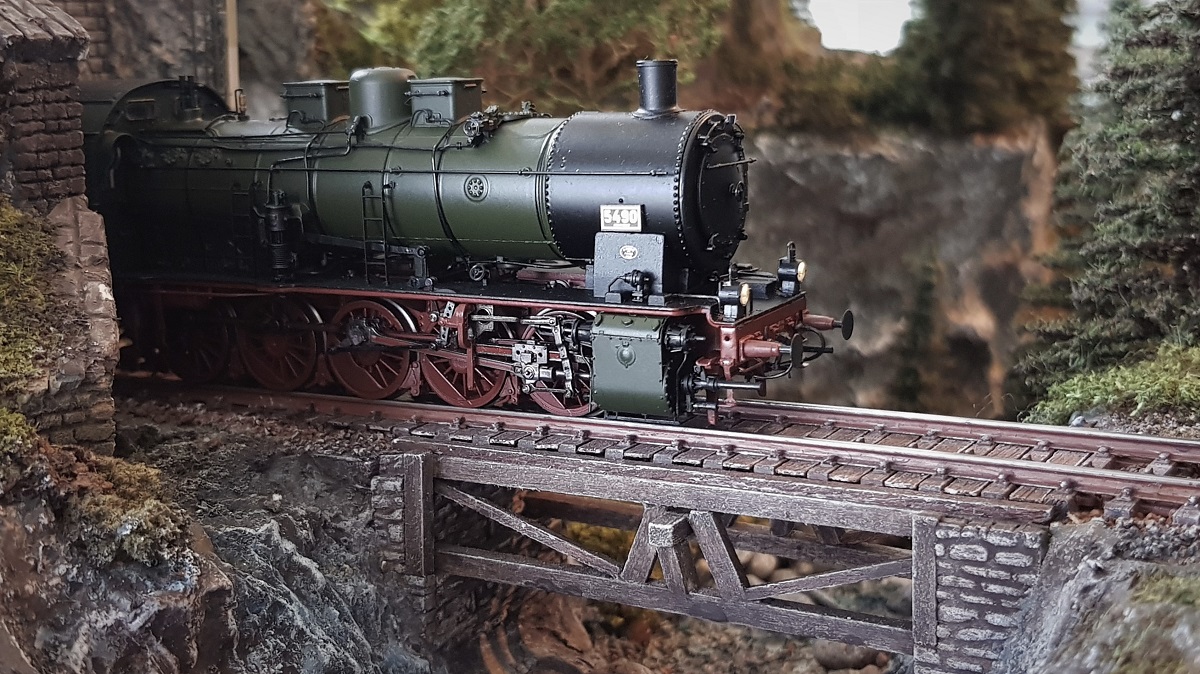
Thoroughly dried the next morning...
However...
L e s s i s M o r e!
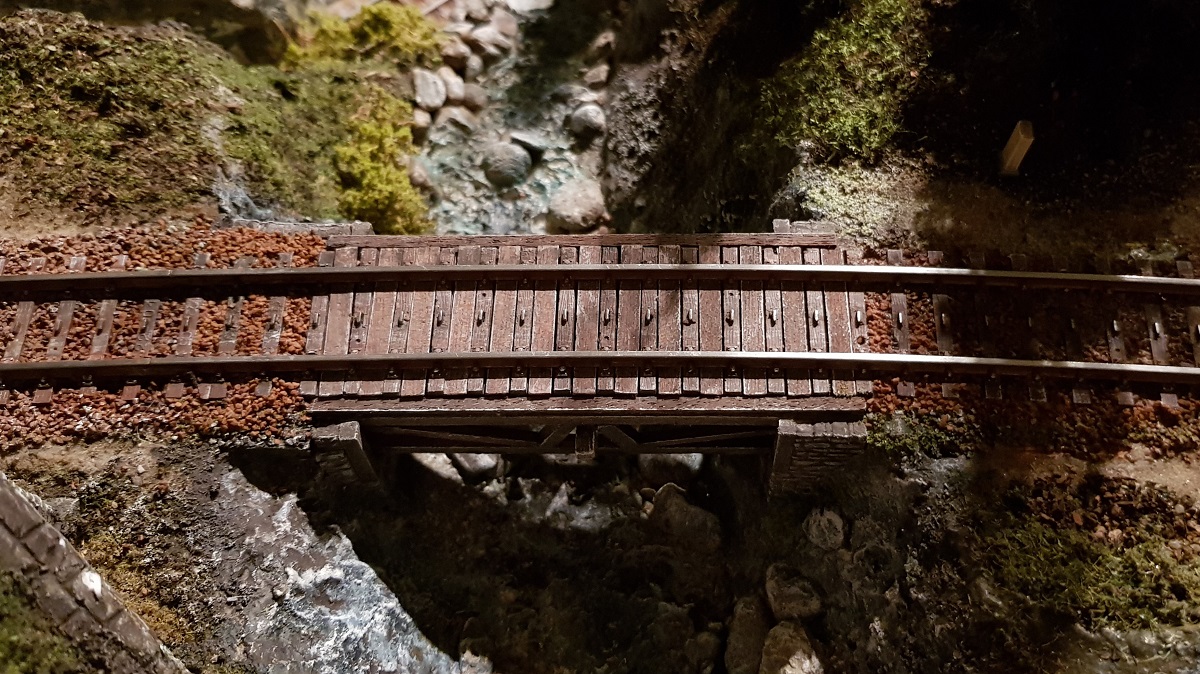
At night, I removed three planks on the left side. Somehow, they didn't fit into the larger picture due to a lack of balance.
New ballast was added to 'fill in the gaps' on each front head of the bridge.
~~~
2.15 ~ T h e W a t e r f a l l
To me, the most difficult thing to make in scale... WATER!
Therefor I left this part of the layout for many many years untouched...
After some 25 years I can't run away for it anymore. So...
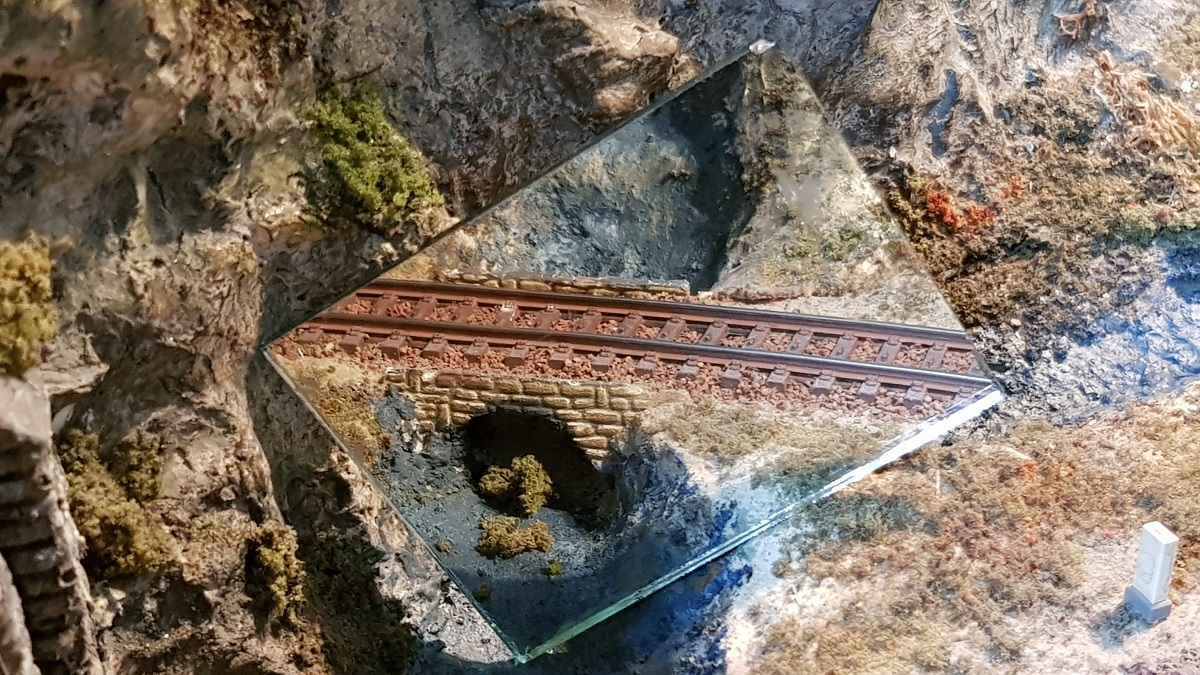
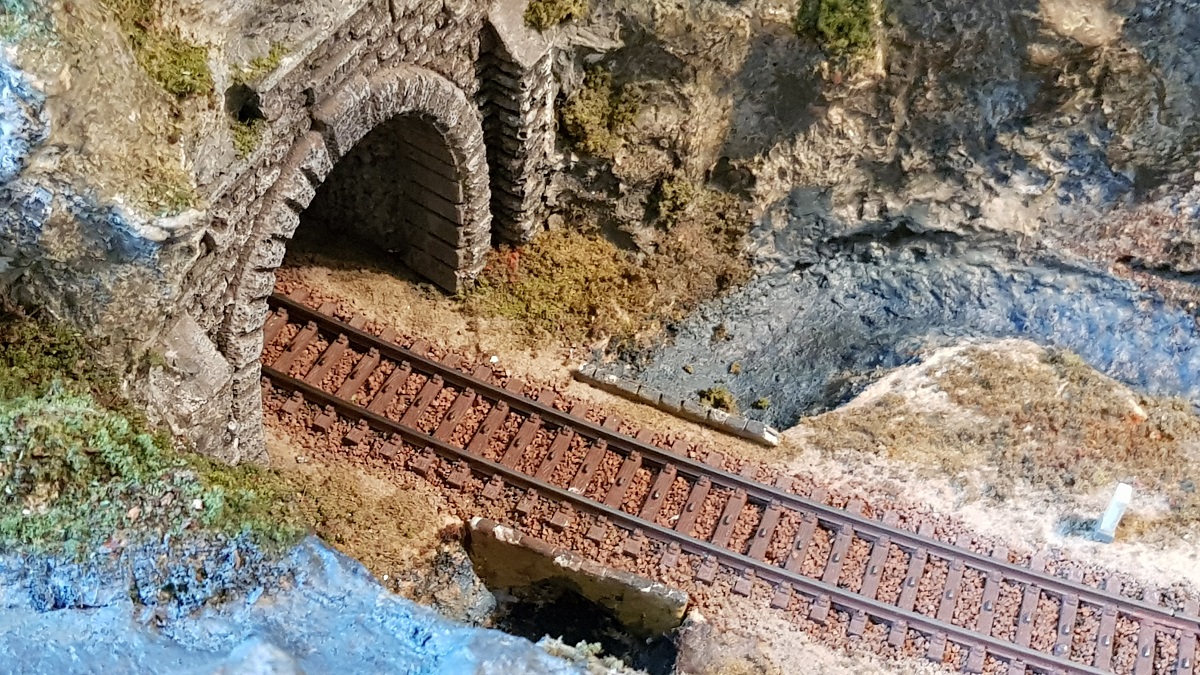
31 October 2019... as it has been for decades, left the recent blue painting...
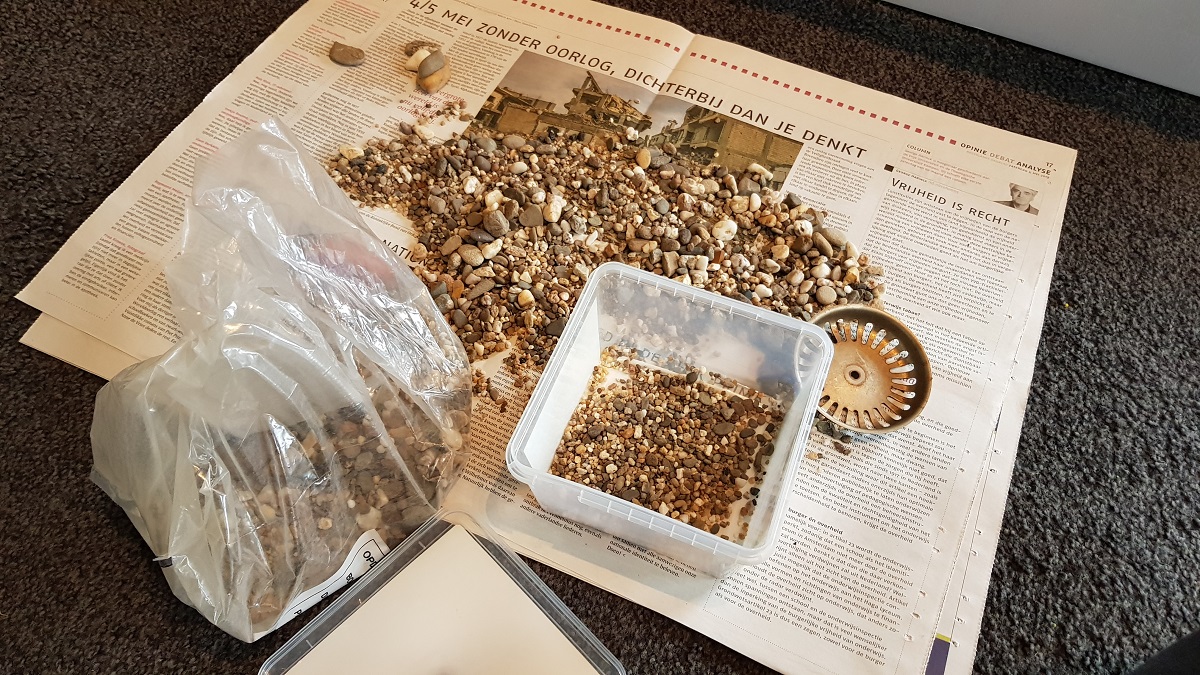
A friend gave me this box of fine hoggin... fair enough for my waterfall
And on Saturday 8 December I began 'unfolding' the waterfall. To begin with toilet paper, glue and grit...
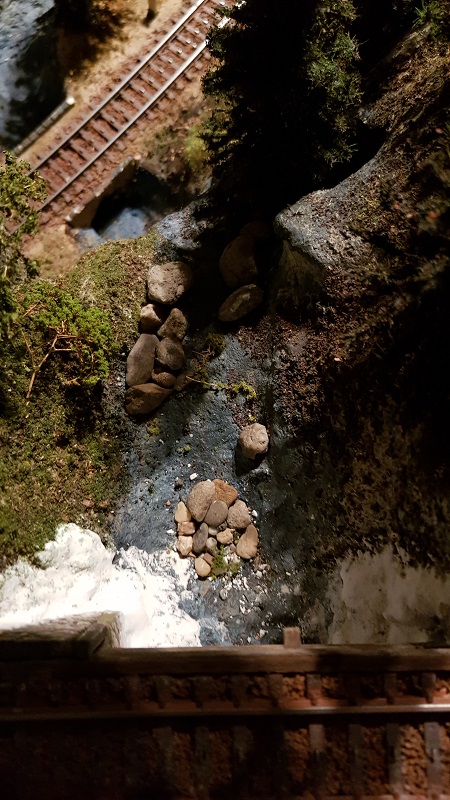
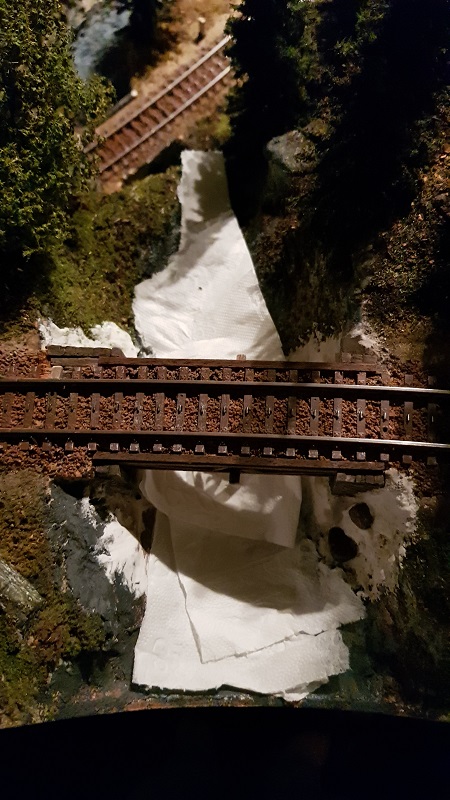
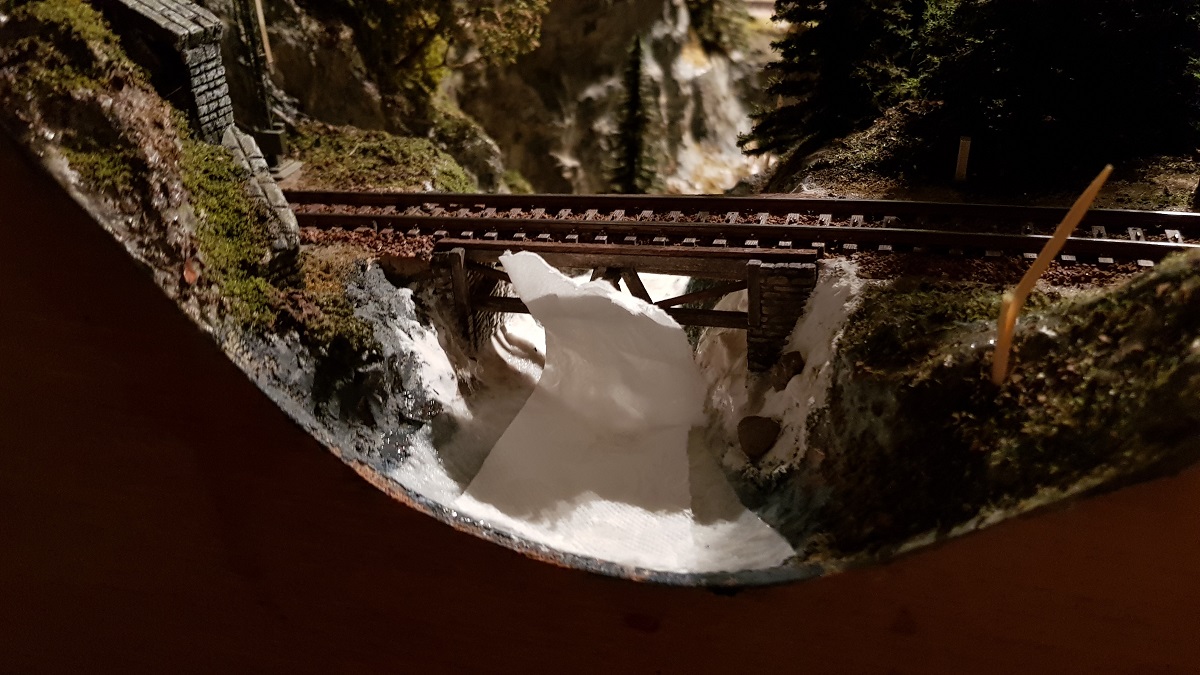
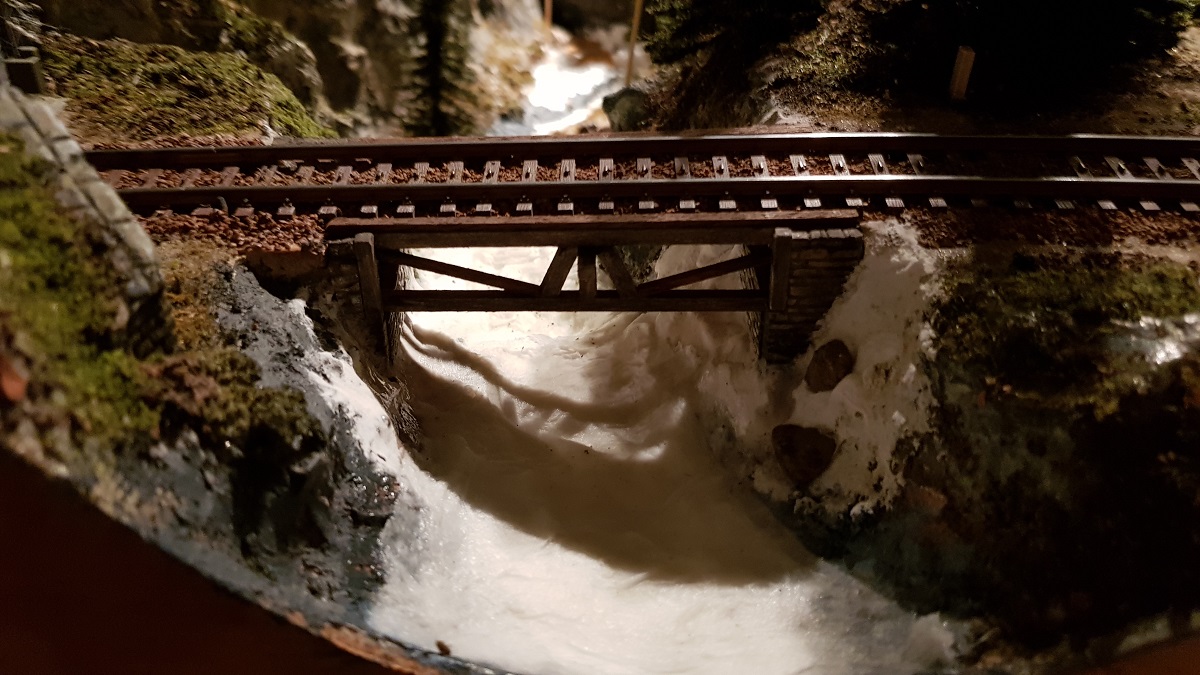
Some trees were removed for not being hindered and hedged during the job
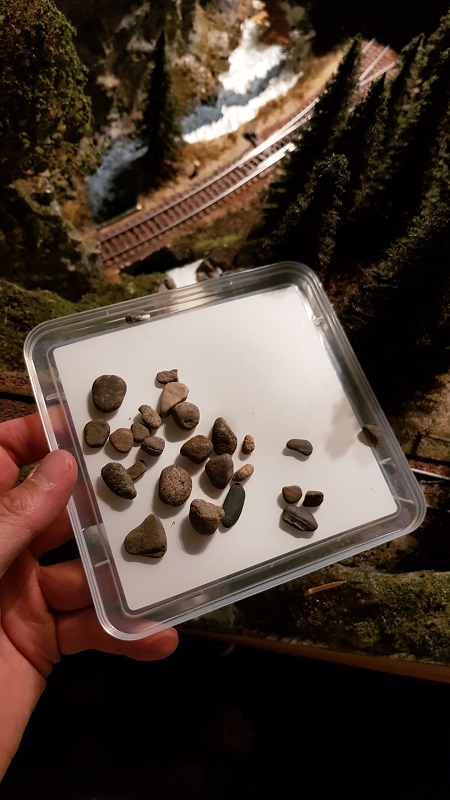
Selecting the right pieces of grit
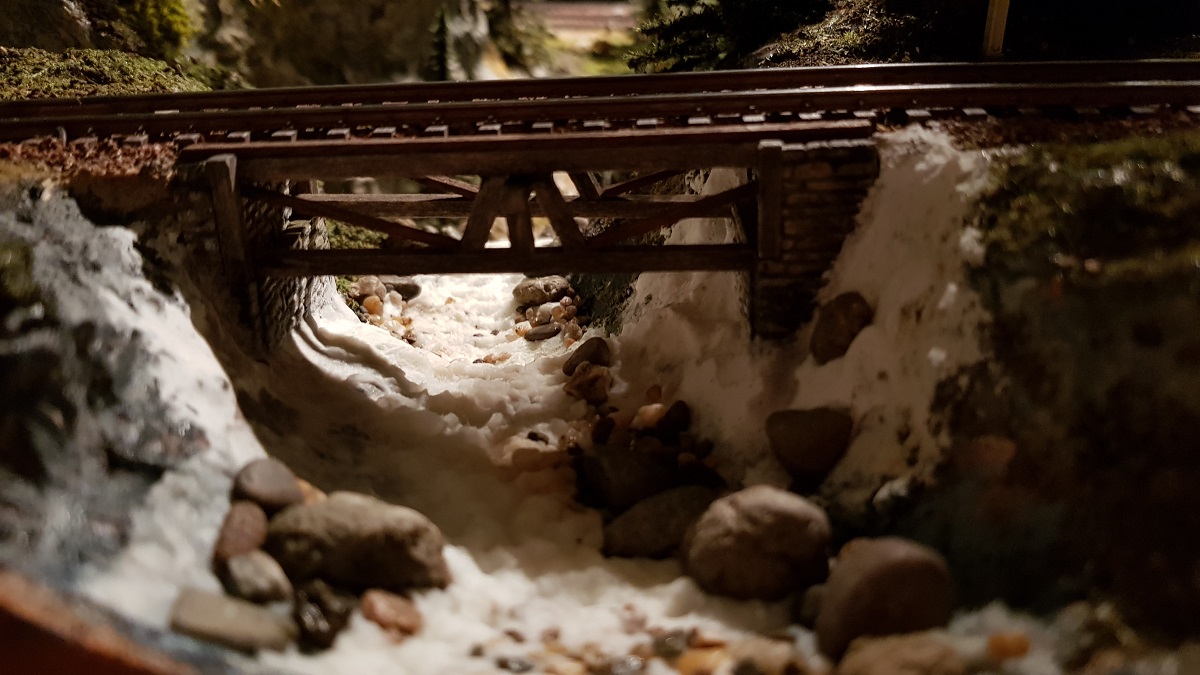
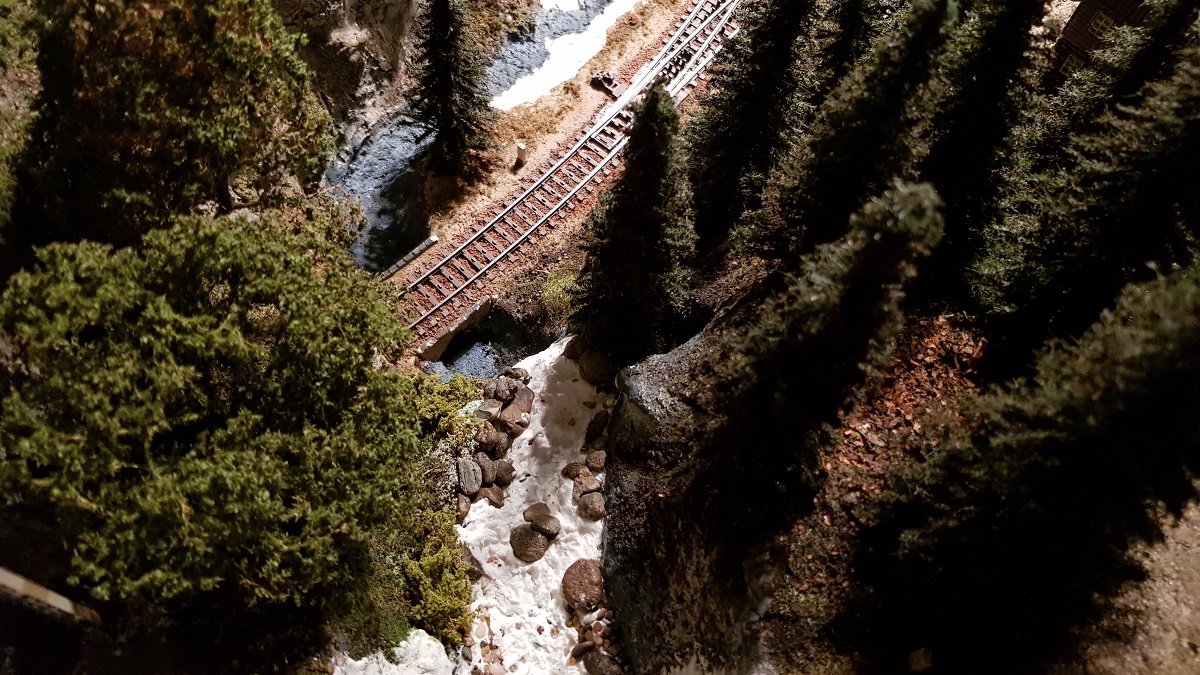
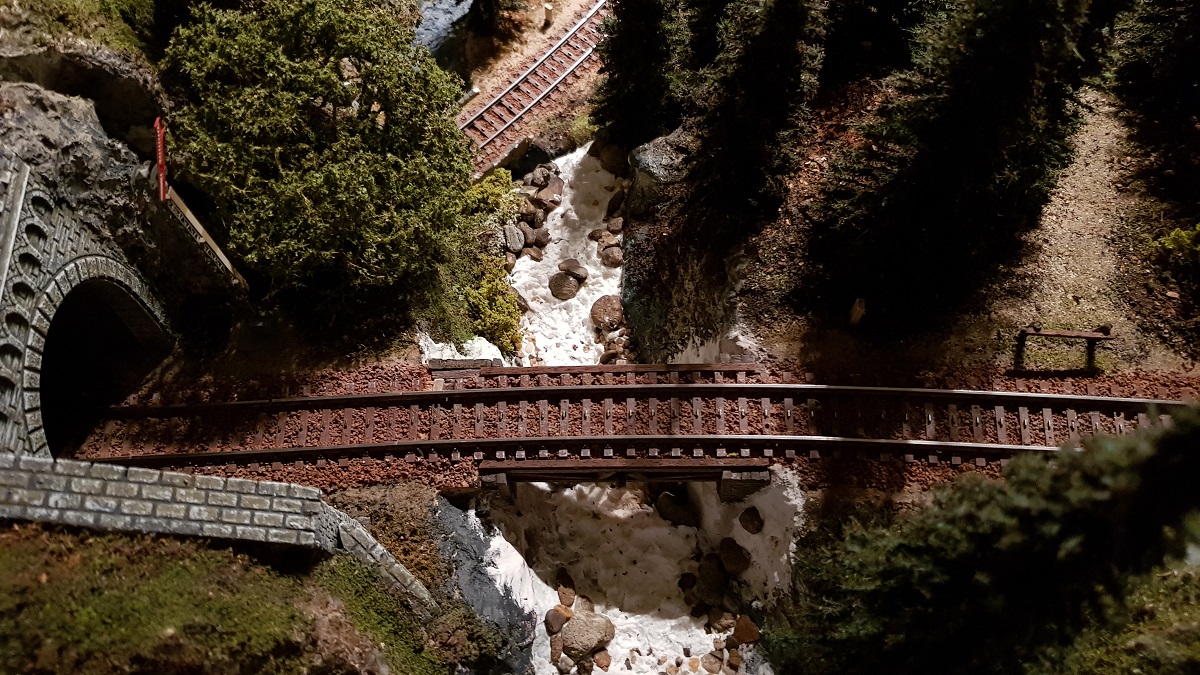
Can you imagine, that only 8 months ago this site looked like this...??
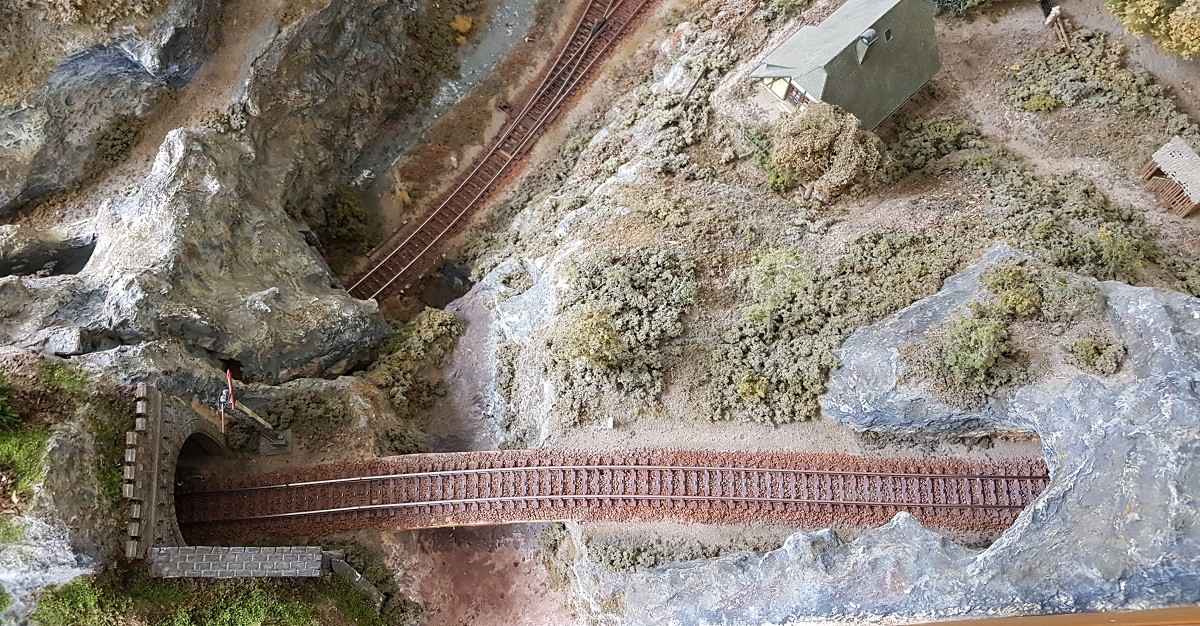
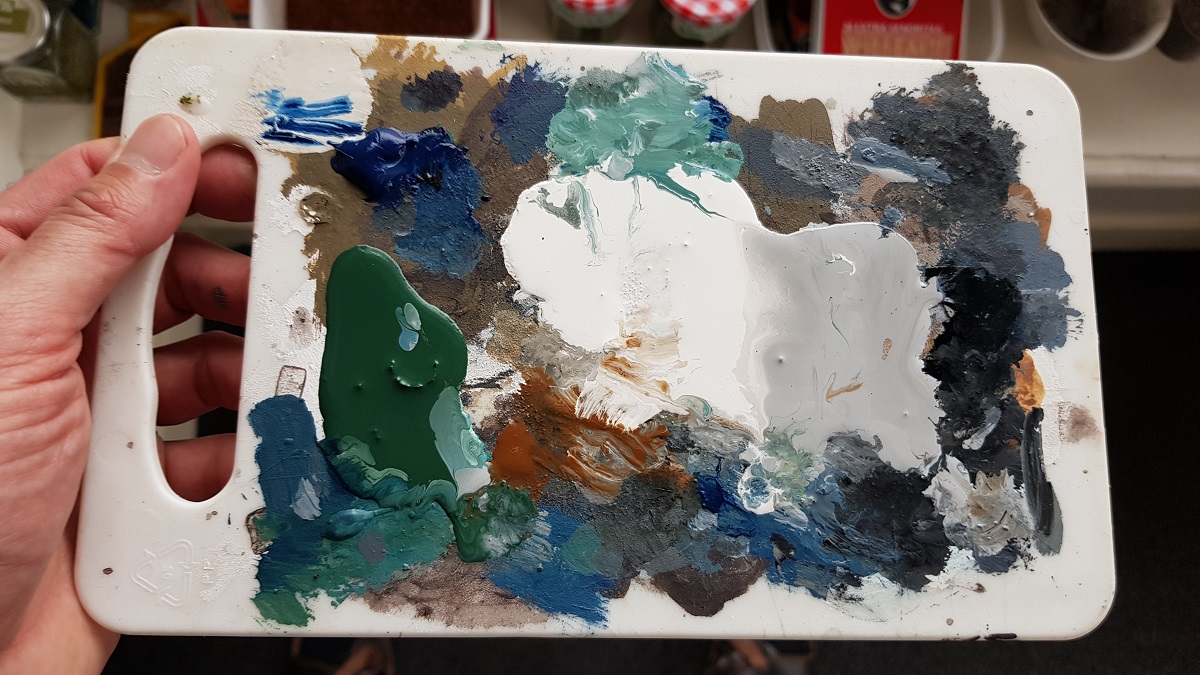
Painting activities of the upper fall on December 11th
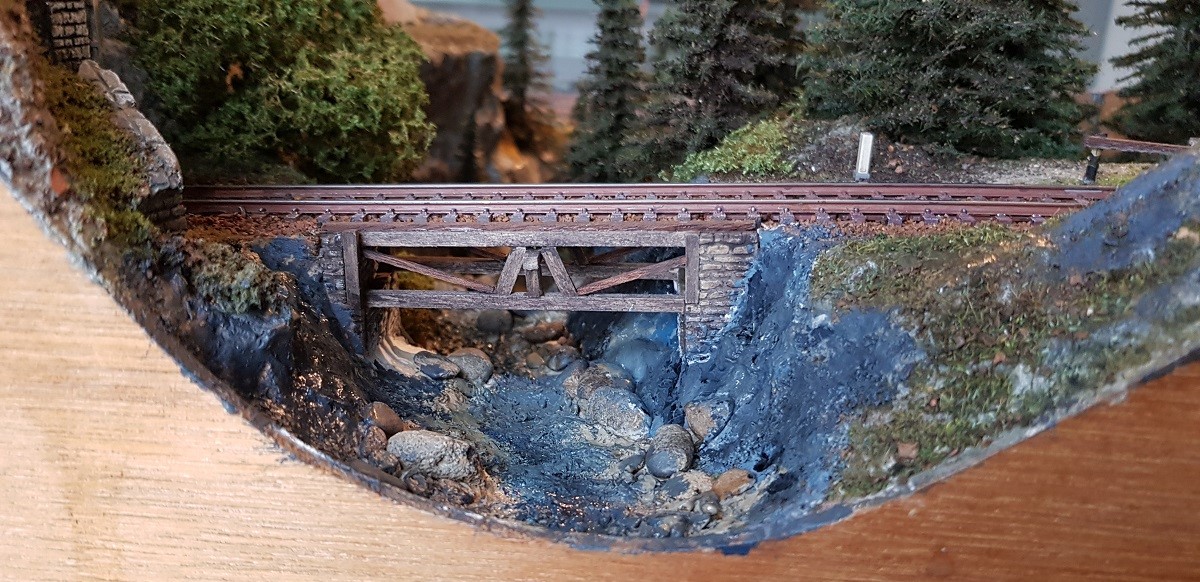
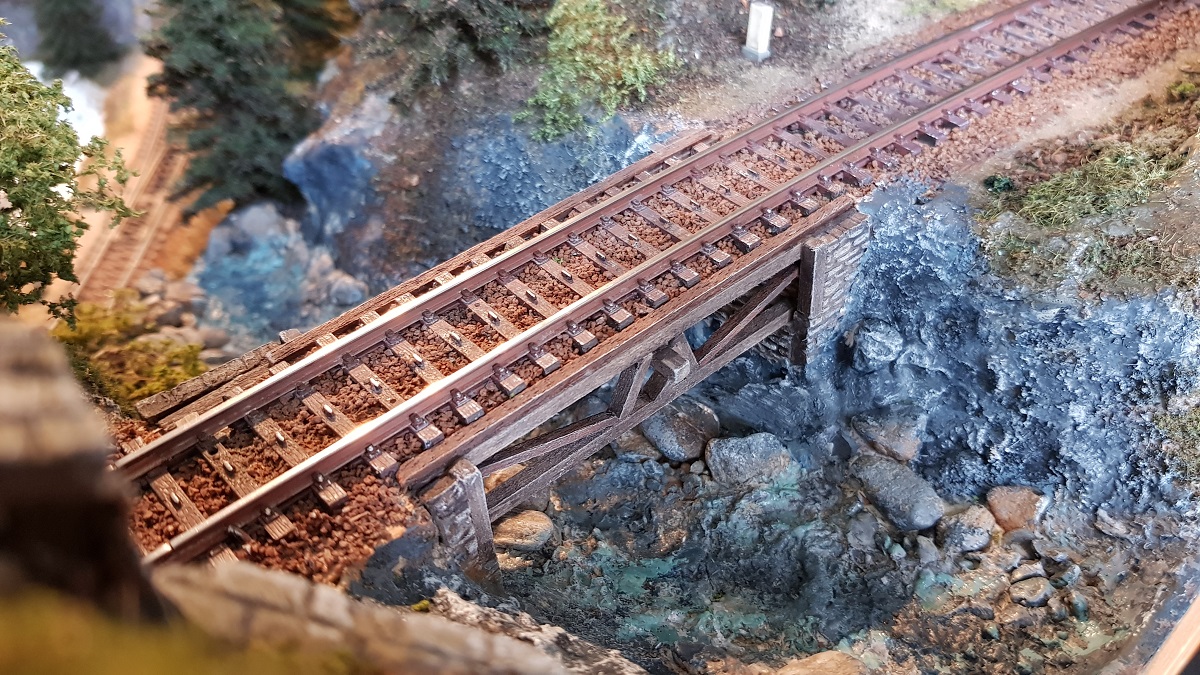
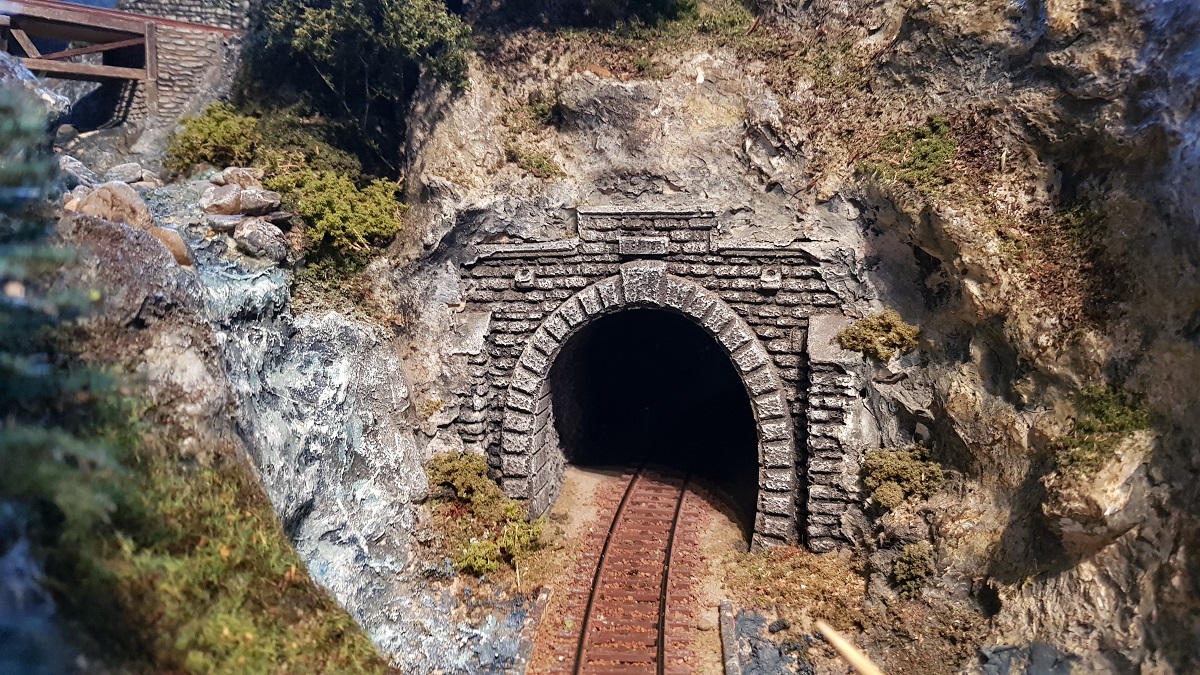
In the afternoon I paid attention to the Lower fall.
I started with cutting away most of the styrofoam downstream in order to gain more width and depth of the brook
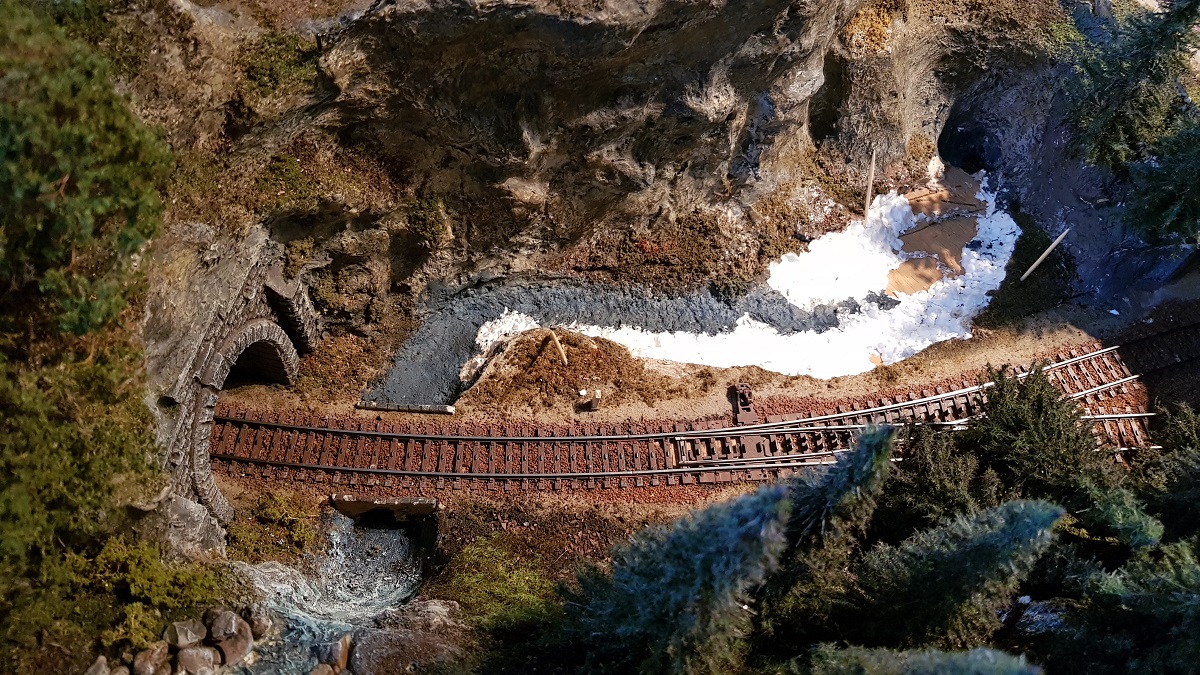
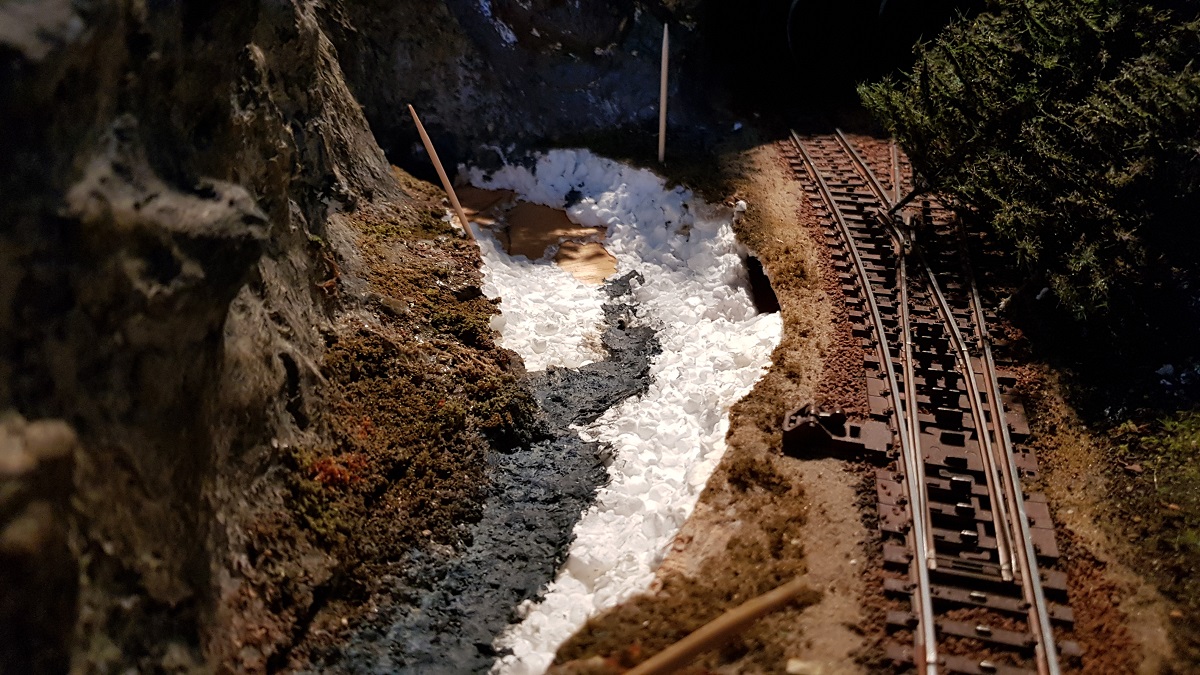
Oops... cutting too enthusiastically at the right side...
And a new river bed is created...
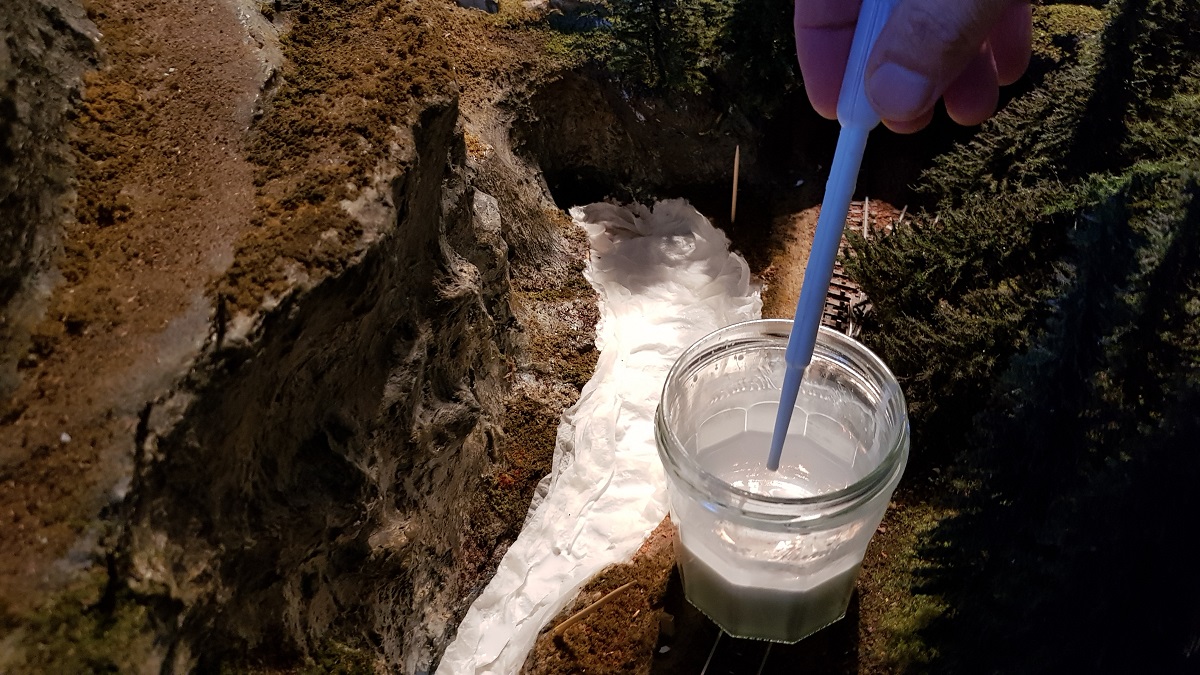
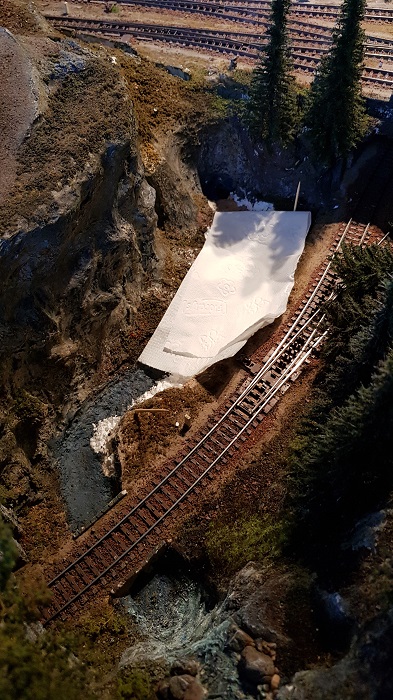
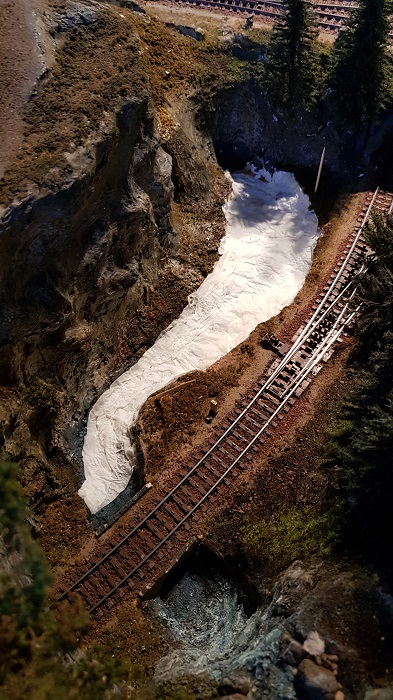
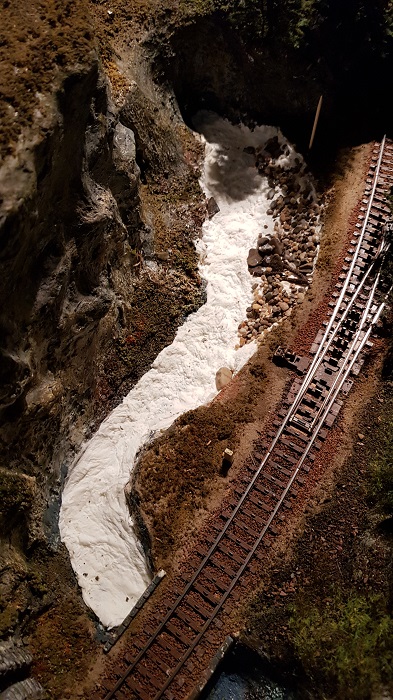
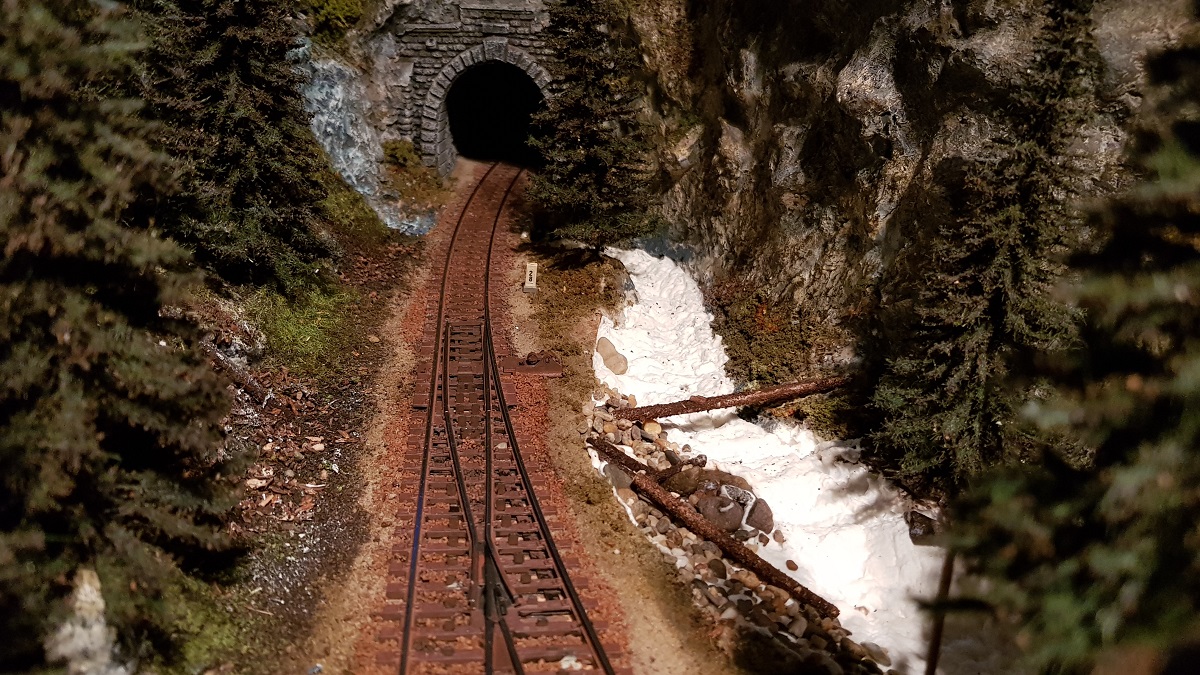
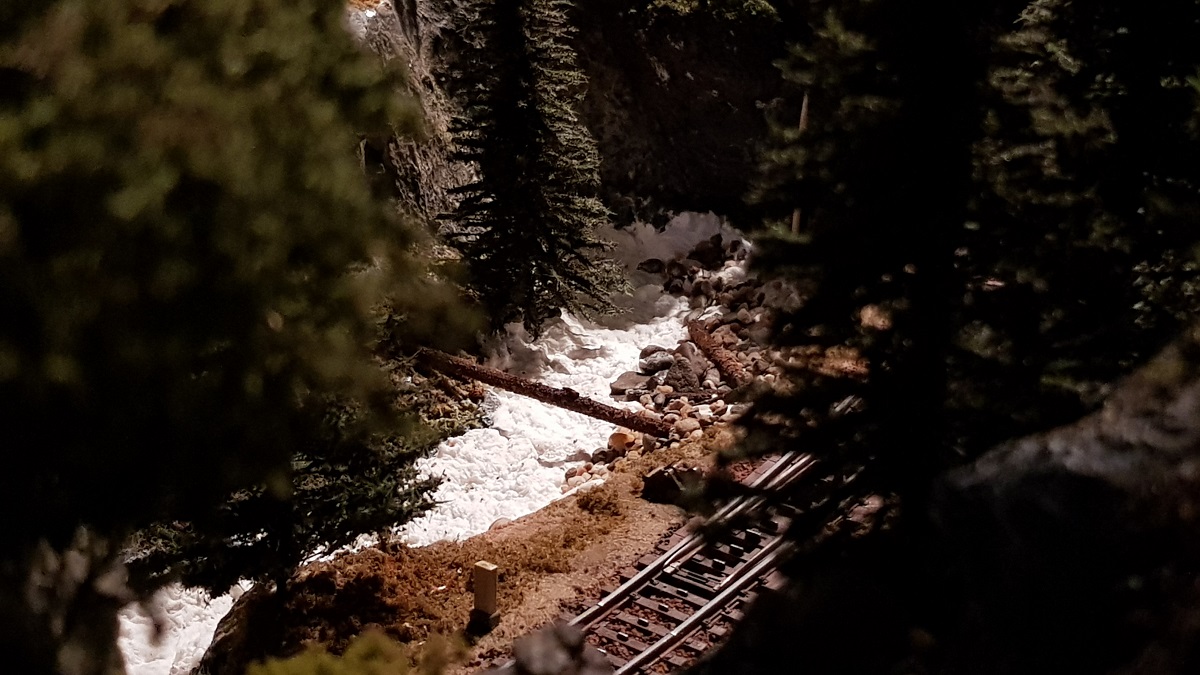
Now it needs some 72 hours for drying, before painting. And another 72 hours for applying the water materials.
Also waiting for a friend to come, who will bring scaled rocks for this part of the stream!
T o B e C o n t i n u e d i n Journal Part 3
~~~
Frits Osterthun © 12.12.2019 / 20.2.2020 (additional) / Last update: 16.2.2023